> ## Documentation Index
> Fetch the complete documentation index at: https://support.getskara.ai/llms.txt
> Use this file to discover all available pages before exploring further.
# Activating the Skara Chats
This guide will help you get started with **Skara Chats**, There are basically 5 easy steps to activate the chats in your account and install its widget on your website but you need to have an admin account first.
### **Topics covered:**
* [Install Chats](#install-chats)
* [Creating your workspace](#creating-your-workspace)
* [Inviting users to the workspace](#inviting-users-to-the-workspace)
* [Customizing and Personalizing your Chat](#customizing-and-personalizing-your-chat)
* [Installing the Skara Chats on your website](#installing-the-salesmate-chats-on-your-website)
### Install Chats
* Activate
* [Unified Conversation Inbox](#faqs-how-can-i-install-the-messenger-code-on-the-wordpress-site) to [Install Skara Chats](#installing-the-salesmate-chats-on-your-website)
* Select **Skara Chat** and click on the **Install** option.
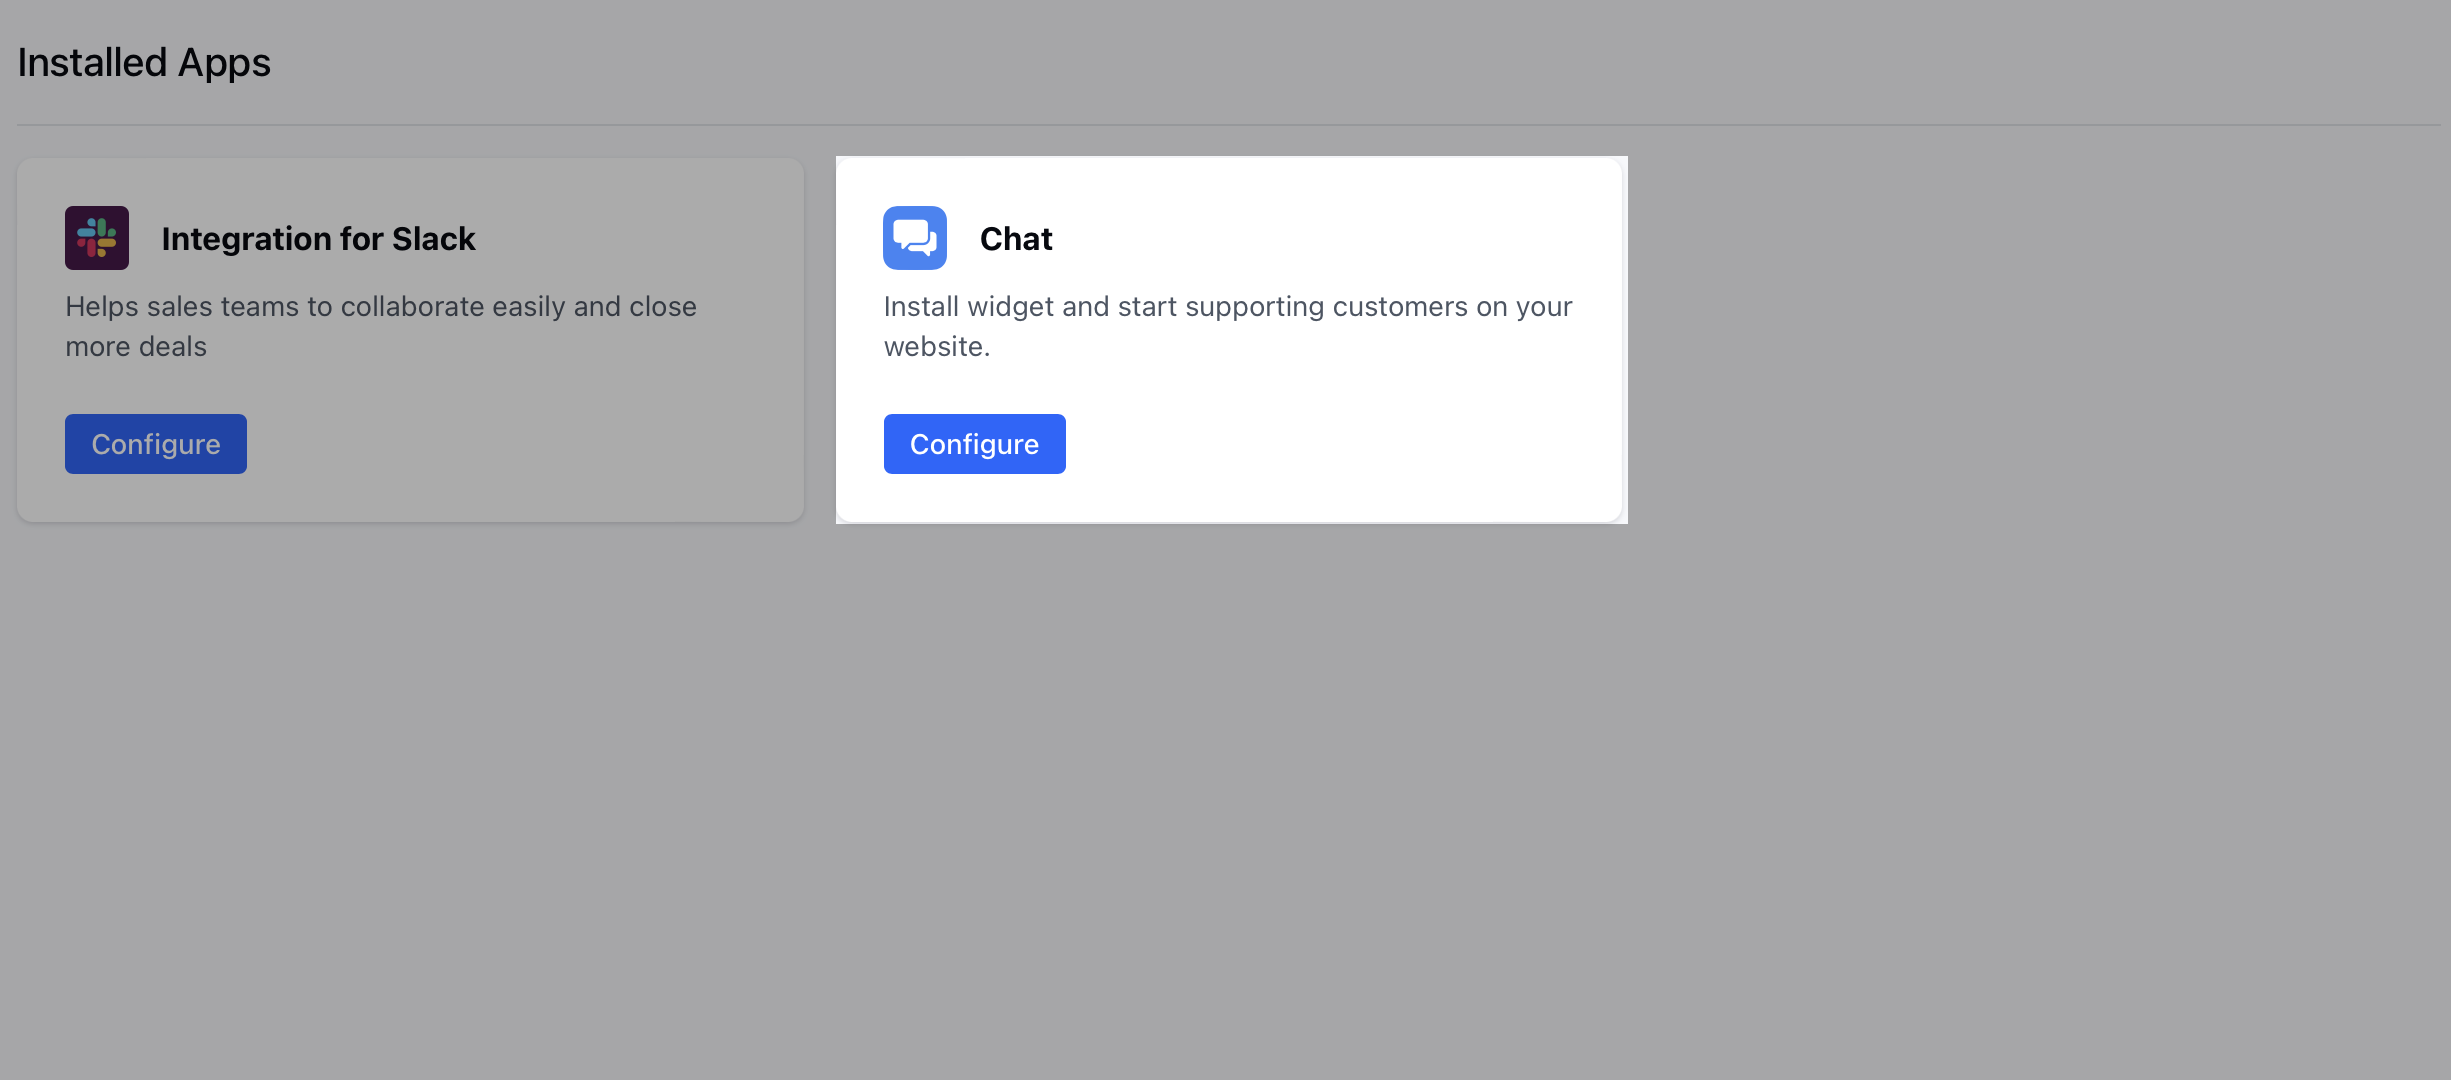 **Note:** Make sure to check the expiry date mentioned just above the activate button for your trial account of the Chats.
### Creating your workspace
Here you need to fill in the following information:
* **Workspace name**: It will be visible to your website visitors when they'll start a conversation.
* **Team Intro**: Write your welcome message
* To adhere to the compliances you would need to accept the "[Terms & Conditions](https://www.salesmate.io/tos/)" and "[Privacy Policy](#faqs-how-can-i-install-the-messenger-code-on-the-wordpress-site)"
**Note:** Make sure to check the expiry date mentioned just above the activate button for your trial account of the Chats.
### Creating your workspace
Here you need to fill in the following information:
* **Workspace name**: It will be visible to your website visitors when they'll start a conversation.
* **Team Intro**: Write your welcome message
* To adhere to the compliances you would need to accept the "[Terms & Conditions](https://www.salesmate.io/tos/)" and "[Privacy Policy](#faqs-how-can-i-install-the-messenger-code-on-the-wordpress-site)"
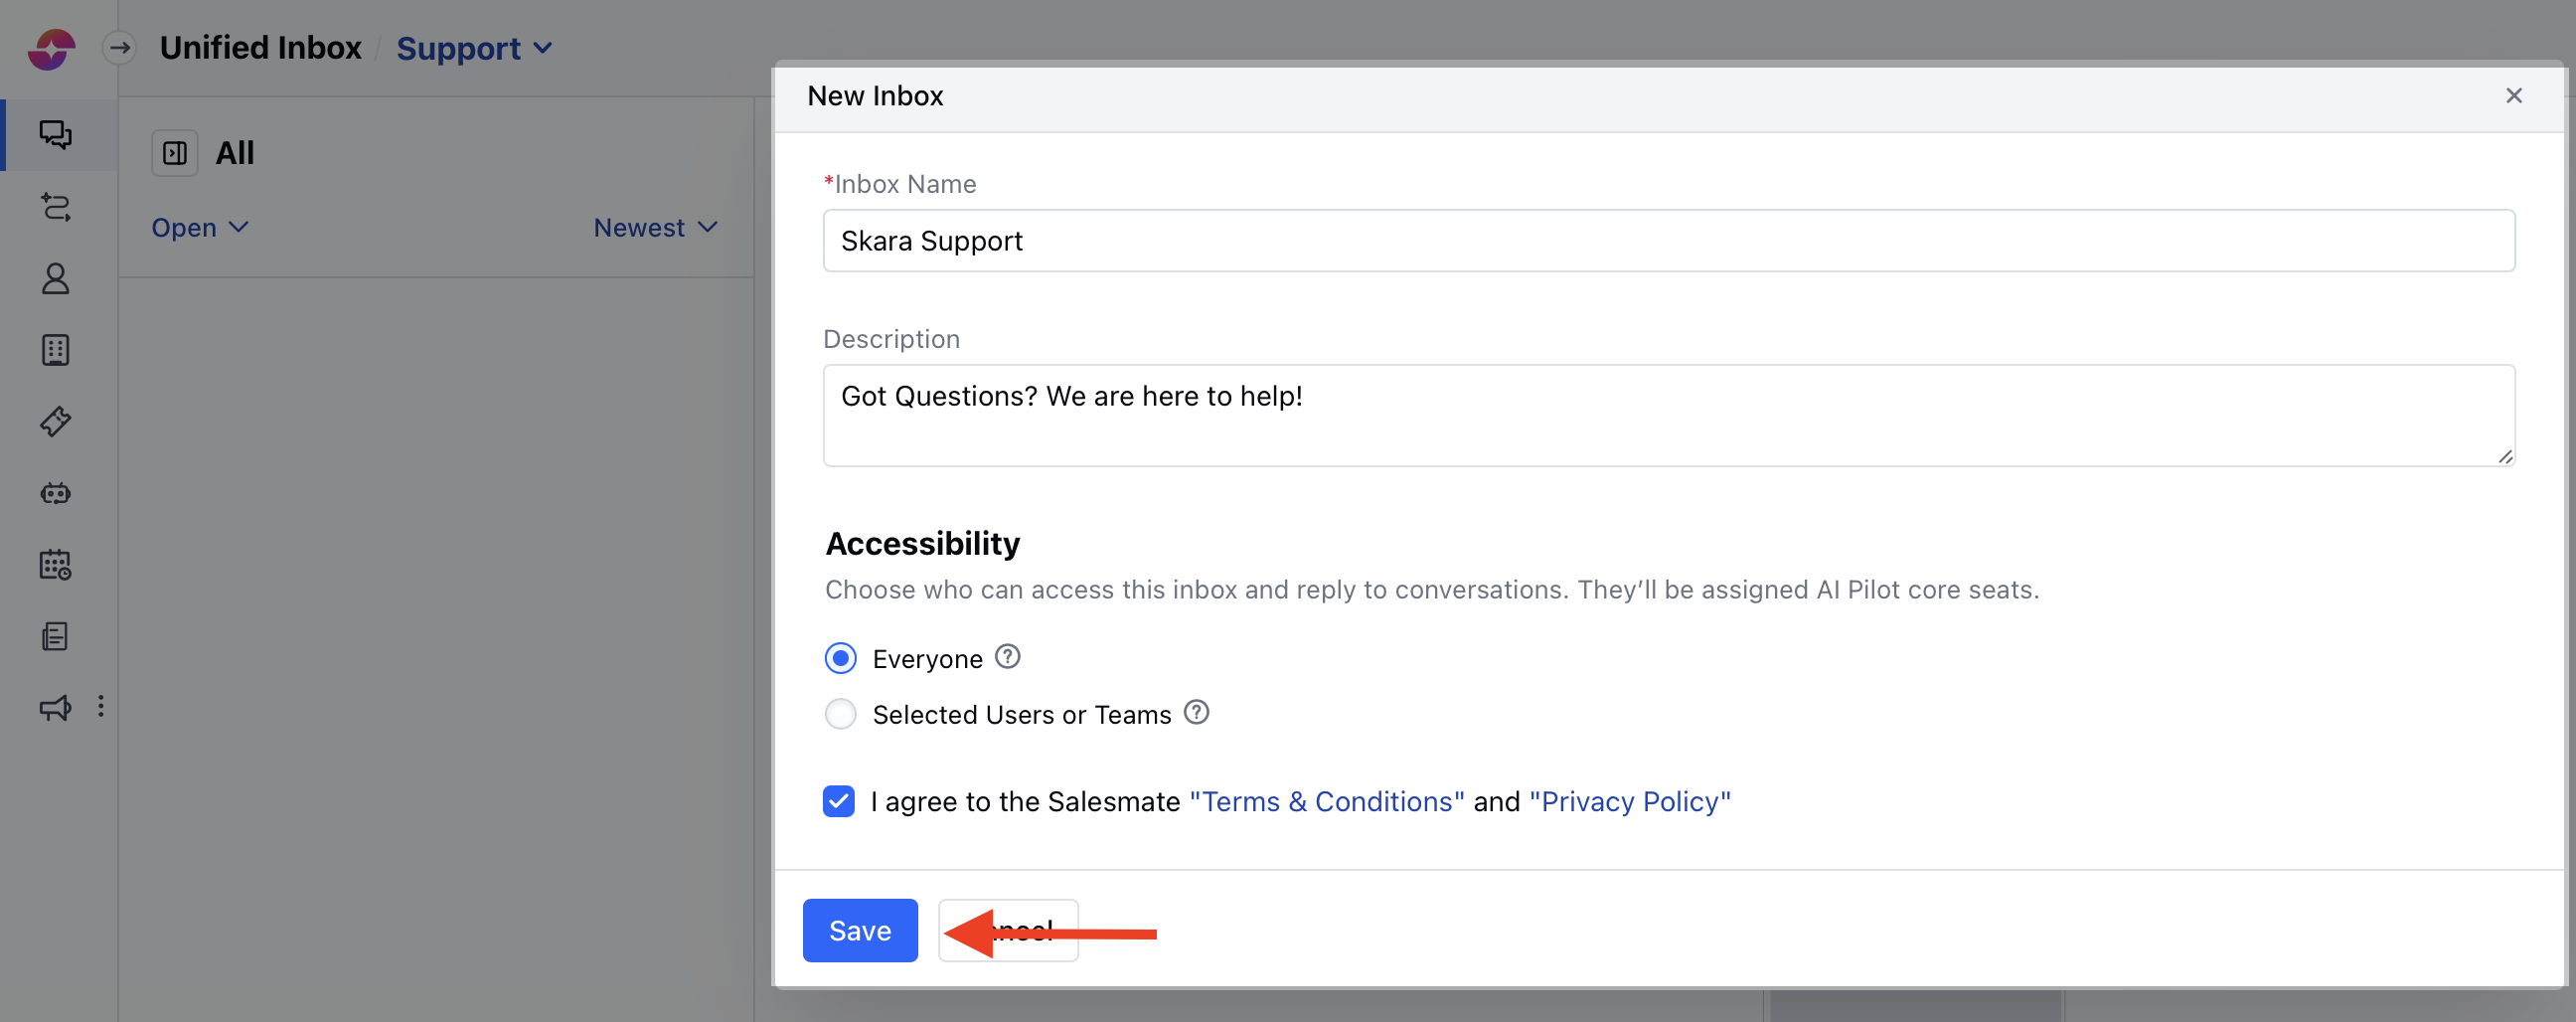 * Select I agree to the "Terms & Conditions" and "Privacy Policy" option once you have read it.
* Click on the **Create New Workspace** button.
### Inviting users to the workspace
Now you can invite some users to your workspace who will be communicating with your website visitors. It can be done in two ways:
* **Invite Everyone to Chat:** This will allow everyone with a chat license to respond to the channel’s conversations
* Select I agree to the "Terms & Conditions" and "Privacy Policy" option once you have read it.
* Click on the **Create New Workspace** button.
### Inviting users to the workspace
Now you can invite some users to your workspace who will be communicating with your website visitors. It can be done in two ways:
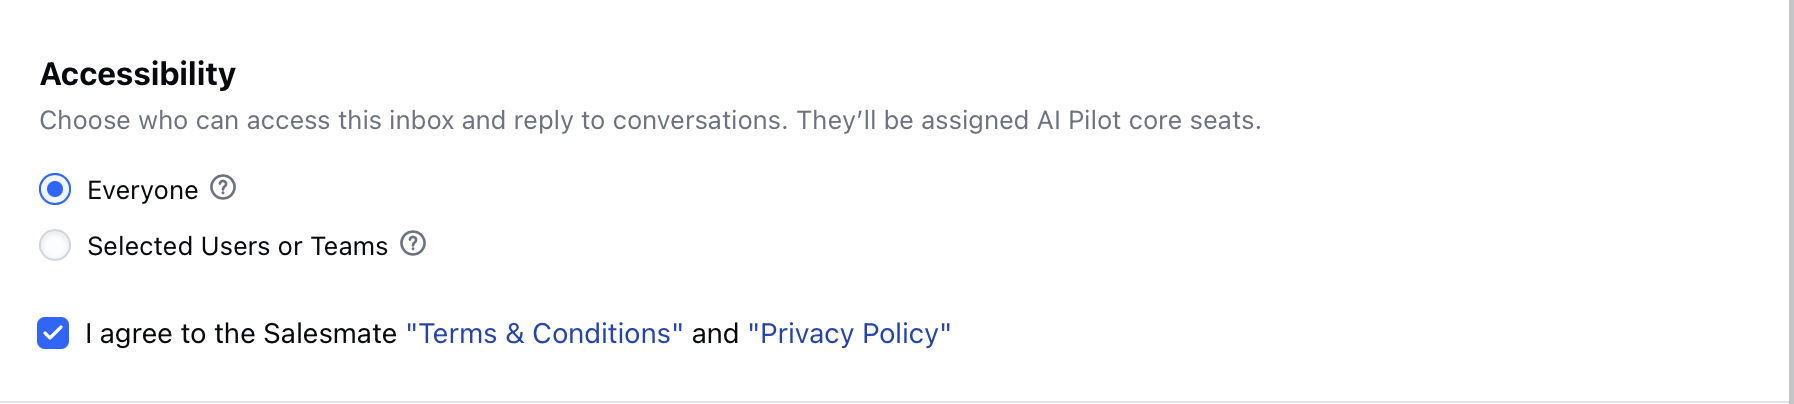
* **Invite Everyone to Chat:** This will allow everyone with a chat license to respond to the channel’s conversations
 * **Invite selected Users:** This will allow only the selected Users with a chat license to respond to the channel's conversations
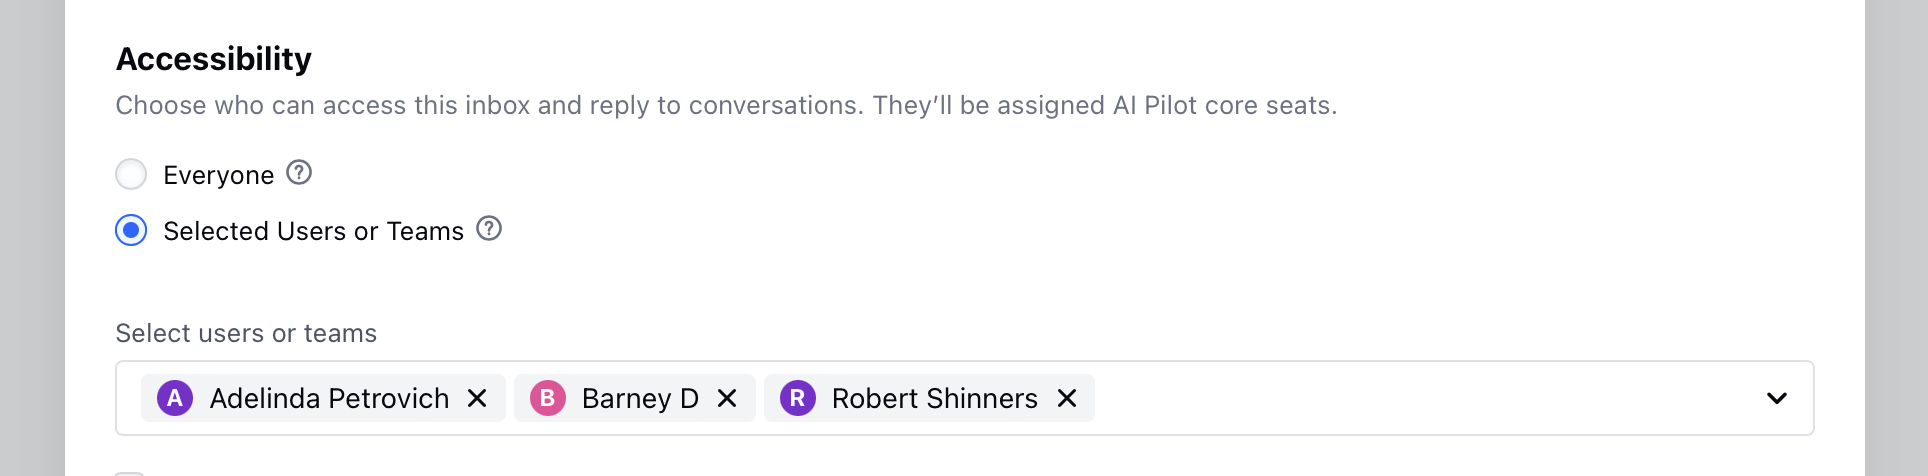 * Once you have selected the users for your Chats, you can click on the **Next** button to Setup [Appearance](/chats/configuring-the-salesmate-chats/configure-chats-appearance).
### Customizing and Personalizing your Chat
* Here you can customize the appearance of the Chats widget which will appear on your website to the visitors, either you can go with the default settings or [Learn to customize your Chat later](/chats/configuring-the-salesmate-chats/configure-chats-appearance)
* Once you have selected the users for your Chats, you can click on the **Next** button to Setup [Appearance](/chats/configuring-the-salesmate-chats/configure-chats-appearance).
### Customizing and Personalizing your Chat
* Here you can customize the appearance of the Chats widget which will appear on your website to the visitors, either you can go with the default settings or [Learn to customize your Chat later](/chats/configuring-the-salesmate-chats/configure-chats-appearance)
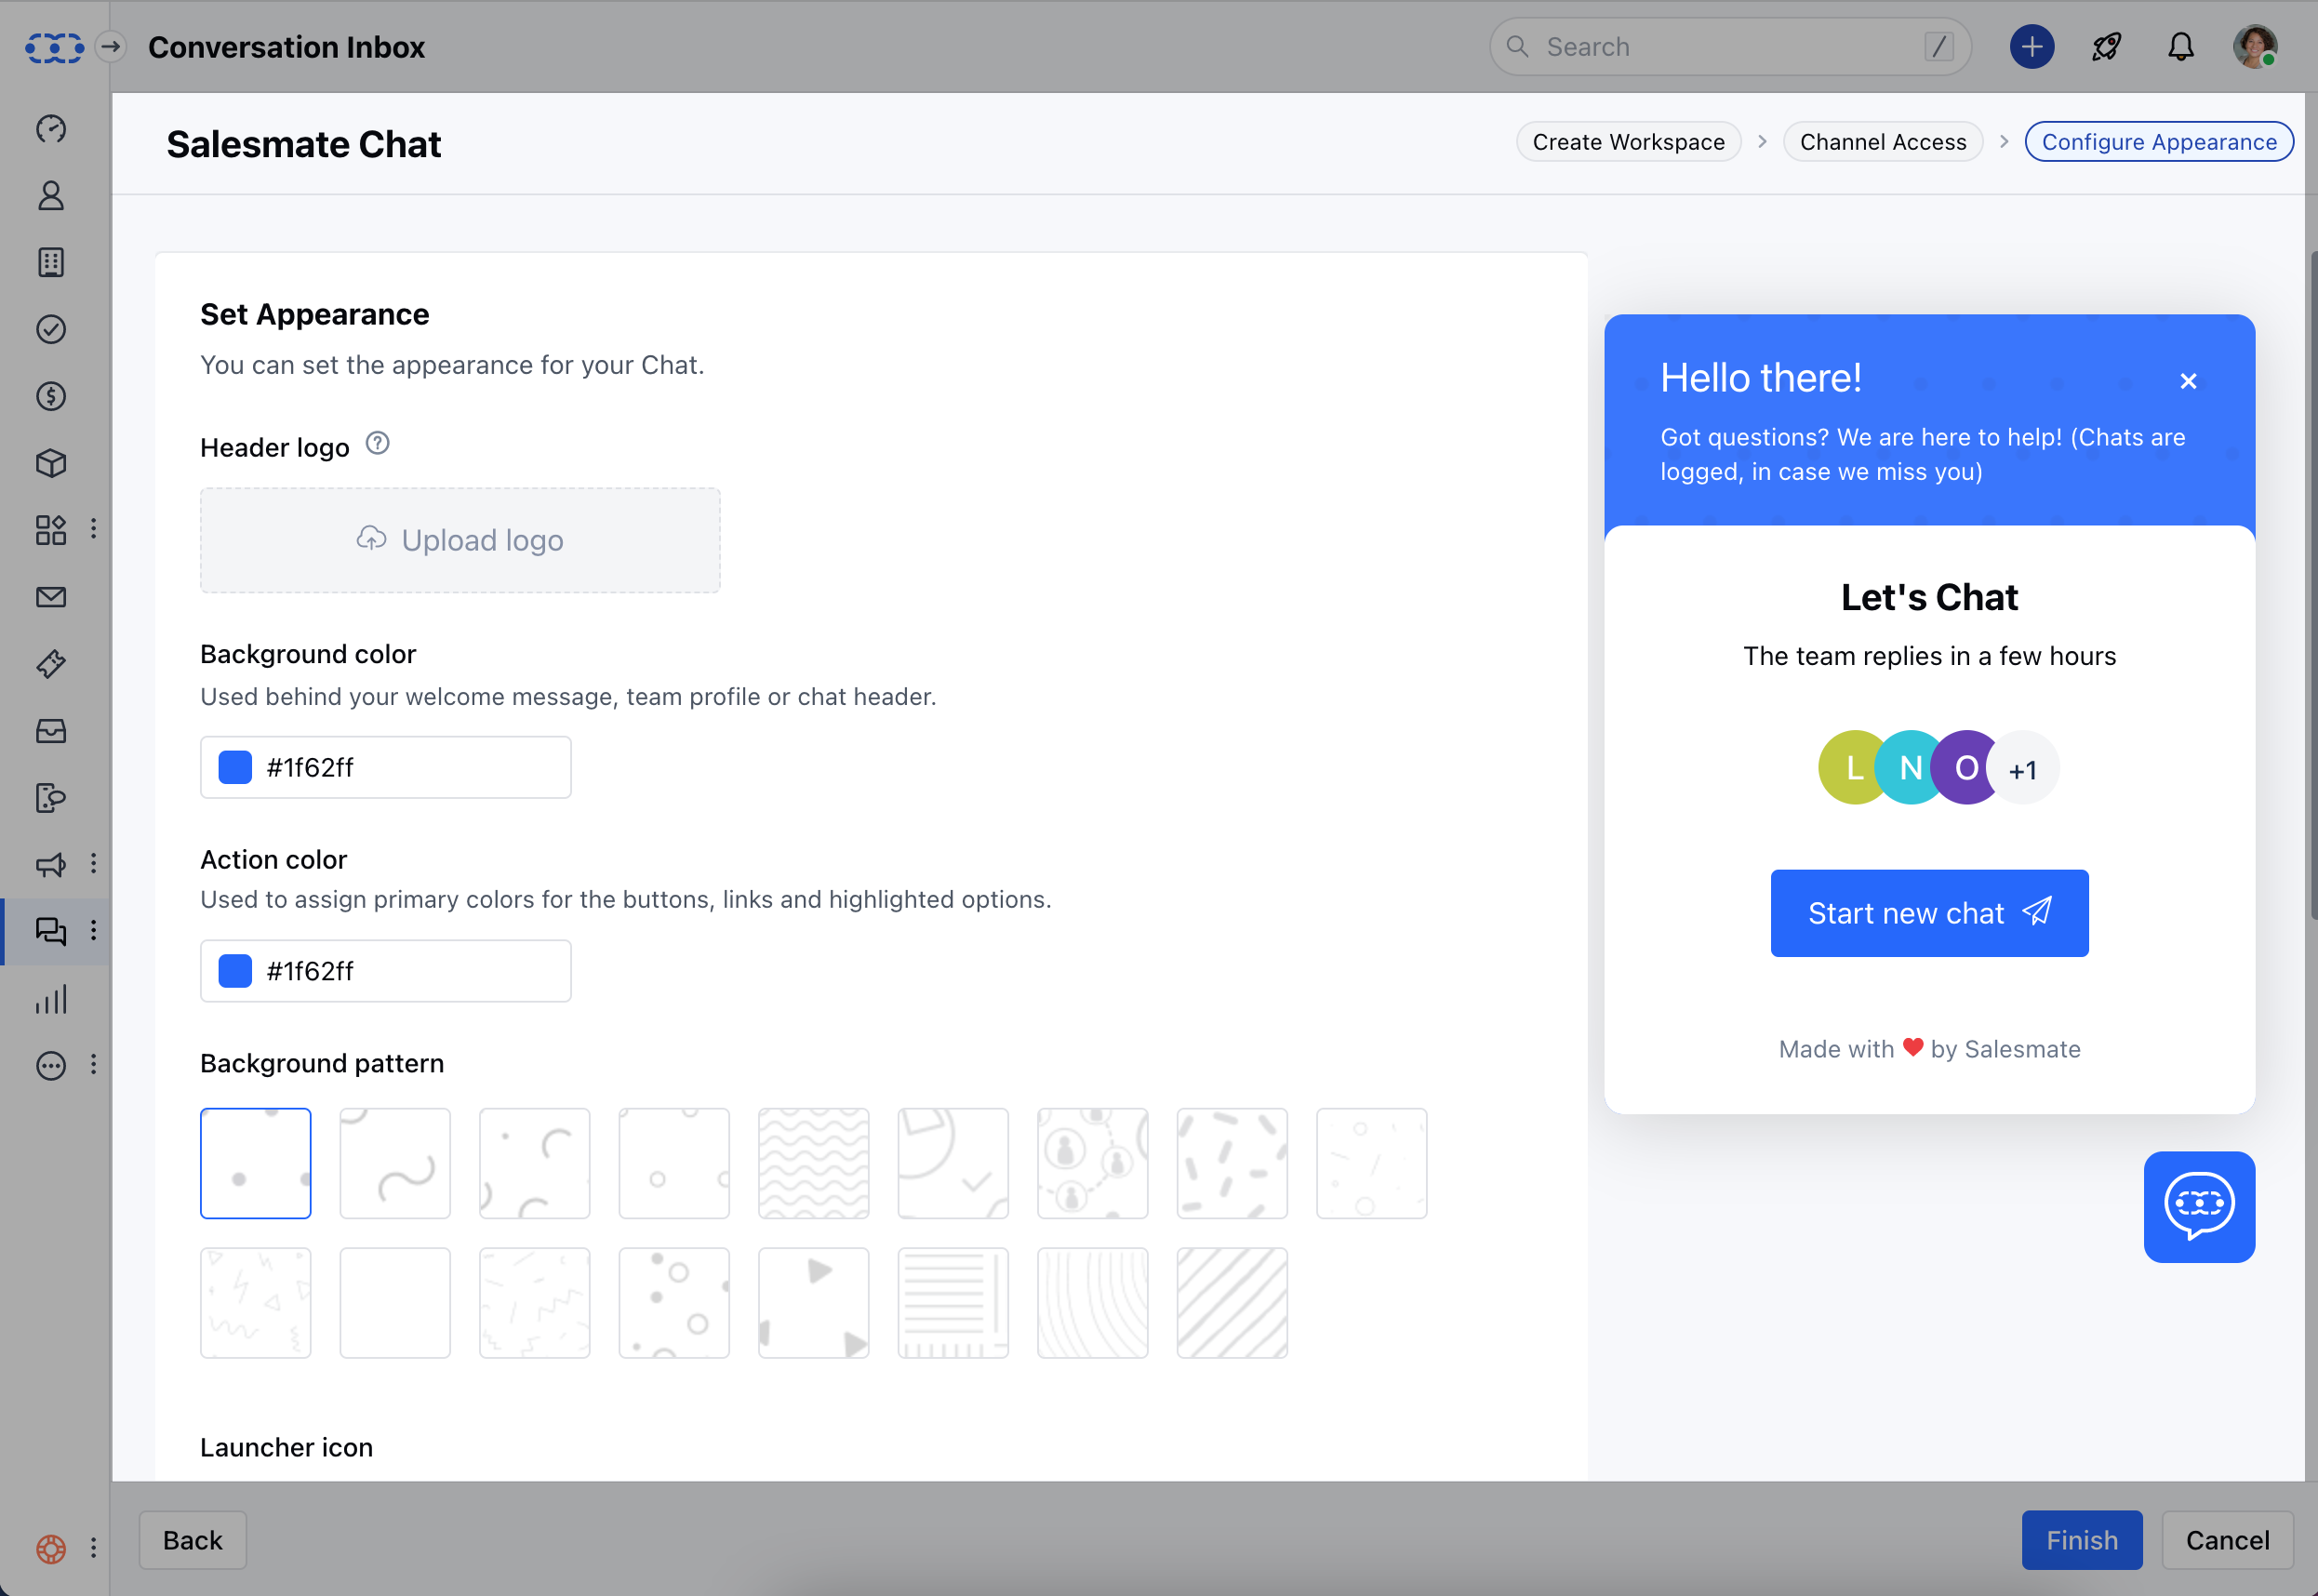 * Click on the **Finish** button to save your changes.
### Installing the Skara Chats on your website
* Here you'll see some code, which you need to copy and paste before the `` tag of every HTML page of your website where you want the chats widget to appear.
* Click on the **Finish** button to save your changes.
### Installing the Skara Chats on your website
* Here you'll see some code, which you need to copy and paste before the `` tag of every HTML page of your website where you want the chats widget to appear.