> ## Documentation Index
> Fetch the complete documentation index at: https://support.getskara.ai/llms.txt
> Use this file to discover all available pages before exploring further.
# Invite Questions for the Meeting Scheduler
### **Form Questions**
Ask your prospects and customers a few qualifying questions when they’re booking meetings with you. Contact properties will be automatically added to your Salesmate CRM.
To customize the question form:
* **Navigate to the** More option from your left sidebar menu
* **Click on** Meeting Scheduler
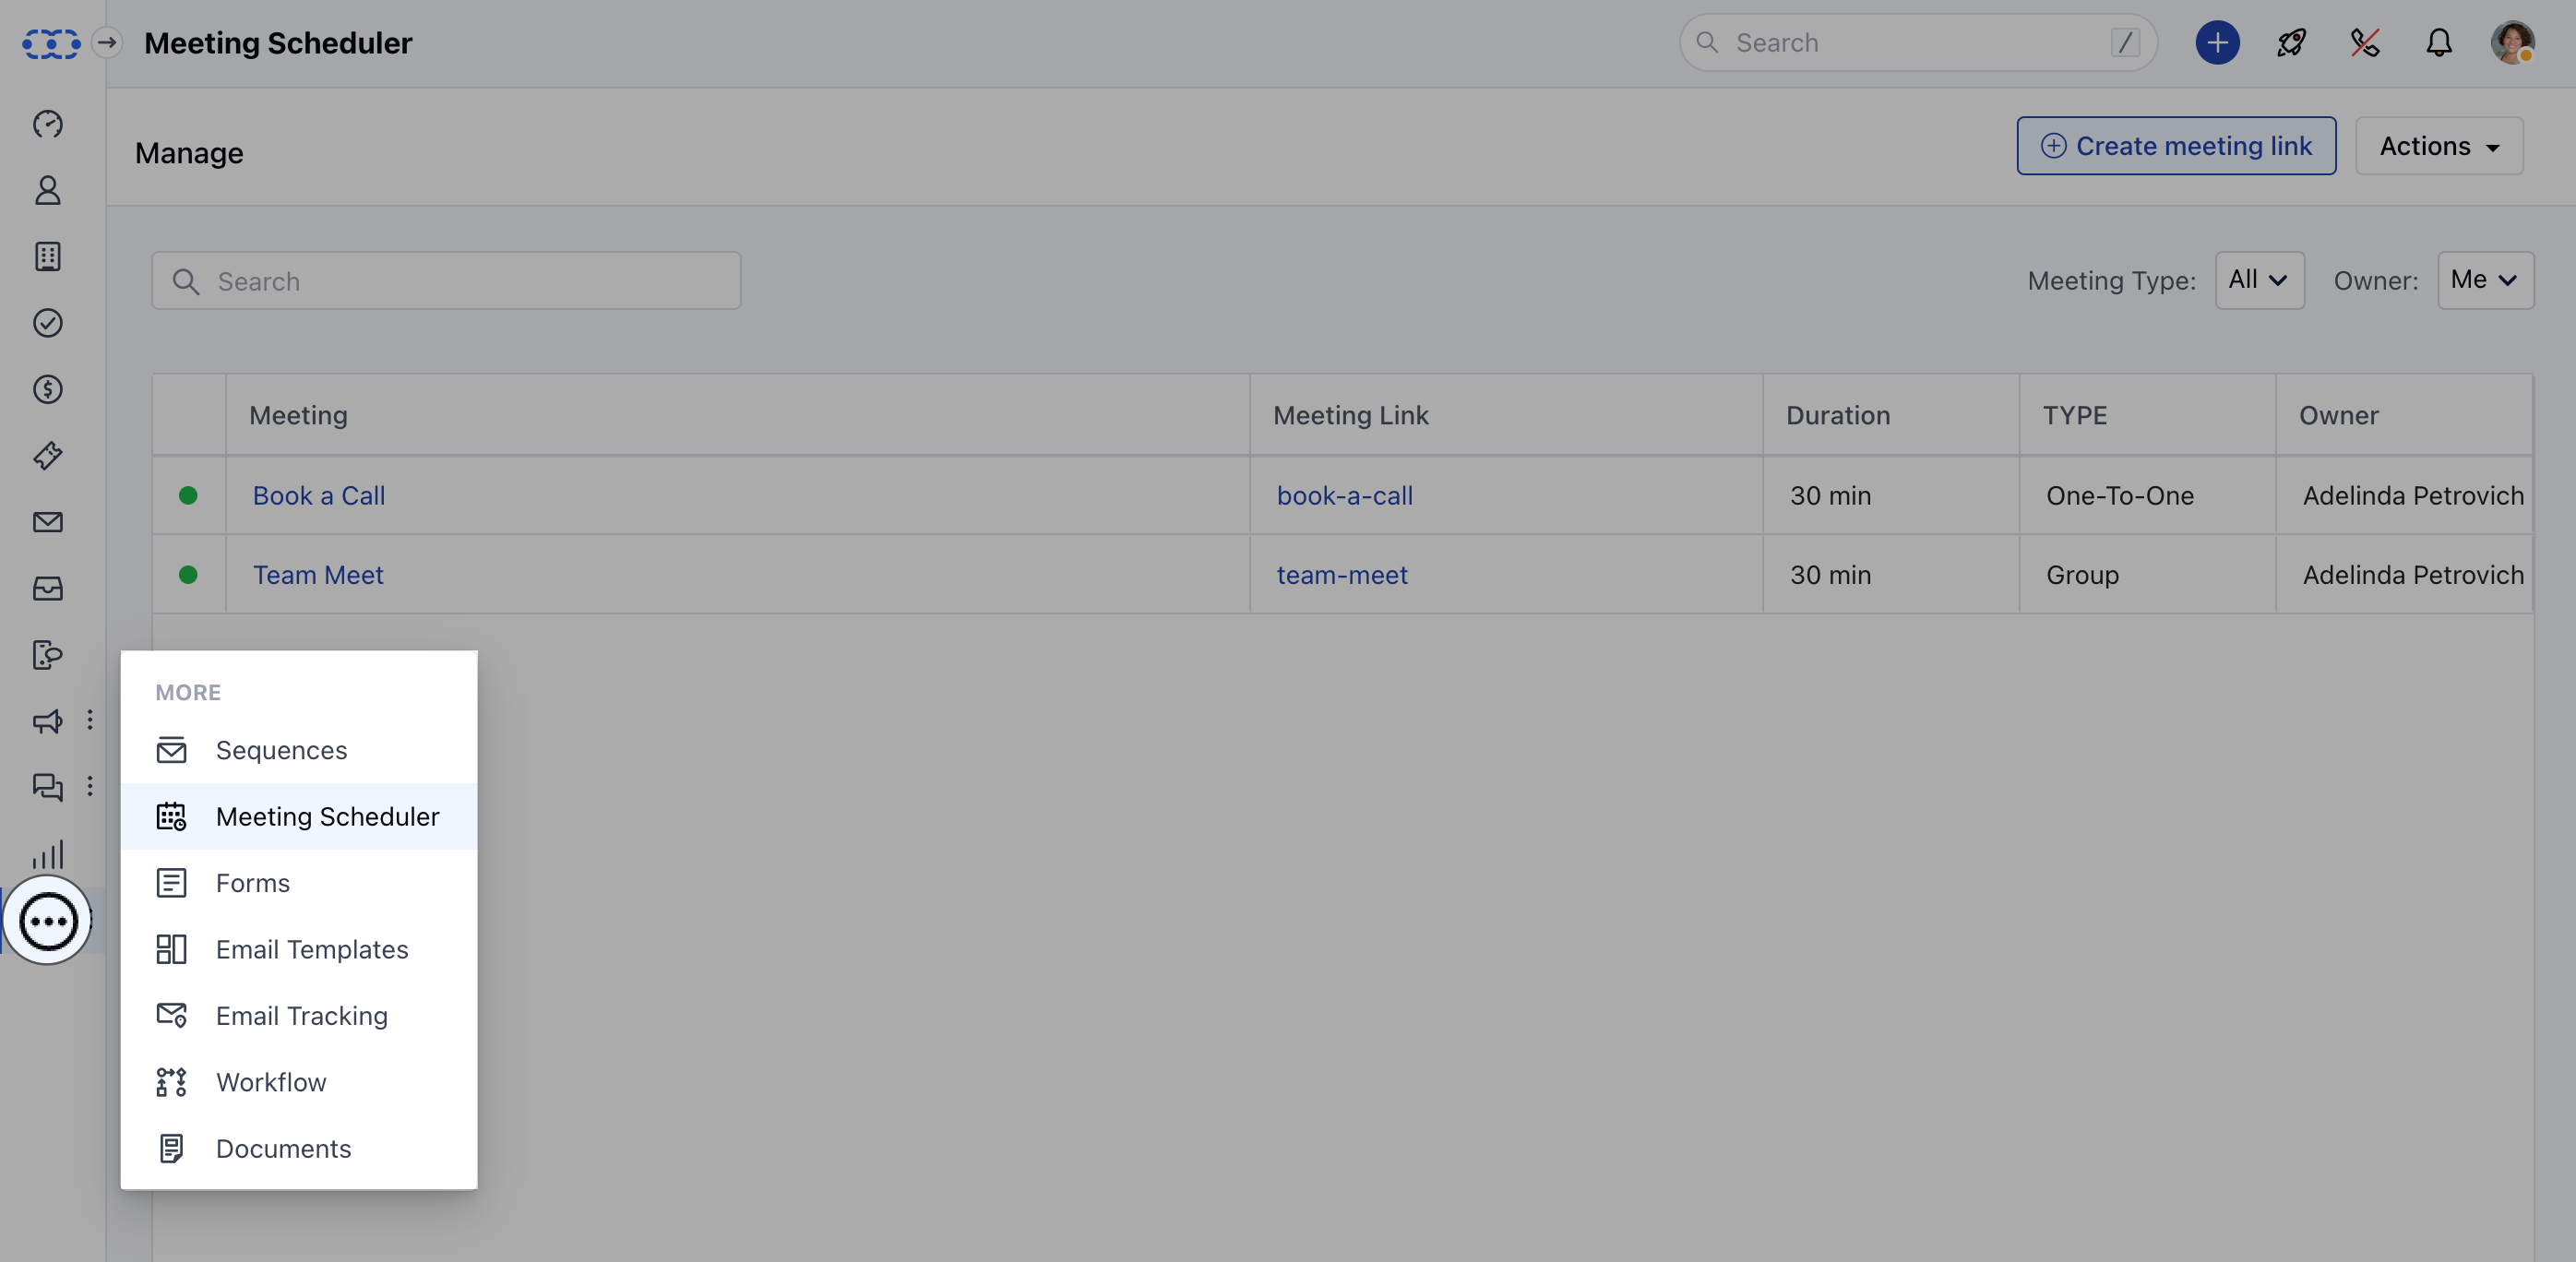 * Select the Meeting
* **Complete the steps —** Details and Date & Time Availability as per the selected
* [Meeting Type](https://support.salesmate.io/hc/en-us/articles/4405390436493)
* **Go to “Form Questions”**
* Select the Meeting
* **Complete the steps —** Details and Date & Time Availability as per the selected
* [Meeting Type](https://support.salesmate.io/hc/en-us/articles/4405390436493)
* **Go to “Form Questions”**
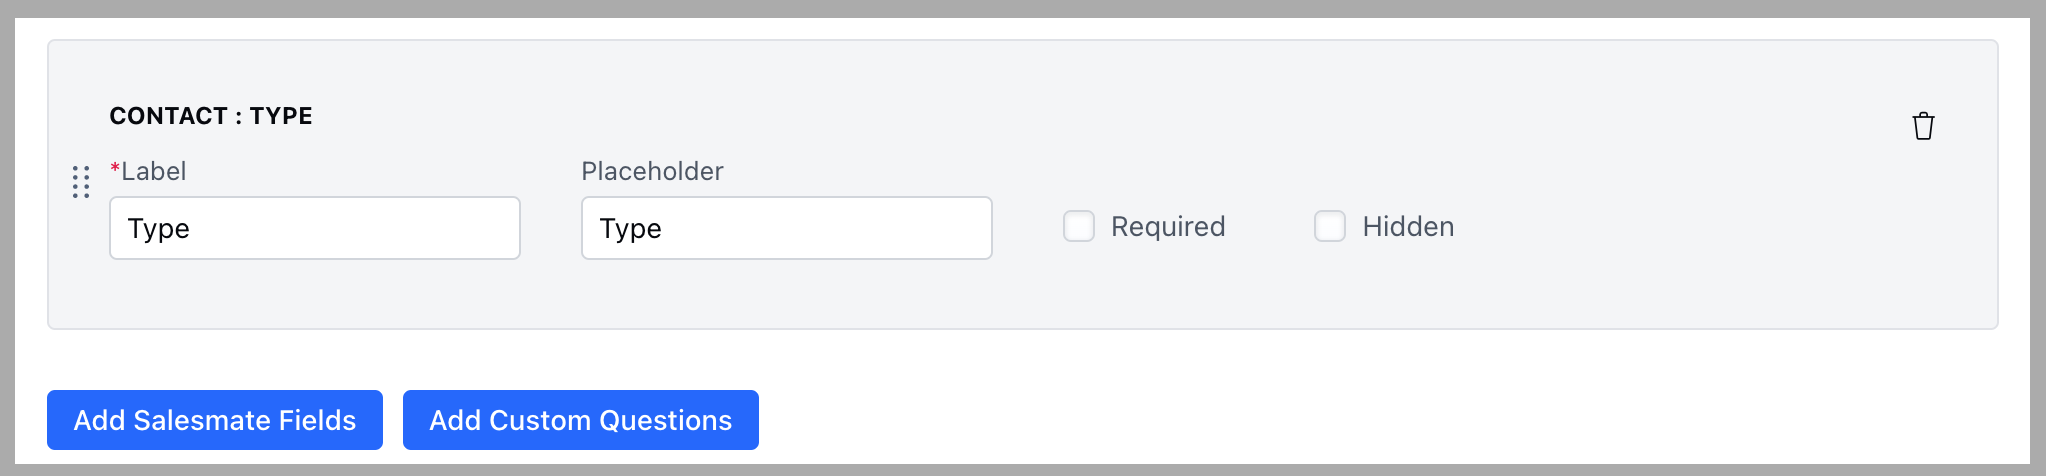
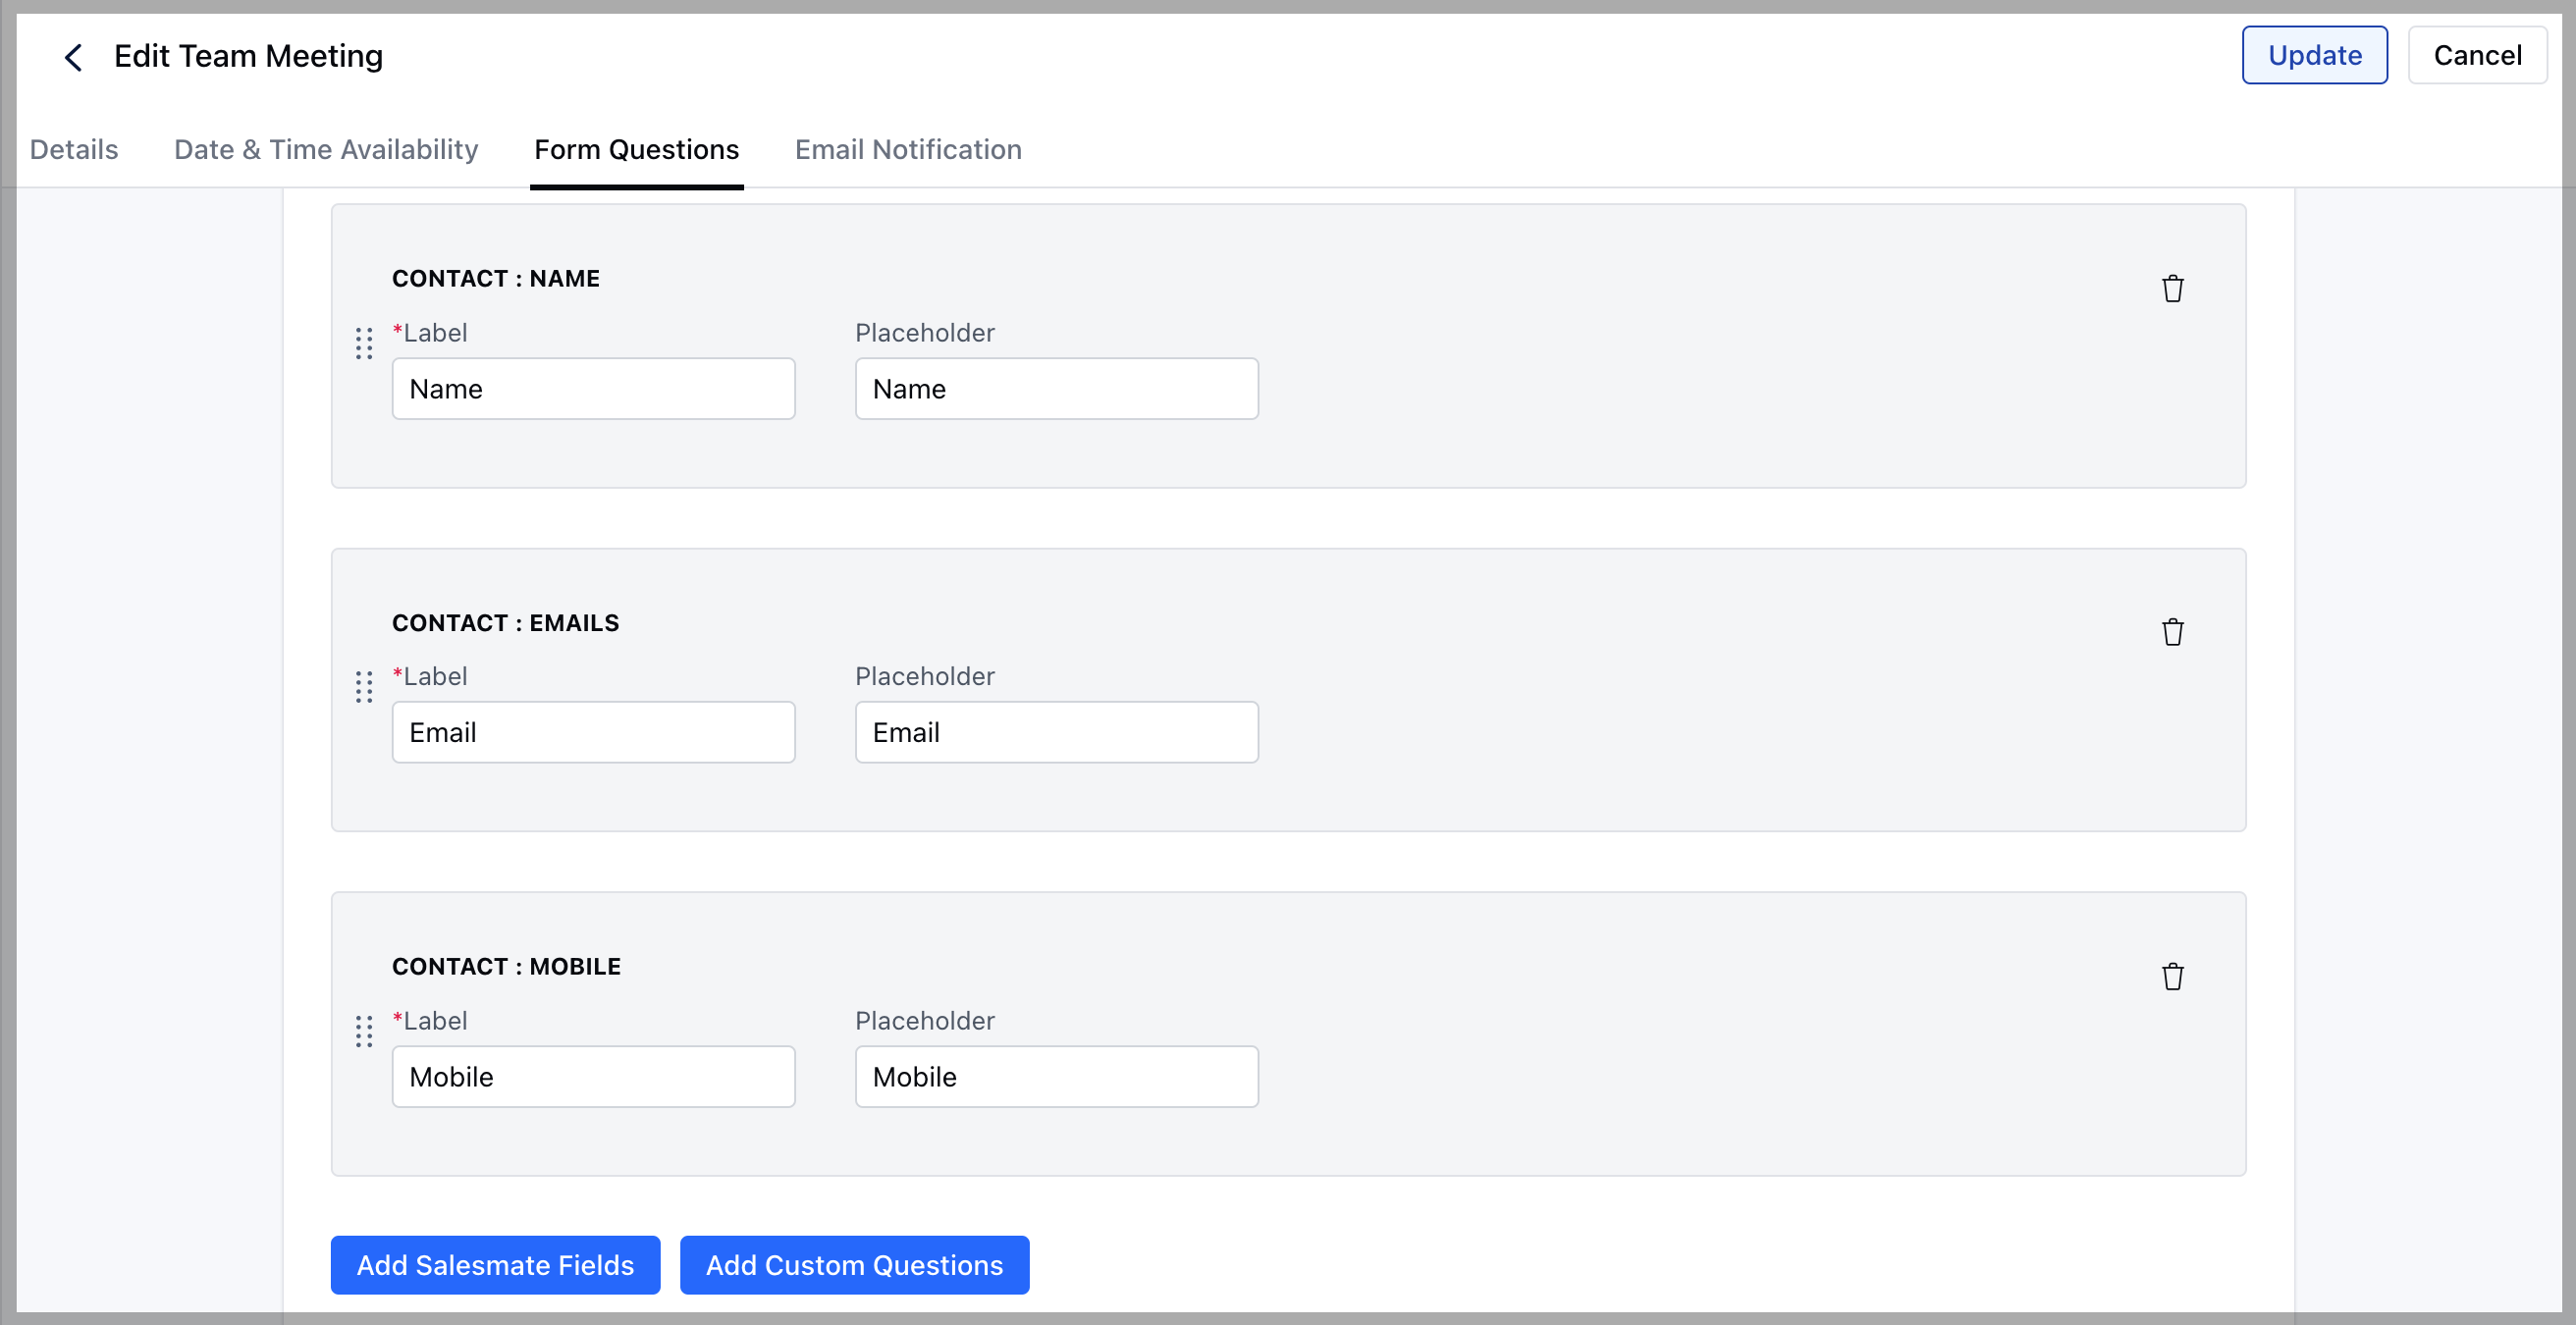 * **Click on “Add Salesmate Fields”** to add any existing fields from the Contact module
* *Example:* Description field to capture their requirements or purpose of the call.
* **Click on “Add Custom Questions”** to add new custom fields as questions that are not part of your account as fields but are relevant to the meeting question form.
* *Example:* Select type custom field as a question to let invitees choose their preference.
* **Click on “Add Salesmate Fields”** to add any existing fields from the Contact module
* *Example:* Description field to capture their requirements or purpose of the call.
* **Click on “Add Custom Questions”** to add new custom fields as questions that are not part of your account as fields but are relevant to the meeting question form.
* *Example:* Select type custom field as a question to let invitees choose their preference.
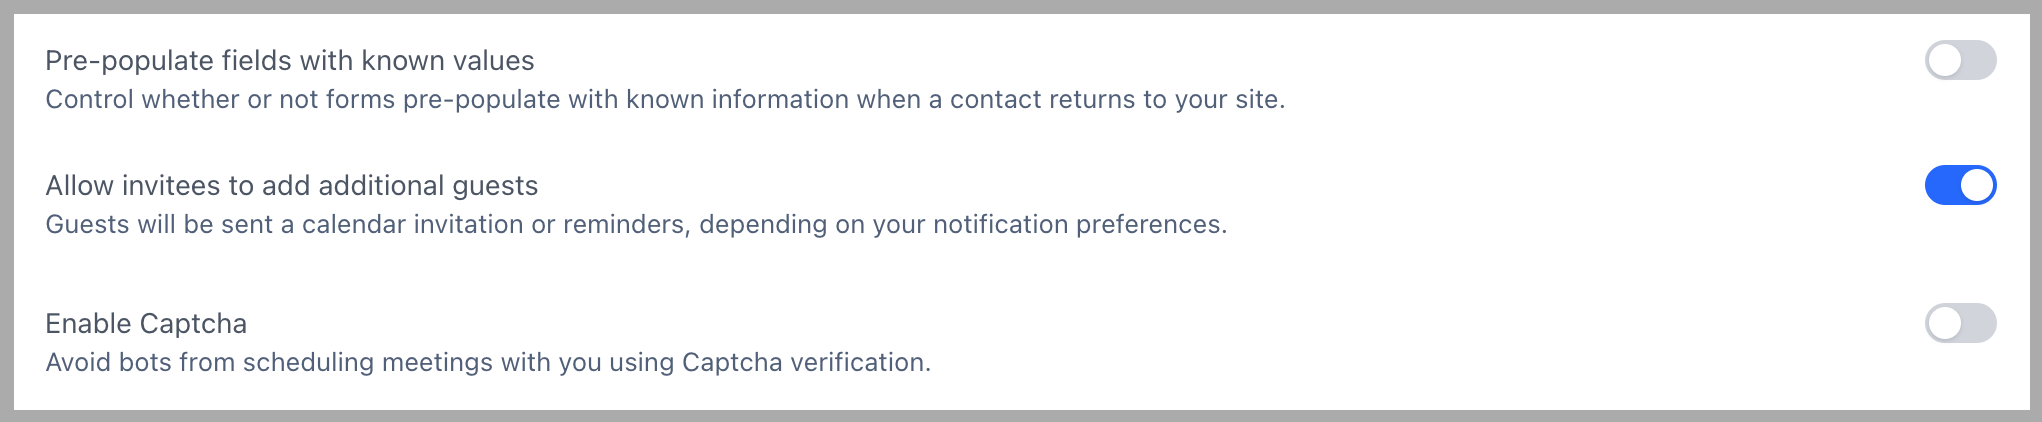
 * **Pre-populate fields with known values:** Enabling this will automatically fill the fields with the value stored in the browser.
* **Enable Captcha:** Enabling this will avoid bots from booking repeated calls.
* **Pre-populate fields with known values:** Enabling this will automatically fill the fields with the value stored in the browser.
* **Enable Captcha:** Enabling this will avoid bots from booking repeated calls.
 ***
### **Confirmation Options**
* Customize a meeting confirmation message on how you would like to notify the invitees on the scheduling page.
* You can choose whether to show a successful confirmation message to your customers or auto-redirect them to a website URL for the next steps.
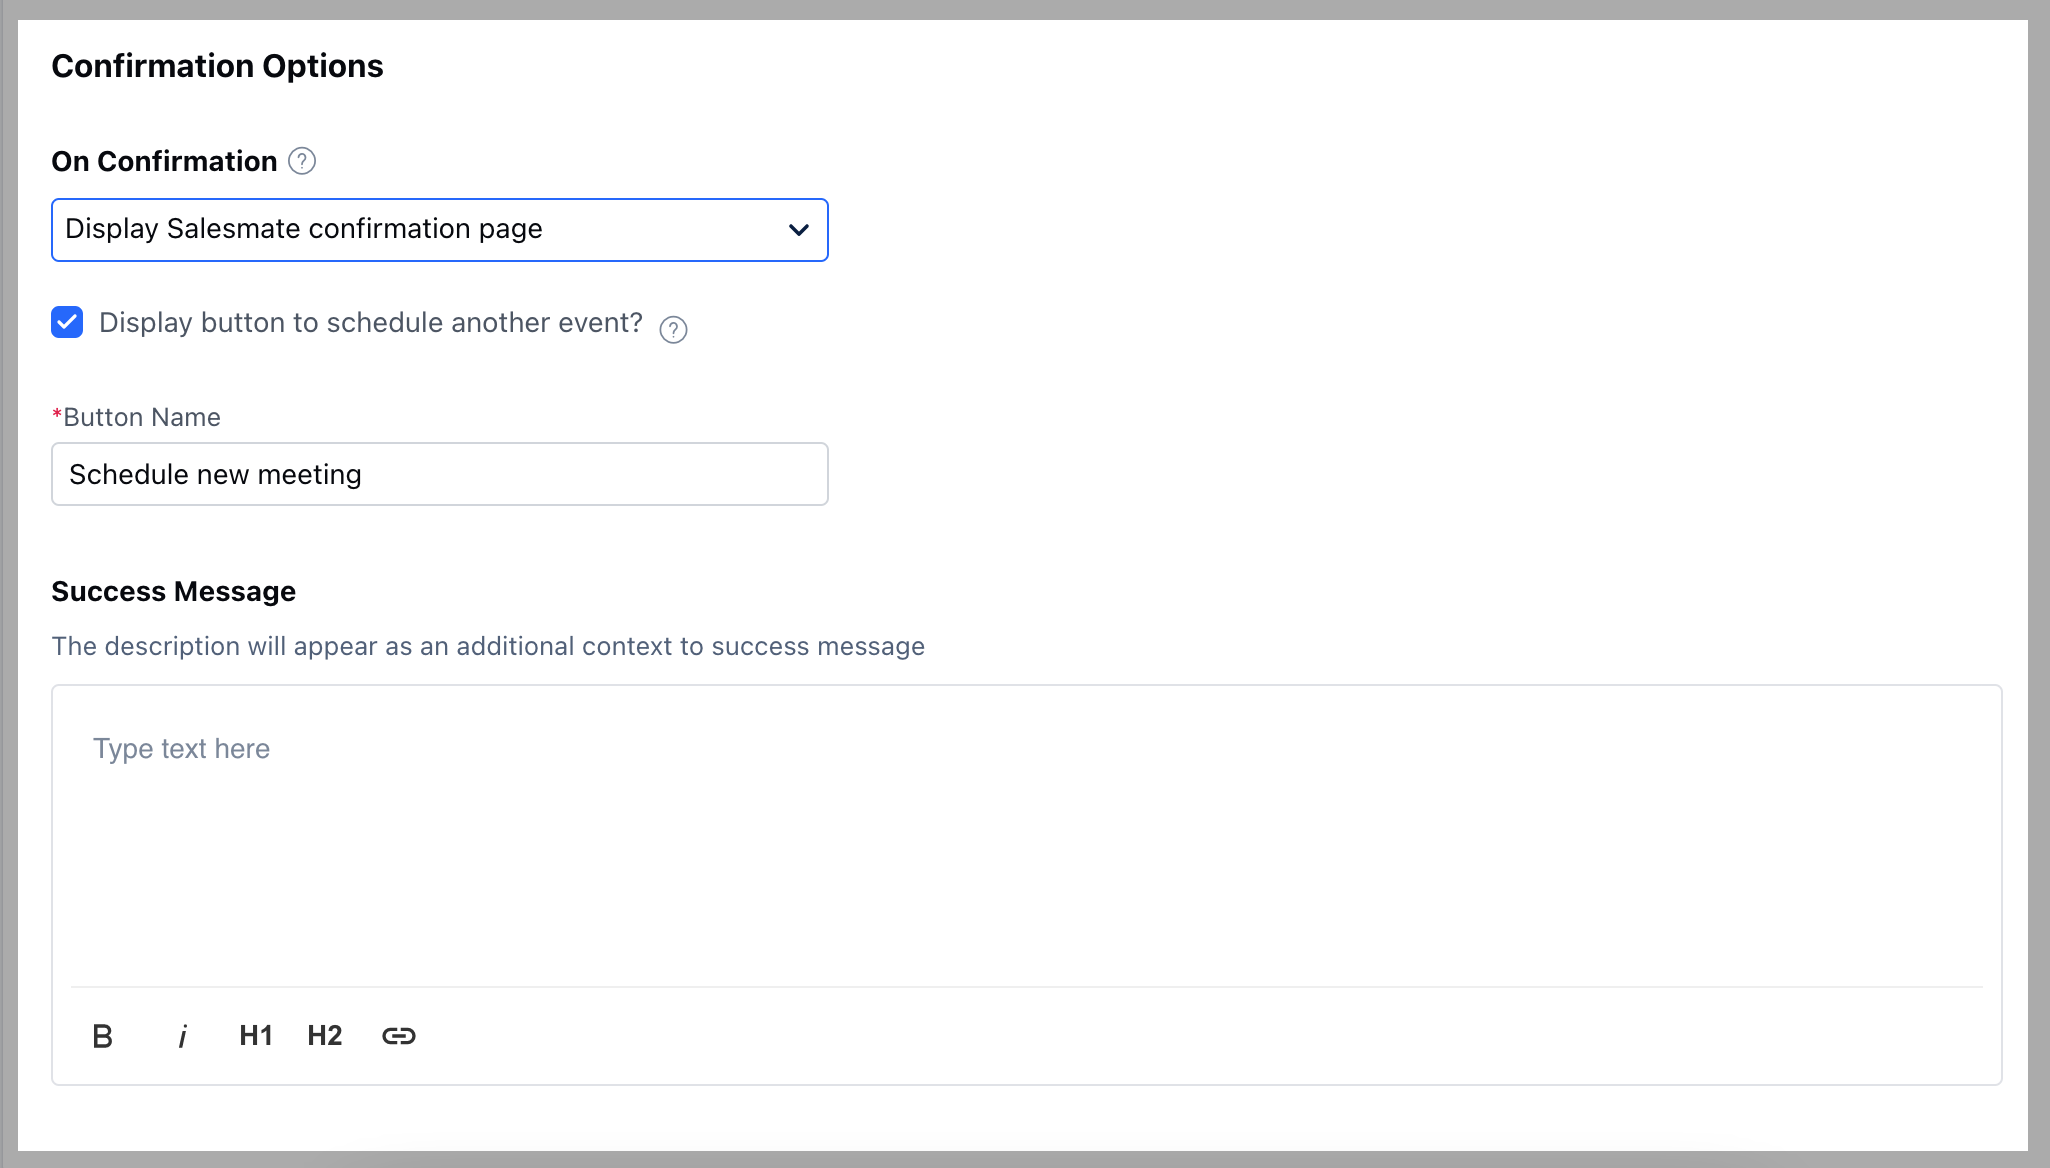
- **On Confirmation:**
* **Display Salesmate Confirmation Message:** Salesmate's default confirmation message will be shown.
* **Display button to schedule another event:** If selected, it will display a button to the invitee to book another call.
* **Button Name:** You can customize the button name. By default, it is shown as “Schedule Another Meeting.” You can rename it (e.g., “Schedule New Meeting”).
* **Success Message:** You can include an additional message above the default message to make it look more personalized.
*Example:* “Your meeting is booked with \{Organization Name}.”
***
### **Confirmation Options**
* Customize a meeting confirmation message on how you would like to notify the invitees on the scheduling page.
* You can choose whether to show a successful confirmation message to your customers or auto-redirect them to a website URL for the next steps.
- **On Confirmation:**
* **Display Salesmate Confirmation Message:** Salesmate's default confirmation message will be shown.
* **Display button to schedule another event:** If selected, it will display a button to the invitee to book another call.
* **Button Name:** You can customize the button name. By default, it is shown as “Schedule Another Meeting.” You can rename it (e.g., “Schedule New Meeting”).
* **Success Message:** You can include an additional message above the default message to make it look more personalized.
*Example:* “Your meeting is booked with \{Organization Name}.”
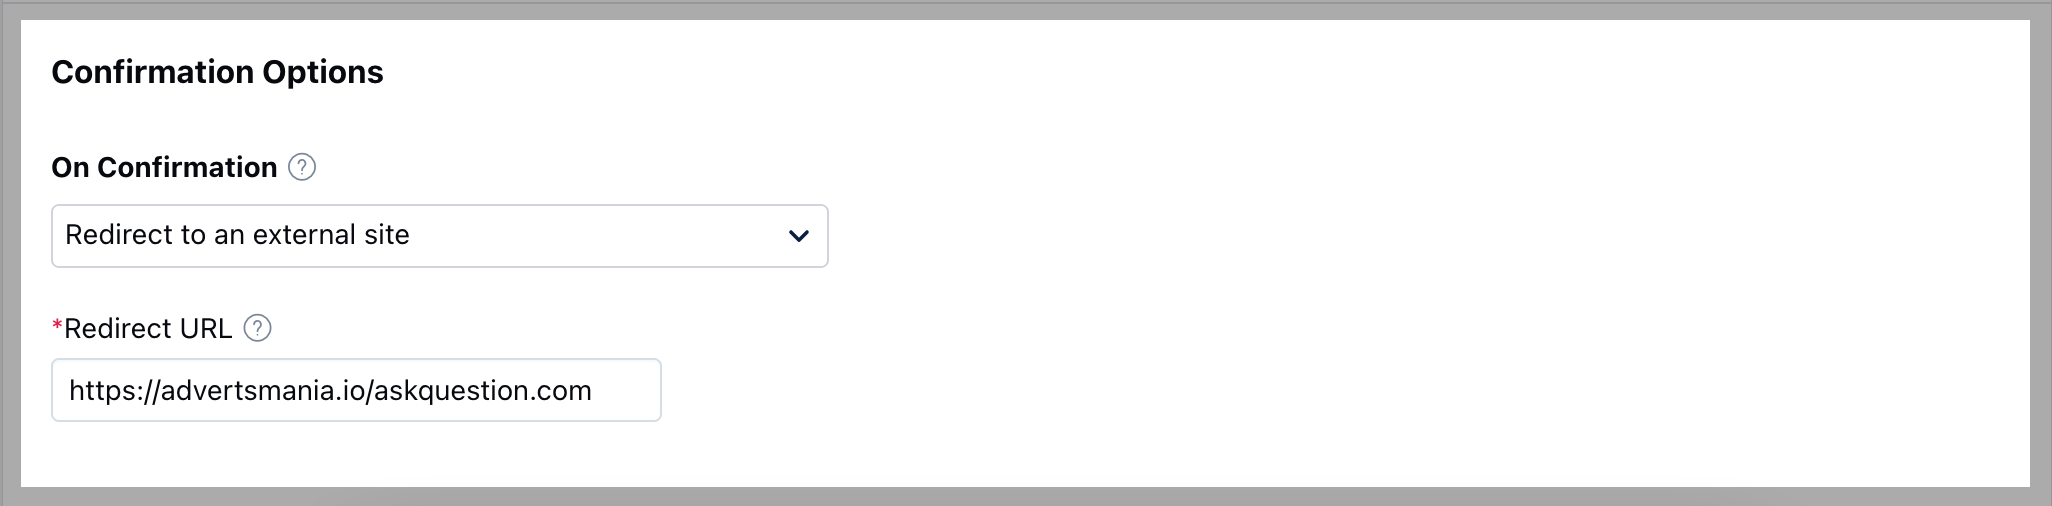
 * **If the user chooses “Redirect to an external site” for On Confirmation**, they will be asked to provide the URL to which the invitee should be redirected after the booking.
 Once this has been personalized, proceed with the final settings under [Email Notifications](https://support.salesmate.io/hc/en-us/articles/4405400597133).