Note: You’ll need permission to manage the Unified Inbox to configure AI Pilot settings.Topics Covered:
Steps to Configure AI Pilot Settings
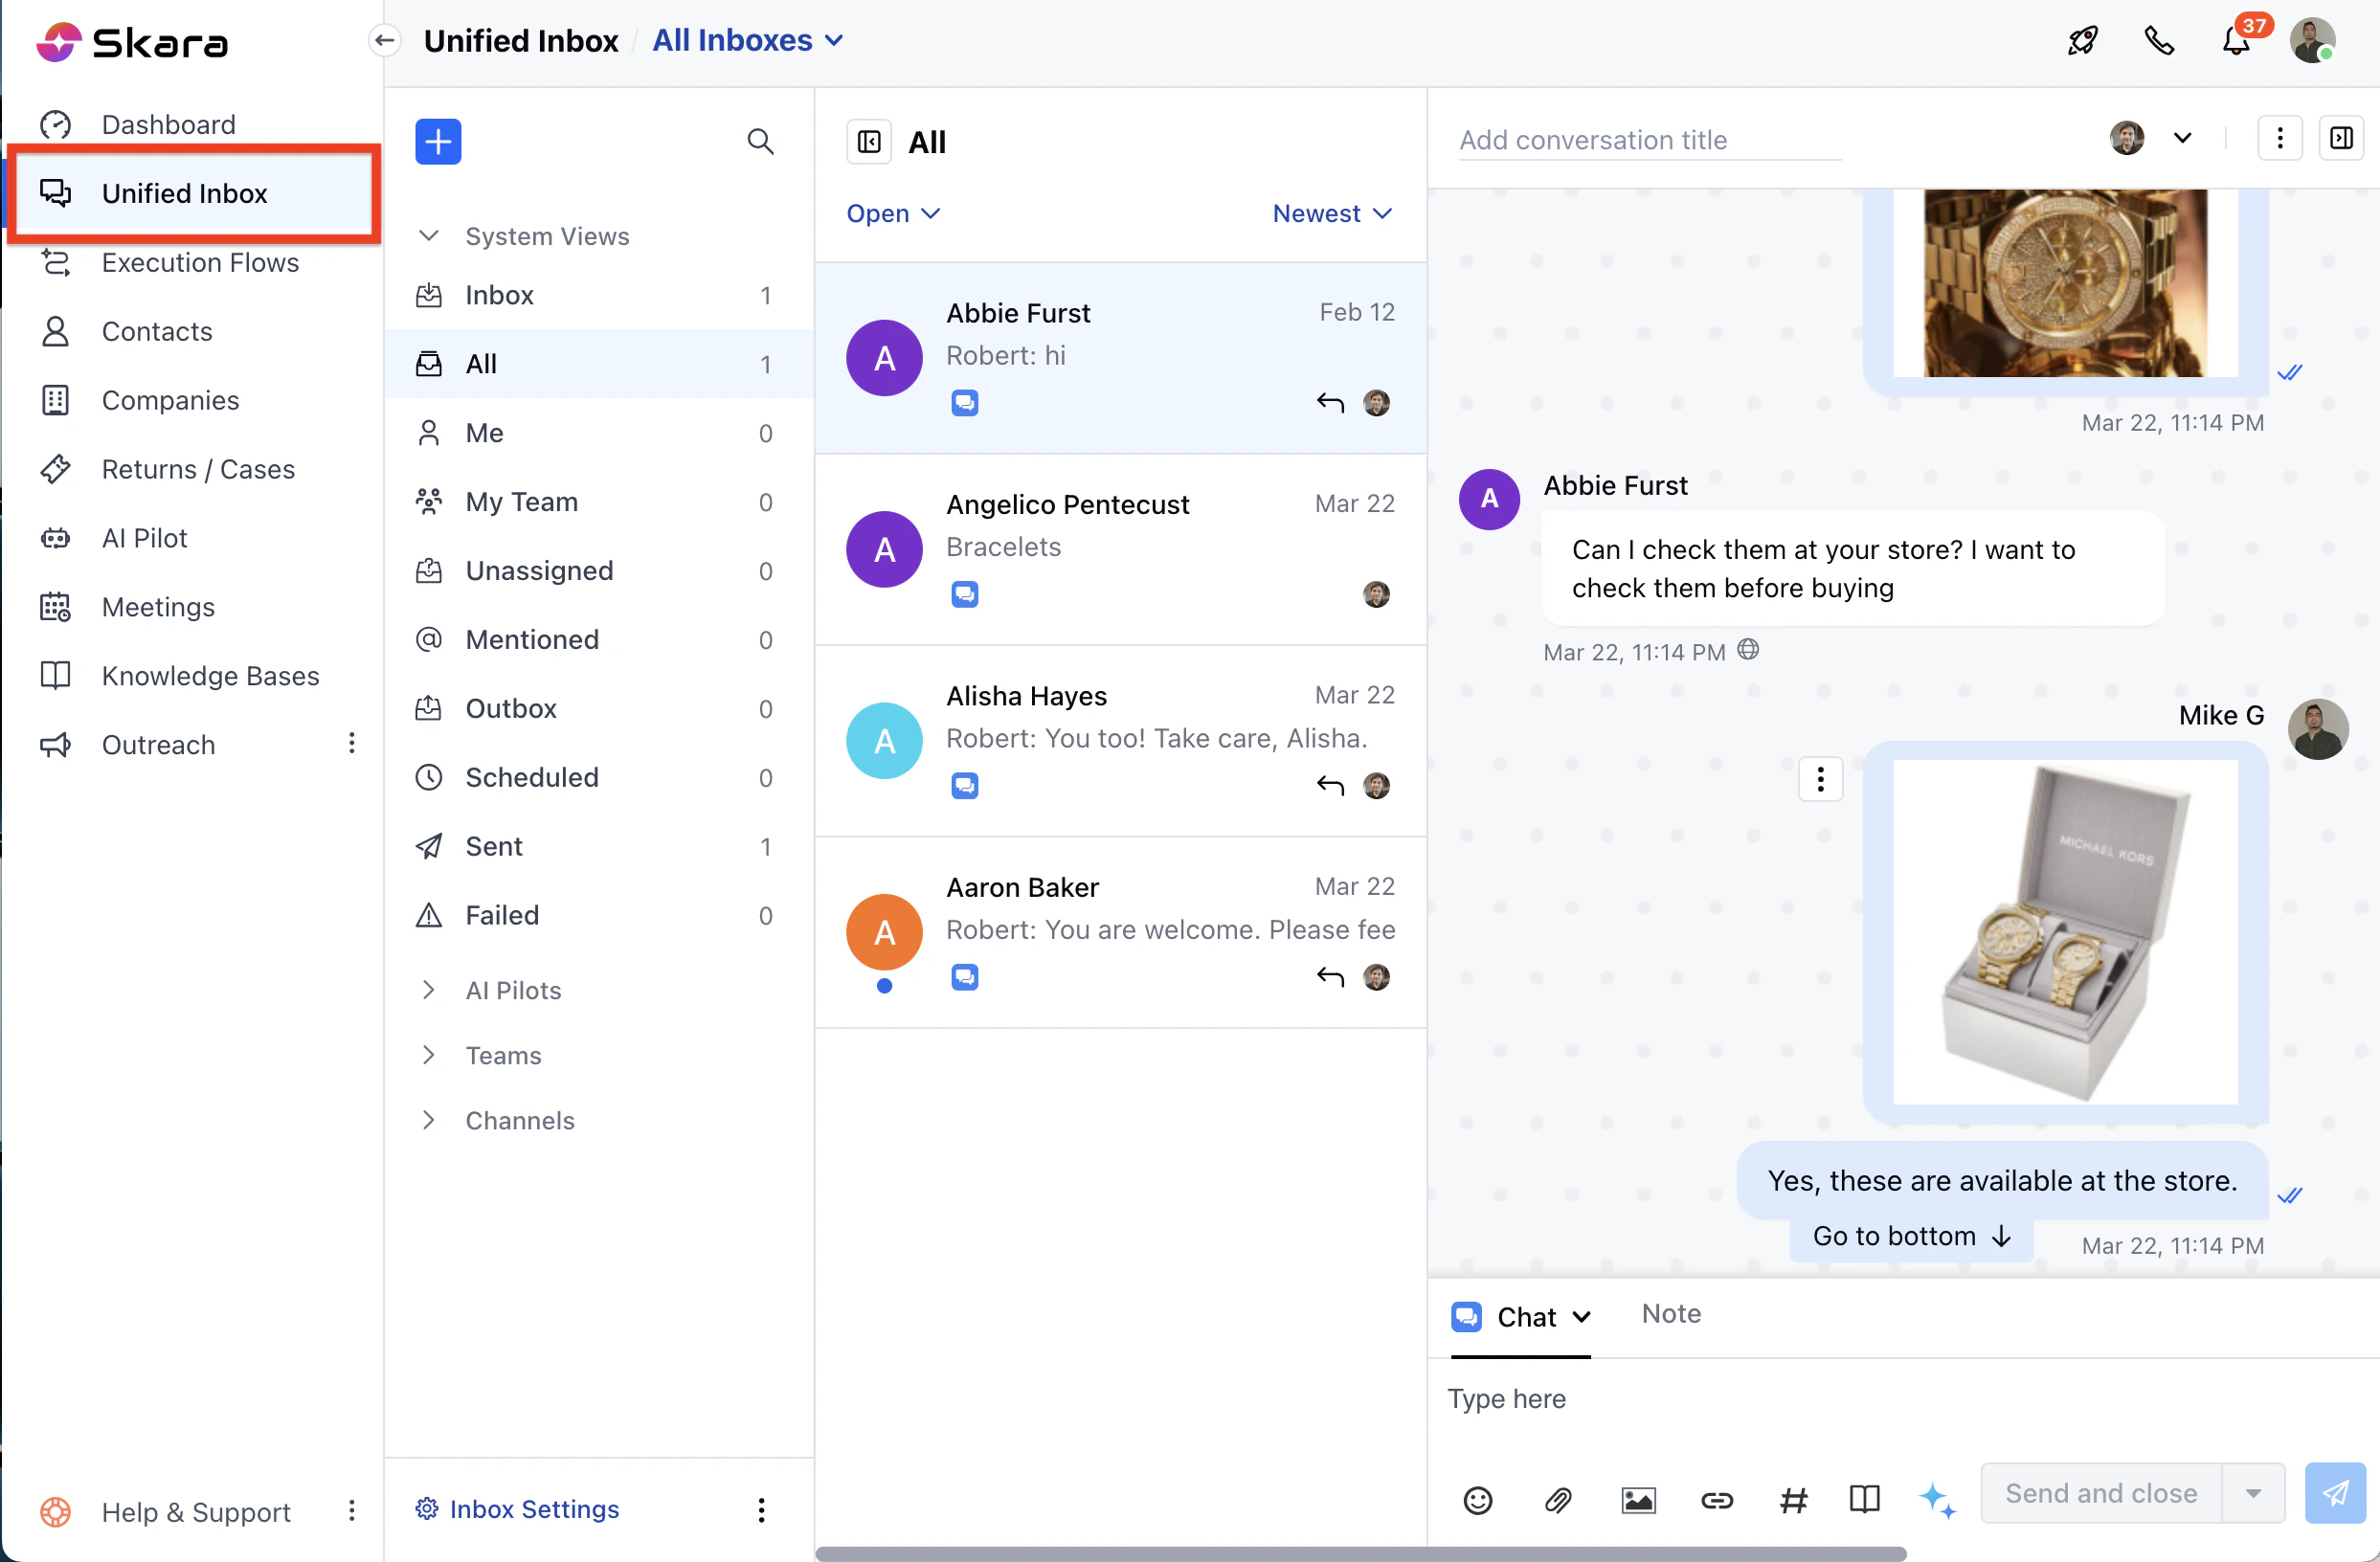
- Navigate to the Unified Inbox from the left sidebar.
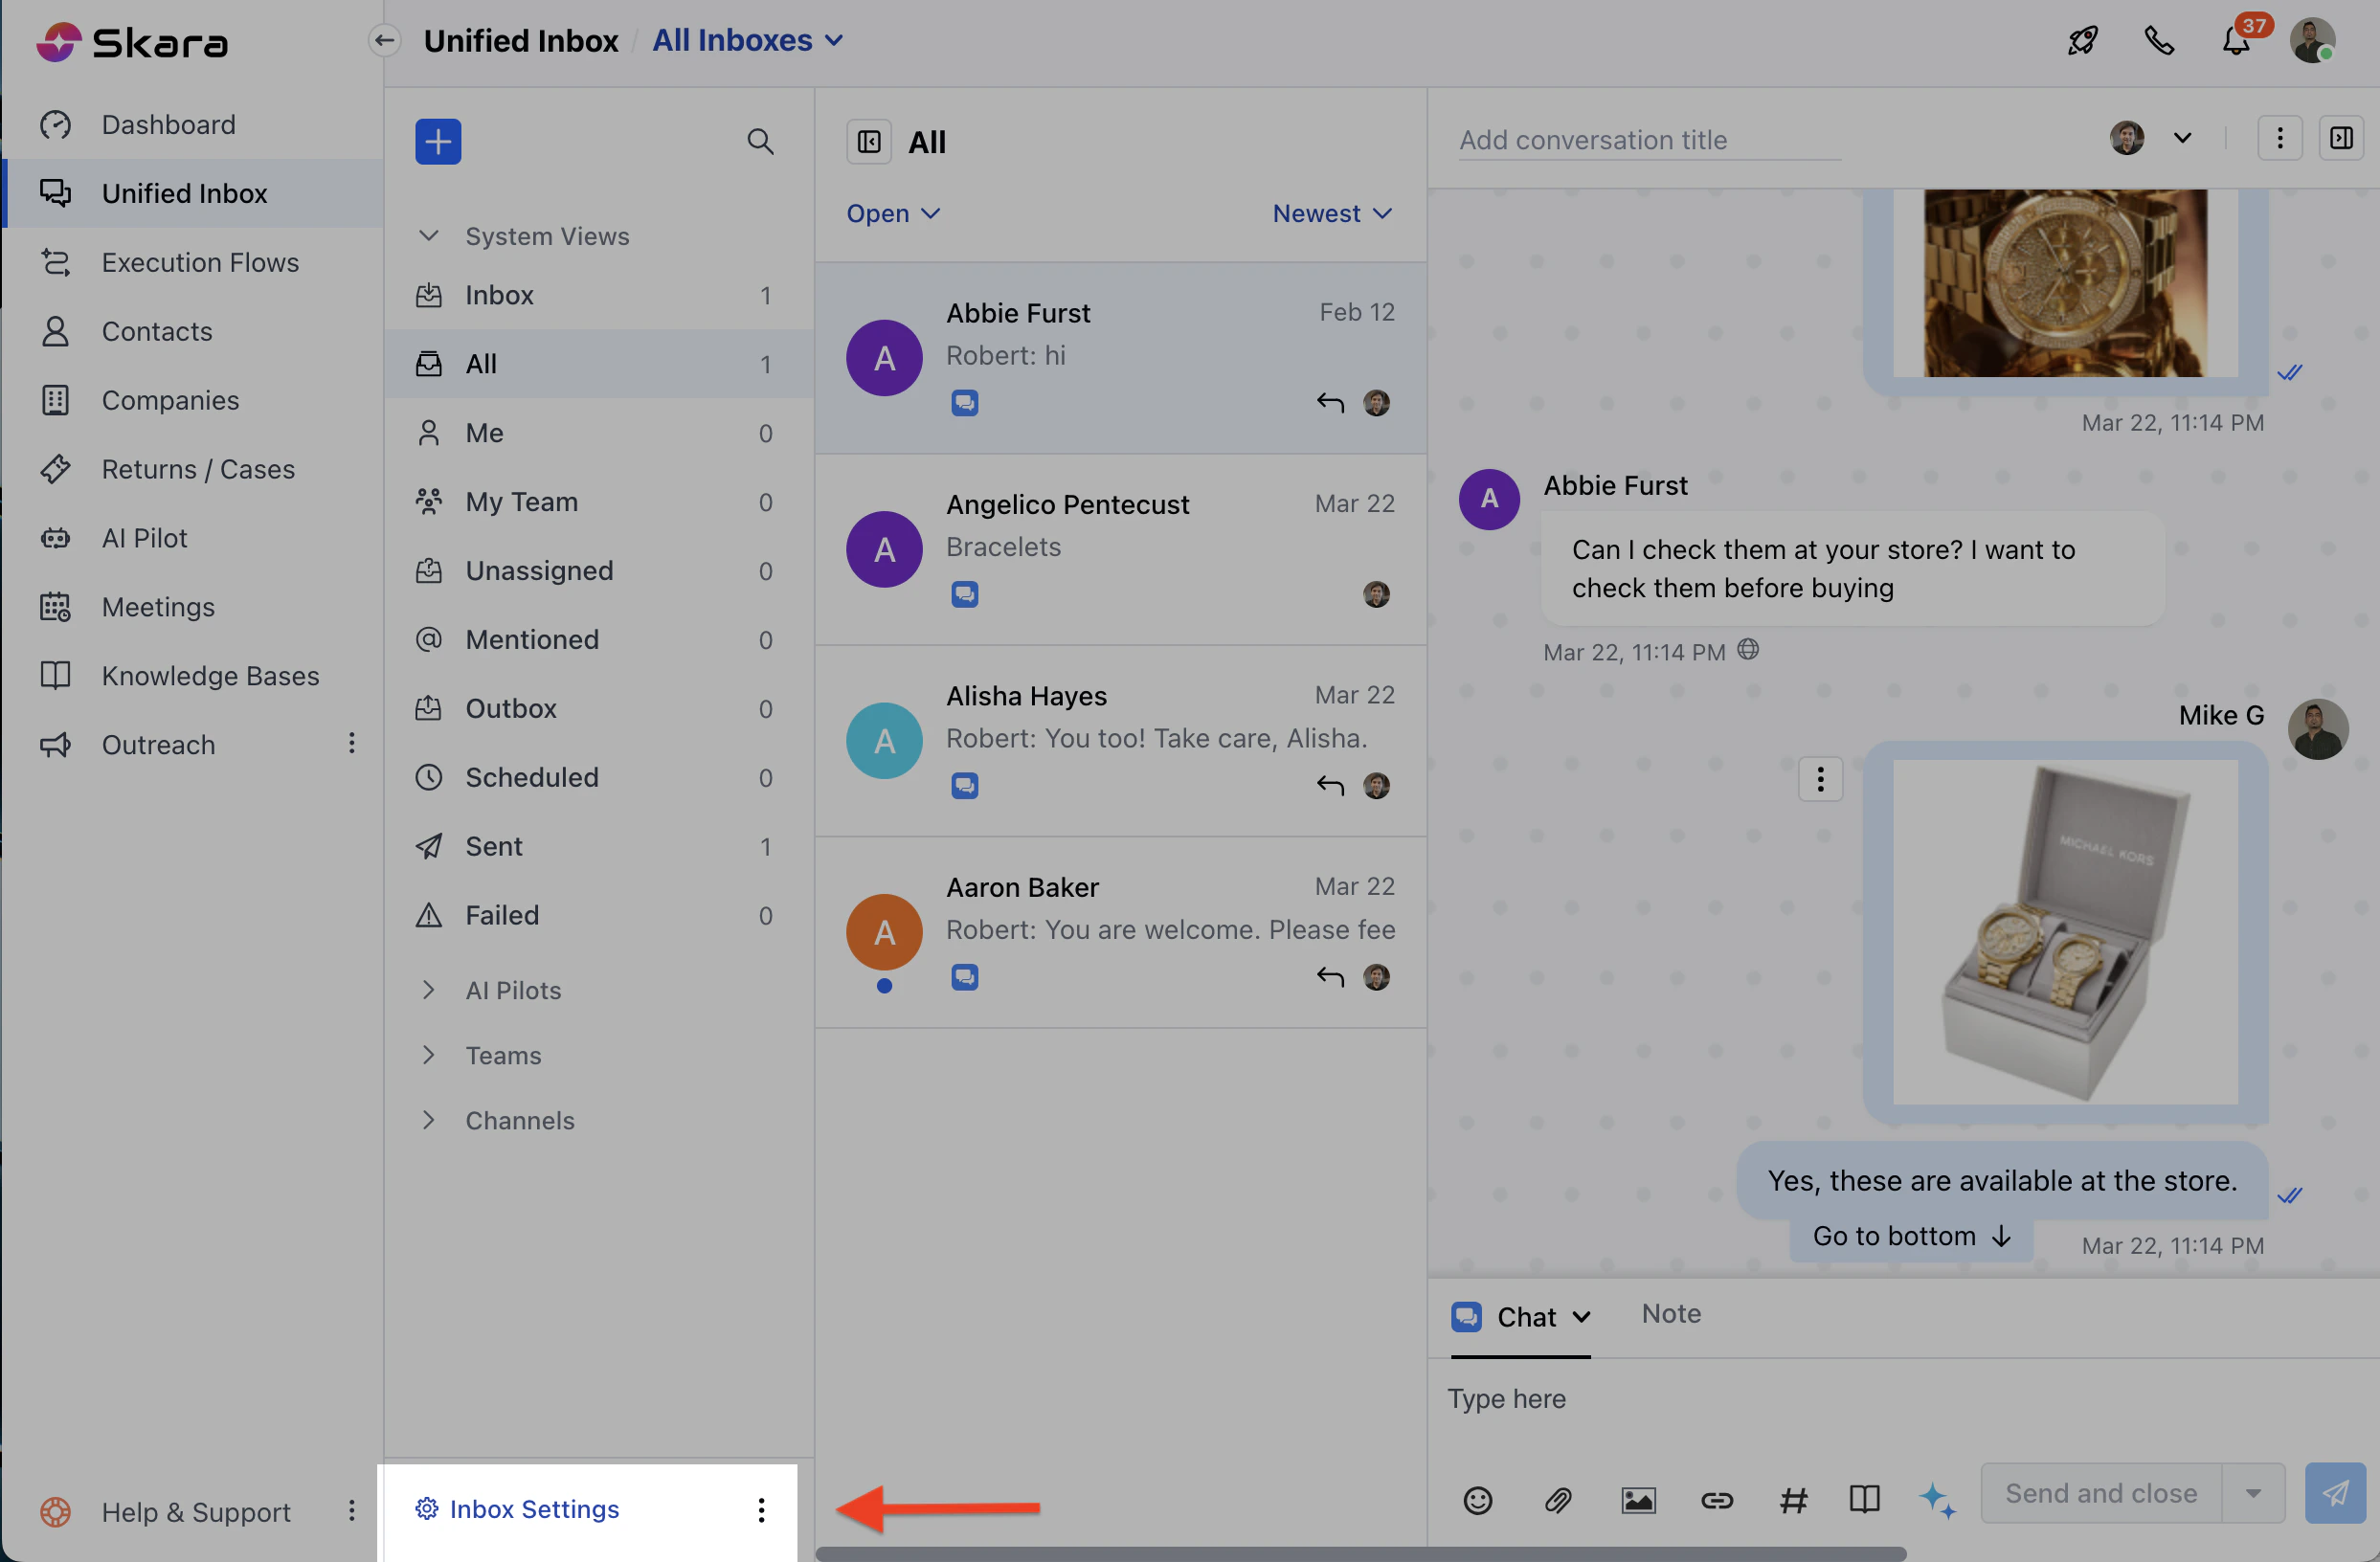
- Click Unified Inbox Settings , then select AI Pilot Settings.
- Choose the workspace from the header where you want to add your AI Pilot.
- If no AI Pilots exist, click Build Your AI Pilot Today to open the quick creation form.
Configure AI Pilot Settings
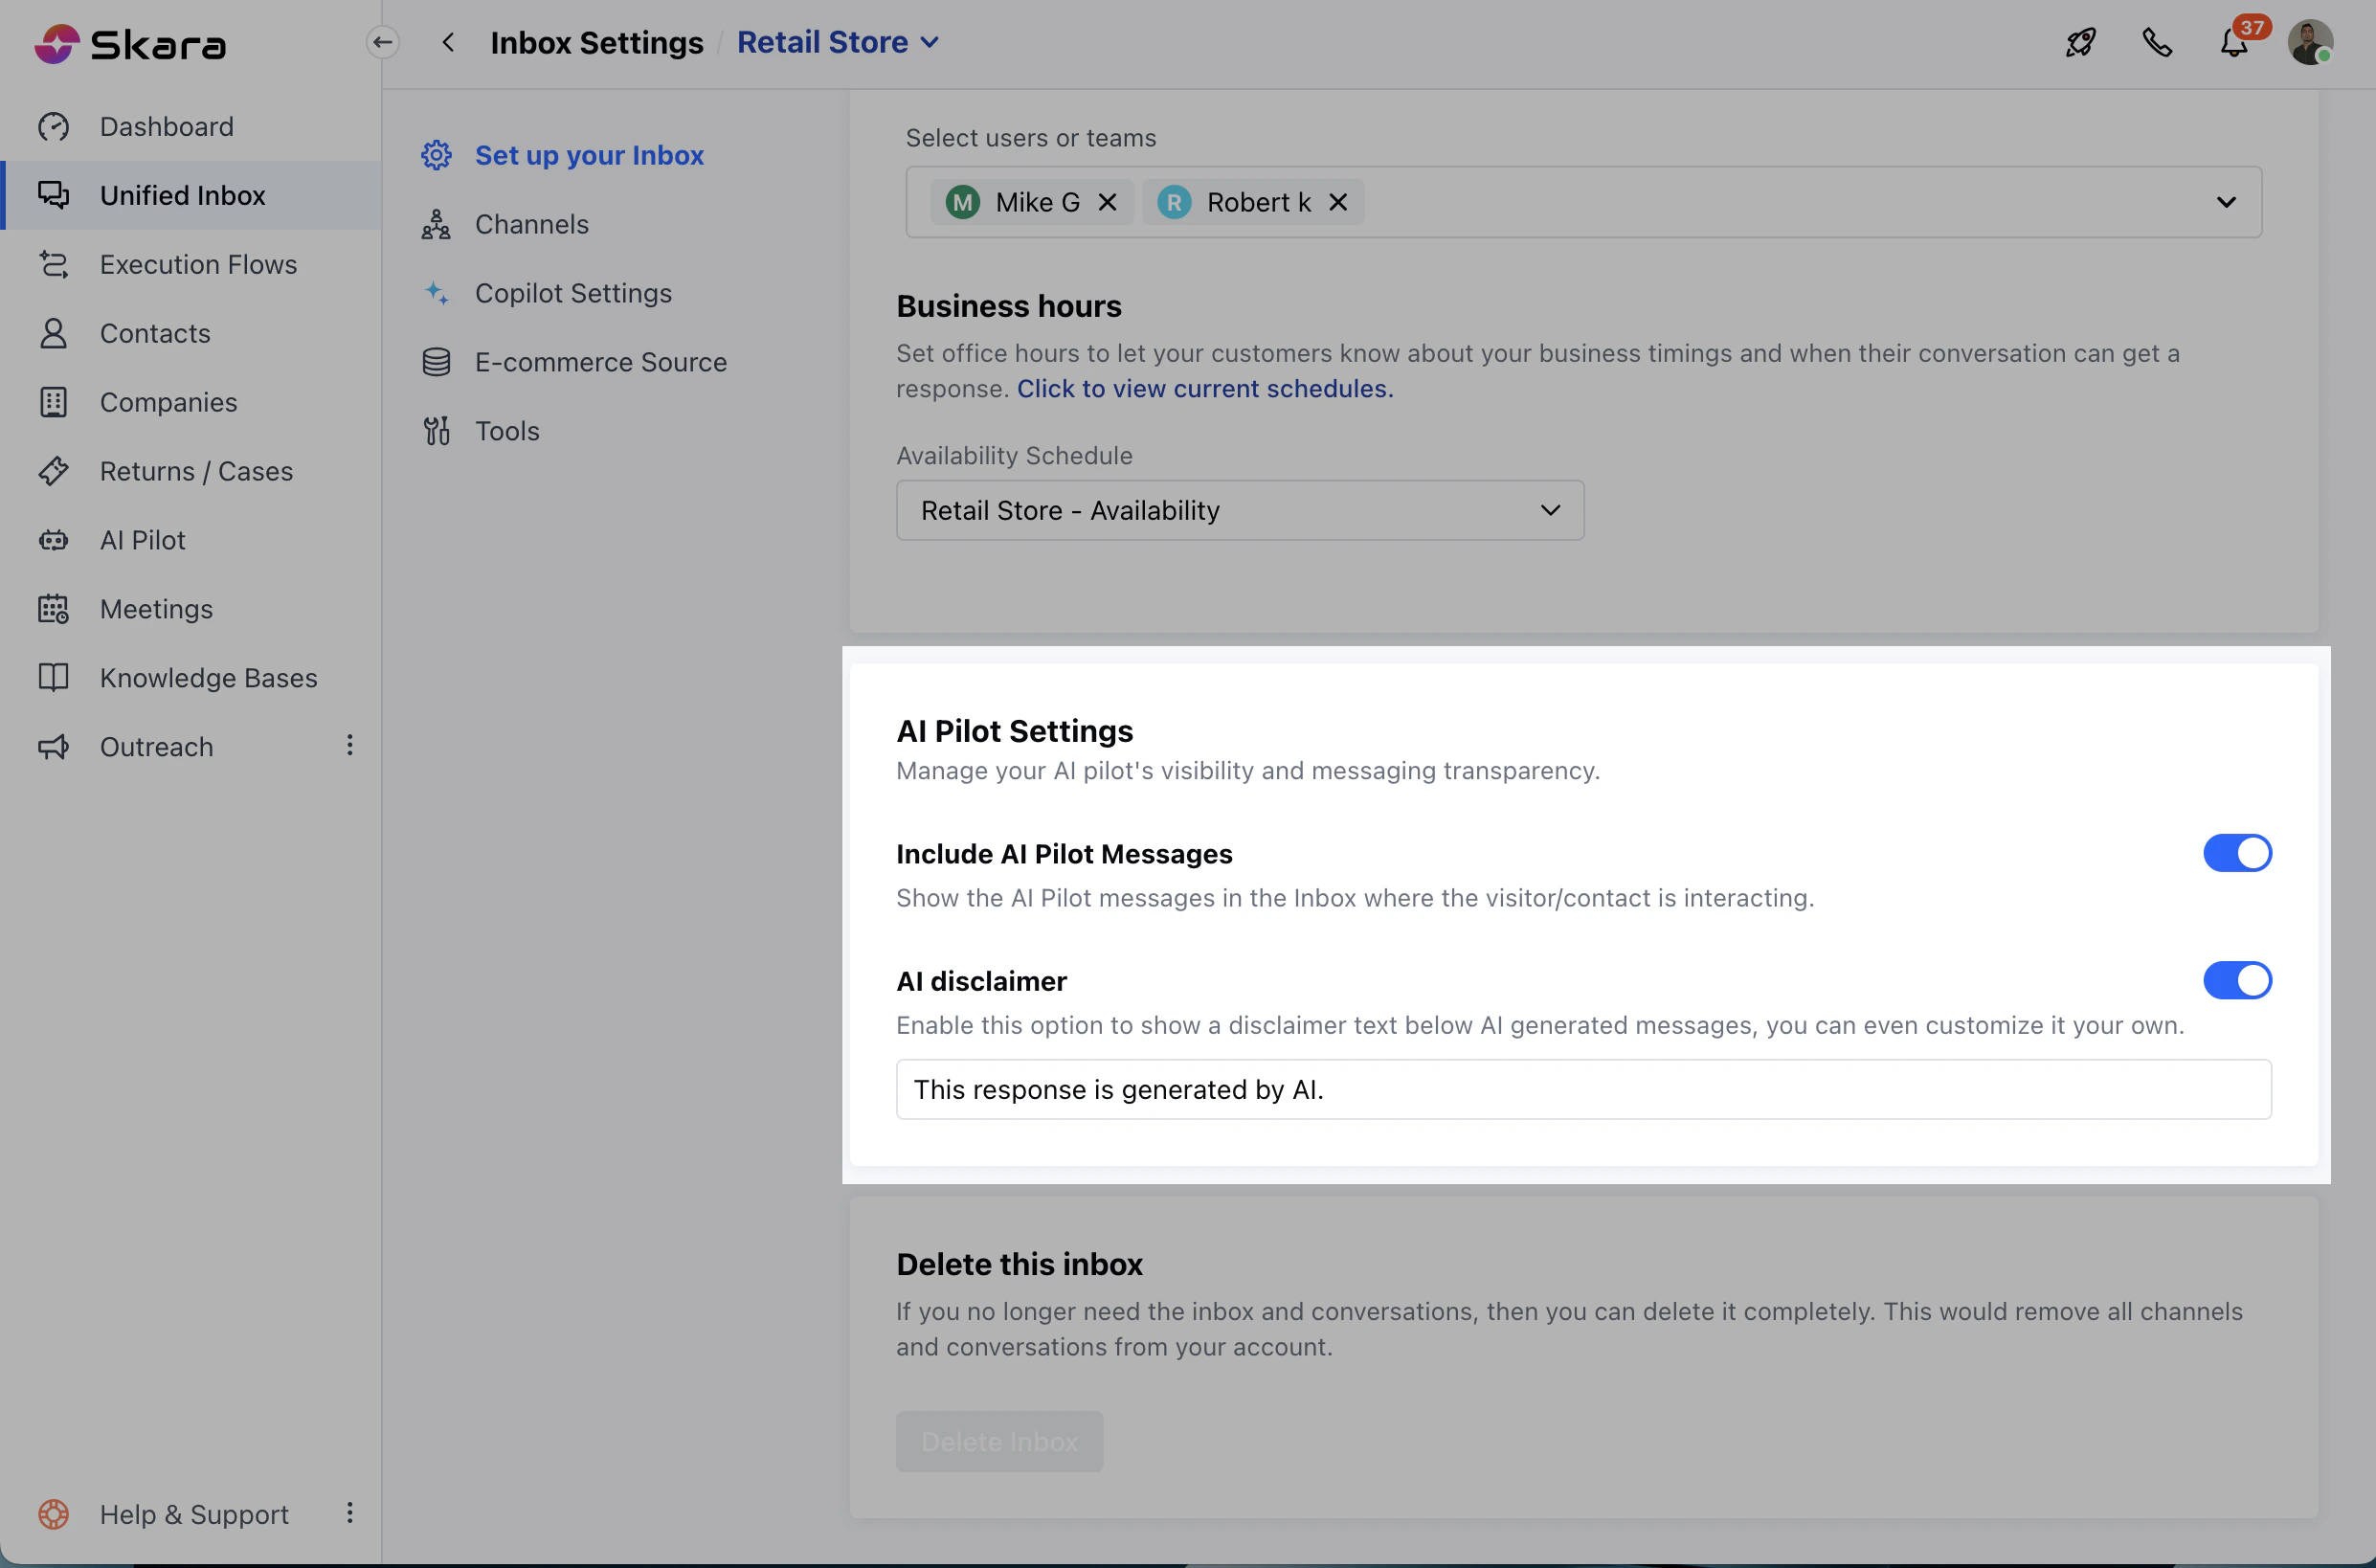
Here’s what you can set up for your AI Pilot:- AI Pilot: Select an AI Pilot to handle customer Unified Inbox. Only one AI Pilot can be active per workspace
- Include AI Pilot Messages: Turn on to show AI Pilot messages in the inbox. By default, it is turned off.
- AI Pilot Narrator: You can turn on to have the system read AI Pilot or Agent messages aloud to recipients.
- AI Disclaimer:
- Turn on to add a disclaimer to AI-generated responses. By default, it will show the text: “This response is generated by AI.”
- You can customize the disclaimer (max 50 characters).
- Save: Click Save to store your settings without activating them. All required fields must be valid.
- Apply: Click Apply to activate the settings for the selected workspace. If the AI Pilot has no published flows, it won’t work.
- Auto-Save: Changes auto-save every 60 seconds. You’ll see “Auto-saving content changes.”