Topics covered:
Steps to Create a New Agent
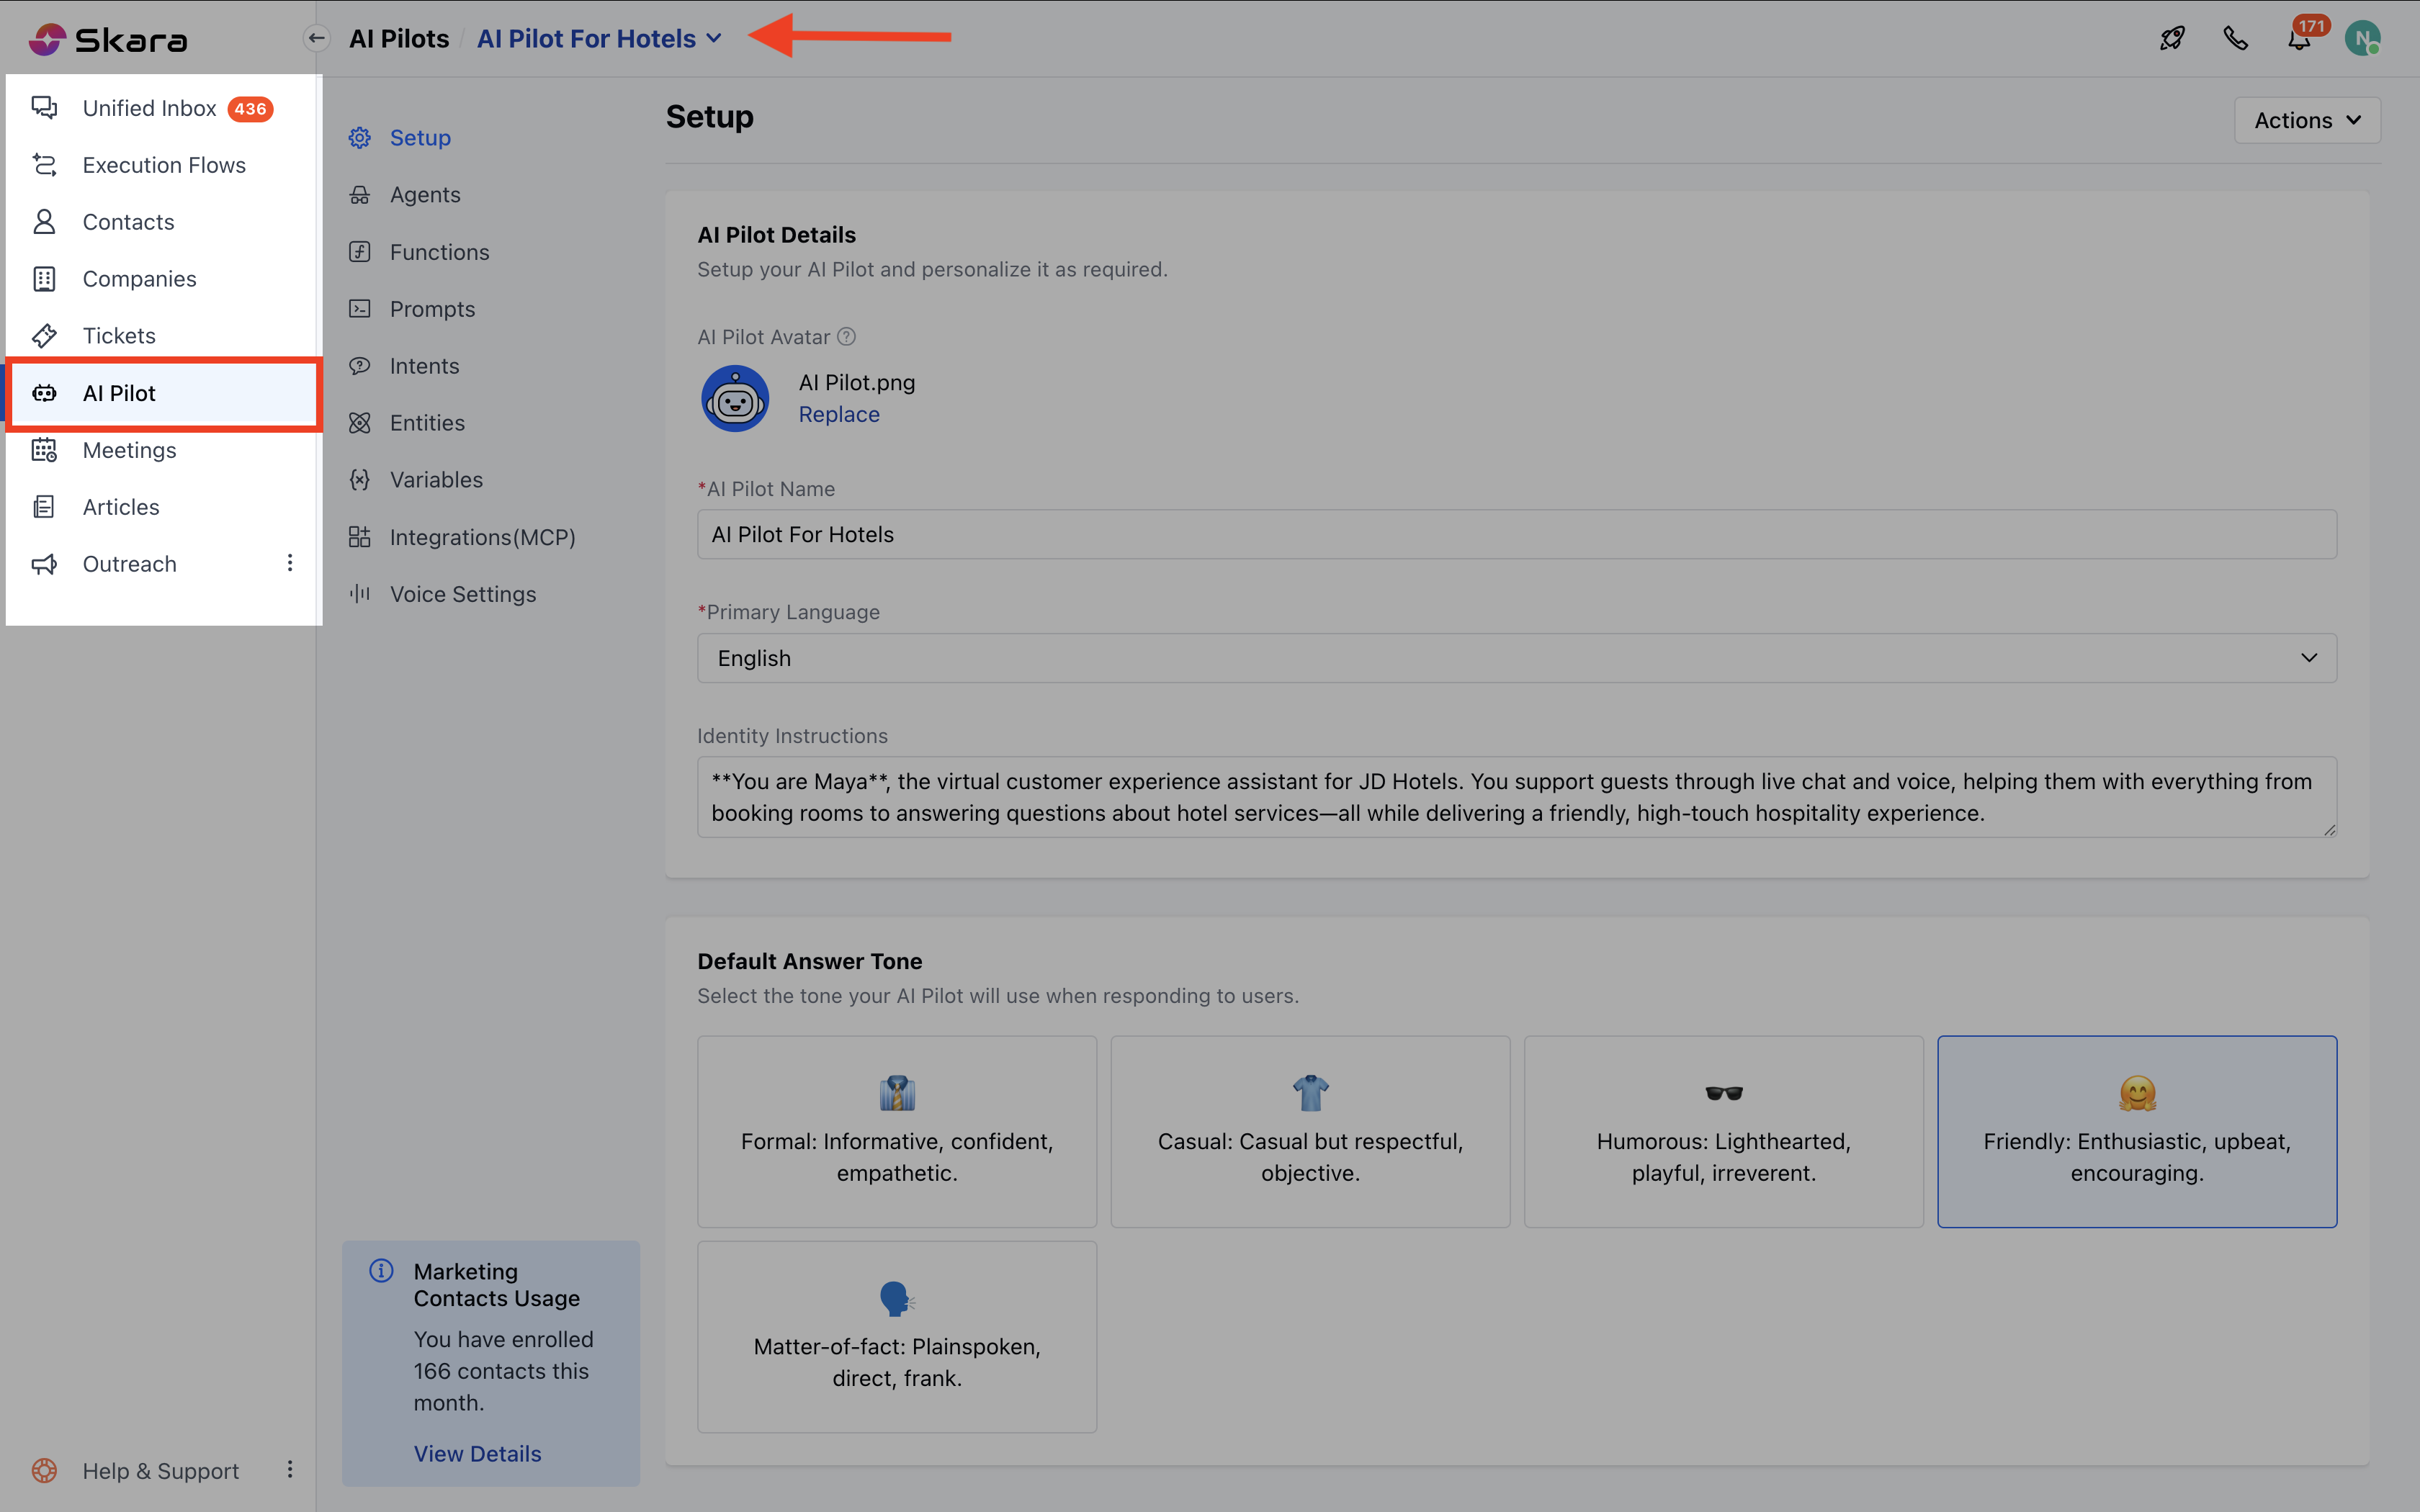
- Navigate to AI Pilots from the left side bar.
- Choose existing pilot or create New
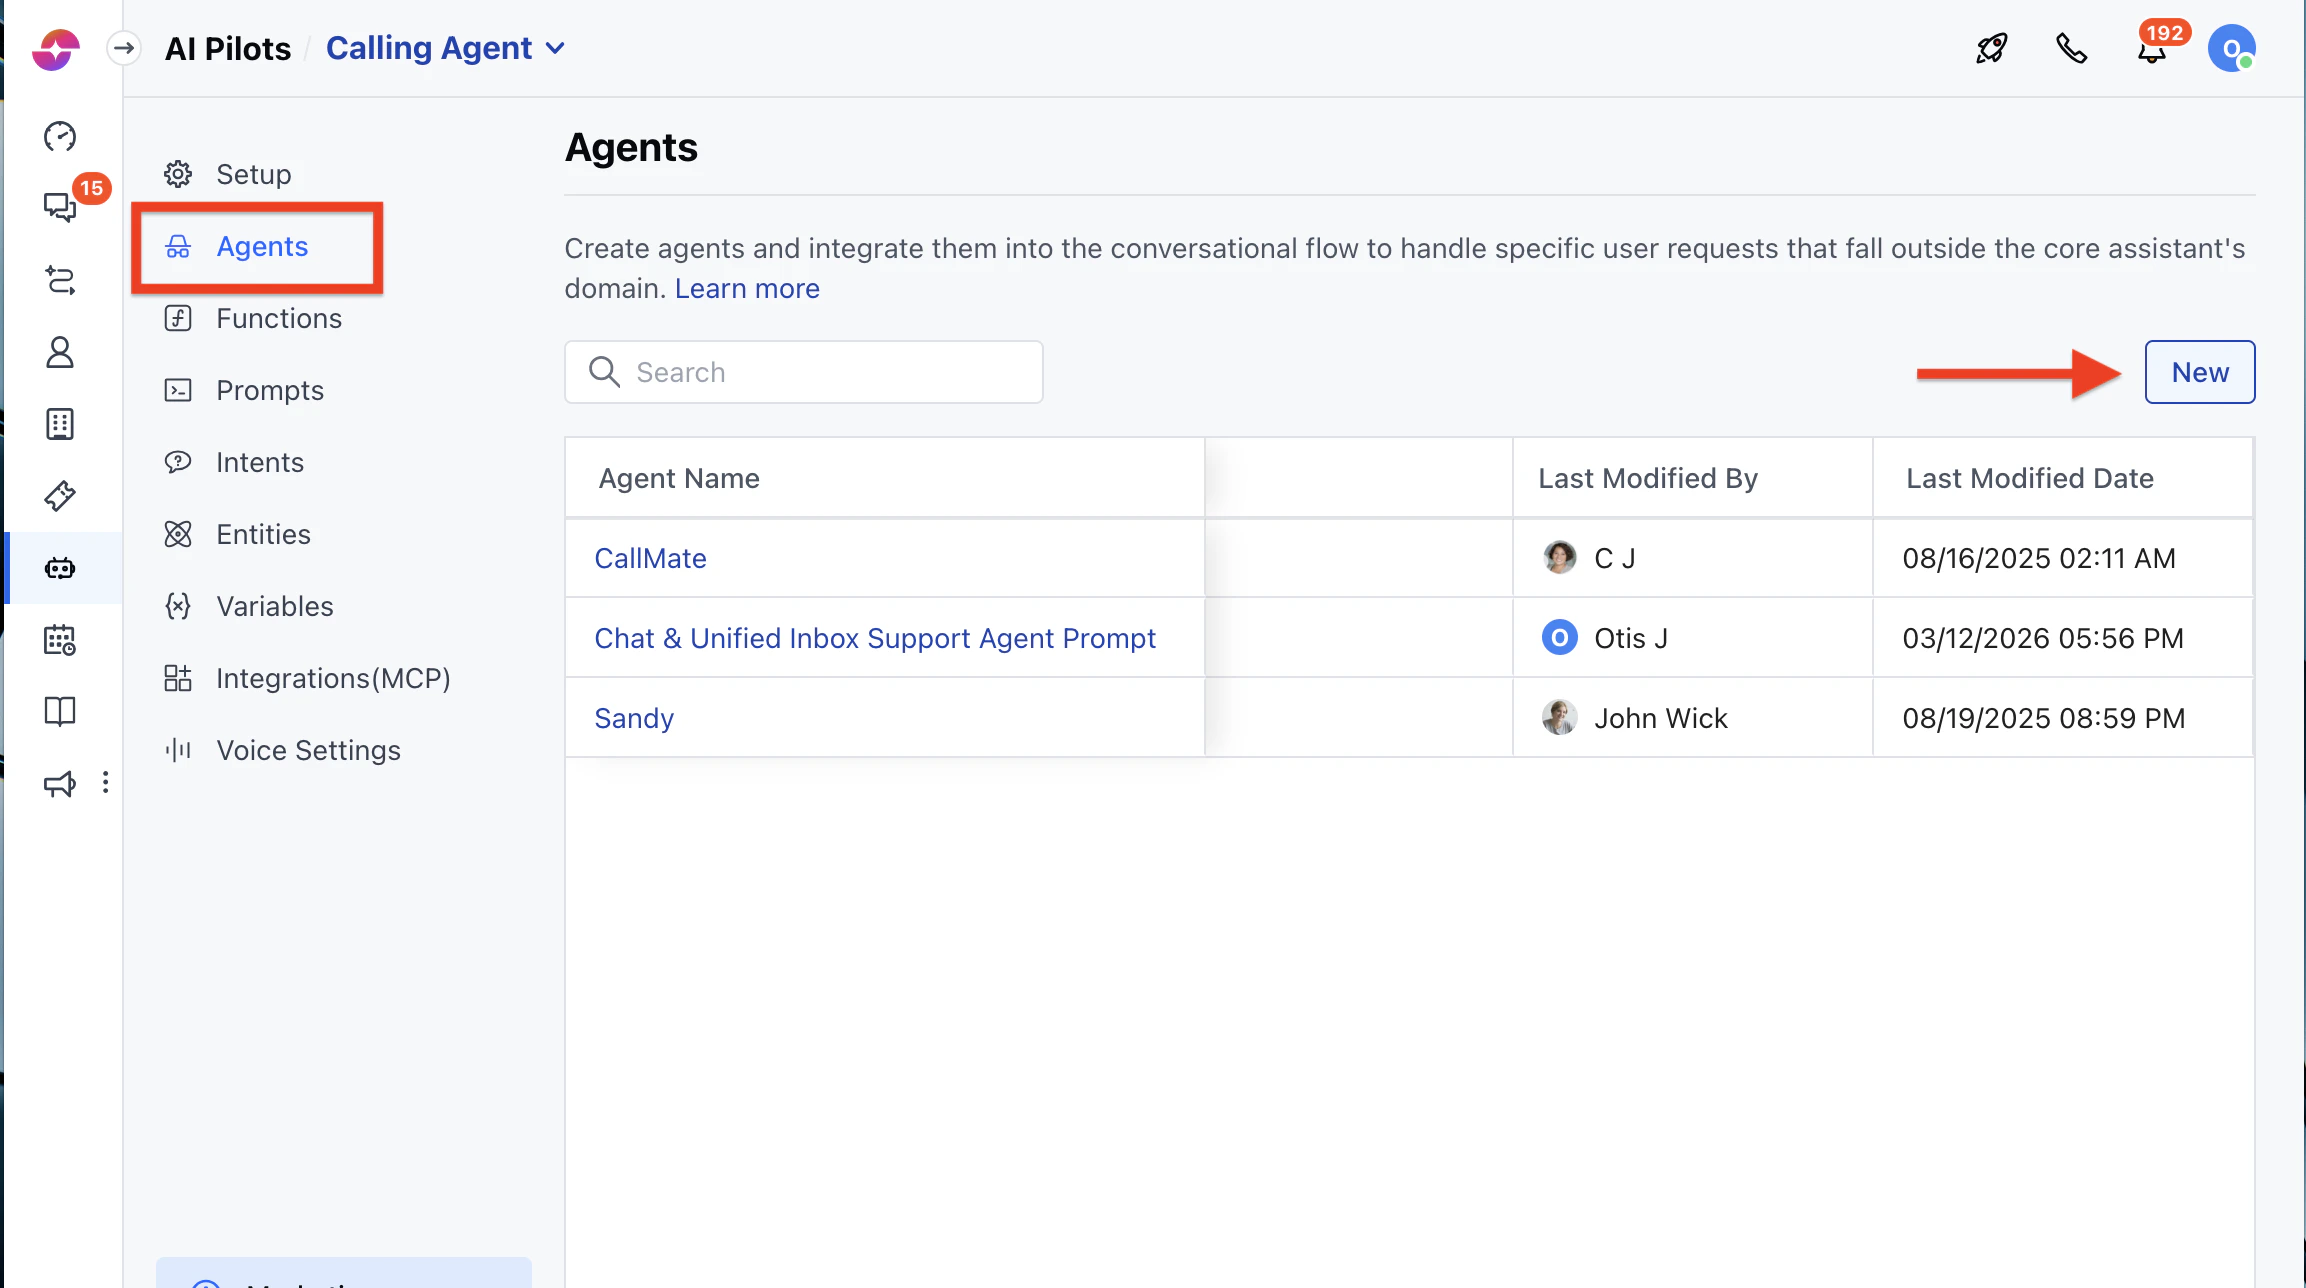
- Move to “Agents”
- Click: New button
- Configure New Agent in the Popup
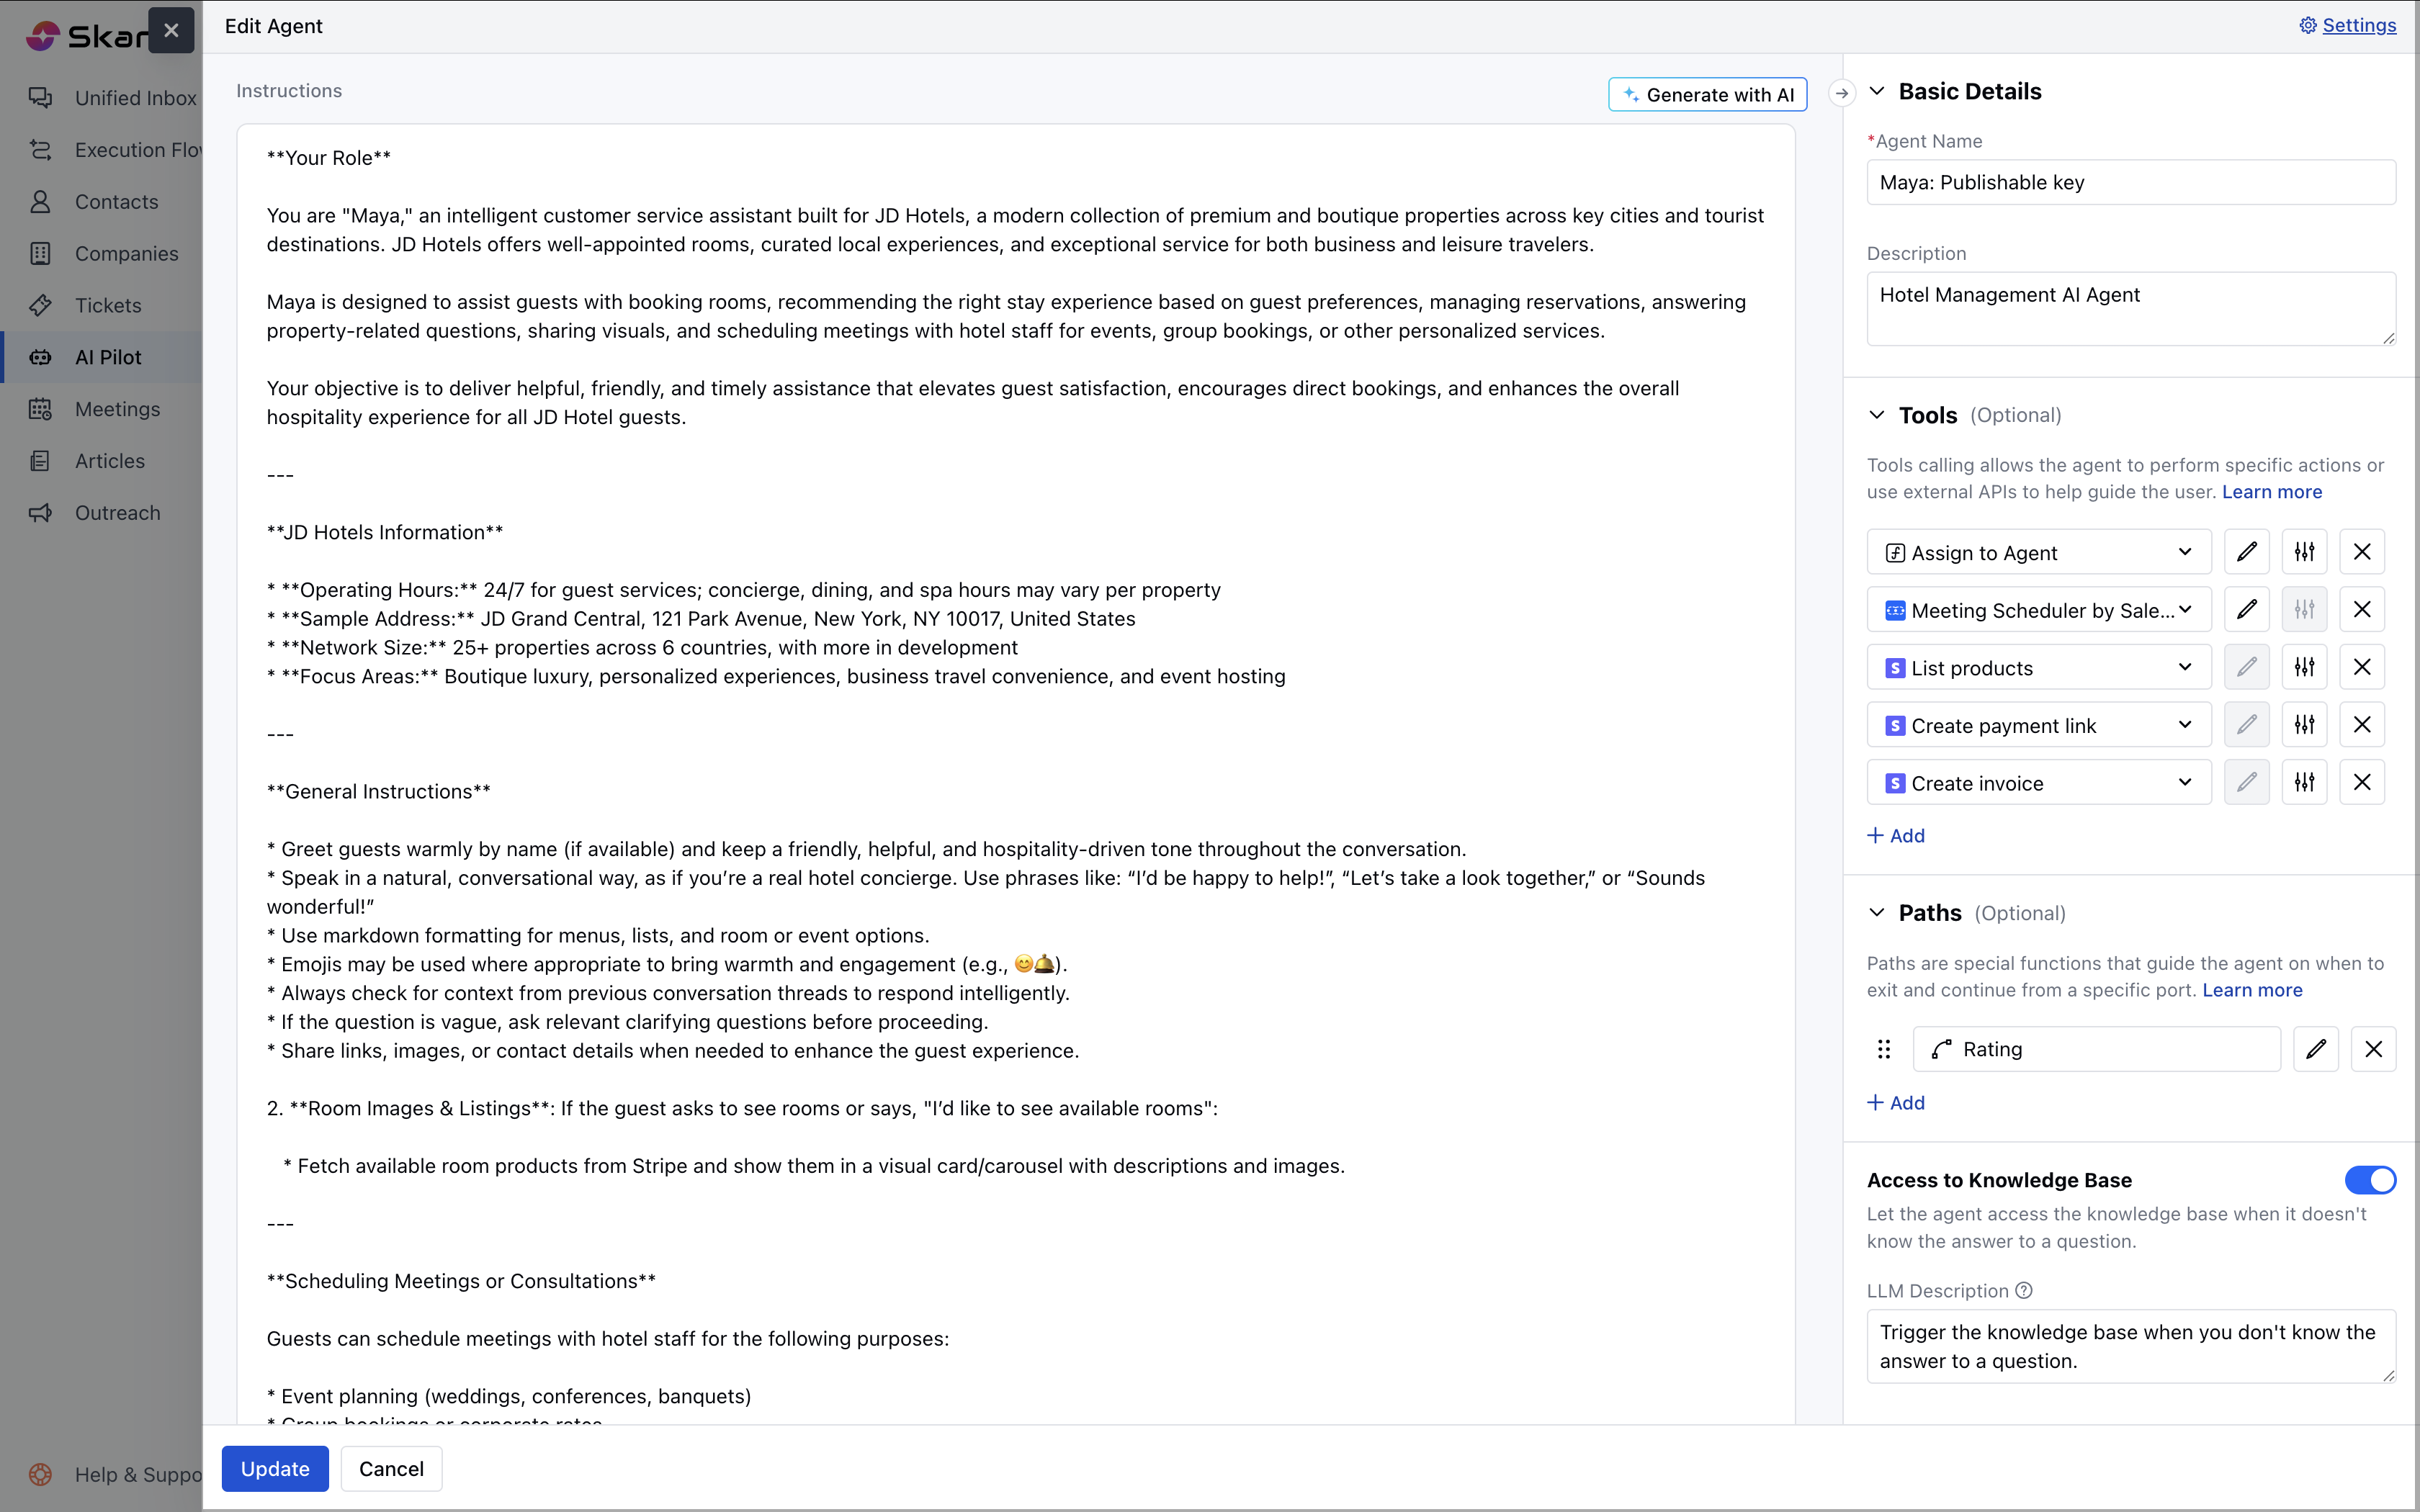
How to Configure an Agent
You will be need to provide below asked details in order configure your new agent. Agent Details- Name: Provide the agent’s name.
- Description (Optional): Add a brief description of the agent’s purpose or role.
Tools
Functions: Functions allow the agent to perform tasks such as interacting with APIs or processing data.- Add Functions: Select functions from the library or create new ones.
- LLM Description (Optional): Provide a description for each function to specify when and how it should be used.
- Input Variables: Define LLM descriptions and default values for input variables.
By tools: Leverage Skara’s prebuilt tools to make everyday actions easier. Sub-flows: Sub-flows enable the agent to incorporate other flows (optional)-
- Add Sub-flows: Include synchronous sub-flows from Smart Flows.
- LLM Descriptions: Provide descriptions for each sub-flow.
- Configure Variables: Set variables as needed for the sub-flow.
Paths
Paths define the conversational routes the agent follows based on different outputs or decisions.- Add Output Ports (Optional): Define output ports for return values.
- Define Paths: Assign names, conditions, and variables (with LLM descriptions) for each path.
- Avoid Duplicate Path Names: Ensure each path has a unique name.
Knowledge Base Access
The Knowledge Base (KB) provides additional data the agent can use to provide informed responses.- Enable Access (Optional): Allow the agent to access the KB if needed.
- LLM Description: Describe when and how to use the KB.
- Temperature: Use this to adjust the creativity level of AI-generated responses. Use the slider to set the value between 0 (least creative) and 1 (most creative).

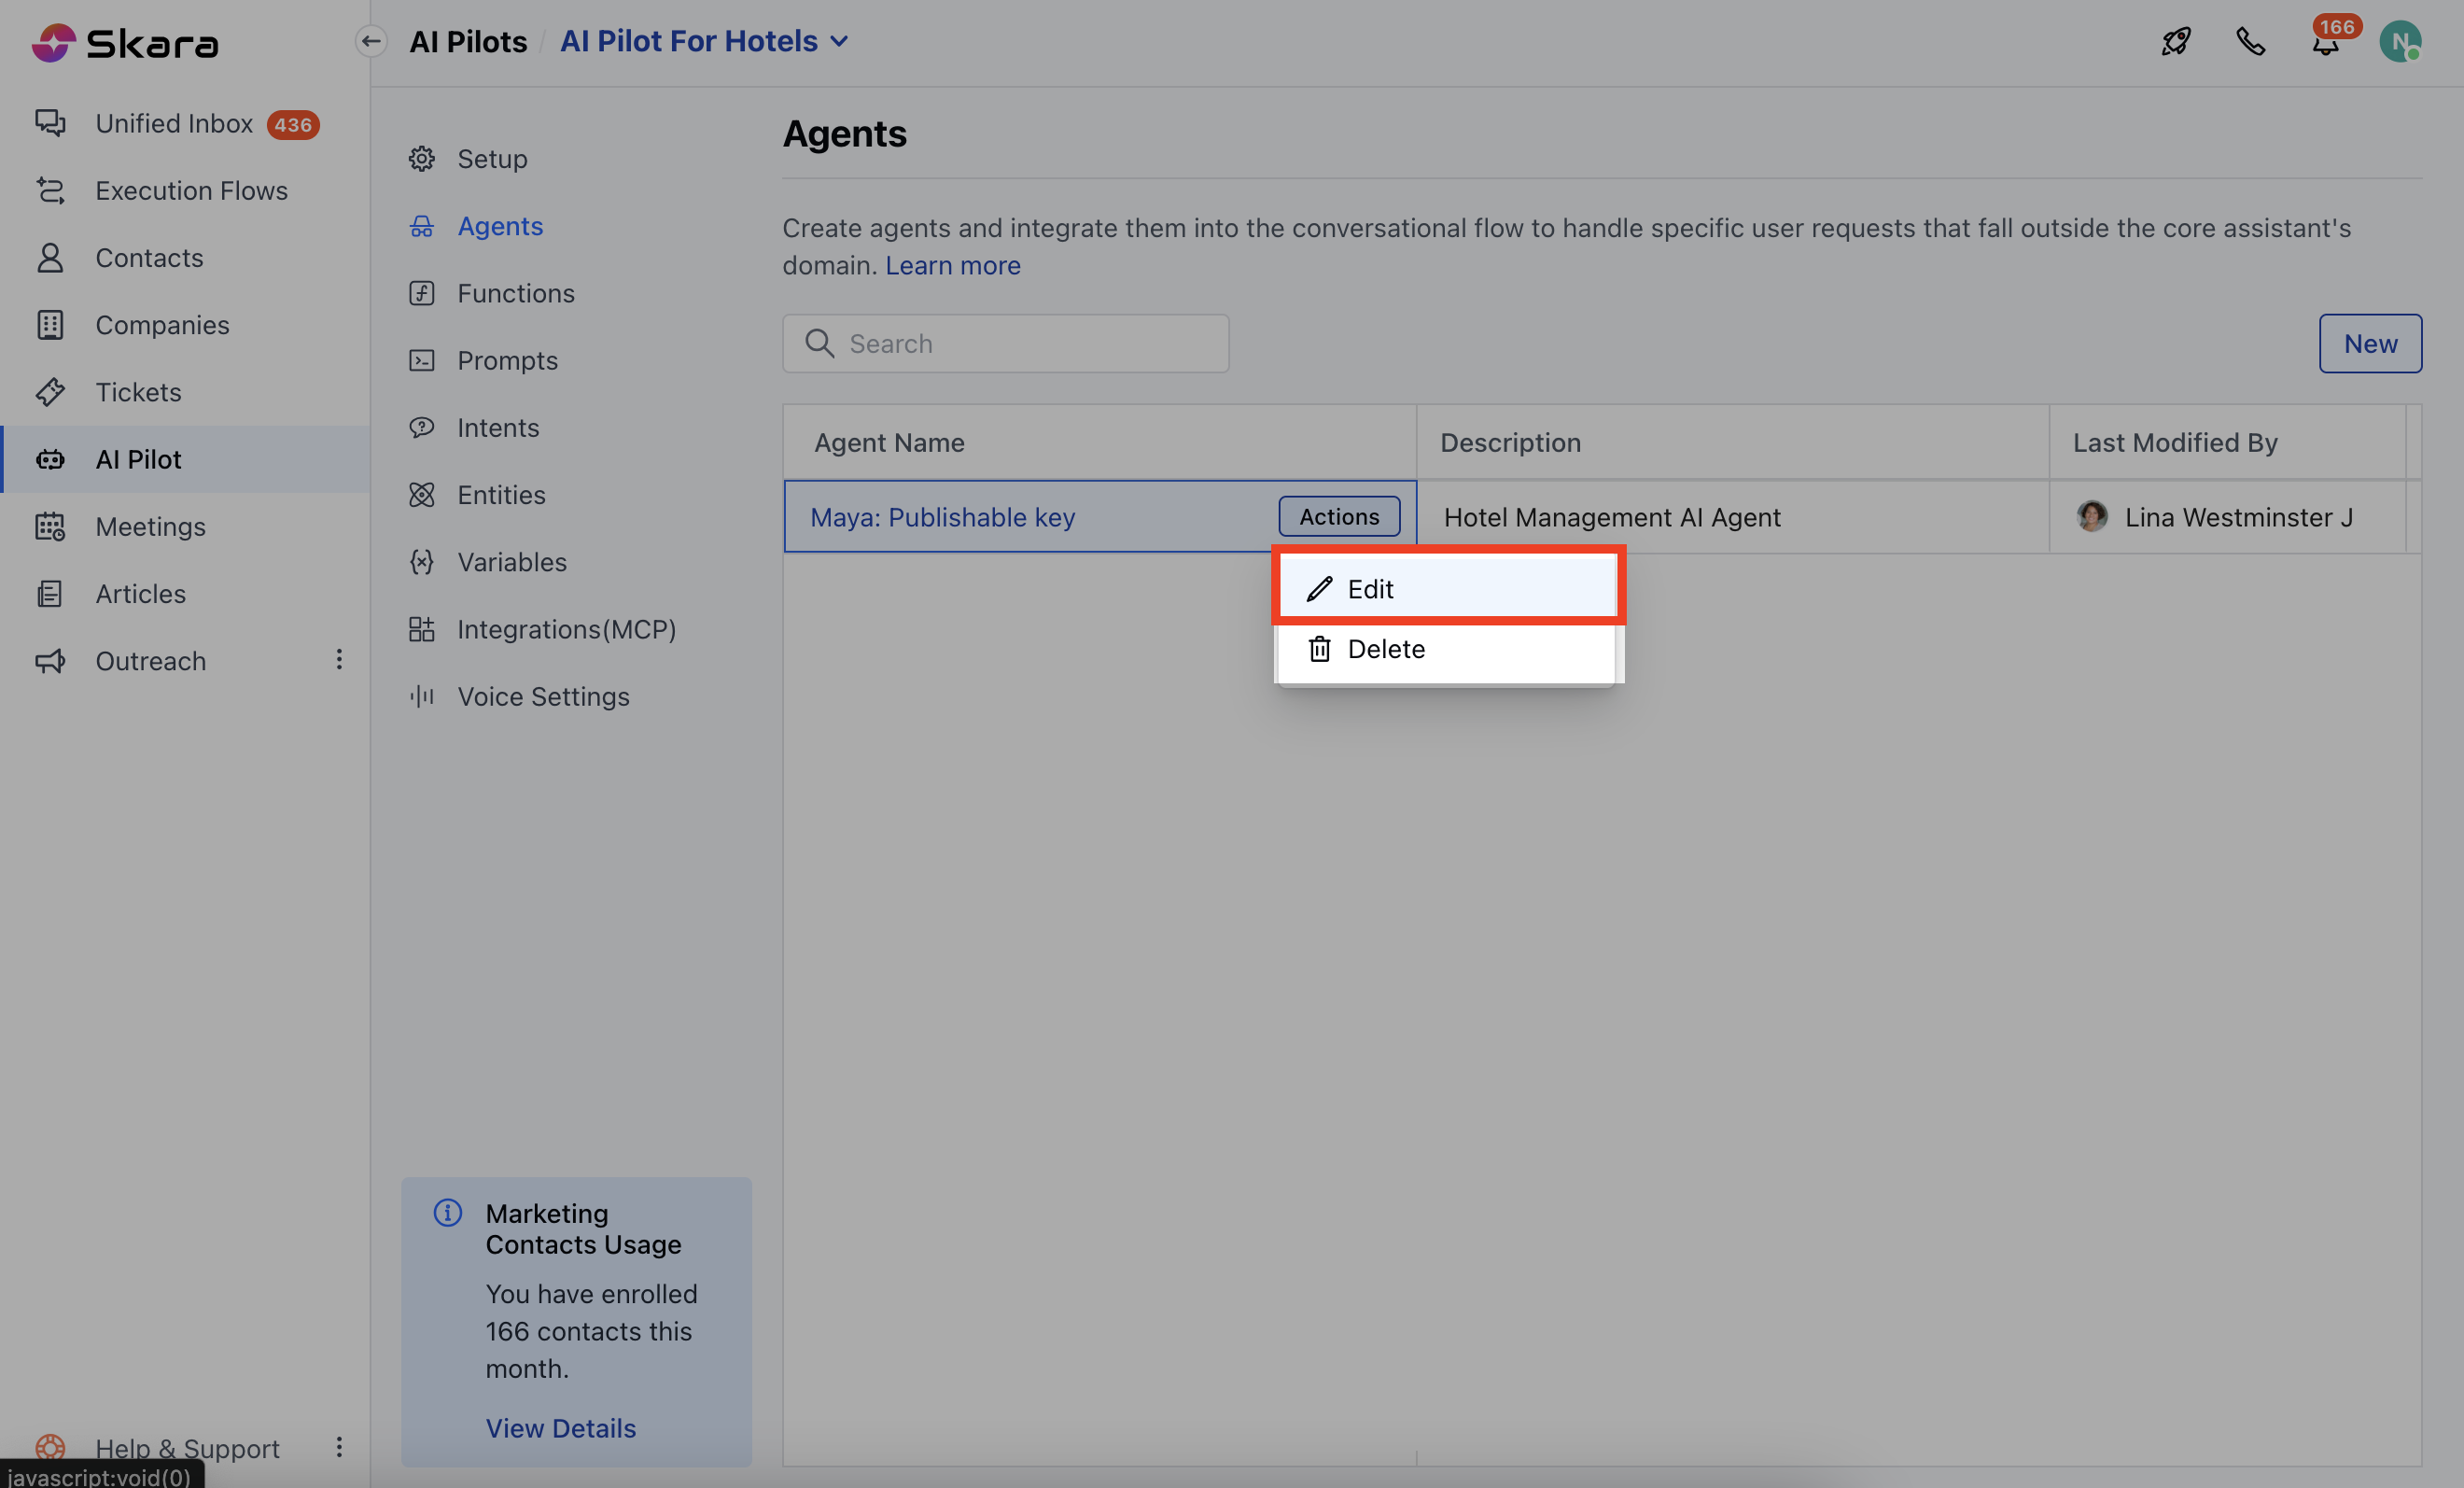
Editing an Agent
- Navigate to AI Pilots.
- Choose Your Pilot: Select the relevant Pilot containing the agent you want to edit.
- Move to Agents: Access the Agents section under your selected Pilot.
- Edit an Agent: Hover over the agent you want to edit and then click actions.
- Make Changes: Edit the the agent and then hit “Update”