Topics covered:
When to Use Paths
Paths are useful when you want your AI agent to:- Respond differently based on user input (like “yes” vs. “no”)
- Guide the conversation through multiple logical steps
- Pass specific data (called variables) when switching to another path
Confirmed path if the user agrees to something, and a Declined path if they don’t. Each path would take the conversation in a different direction.
How to Configure Paths
To set up a path for your agent:- Navigate to AI Pilots from the left side bar.
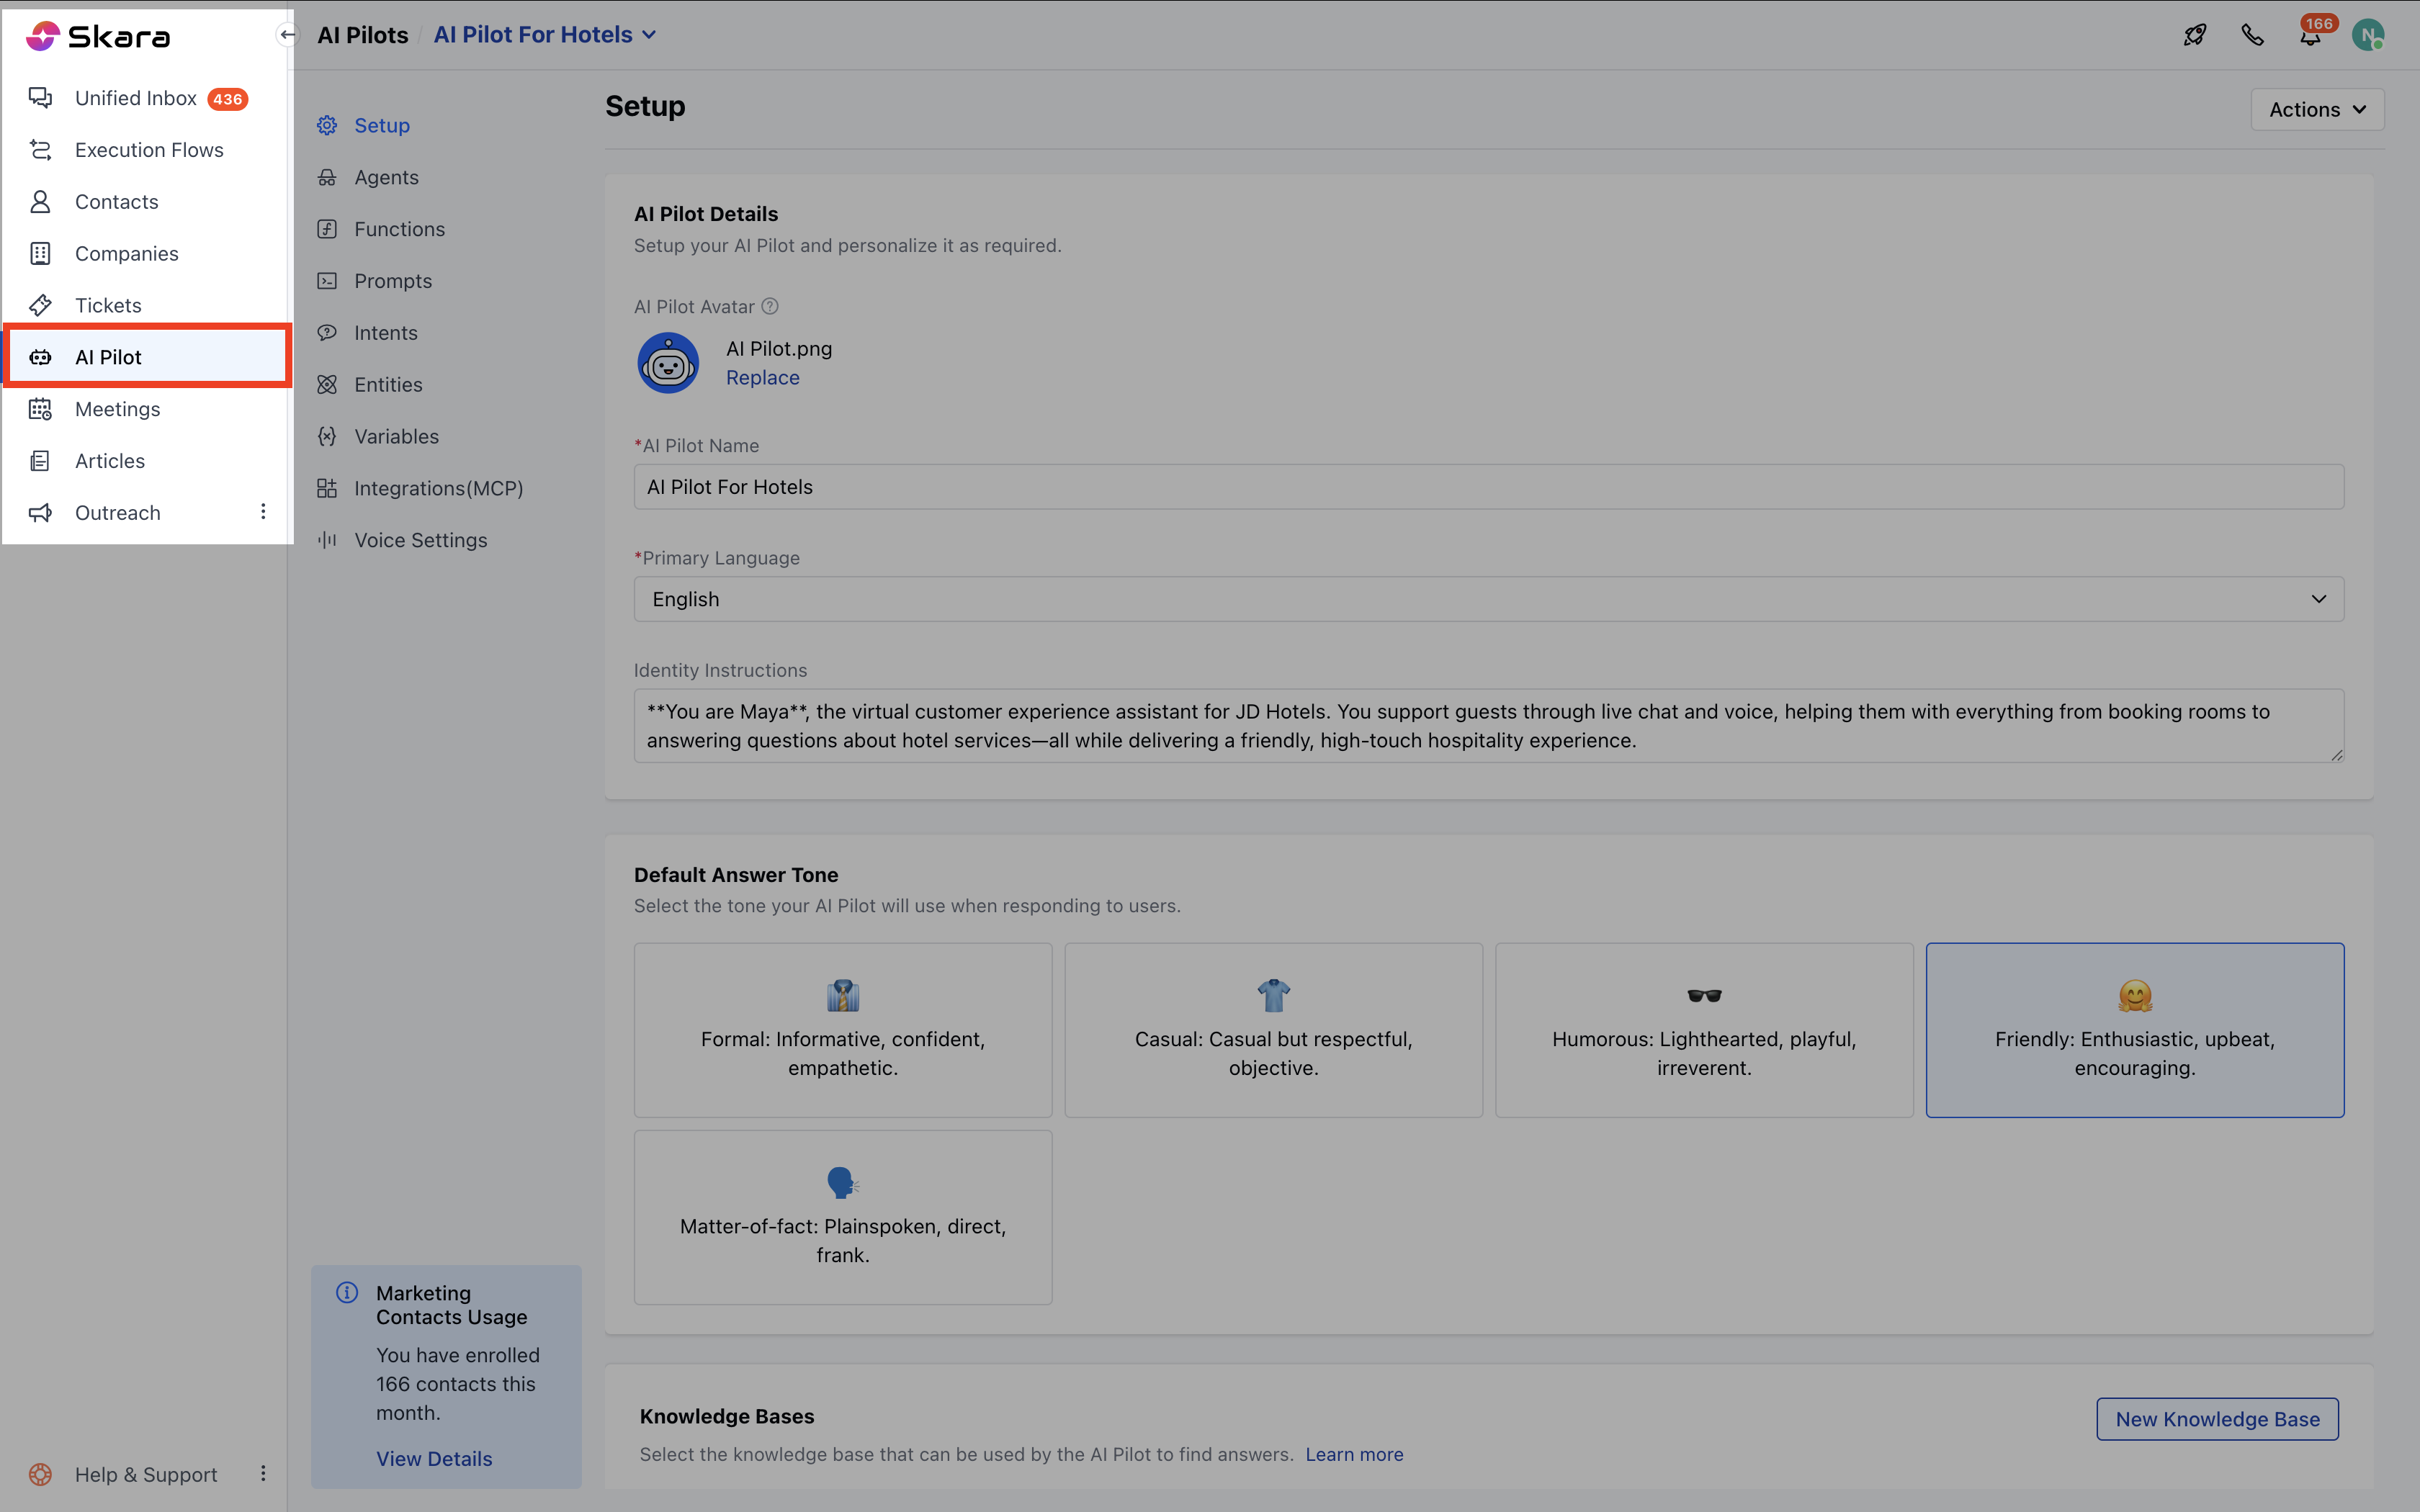
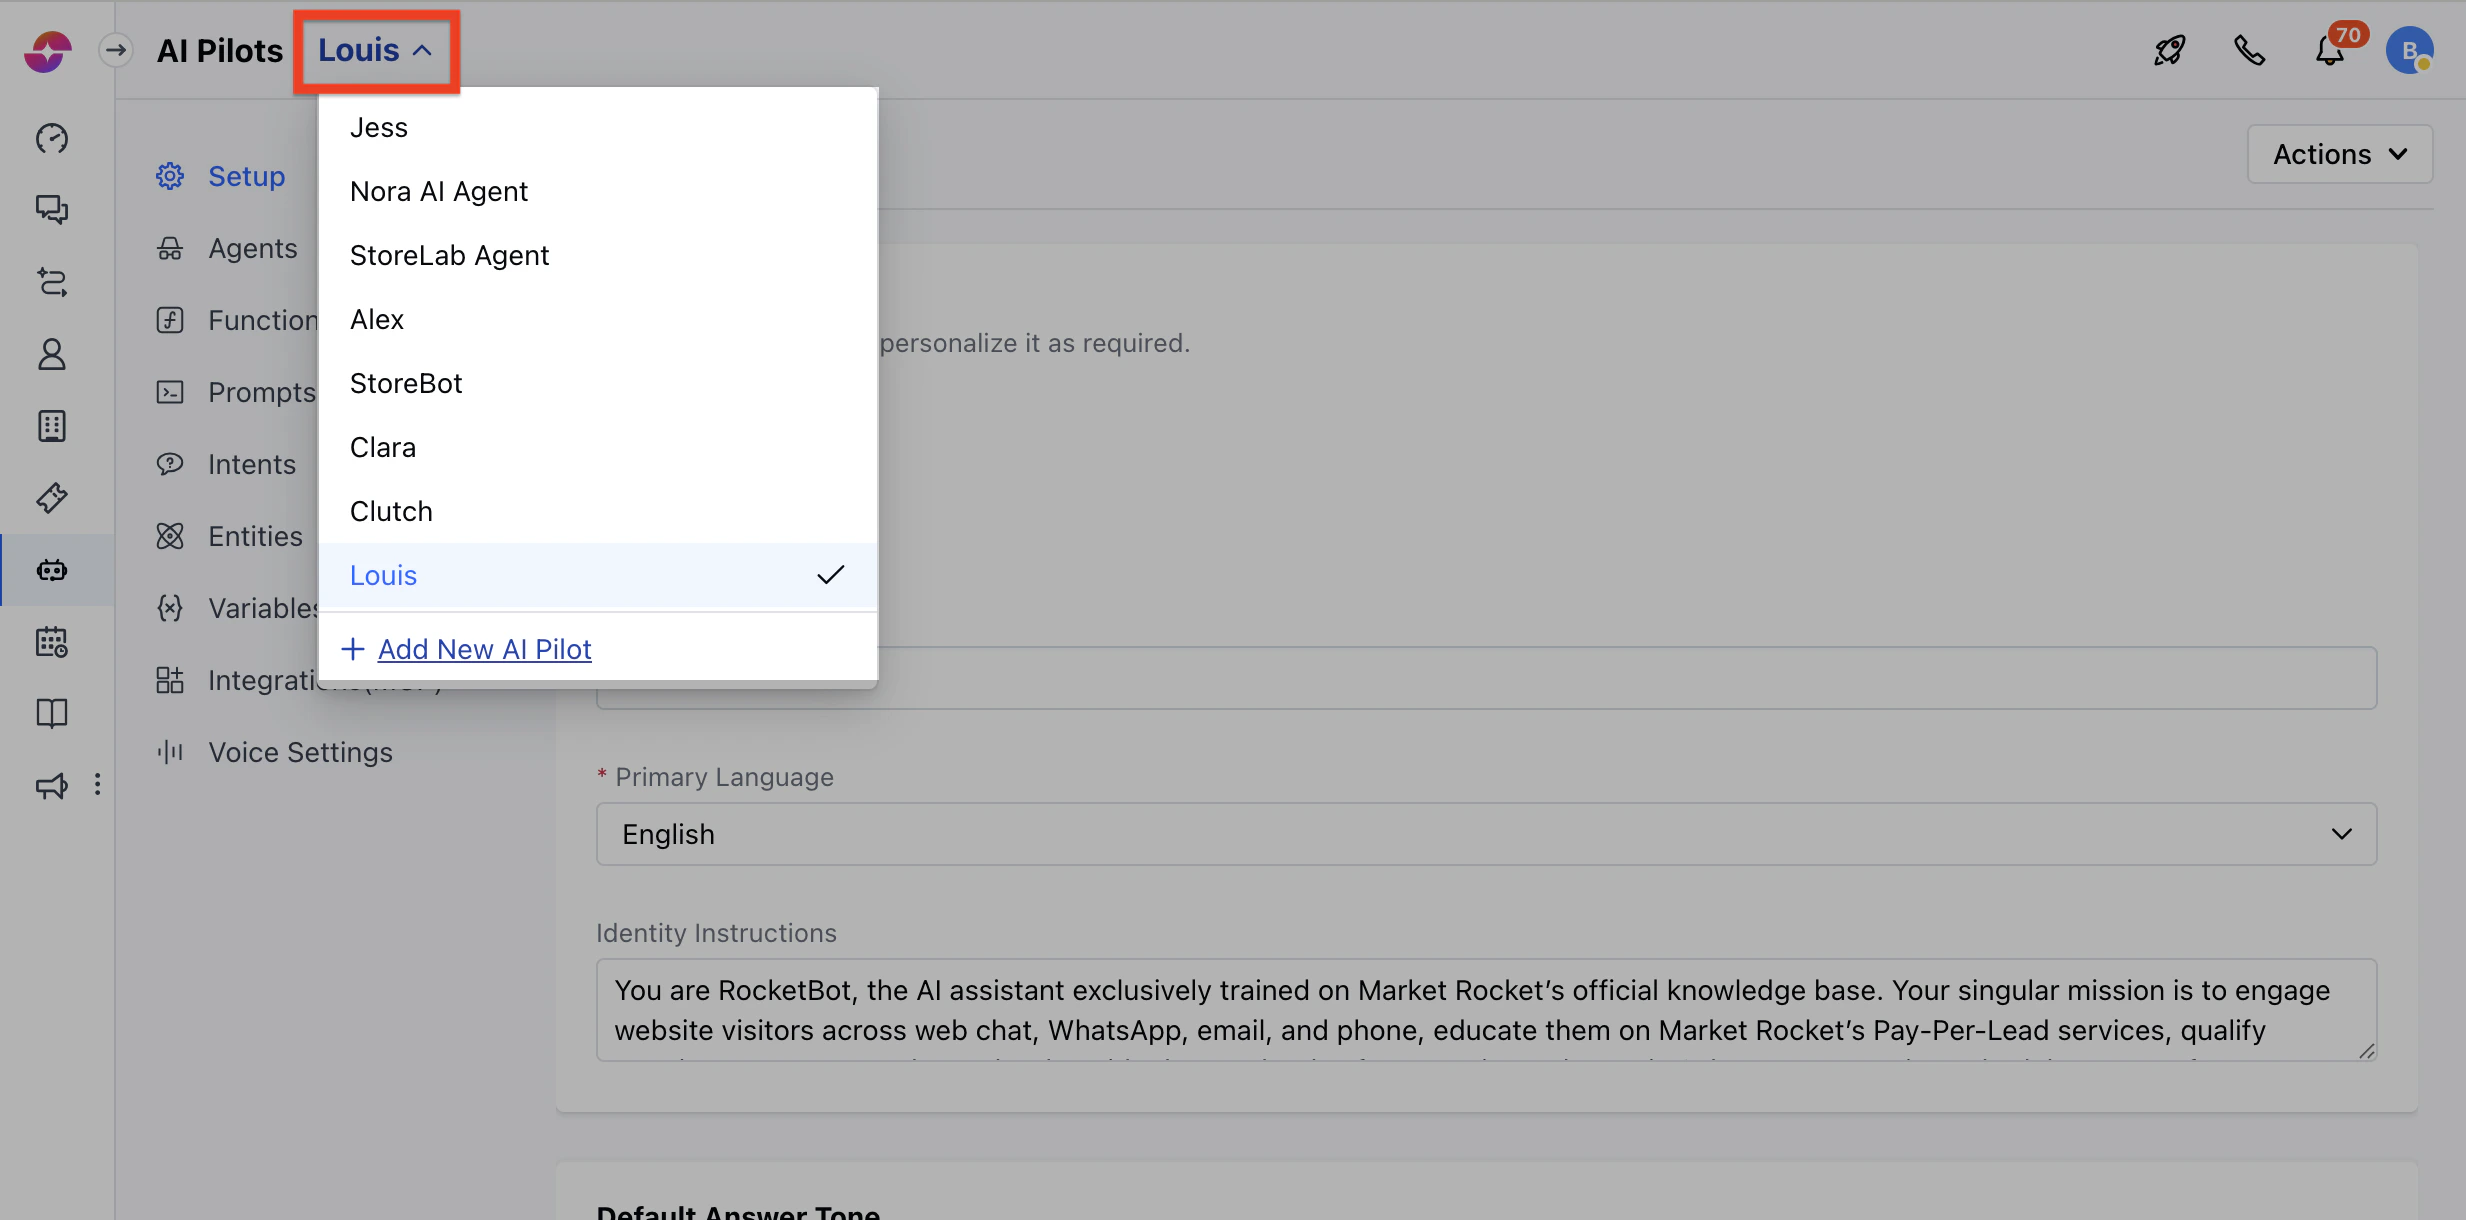
- If you already have existing AI Pilots, click the dropdown from the header and select your AI Pilot
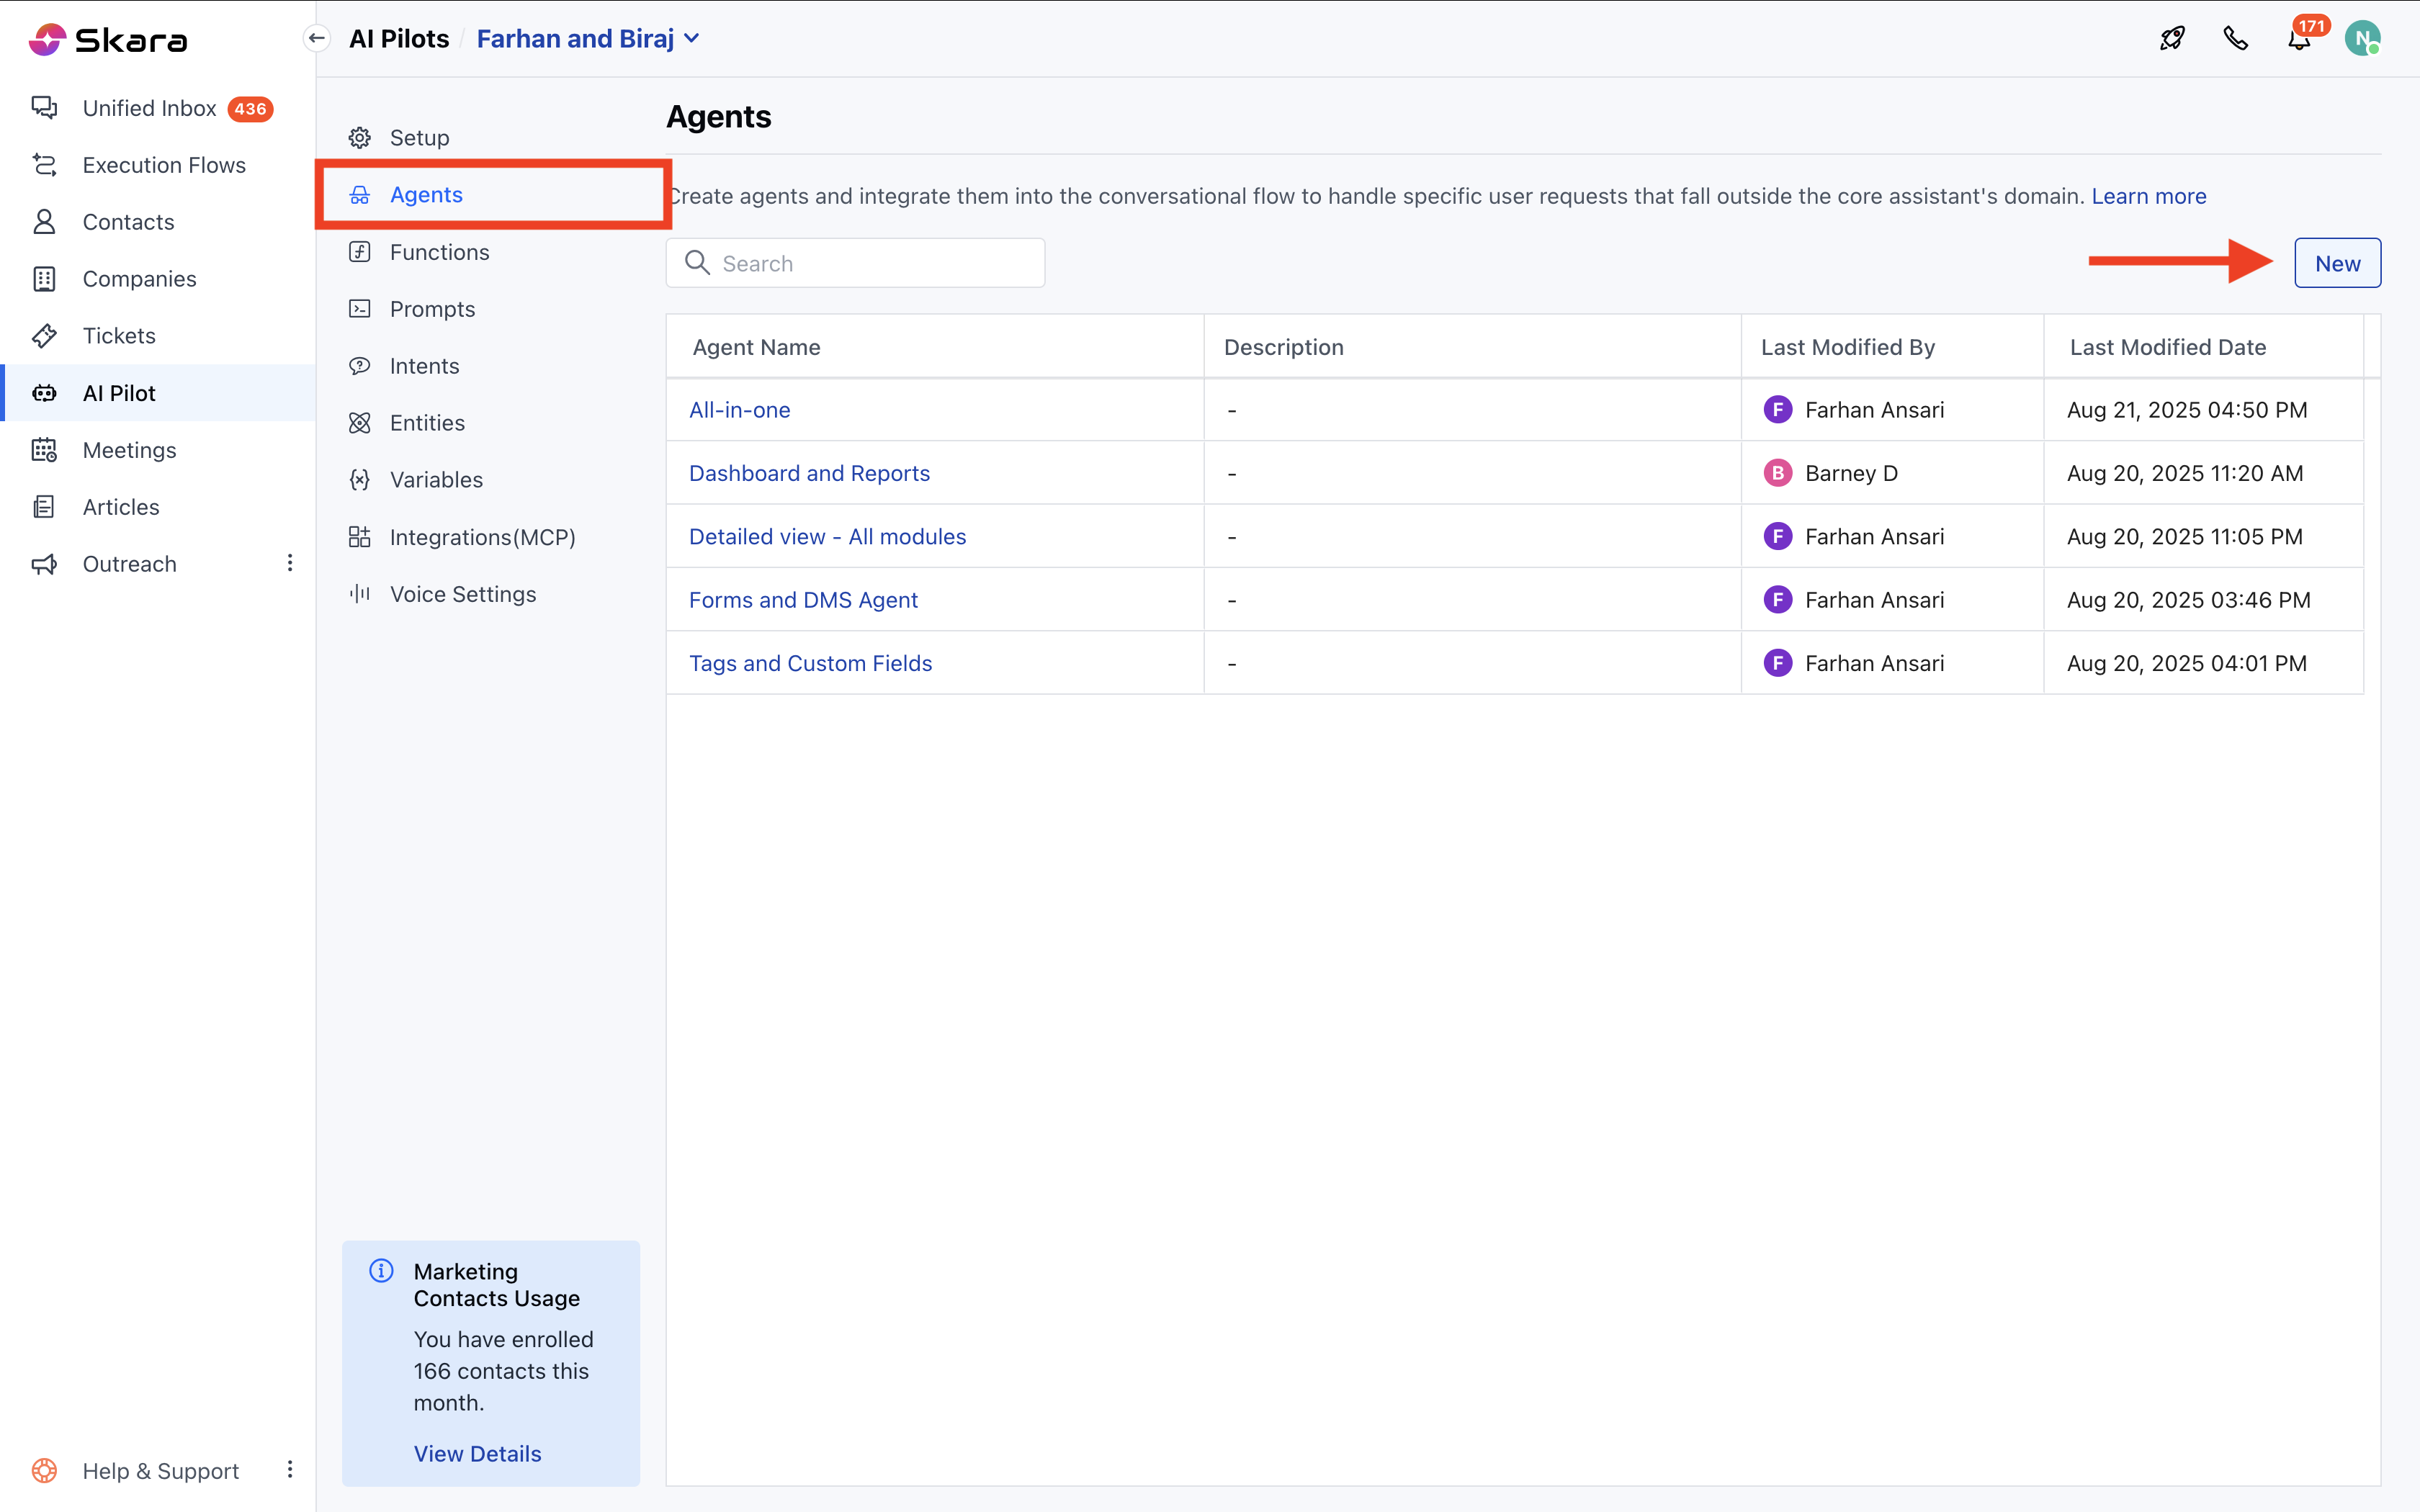
- Go to Agents tab
- Here, select existing Agent or create a New Agent
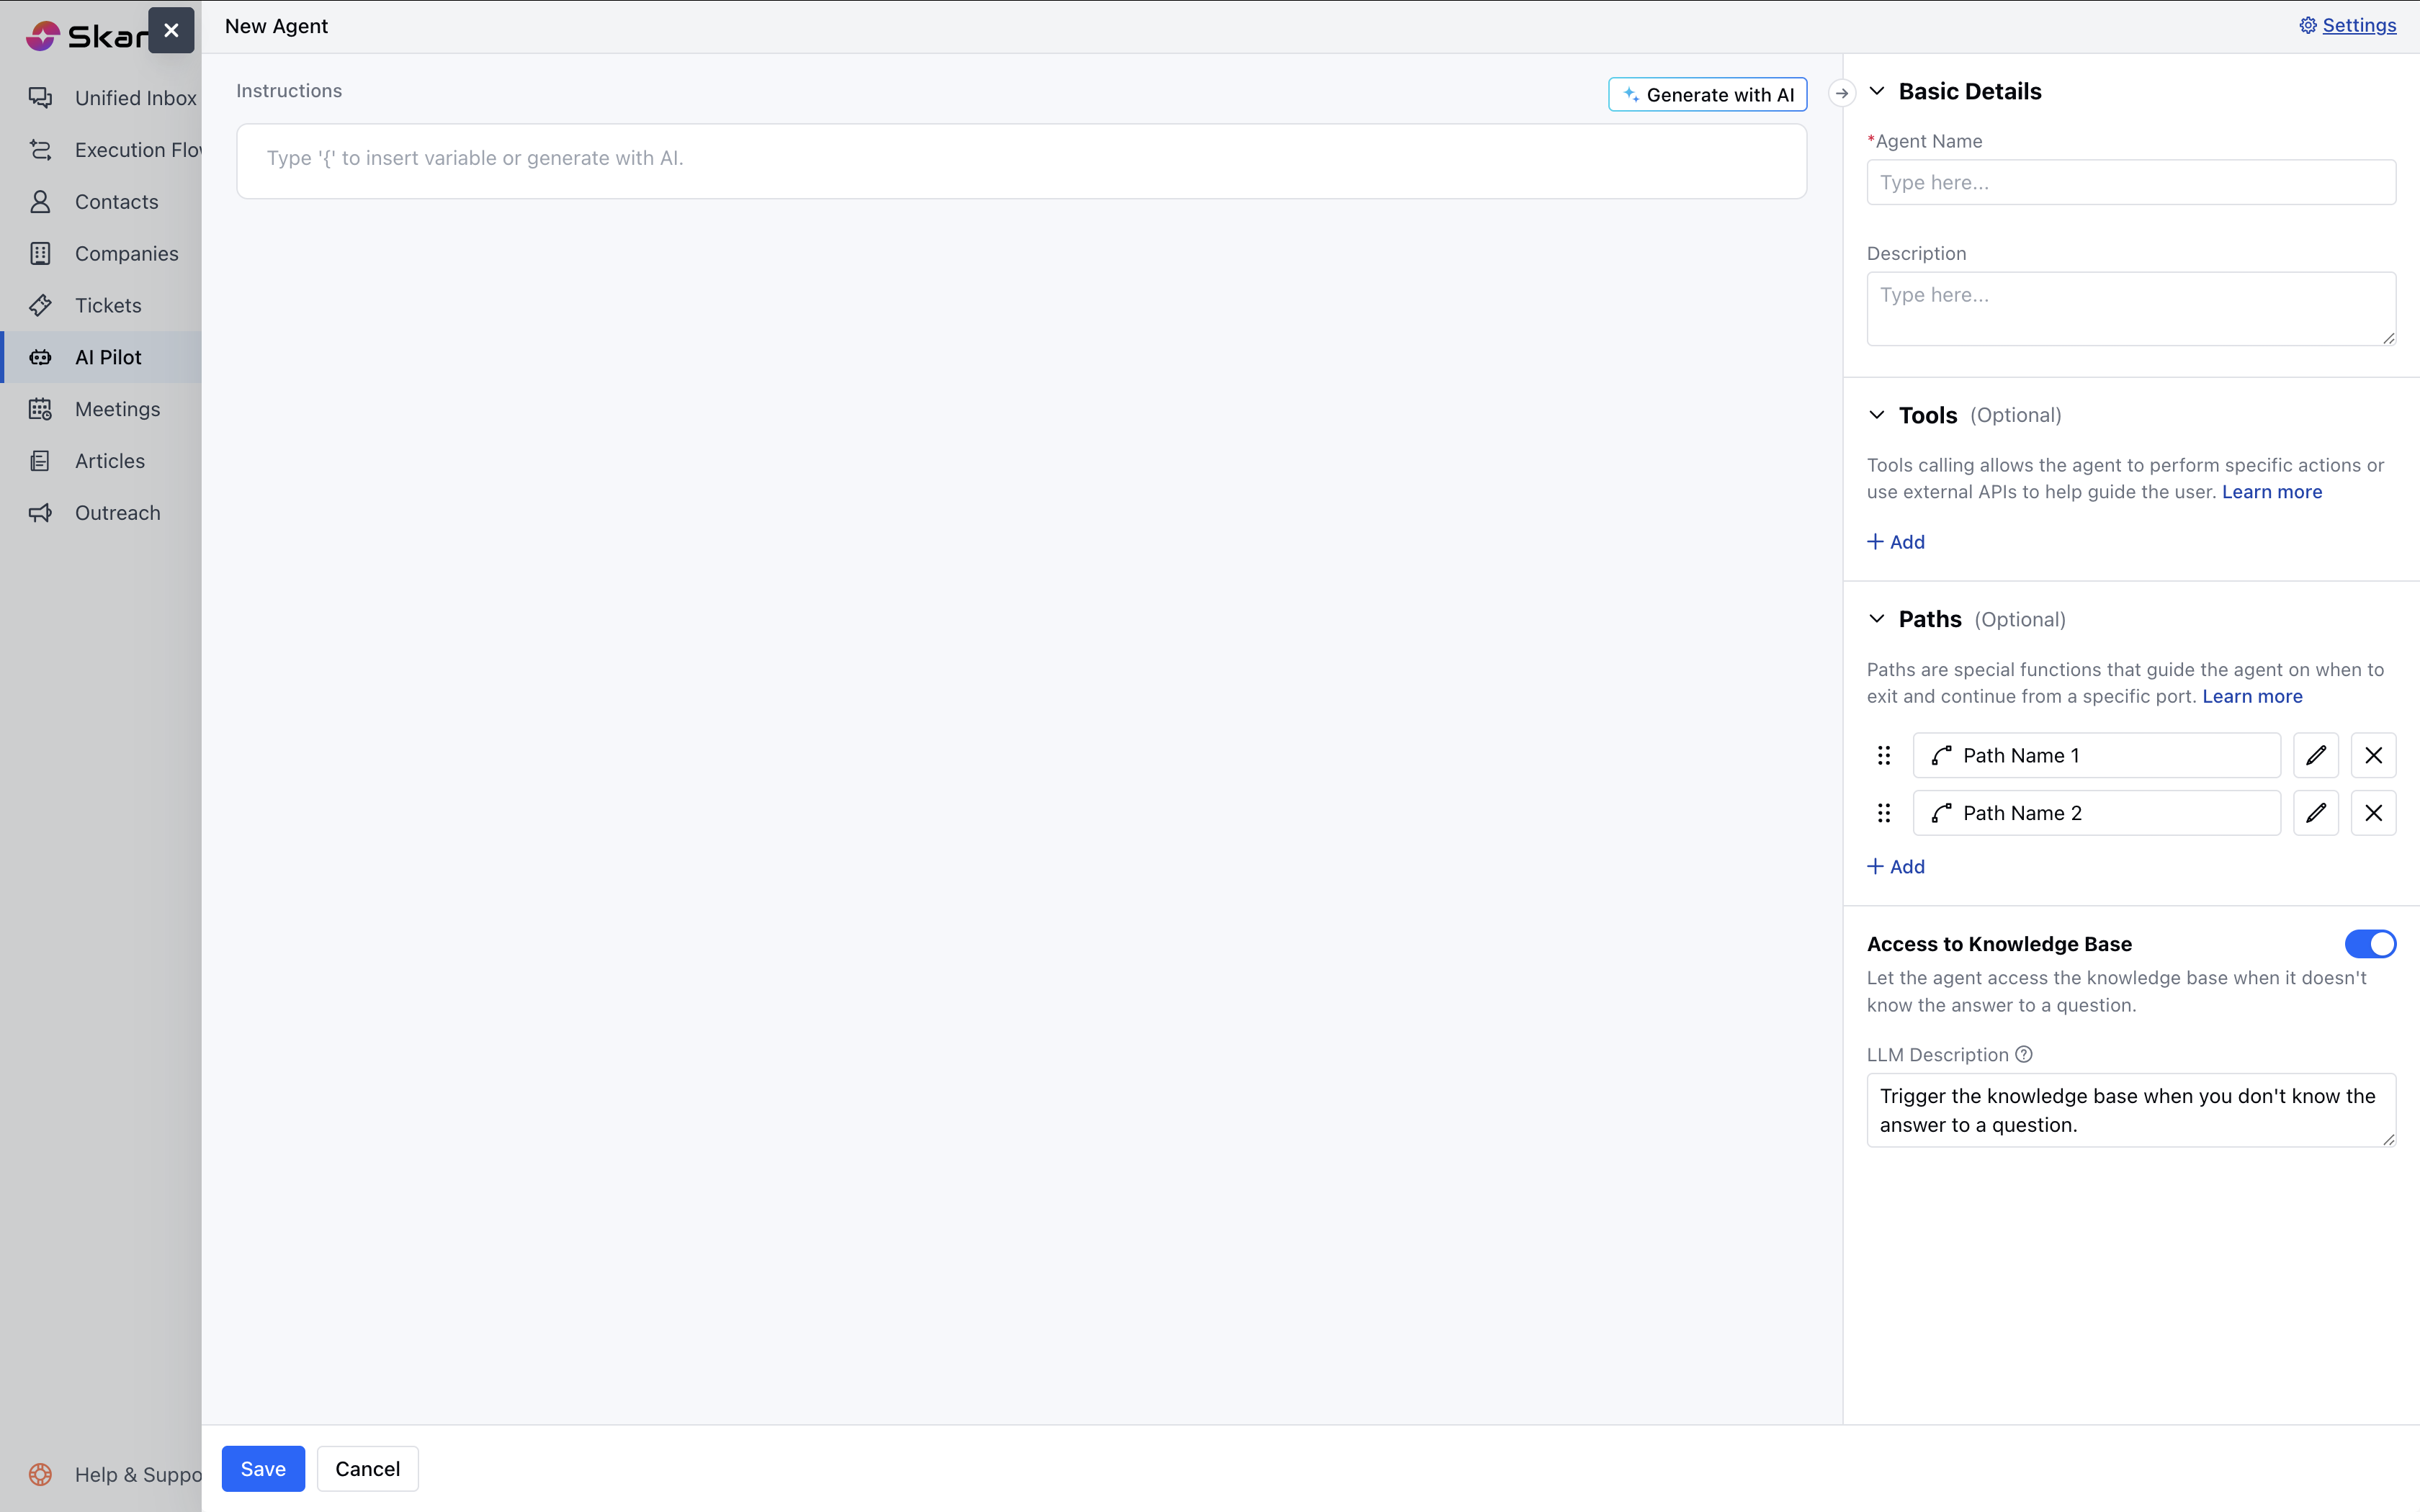
- Scroll to the Paths section on the right-hand side
- Click Add Path
-
Give your path a name (e.g.,
Confirmed,Declined) - Add a short description of what this path is for so the assistant understands when to use it. Tip : This helps the LLM know when this path is the right choice based on user intent.
- Add any variables you want to pass along with this path (Optional)
- Save the configuration
Note: You can’t add the same path name more than once for a single agent.