Enable SSO inside Skara
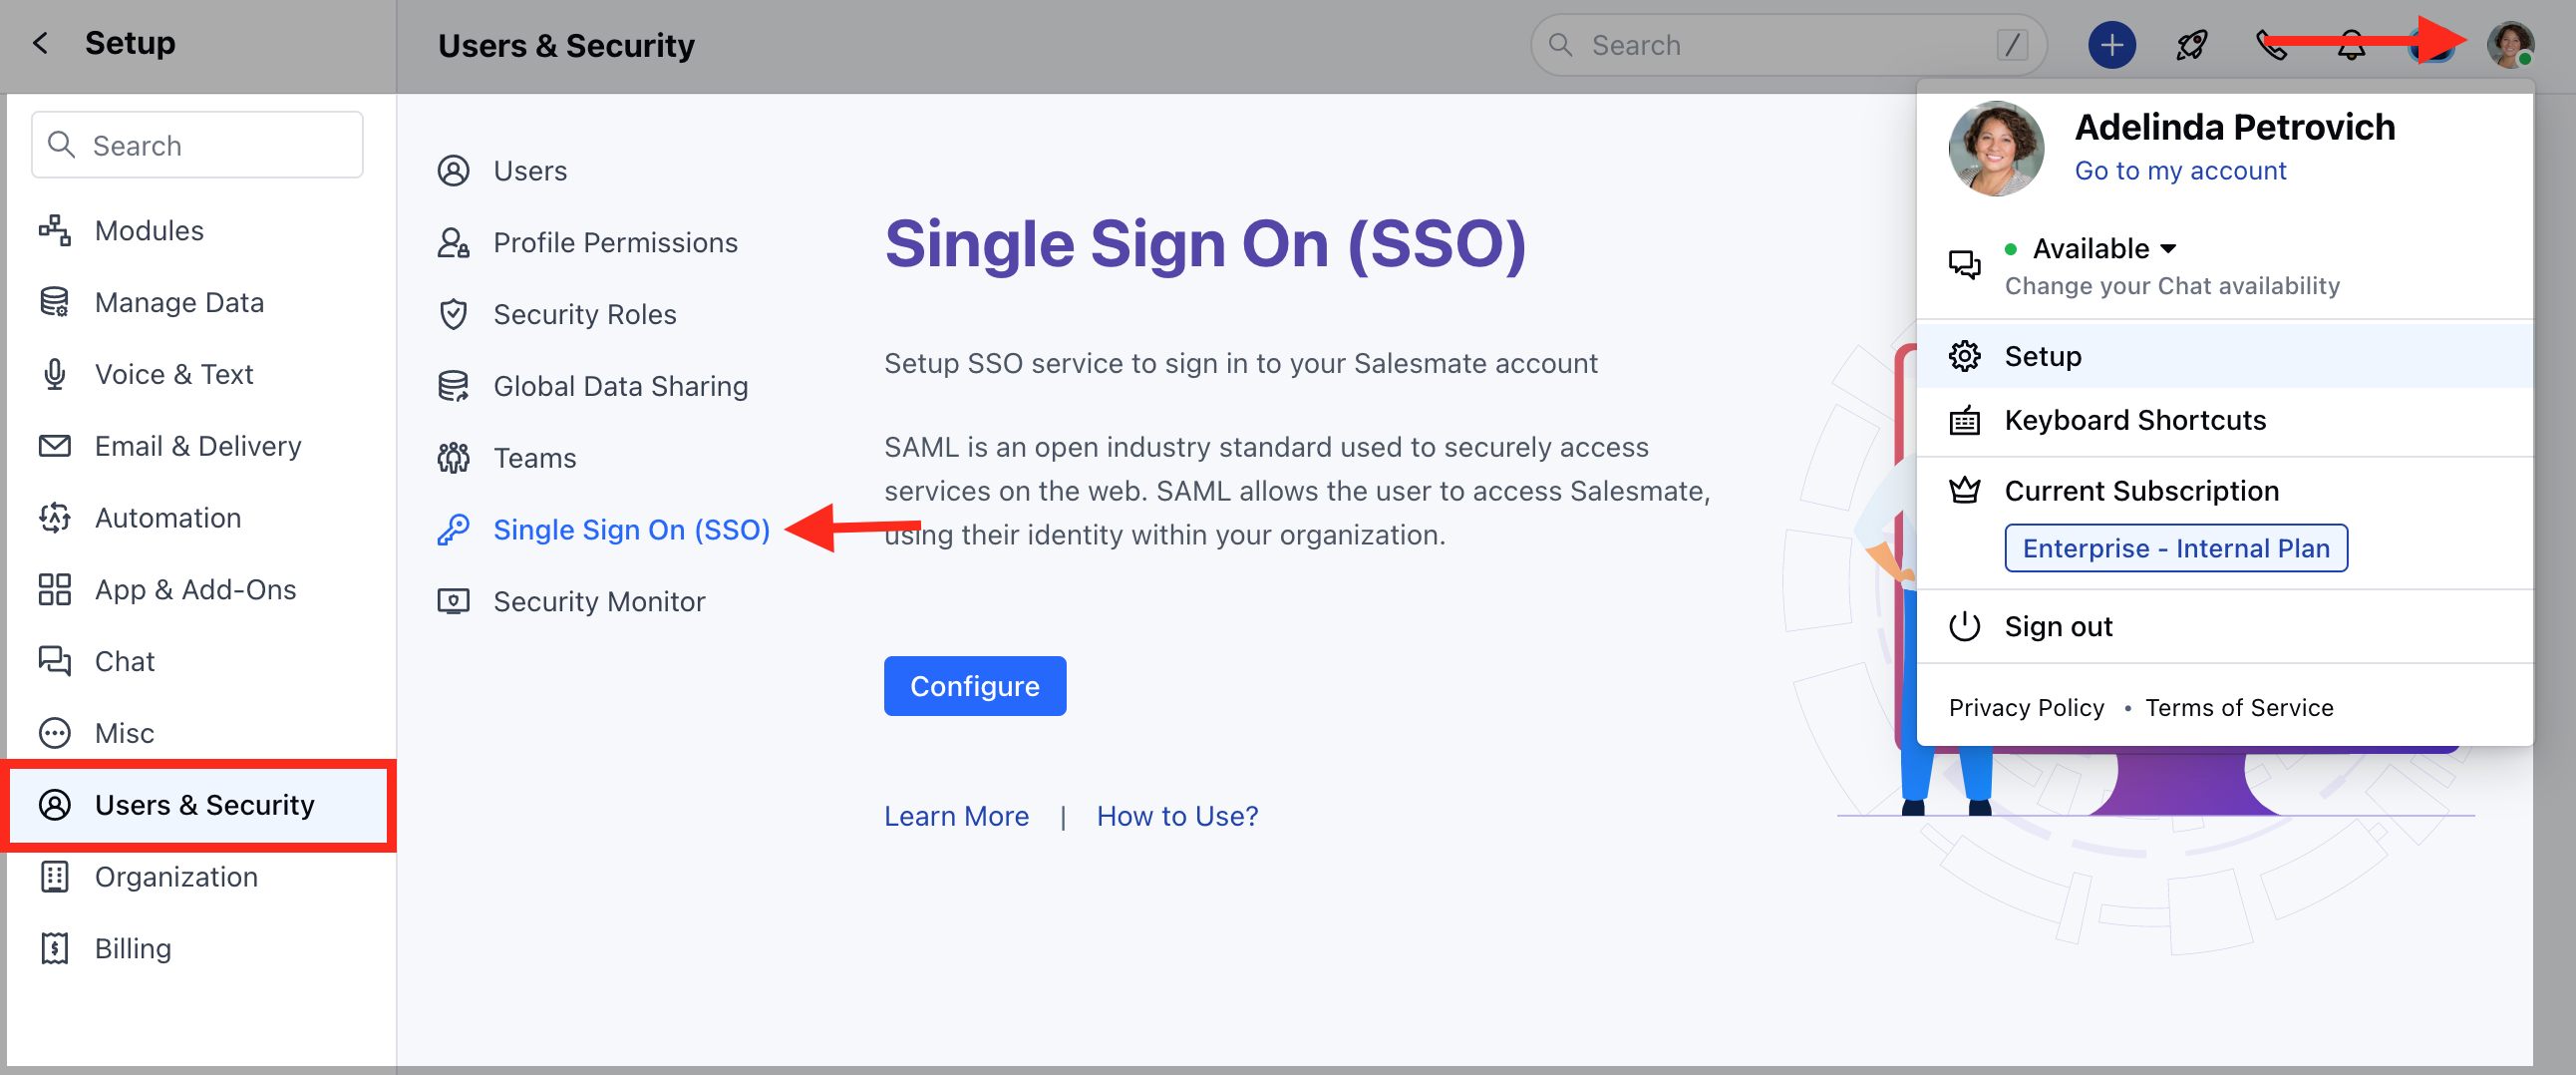
- Navigate to the Profile Icon on the top right corner.
- Click on Setup.
- Head over to Users & Security.
- Click on Single Sign On (SSO).
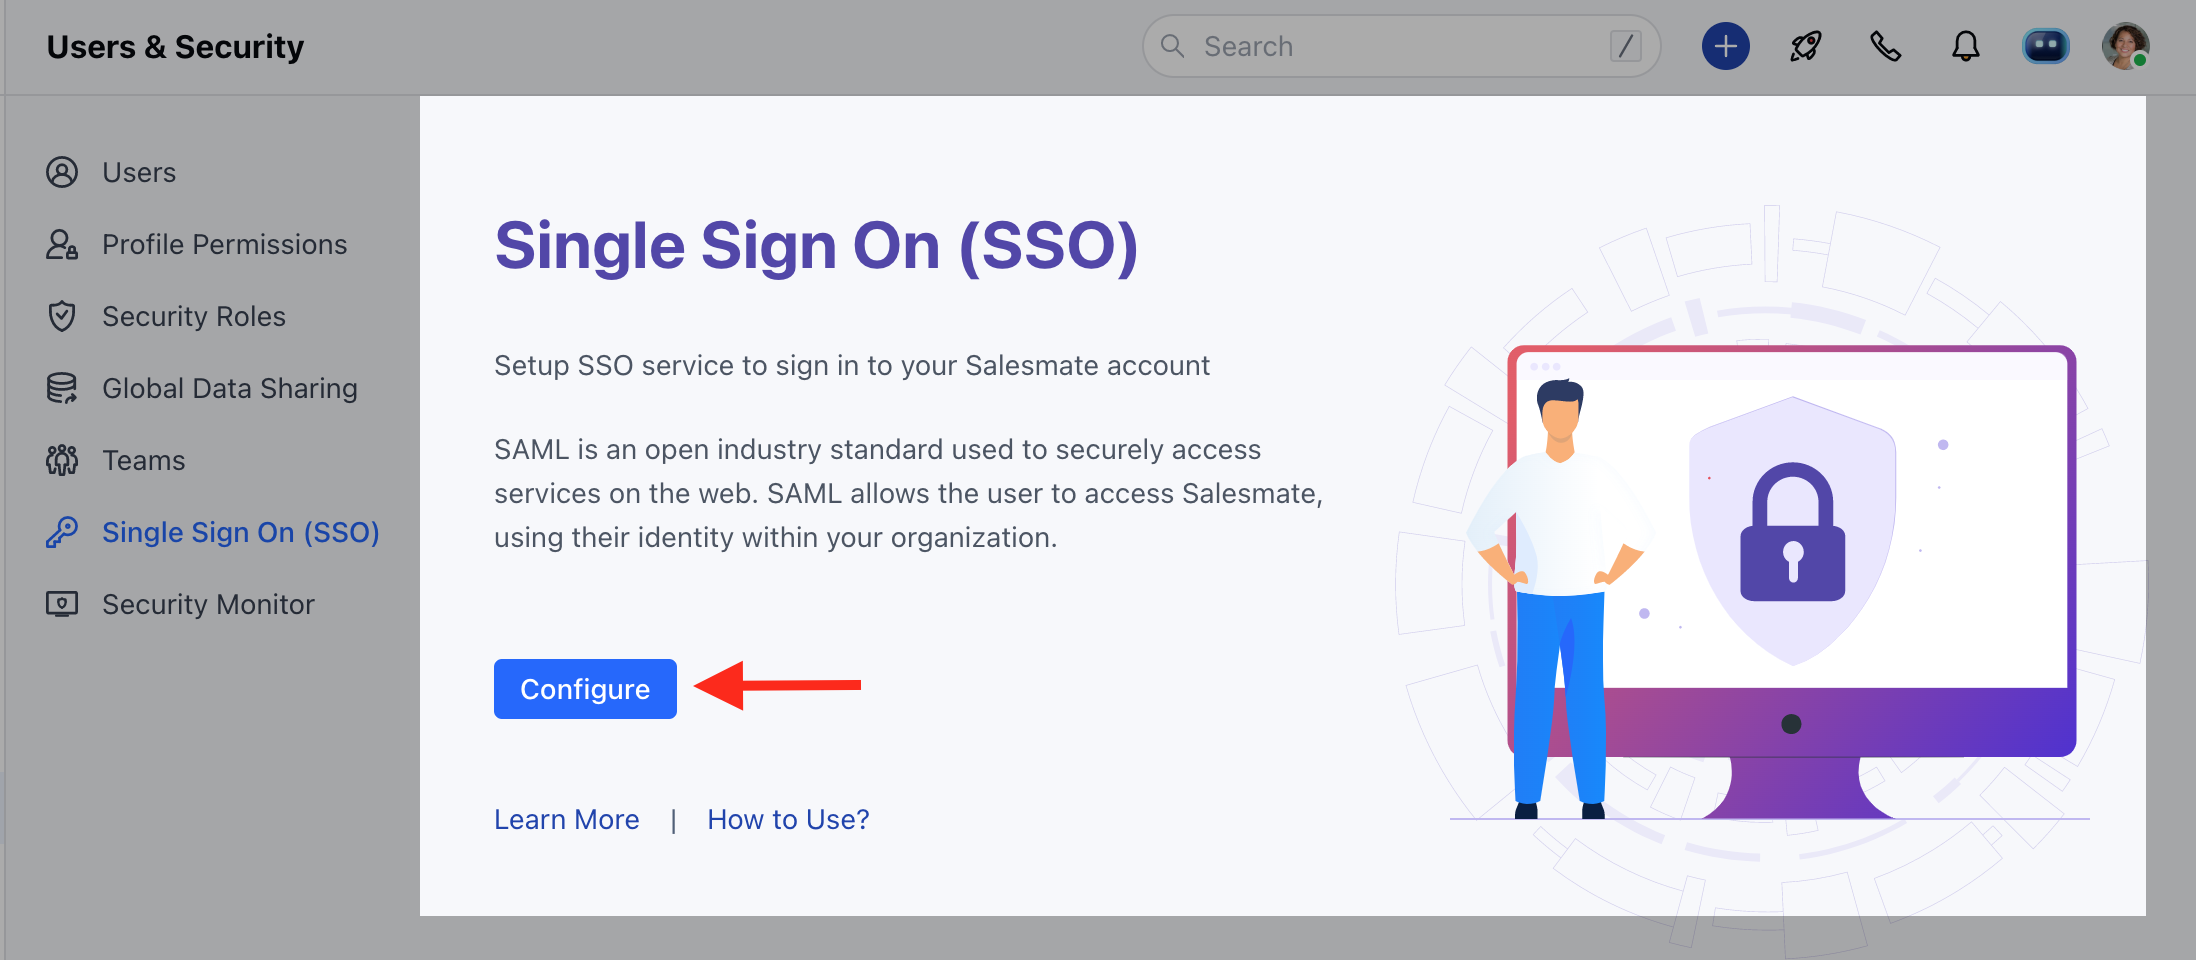
- Click on the Configure option.
- Find the SAML configuration values on the screen and paste them into your identity provider account where required.
- Copy the Identifier or Issuer URL, the Single Sign-On URL, and the Certificate from your identity provider and paste them into the Salesmate panel.
- Click on Test.
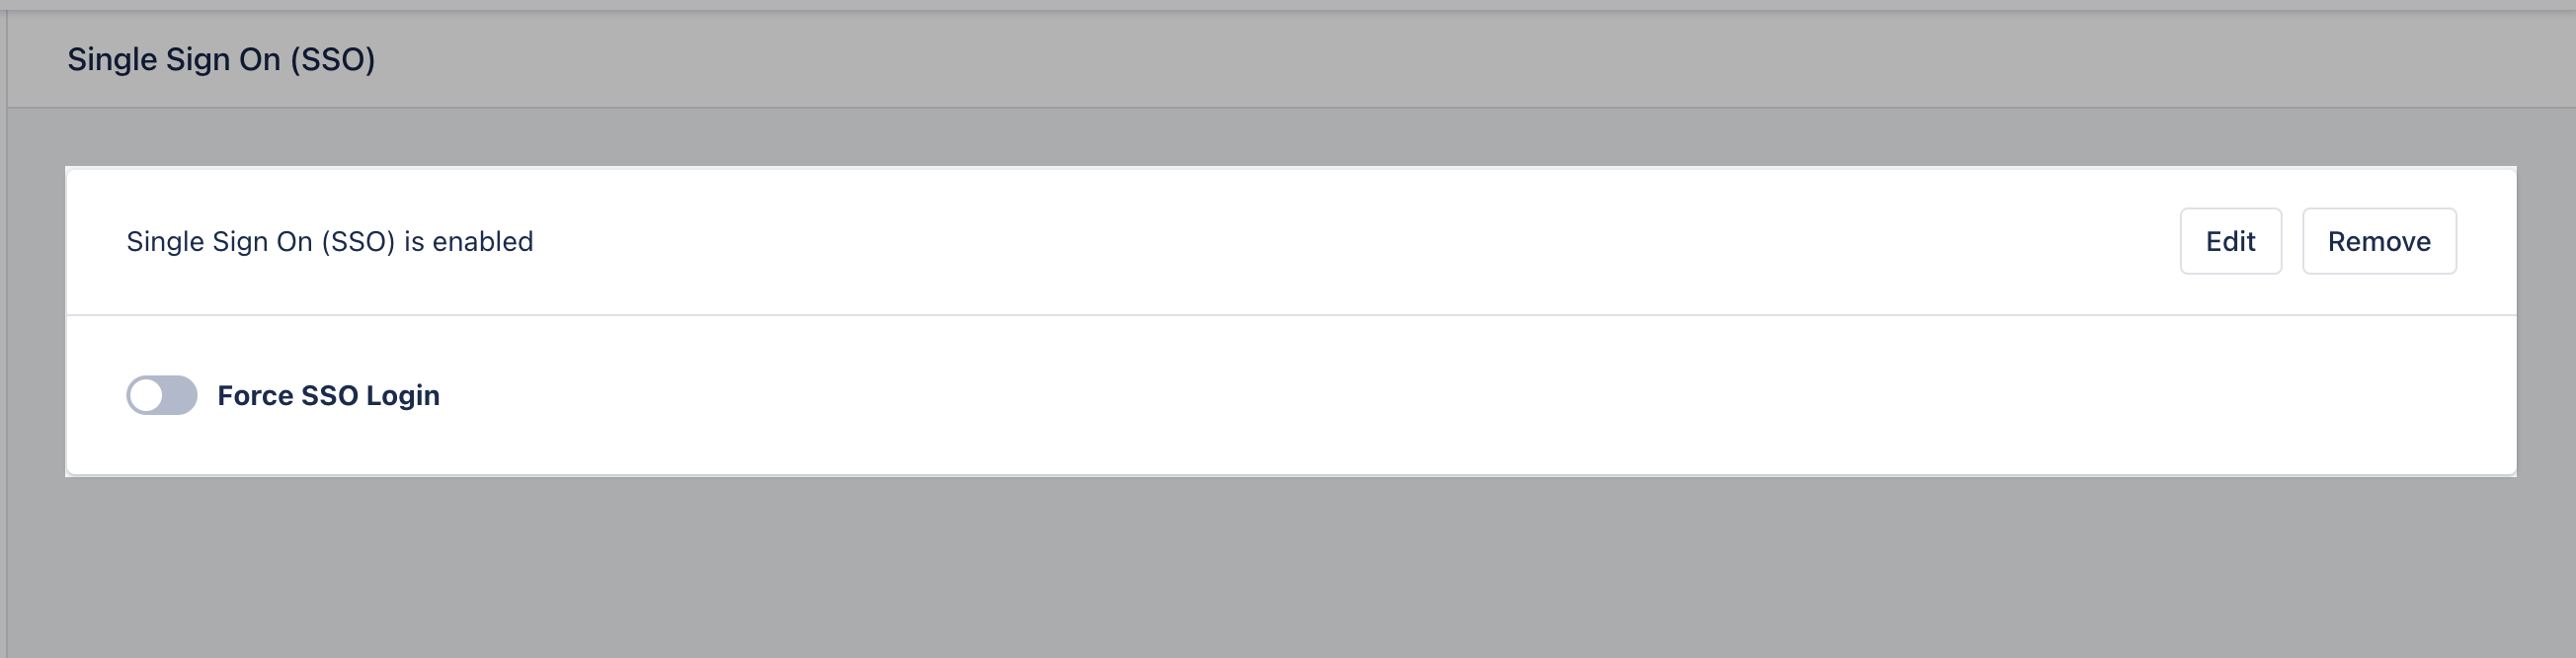
- Once the test is successful, you can come back to the SSO screen and enable it for your workspace.

Force SSO Login (Optional)
If you want every user to log in via SSO only, follow these steps:- Navigate to the Profile Icon on the top right corner.
- Click on Setup.
- Head over to Users & Security.
- Click on Single Sign On (SSO).
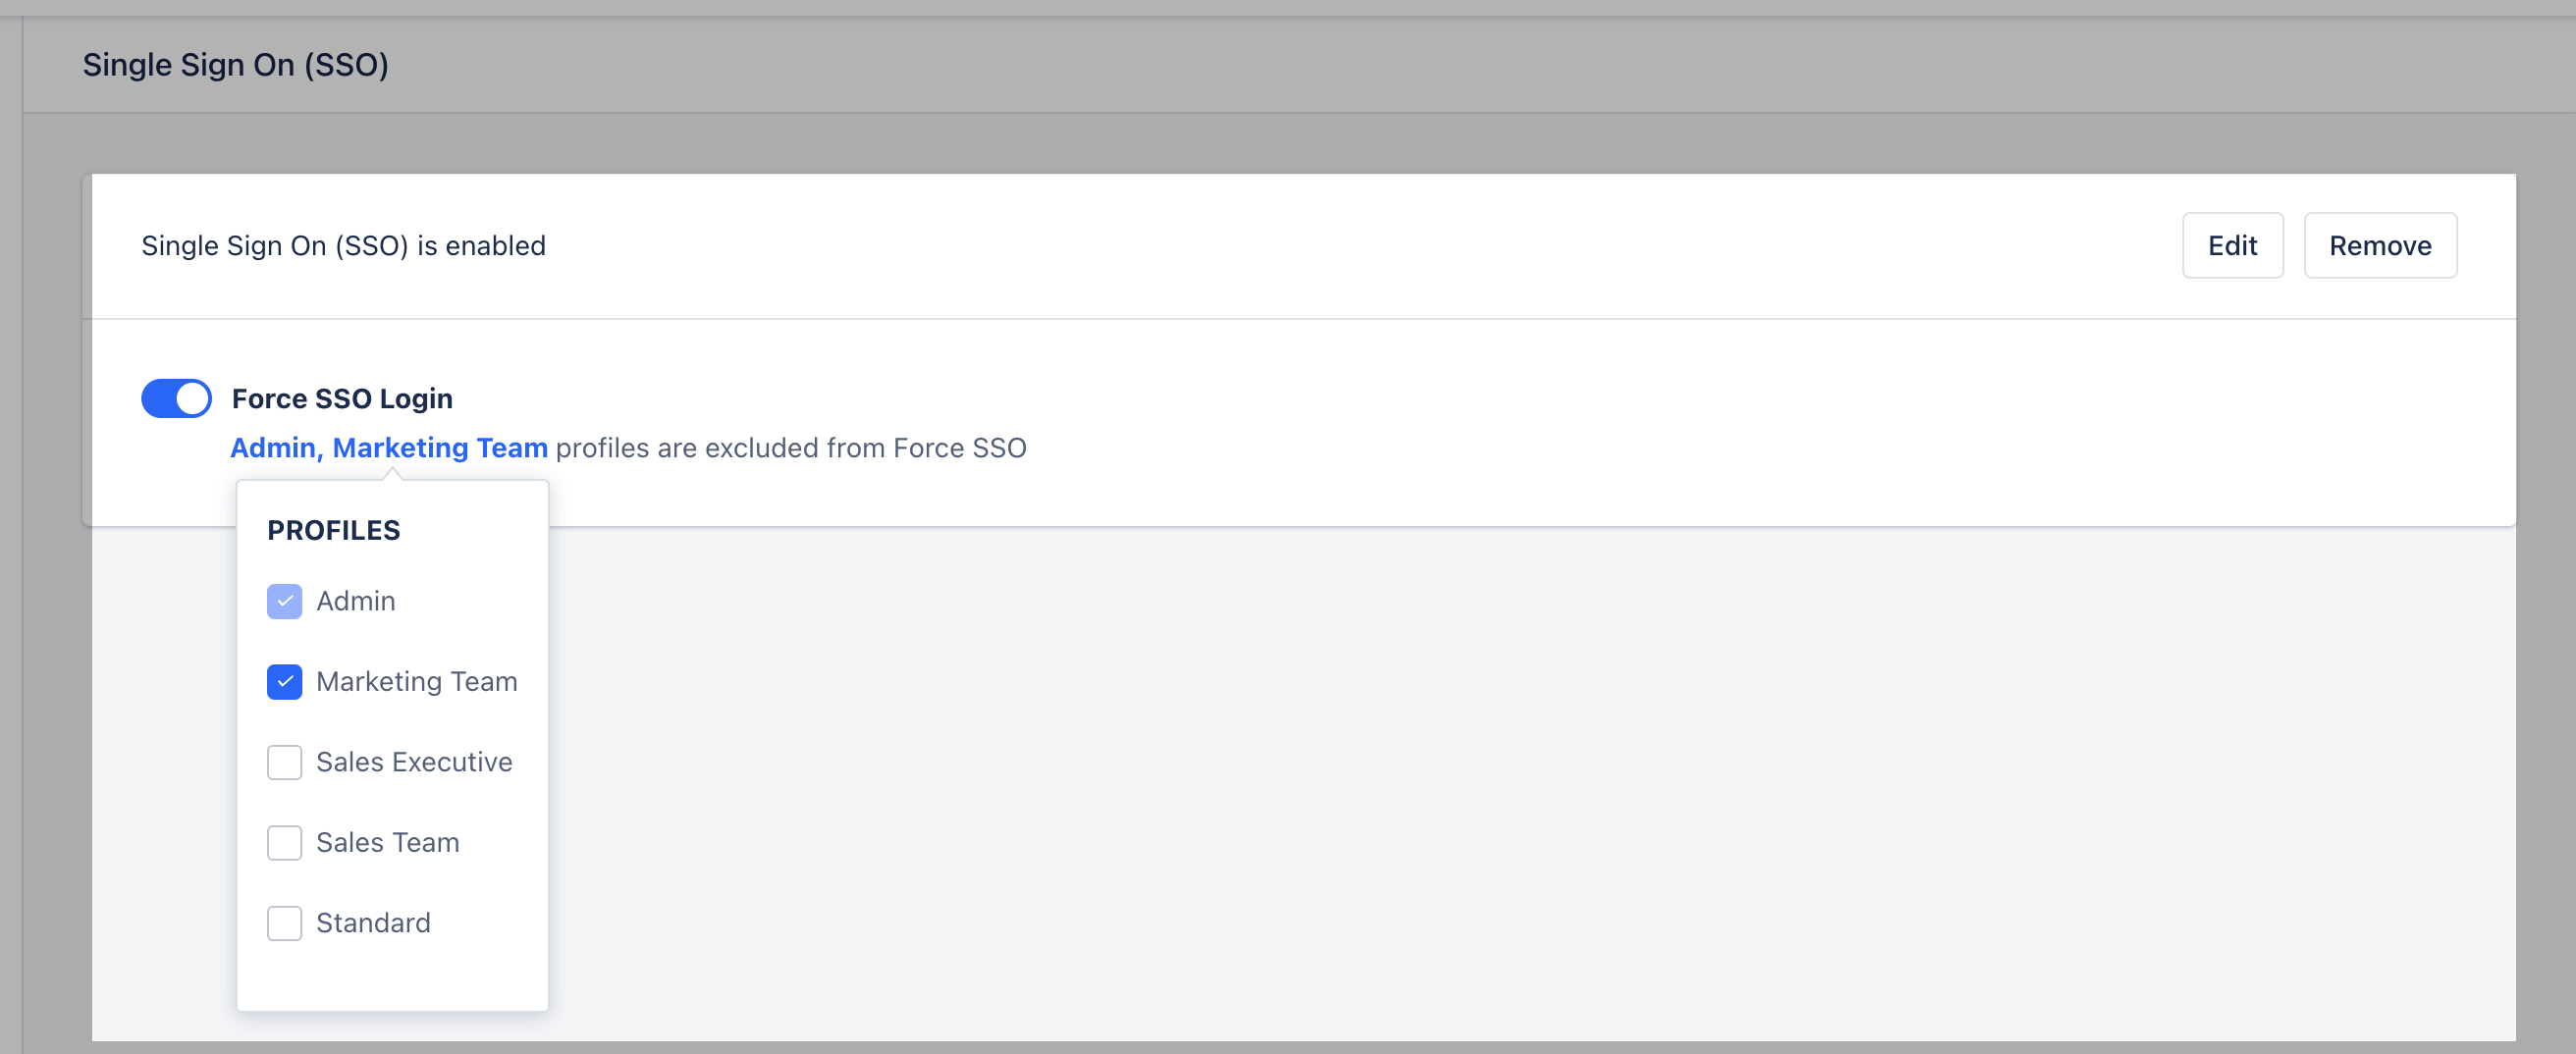
- Enable the “Force SSO login” option.
- Click Save.
What happens when you enable SSO login?
- If Forced SSO Login is enabled, users can log in only via your identity provider.
- If Forced SSO Login is enabled, login via password, 2FA, or Google will not work.
- If SSO is enabled but not forced, users can still log in via password, 2FA, and Google.
Configure SSO in Azure Active Directory
- Log in to your Azure Active Directory.
- Go to Enterprise Applications in the left sidebar.
- Click on + Create your application.
- Type Skara in the “What’s the name of your app?” text box.
- Select the option:Integrate any other application you don’t find in the gallery (Non-gallery).
- Assign users and groups
- Set up single sign-on
- Provision user accounts
- Enable self-service
Assign Users and Groups
Under Assign users and groups, you can specify which users or groups will have access to this application.Set up Single Sign-On (SAML)
- Under Set up single sign-on, select SAML.
- Under Set up Single Sign-on with SAML, configure the following:
Basic SAML Configuration
- Click Edit and copy the information from the Skara SSO page.
- Copy the **Identifier ID (Issuer / Service Provider Issuer ID)**and Reply URL (Assertion Consumer Service URL / ACS URL).
User Attributes & Claims
- Click Edit and Add new claim.
-
- Name: Email
- Source attribute: user.mail
email is the only required claim. Other claims are optional and can be added to provide more information in case of connection failures.
SAML Signing Certificate
- Download the Federation Metadata XML.
- Open it in Notepad.
- Search for
<X509Certificate>. - Copy the key value between the tags
<X509Certificate>and</X509Certificate>. - Paste it into the Security Certificate Fingerprint field on the SSO page in Skara.
💡 Tip: To avoid MDX parsing issues, do not remove the backticks around tags.
Set up Salesmate
- Copy the Login URL to the SAML Login URL field on the SSO page in Skara.
- Copy the Logout URL to the Logout URL field on the SSO page in Skara.
- Once completed, click Save & Verify on the SSO page in Salesmate to verify the setup.
- You can also test this by clicking on the Test button from Azure’s Single Sign-on page under Test single sign-on with Skara.
Known Errors & Solutions
- Error: Malformed request detected!!!
- Solution: Check if the Certificate key is correctly entered.
-
- -Error: Cannot find a user with the same email address
- Solution: Ensure that the correct claim with the name email is mapped to the source attribute user.mail.
If you are still facing any issues, feel free to reach out to our support team via chat or email us at support@salesmate.io.