Topics covered
- Configure the Google Account
- Configure the Microsoft Account
- Sync Folders
- Delete and Archive Options
- Disable Sync
- Stop Sync
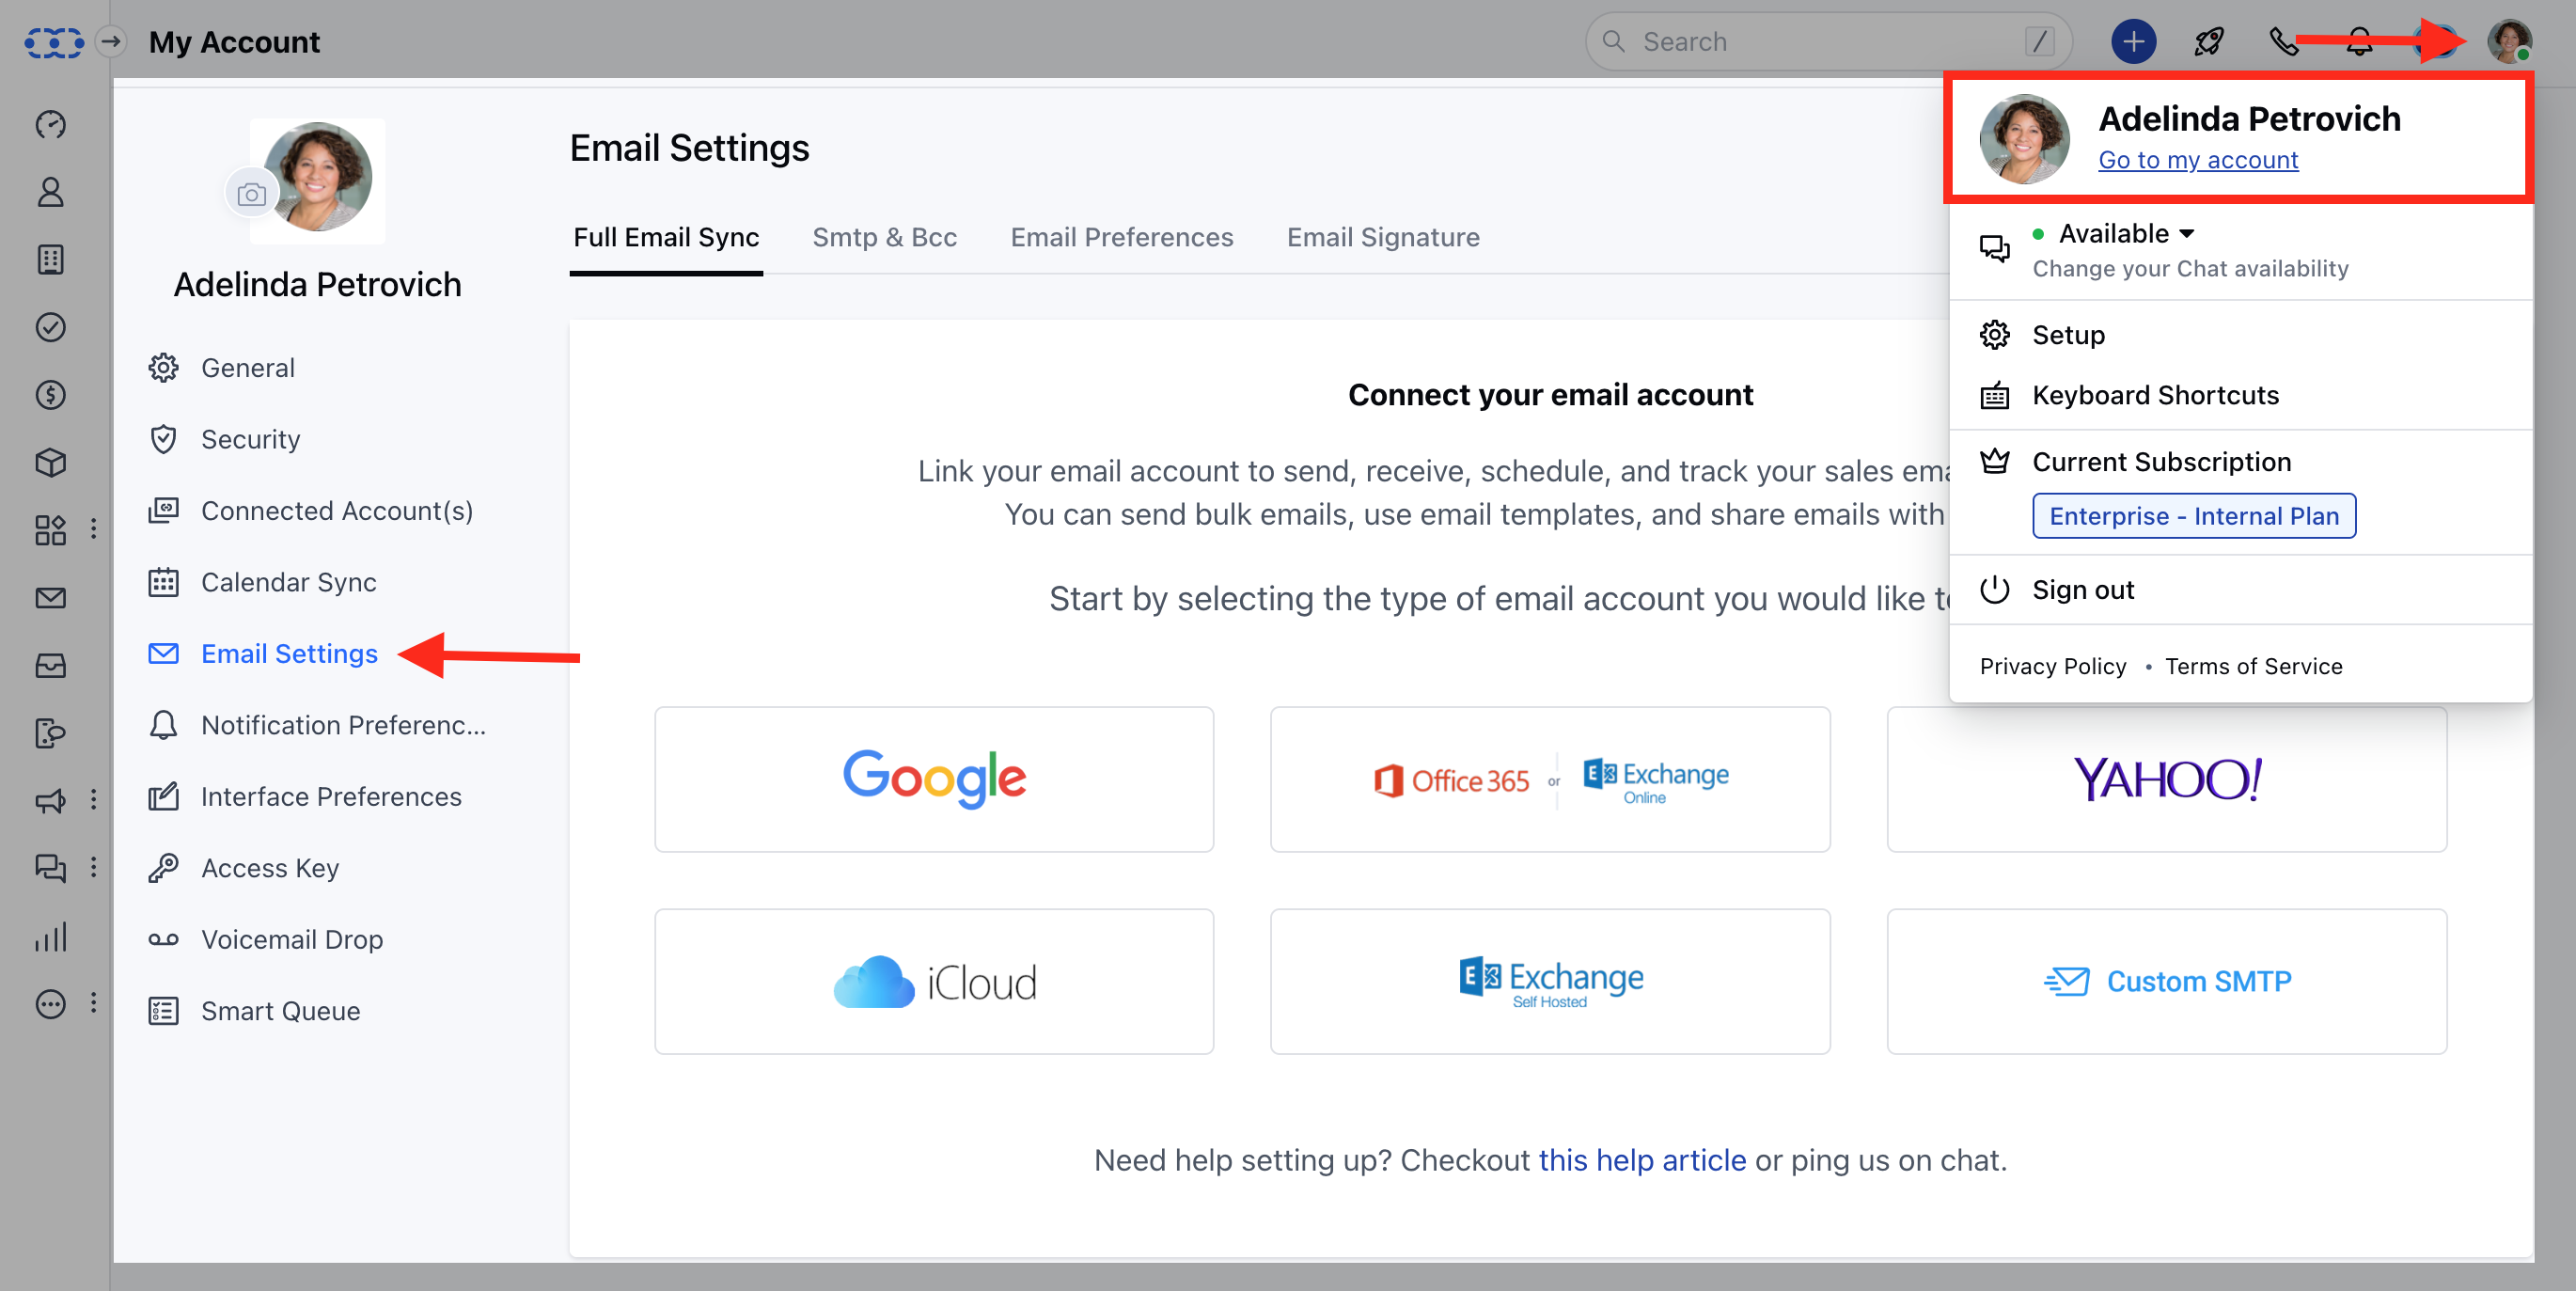
To Set Up Your Full Email Sync or Change Your Email Settings
- Navigate to the Profile icon on the top-right corner.
- Click on Go to My Account.
- Head to Email Settings → Full Email Sync.
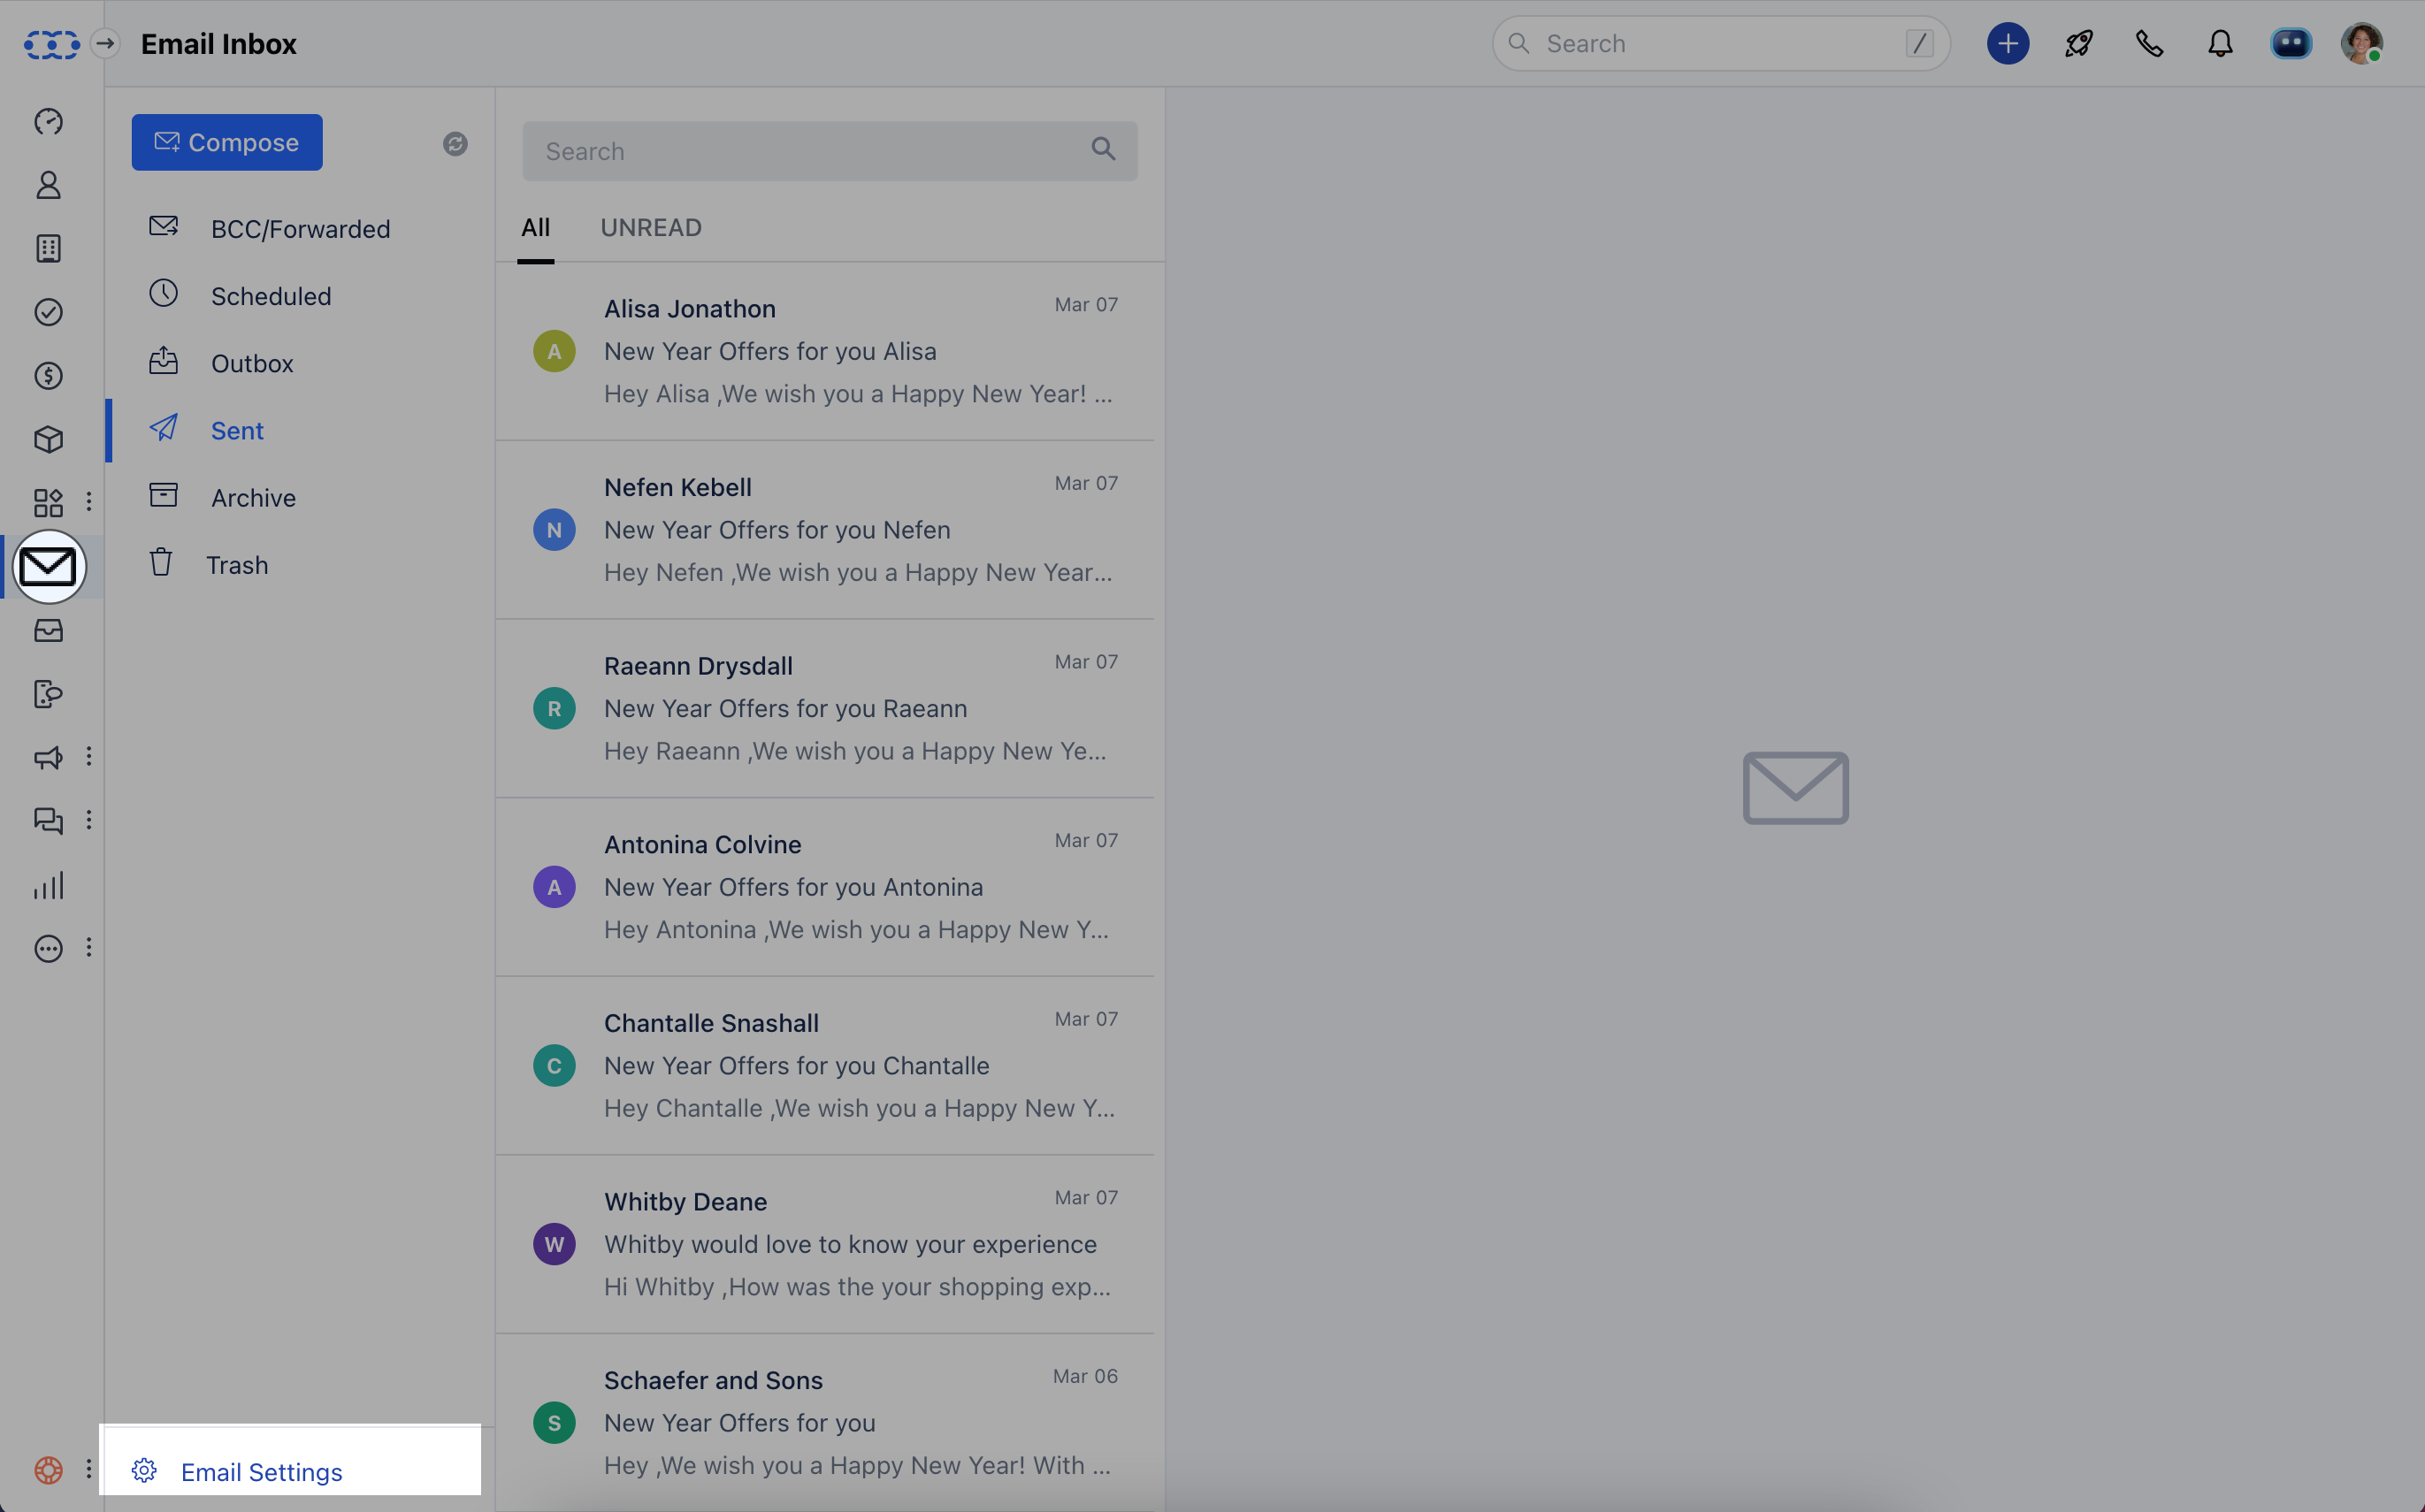
- Navigate to your Email icon on the left menu bar.
- Click on Email Settings at the bottom left.
The folder listing will initiate, and syncing will start automatically.
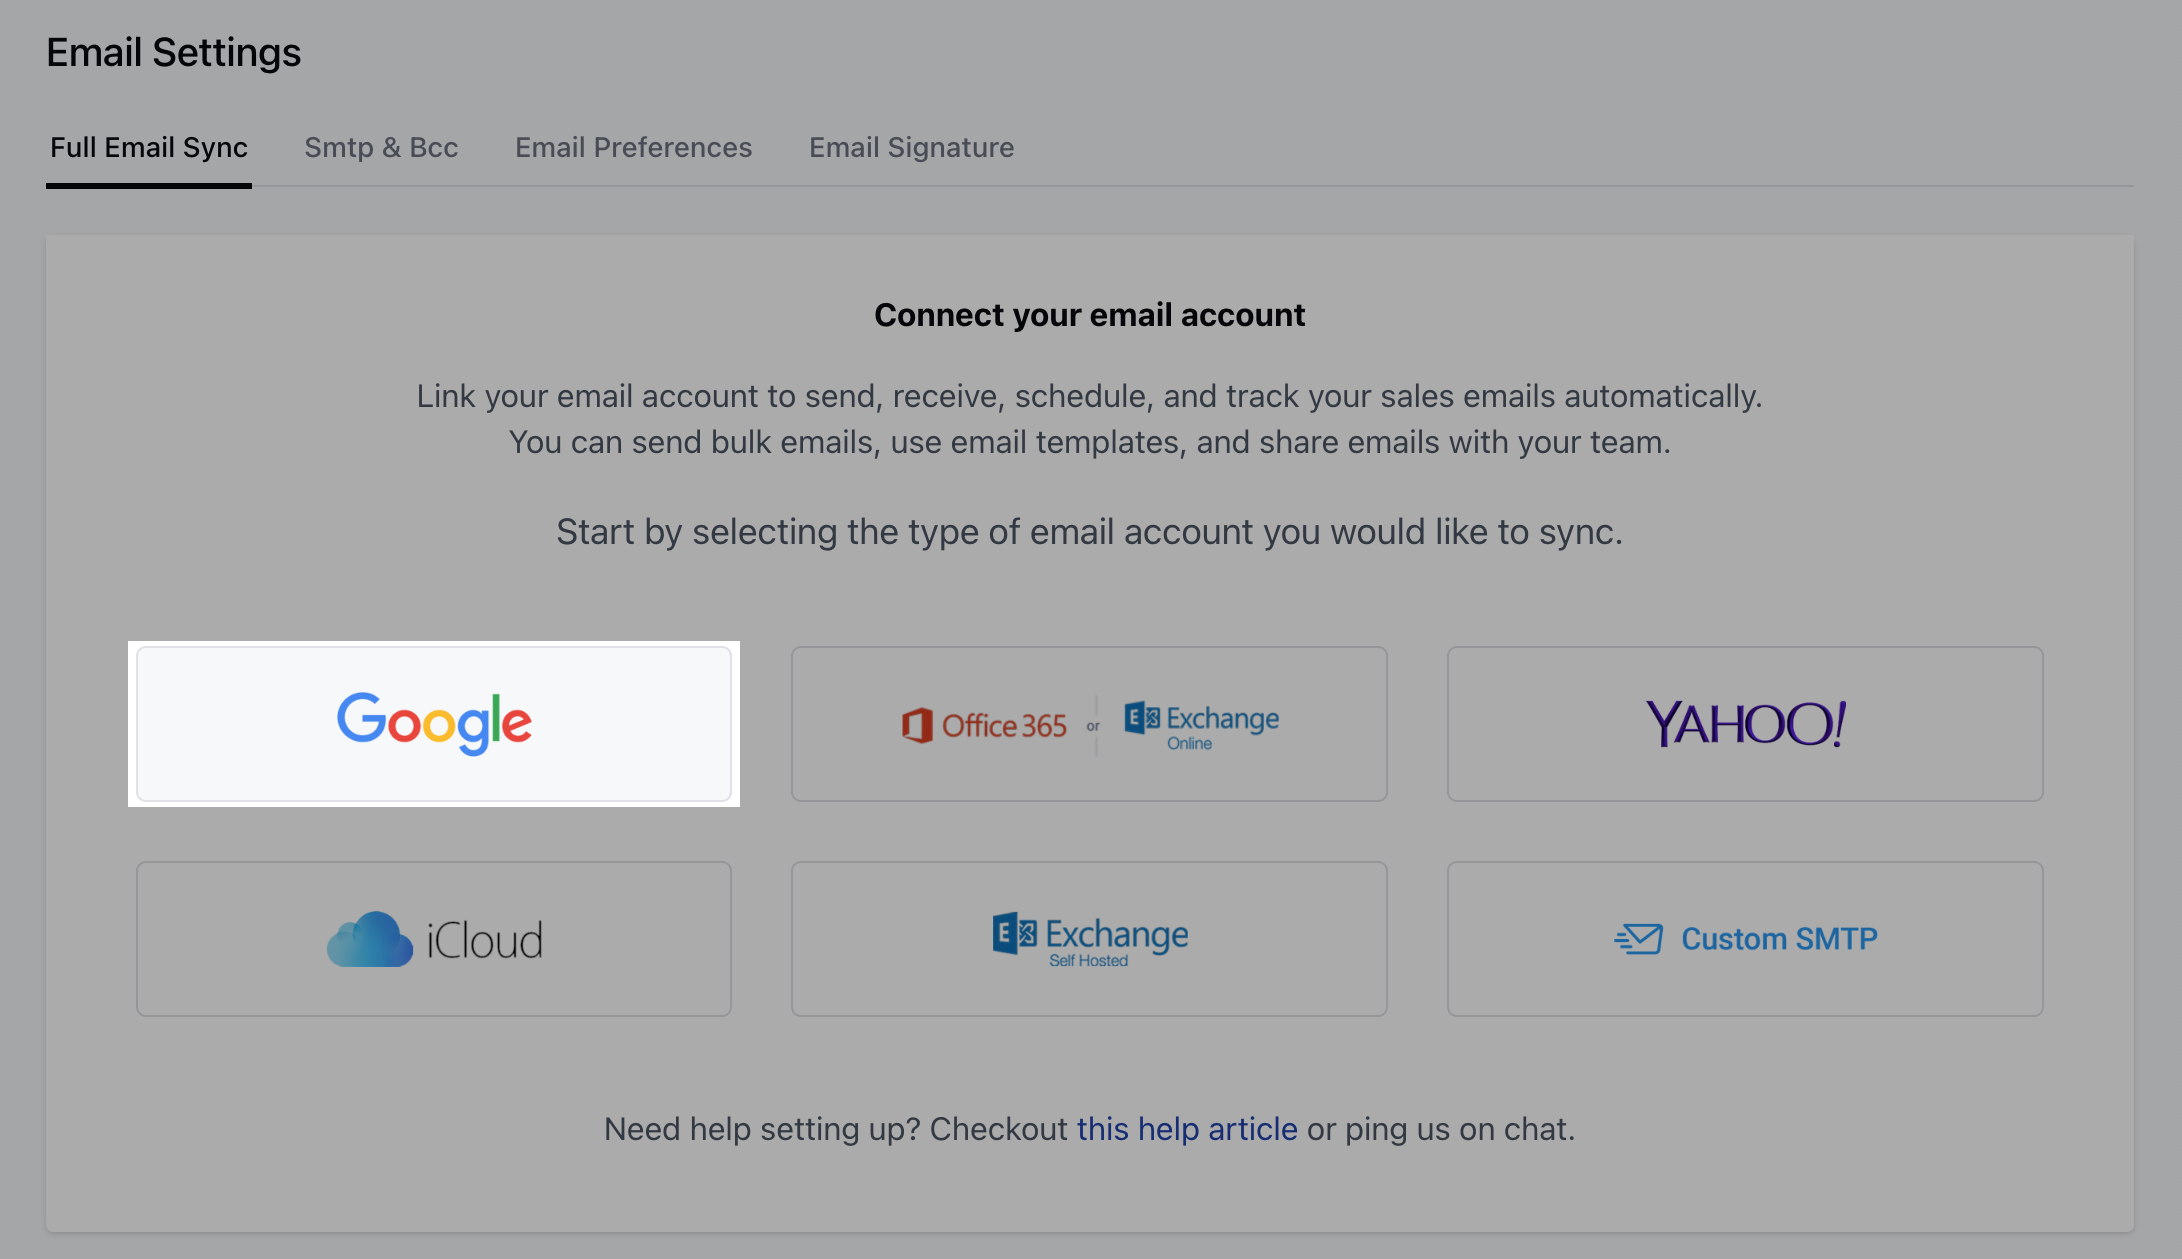
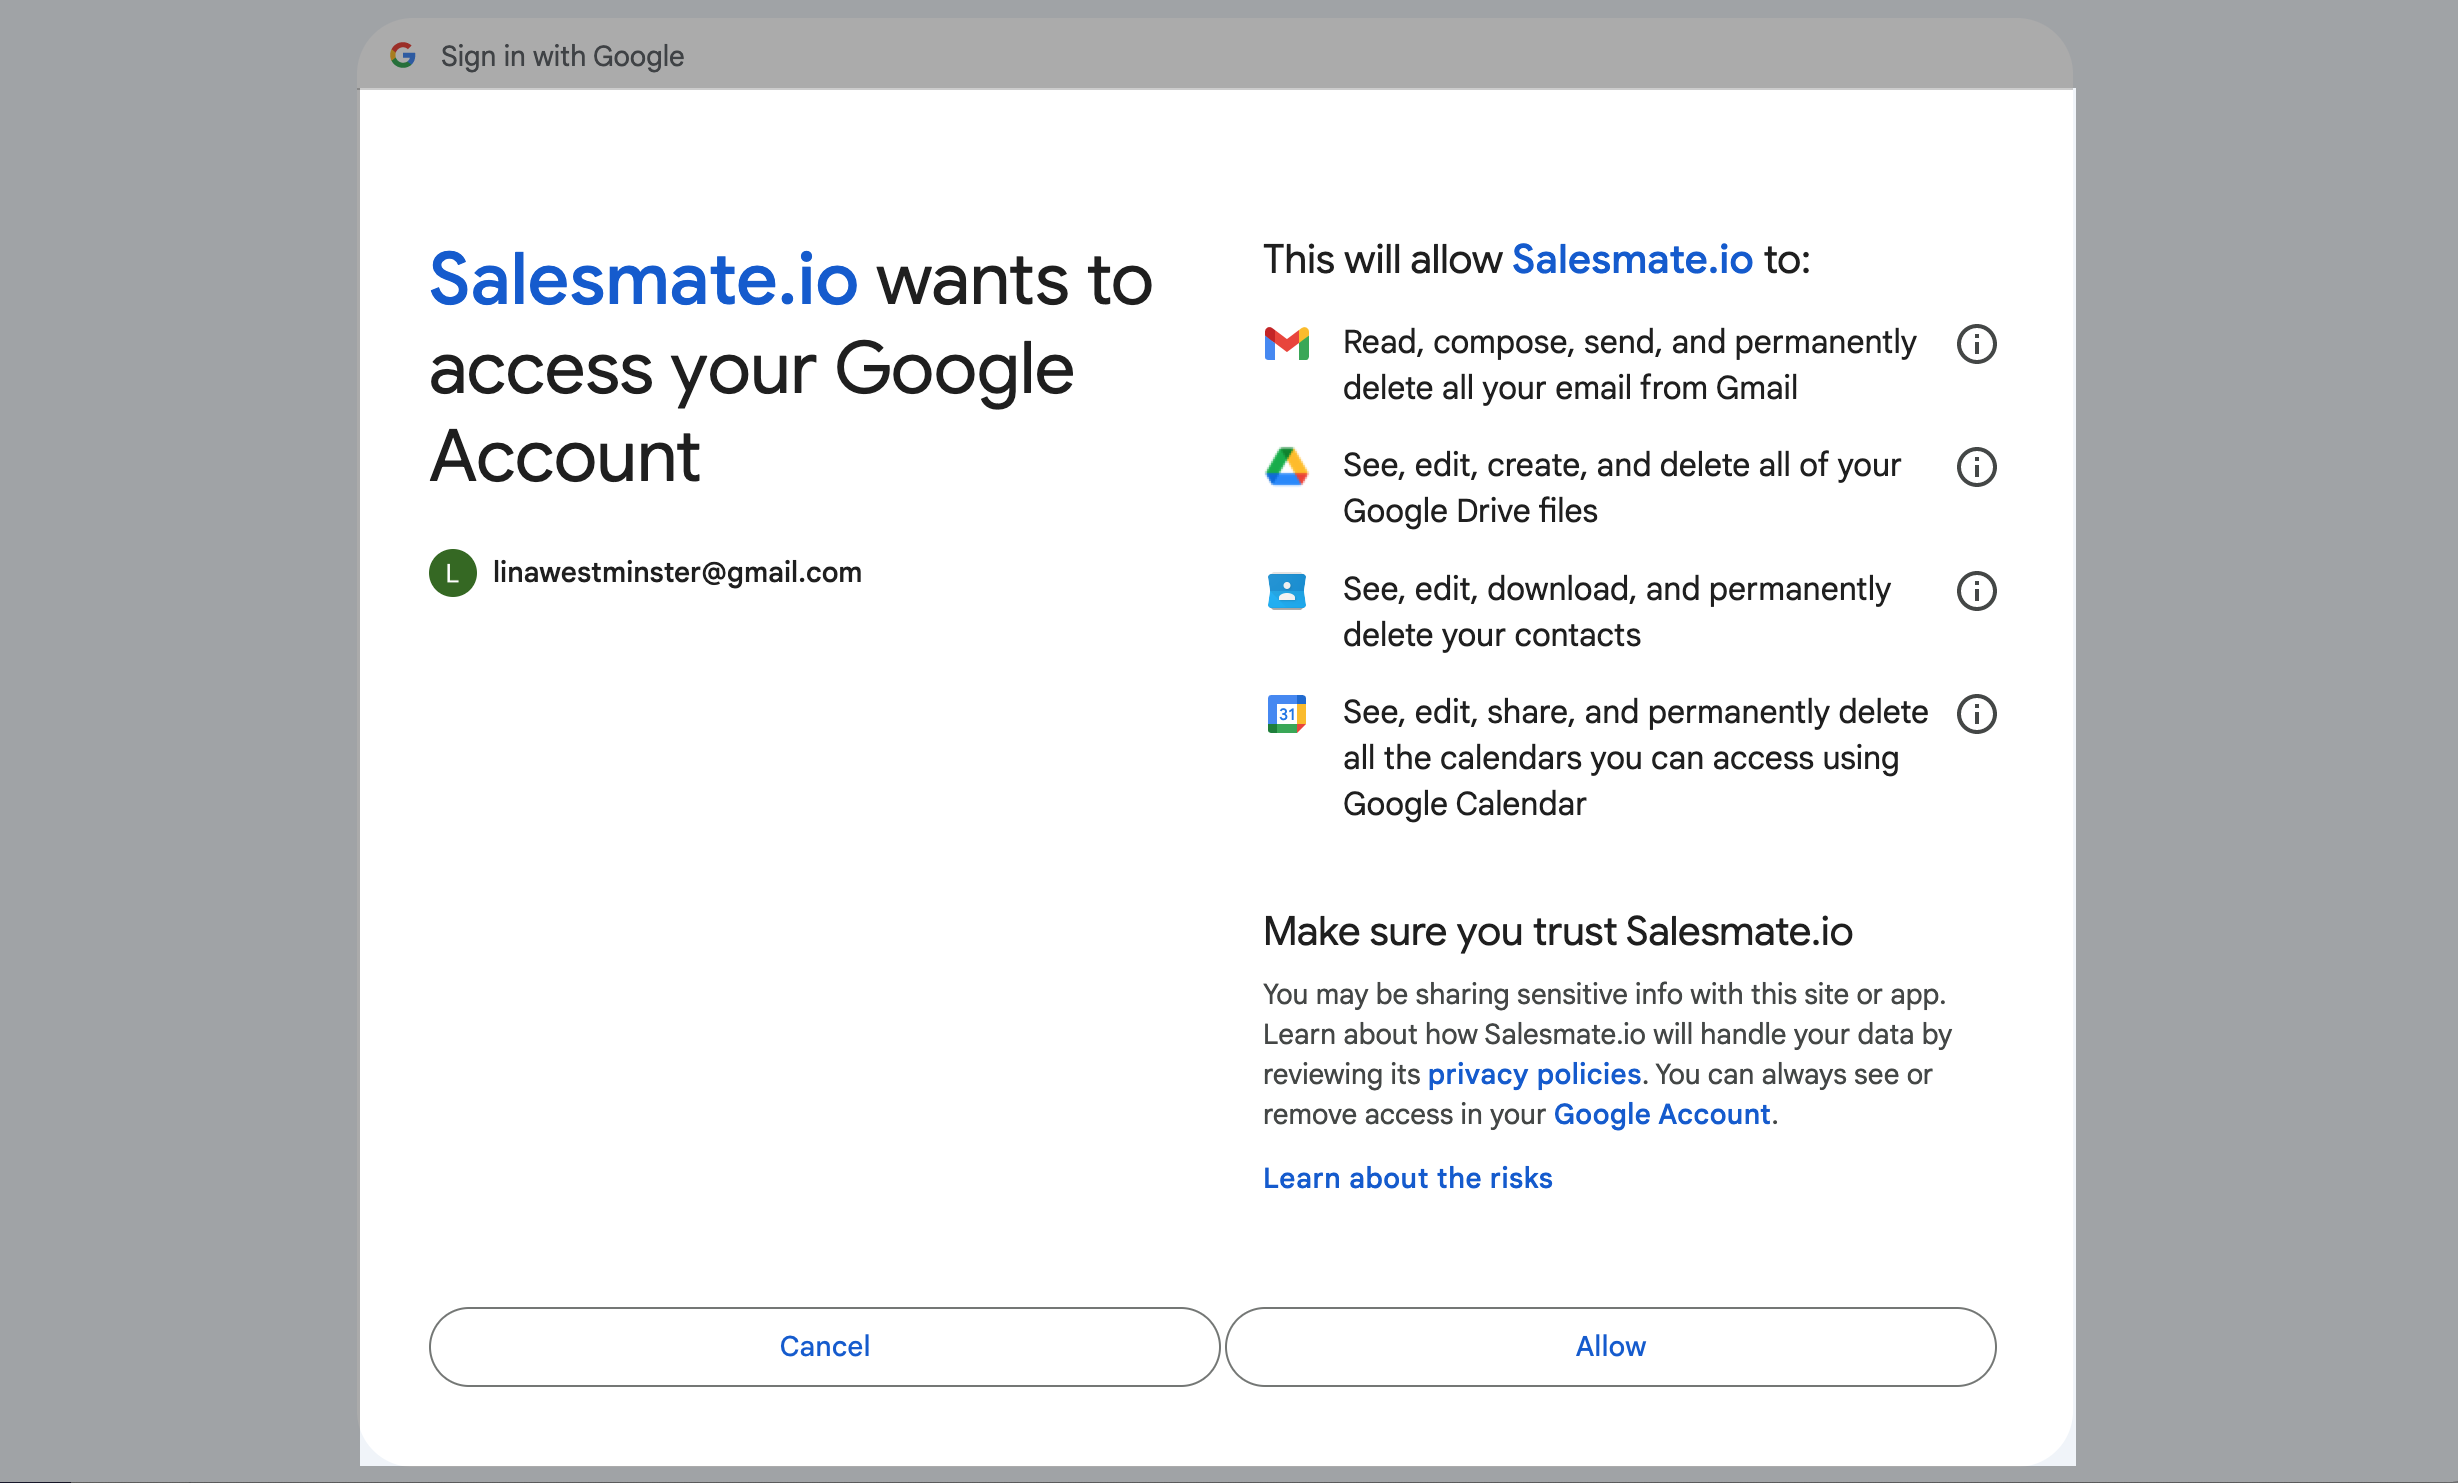
Configure the Google Account
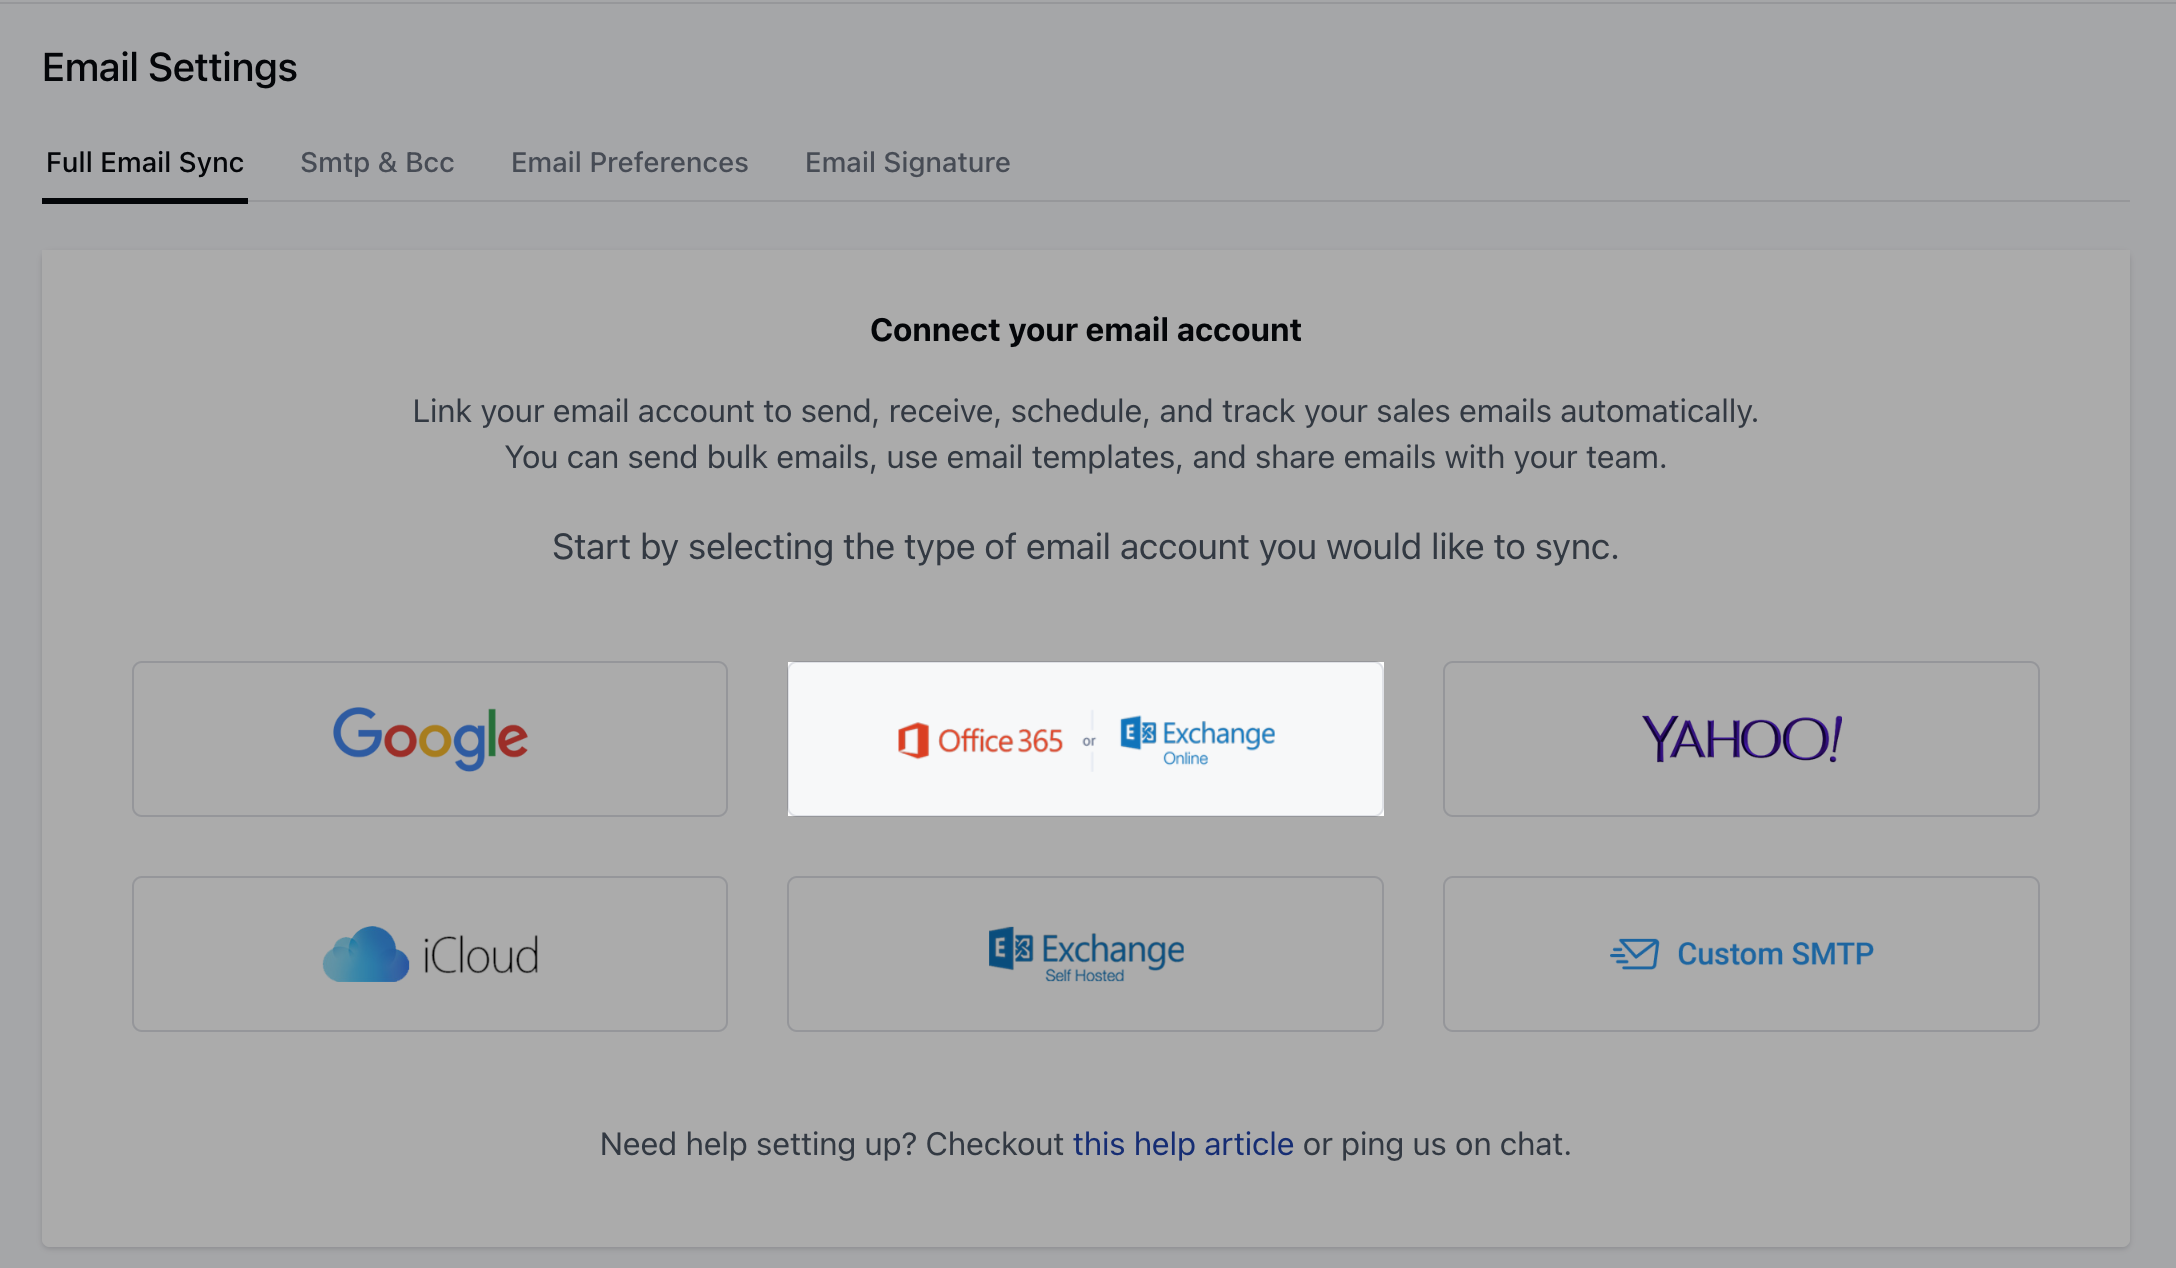
To configure a Google Email account for full email sync:- Select Google as your email provider.
- Choose an account to continue to Salesmate.io.
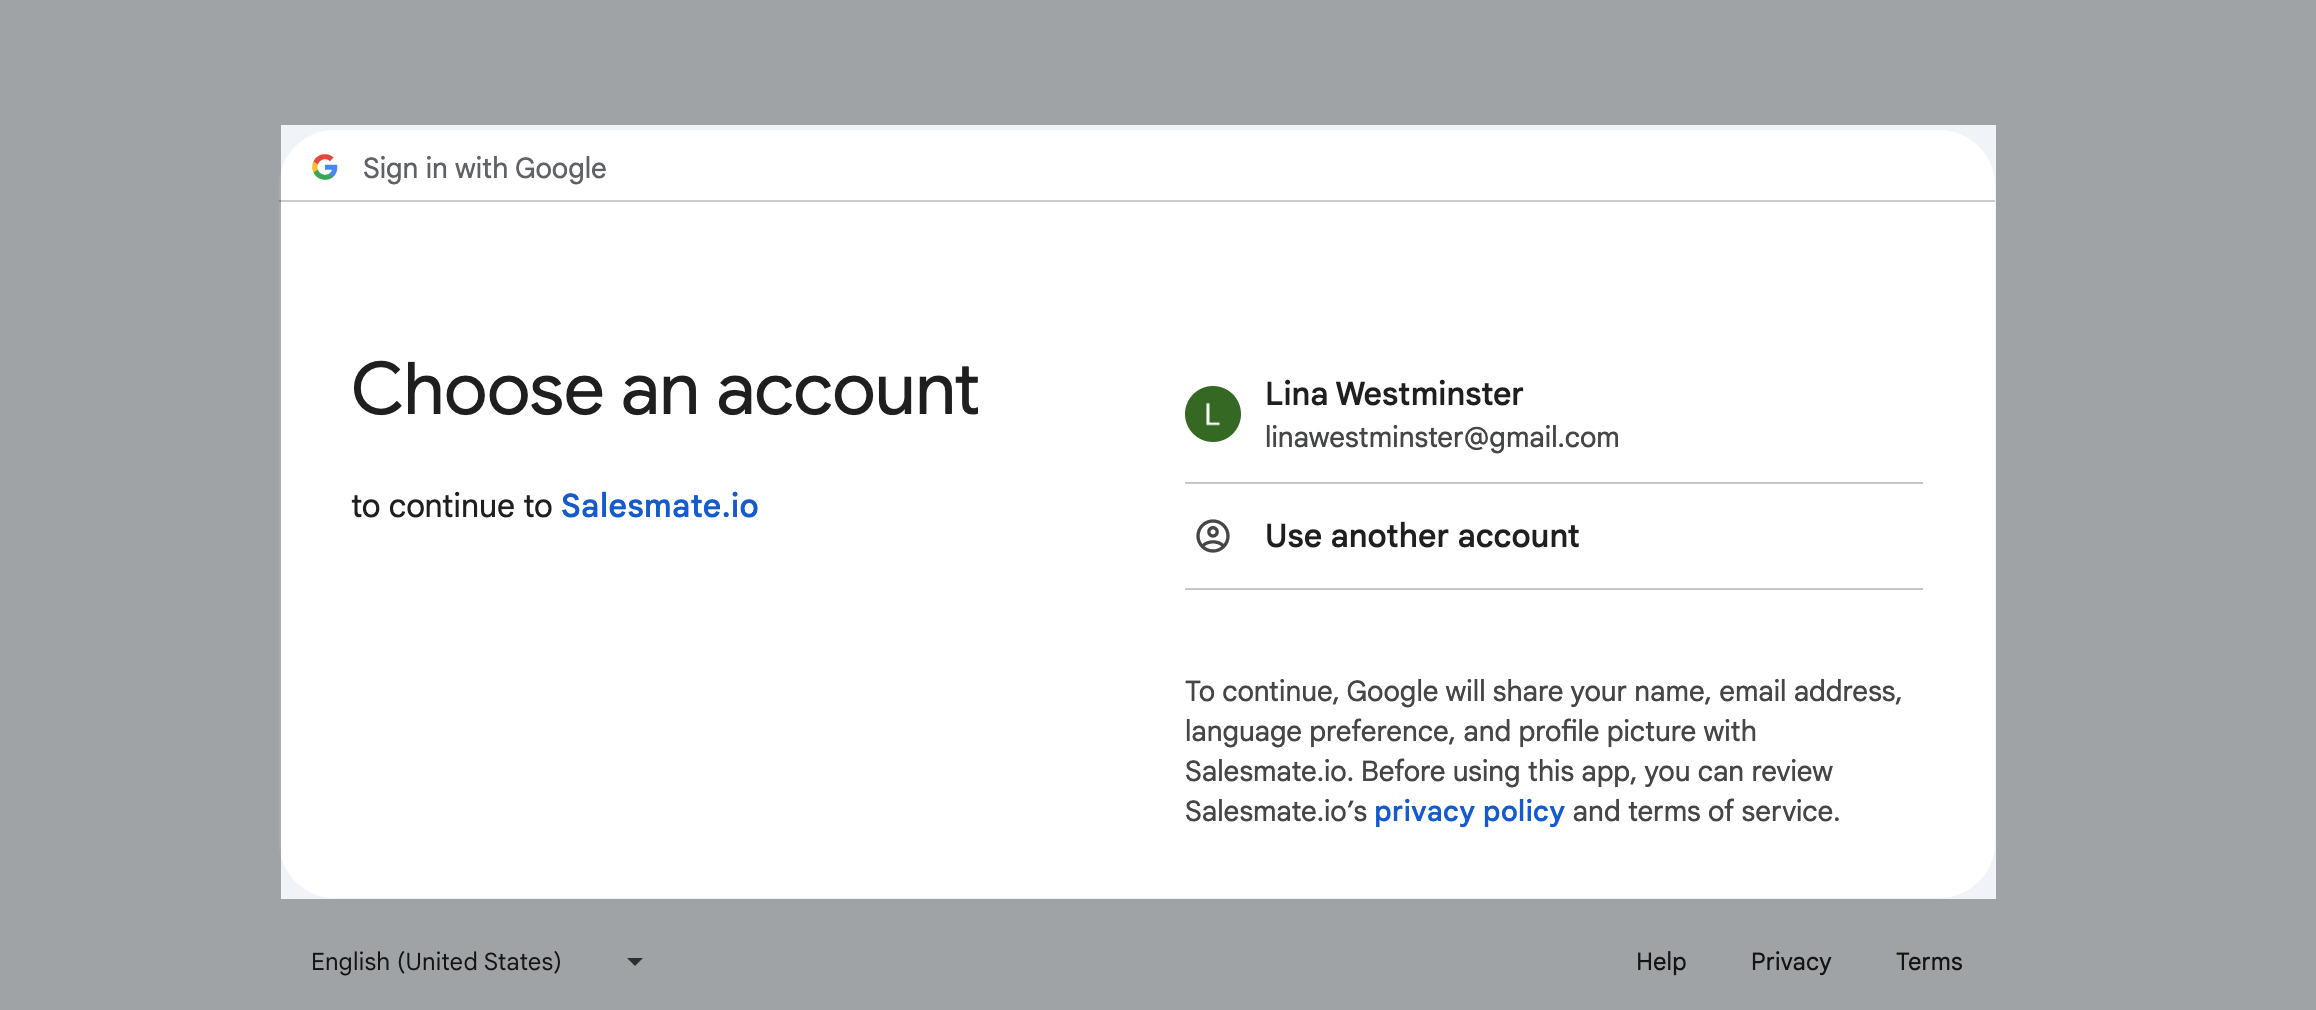
- Provide necessary permissions for access.
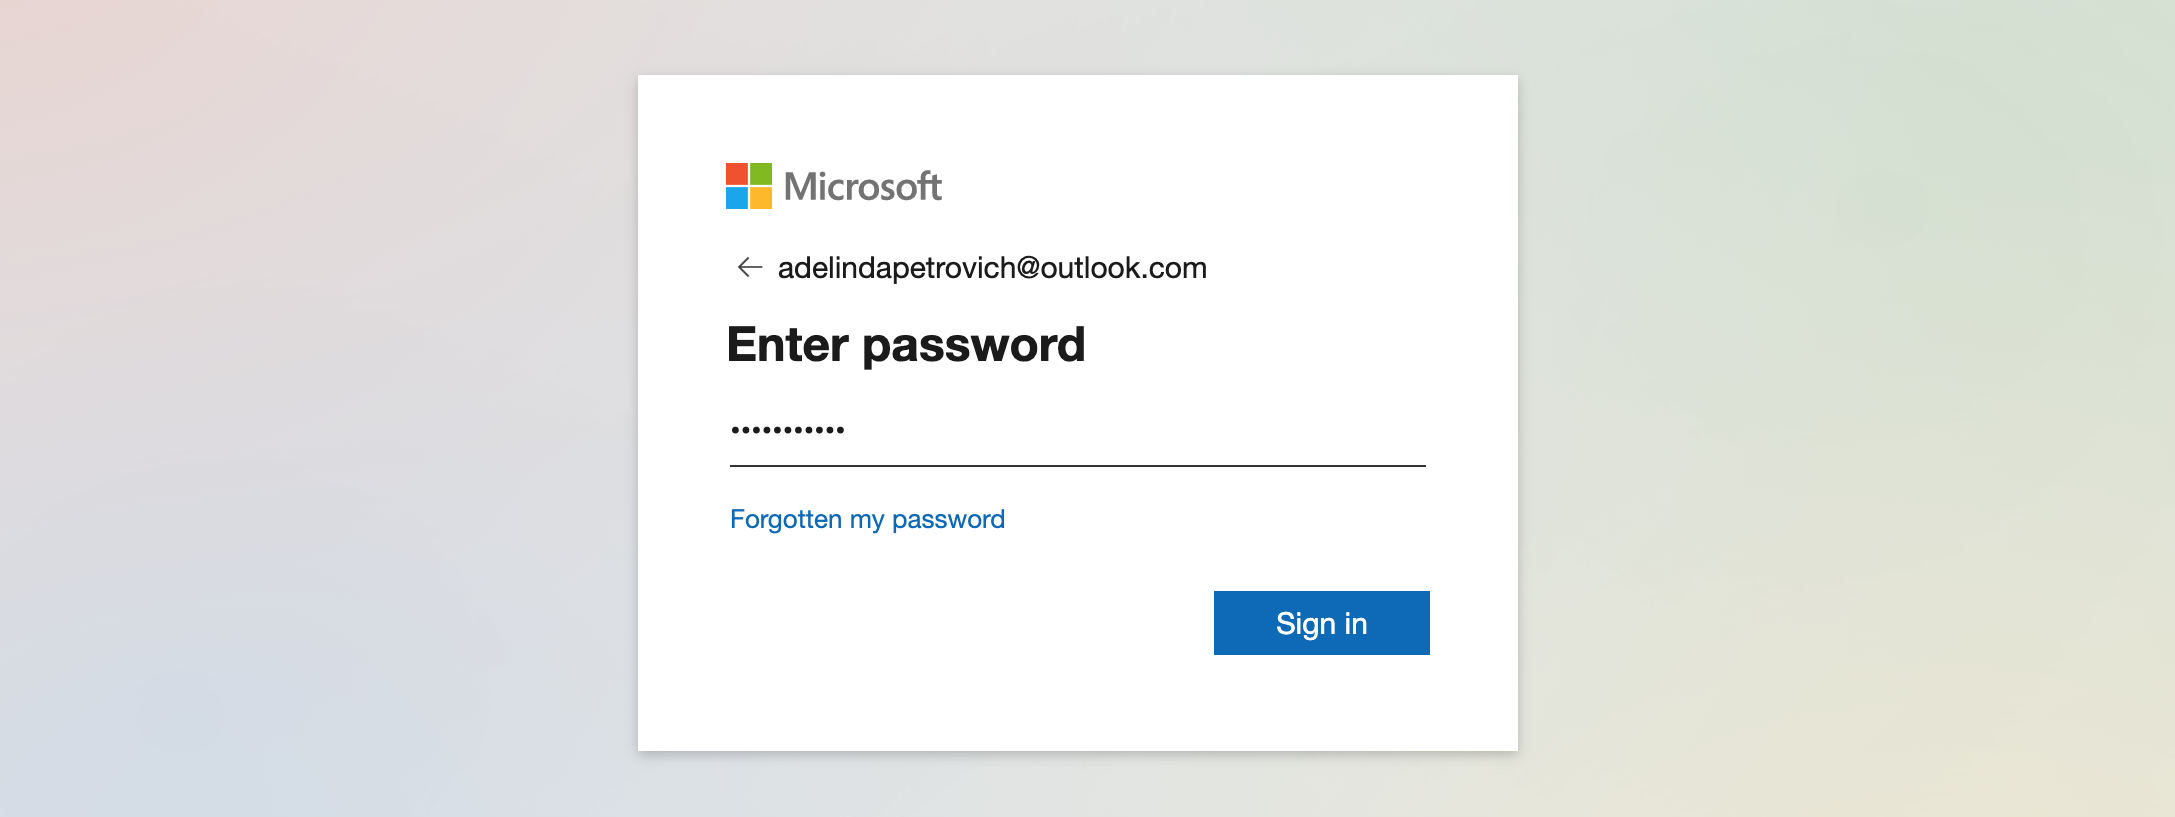
Configure the Microsoft Account
To configure a Microsoft/Office 365 account for full email sync:- Select Office 365 or Exchange Office as your email provider.
- You can configure both Online Microsoft Email and Online Business accounts for synchronization.
- After selecting the provider, choose your account for sync.
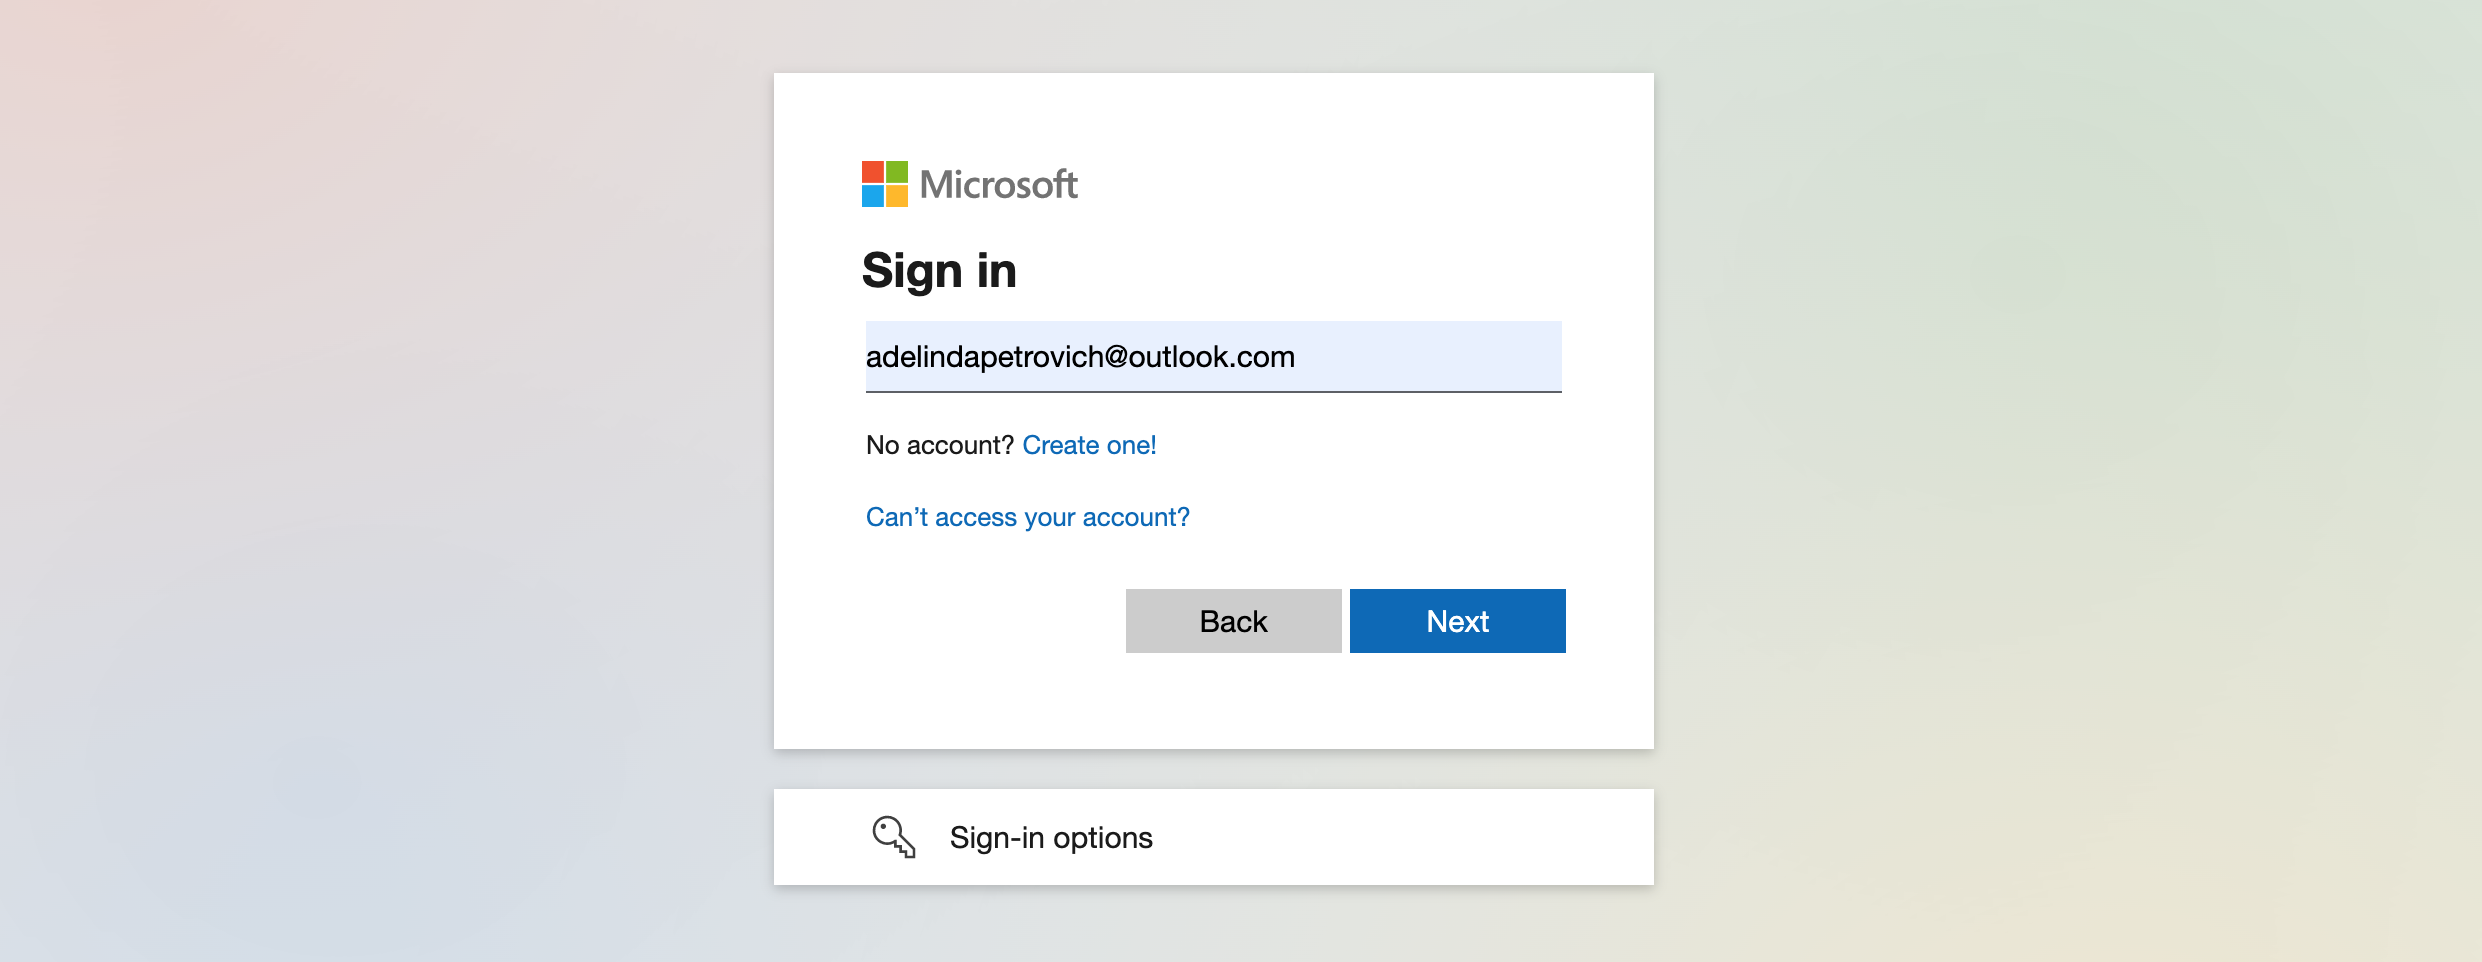
- Enter your password.

Emails sent from Salesmate will automatically appear in your Sent folder. By connecting your account:
- You can send and receive emails within Salesmate or your preferred email client.
- Salesmate automatically tracks conversations with contacts, activities, and deals.
- You can choose to sync all folders or specific folders during setup.
- There’s no need to BCC Salesmate — syncing handles it automatically.
- Salesmate initially fetches the last 60 days of emails; older emails won’t be fetched, but new ones will sync automatically going forward.
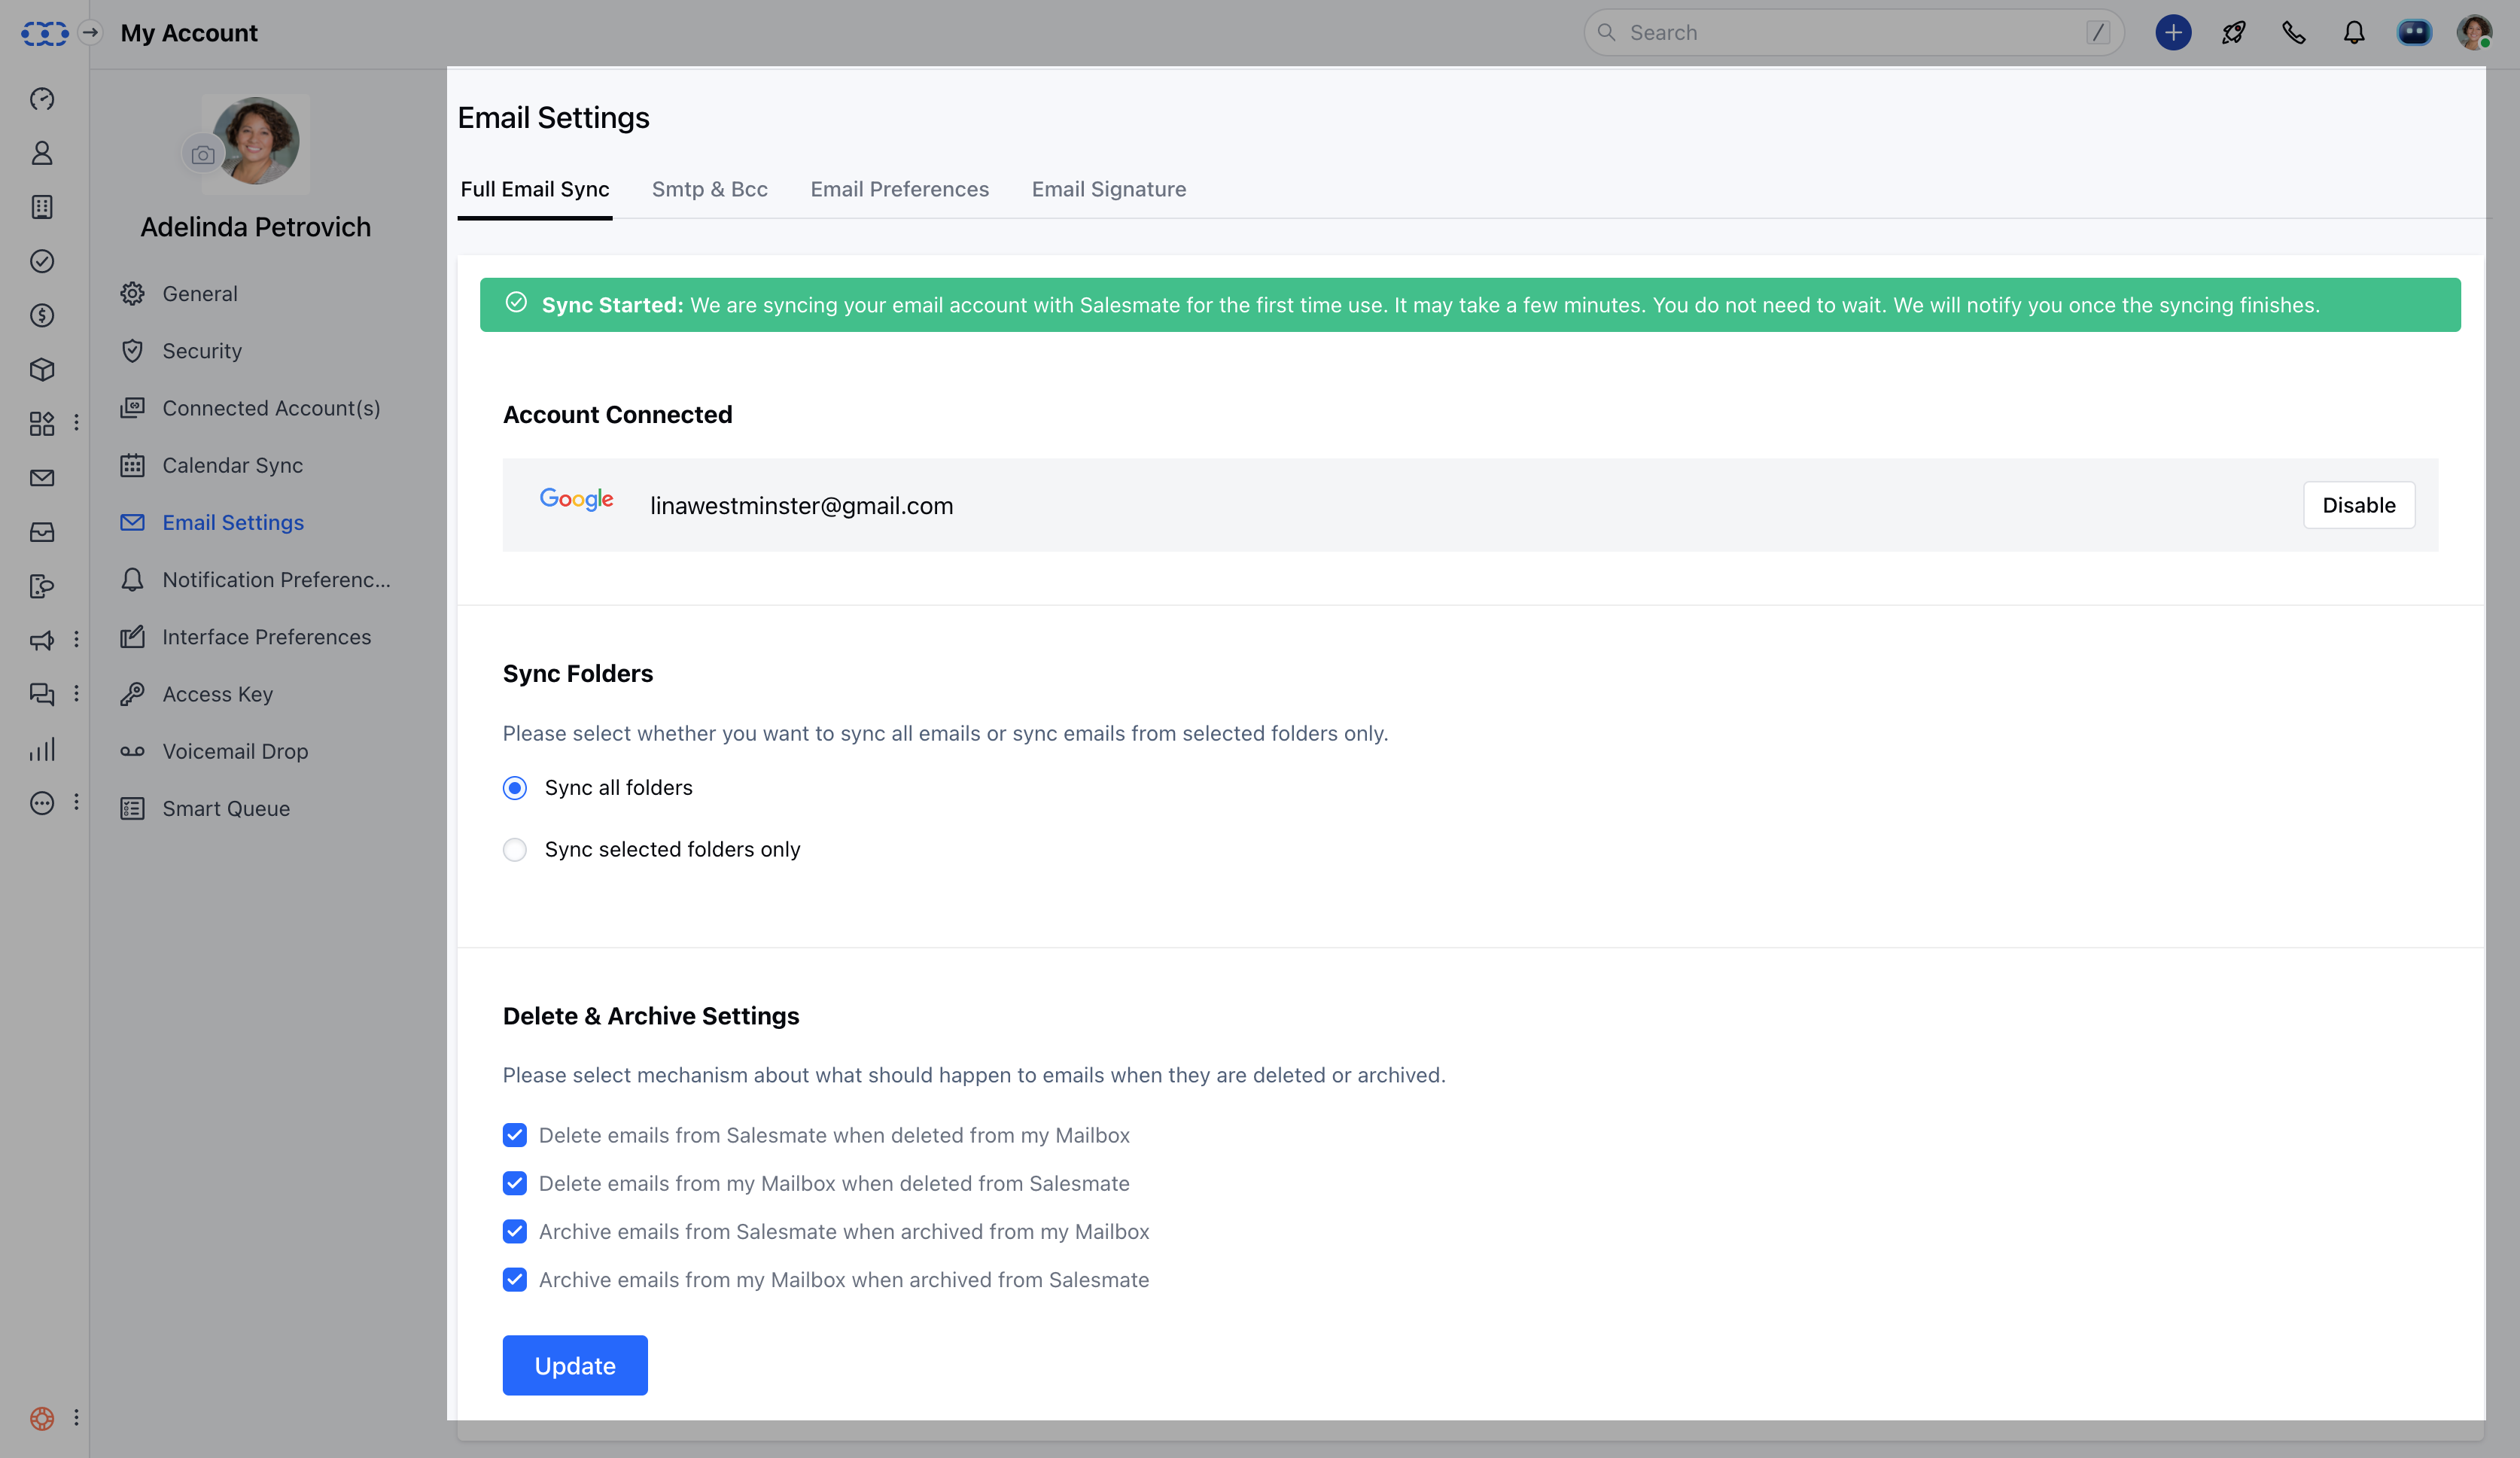
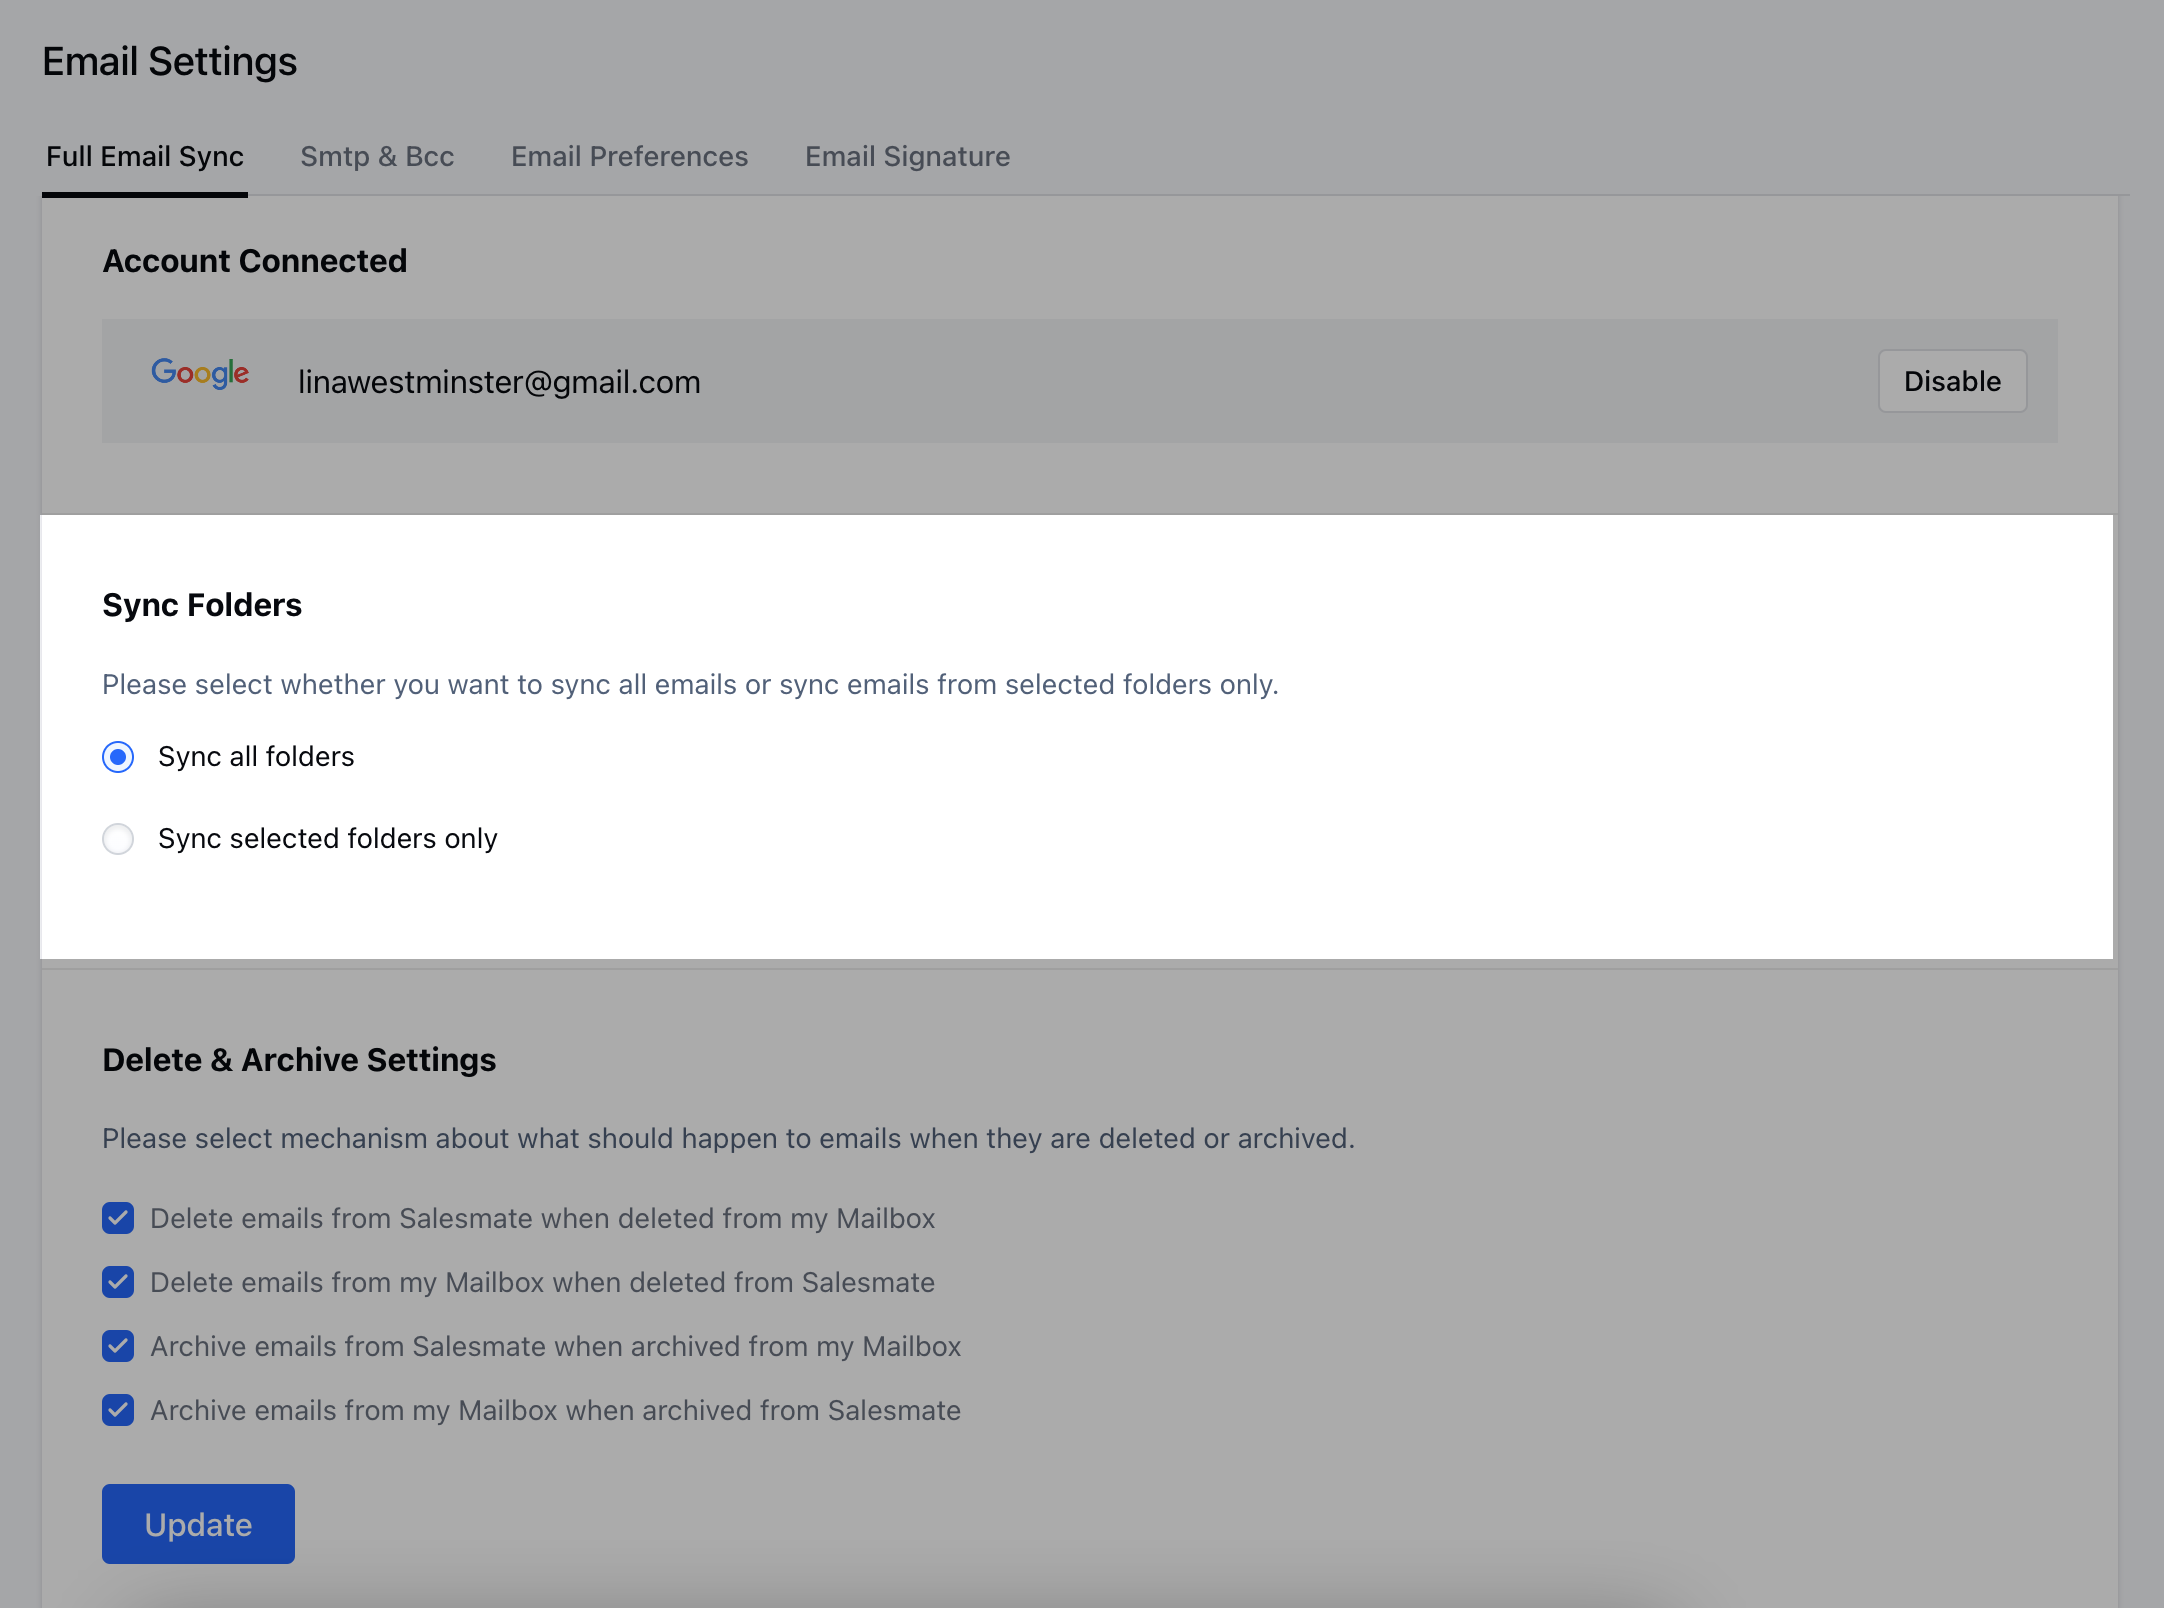
Sync Folders
Once sync begins, folder listing will start automatically. You can choose:-
Sync All Folders: Syncs all folders in your connected account.\
-
Sync Selected Folders Only: Choose specific folders to sync.\
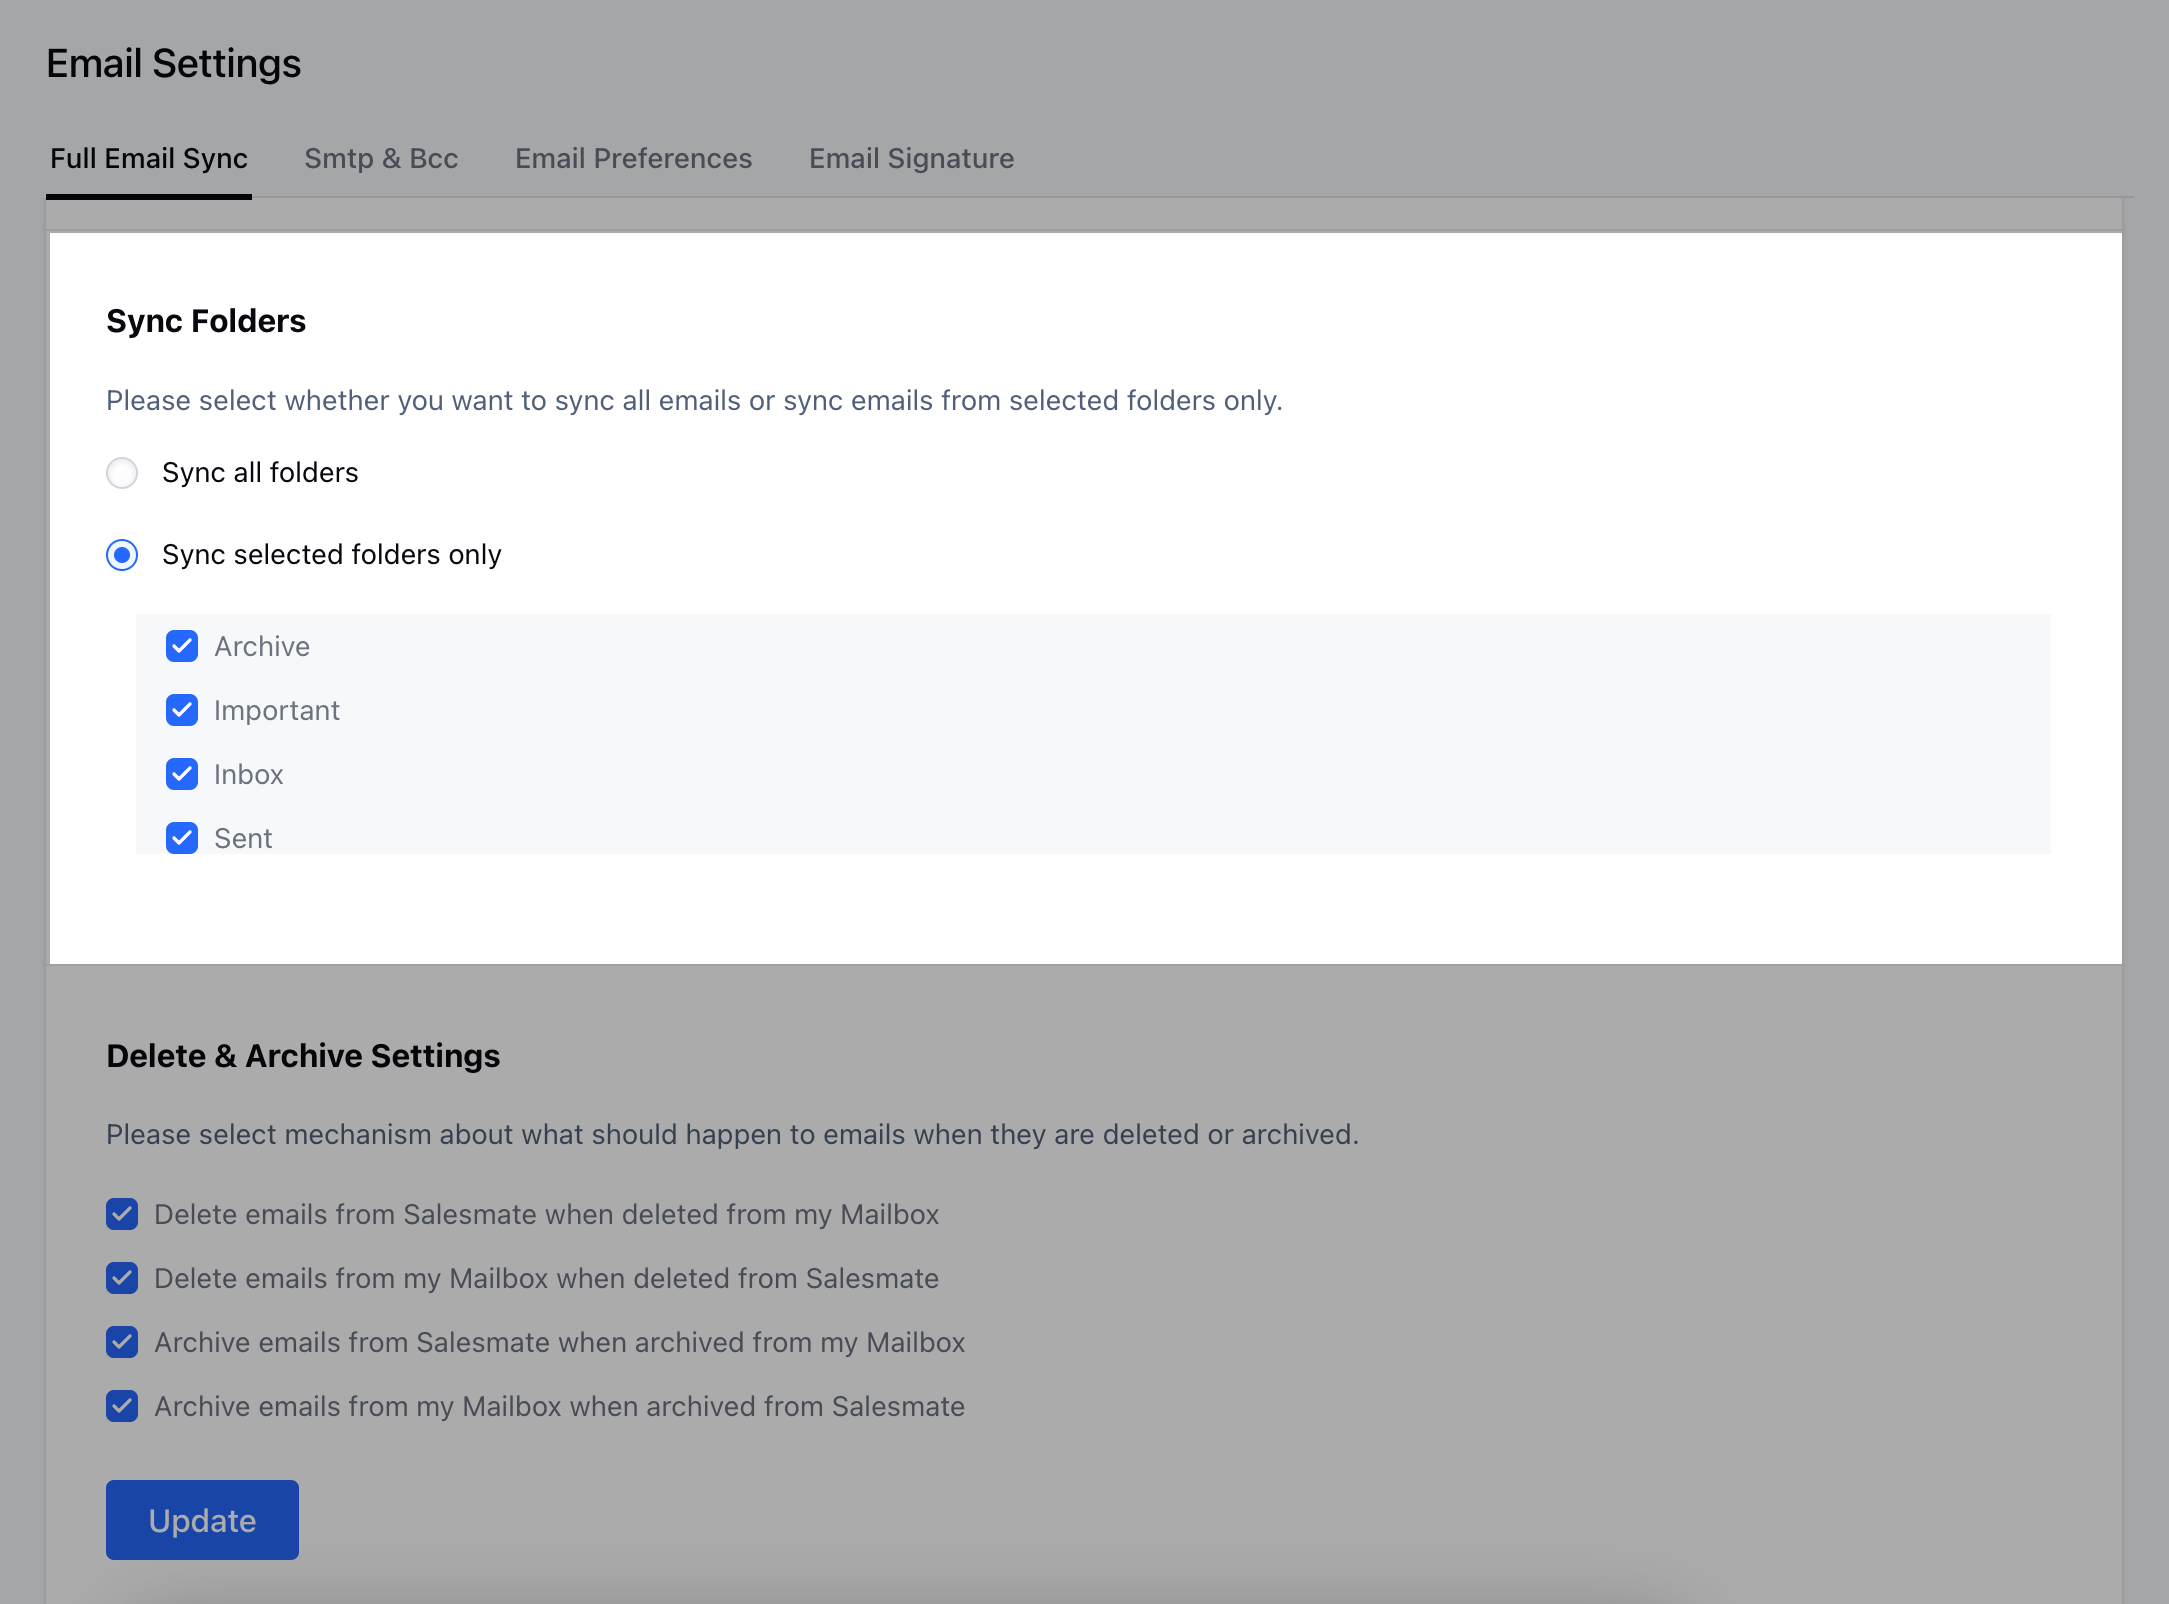
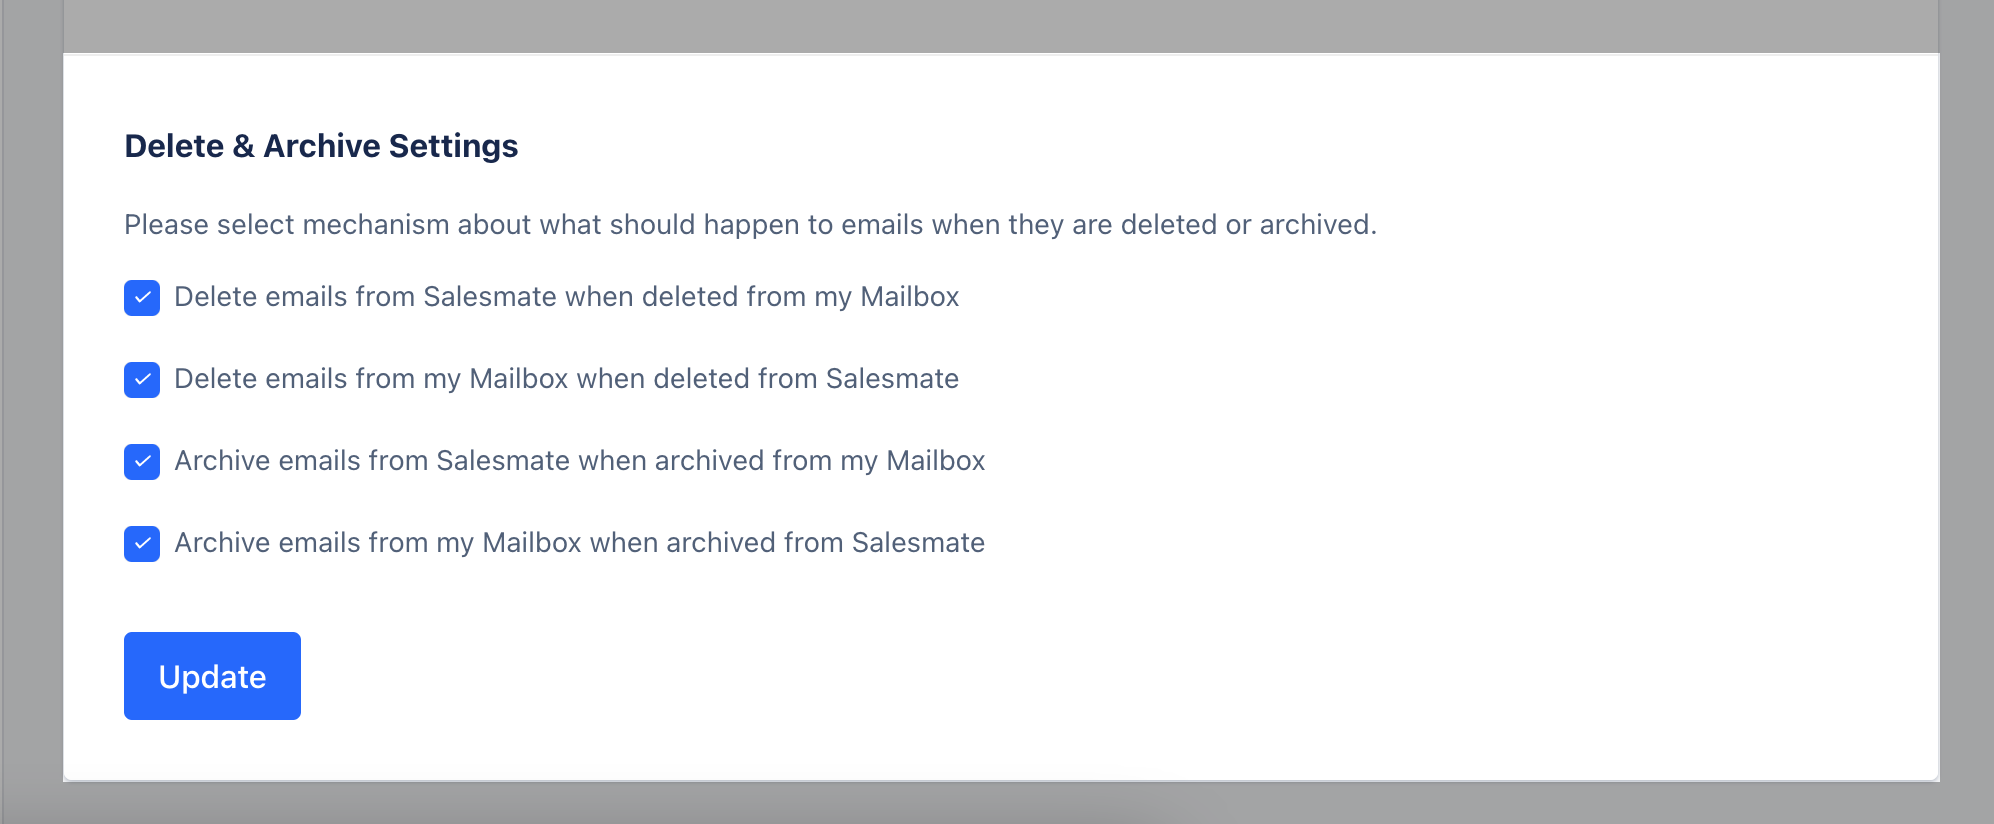
Delete and Archive Options
You can configure how deletes and archives are handled:- Delete emails from Salesmate when deleted from your mailbox.
- Delete emails from your mailbox when deleted from Salesmate.
- Archive emails from Salesmate when archived from your mailbox.
- Archive emails from your mailbox when archived from Salesmate.
Disable Sync
You can temporarily stop syncing your full email account by clicking Disable.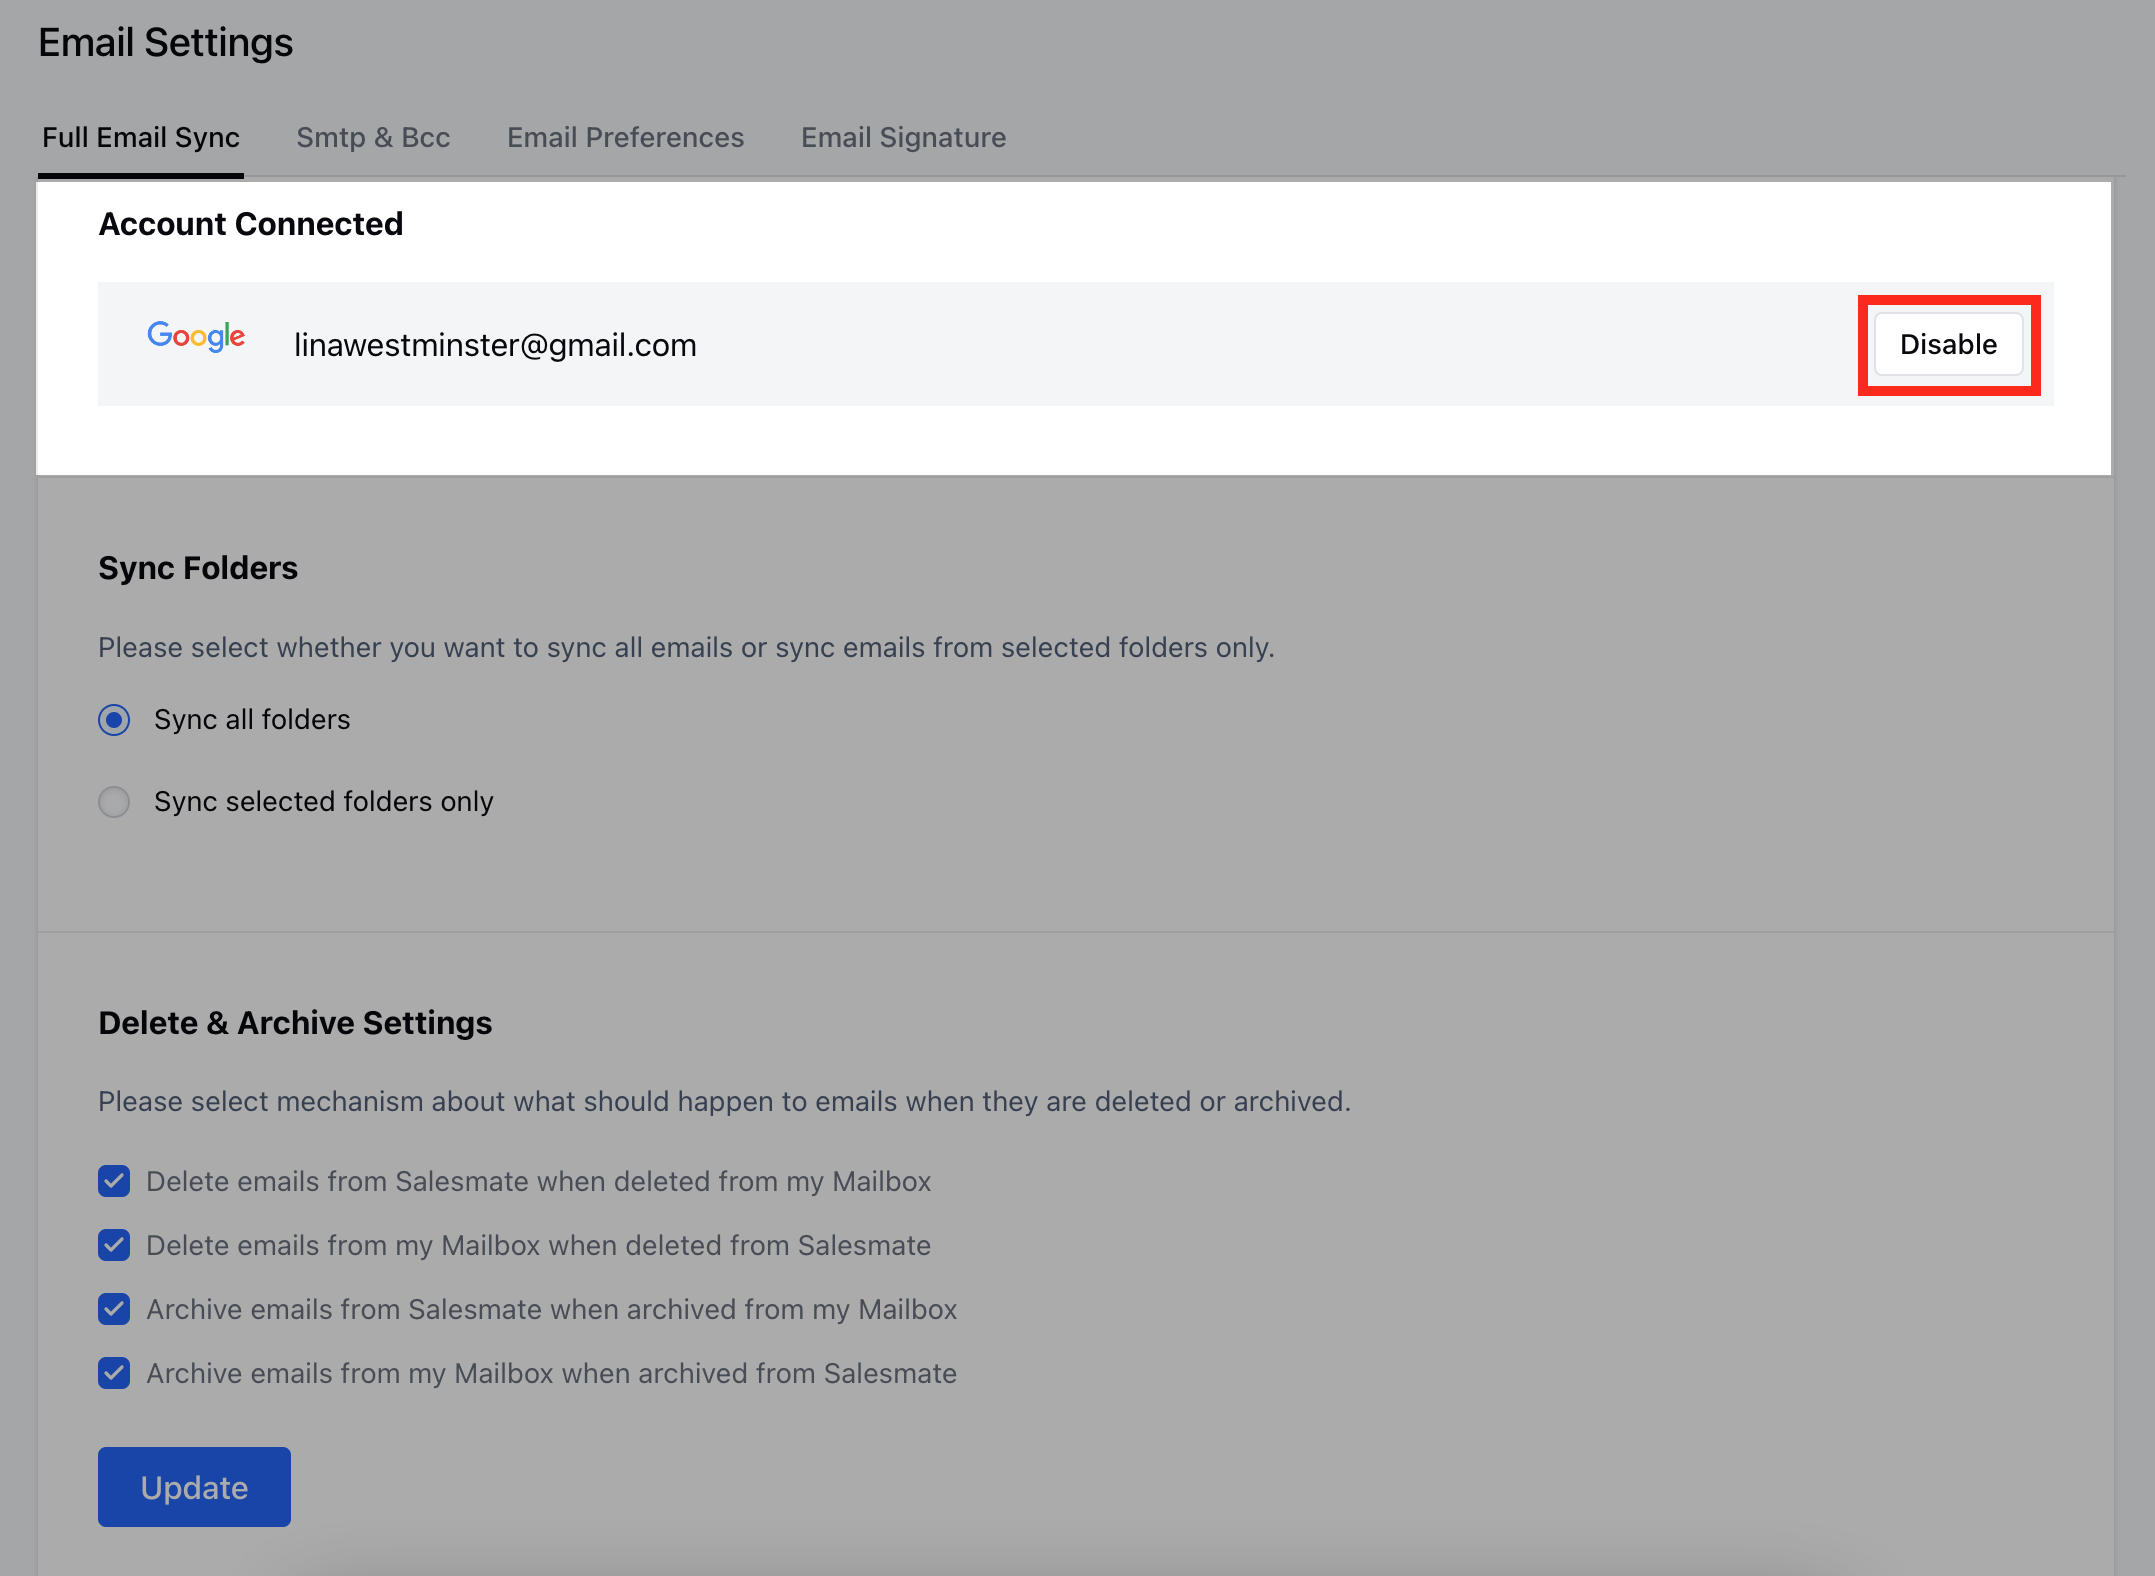
Your emails will remain as they are until you reconnect your account.
When reconnected, synchronization resumes, fetching the last 60 days of emails from before reconnection.
When reconnected, synchronization resumes, fetching the last 60 days of emails from before reconnection.
Stop Sync
To permanently remove your account and stop synchronization, click Disconnect.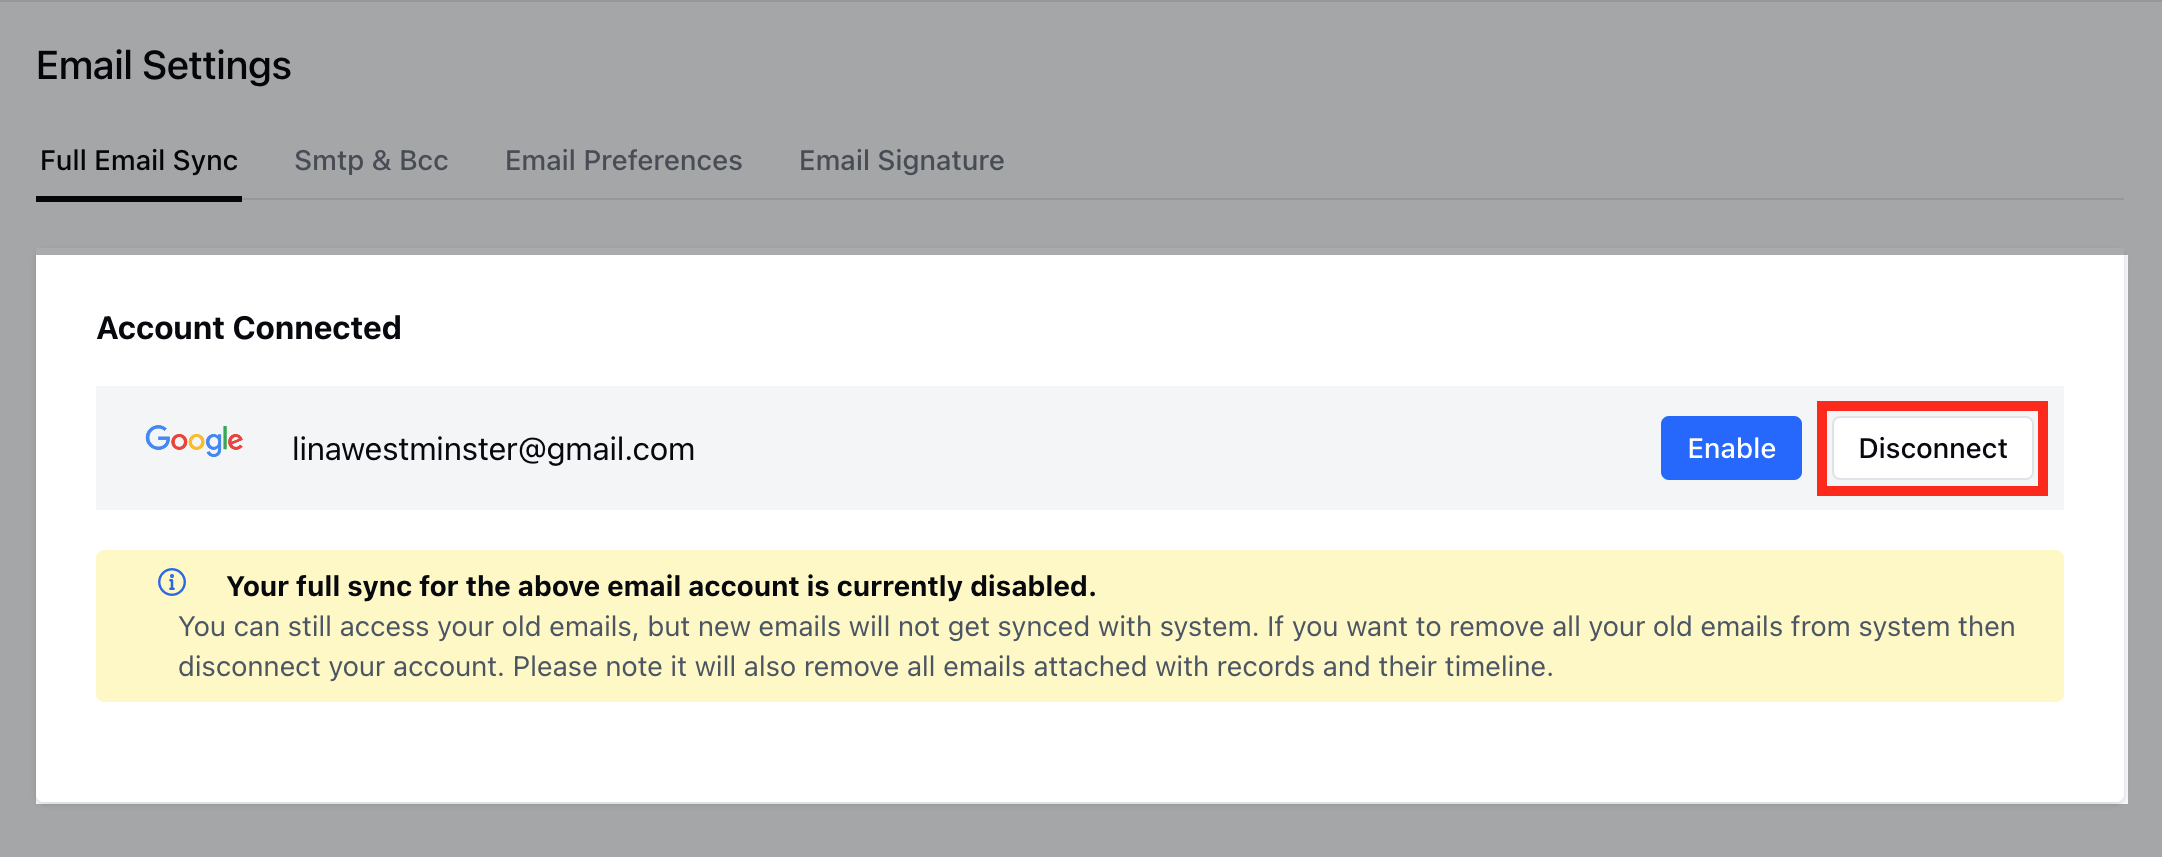
Summary of Full Email Sync
- Real-time sync of your live inbox, allowing you to view sent and received emails.
- Selective sync — choose only the folders you want.
- Notifications for all received emails.
- Send, reply, forward, CC, and BCC directly from within Salesmate.
- Use Email Templates and Attachments.
- Works with your preferred SMTP settings.
If your SMTP configuration returns an error, you can reconnect using the Custom SMTP option.
Commonly used settings:
Commonly used settings:
- IMAP: Port
143 - SMTP: Port
587 - TLS: Enabled