Topics covered:
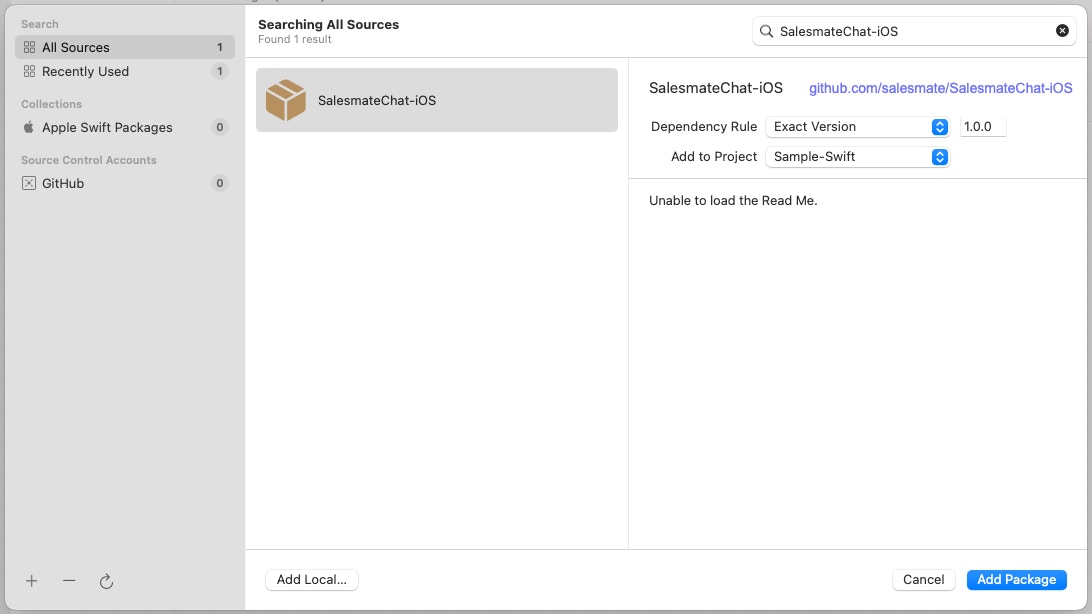
Install Skara Chat CocoaPods Cocoapods 1.10 is required to install Skara Chat SDK.- Add Salesmate Chat SDK to your Podfile and run
pod install
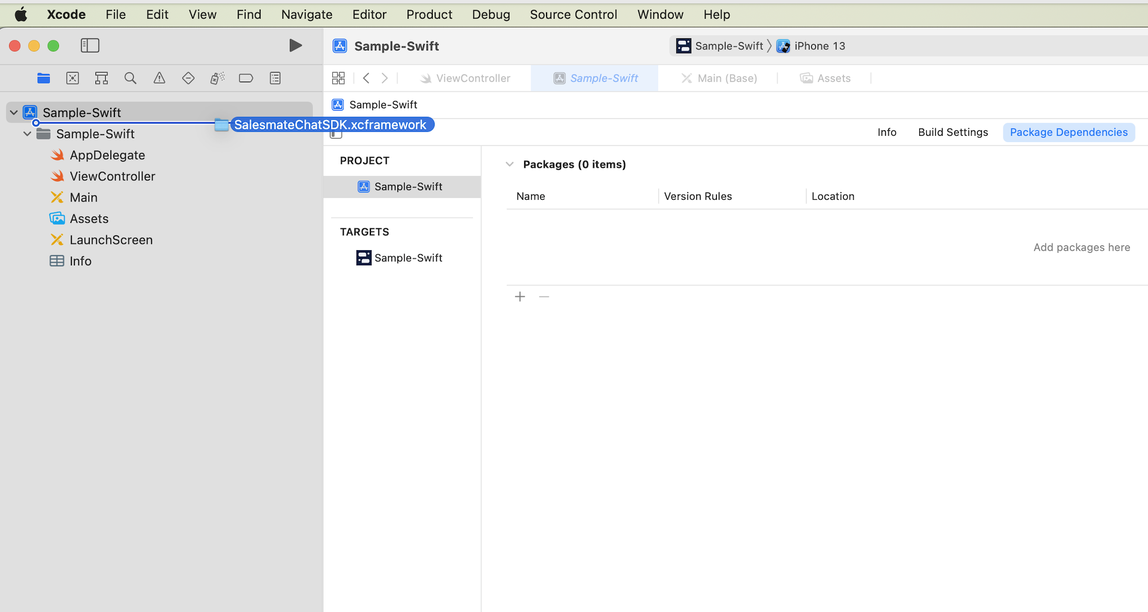
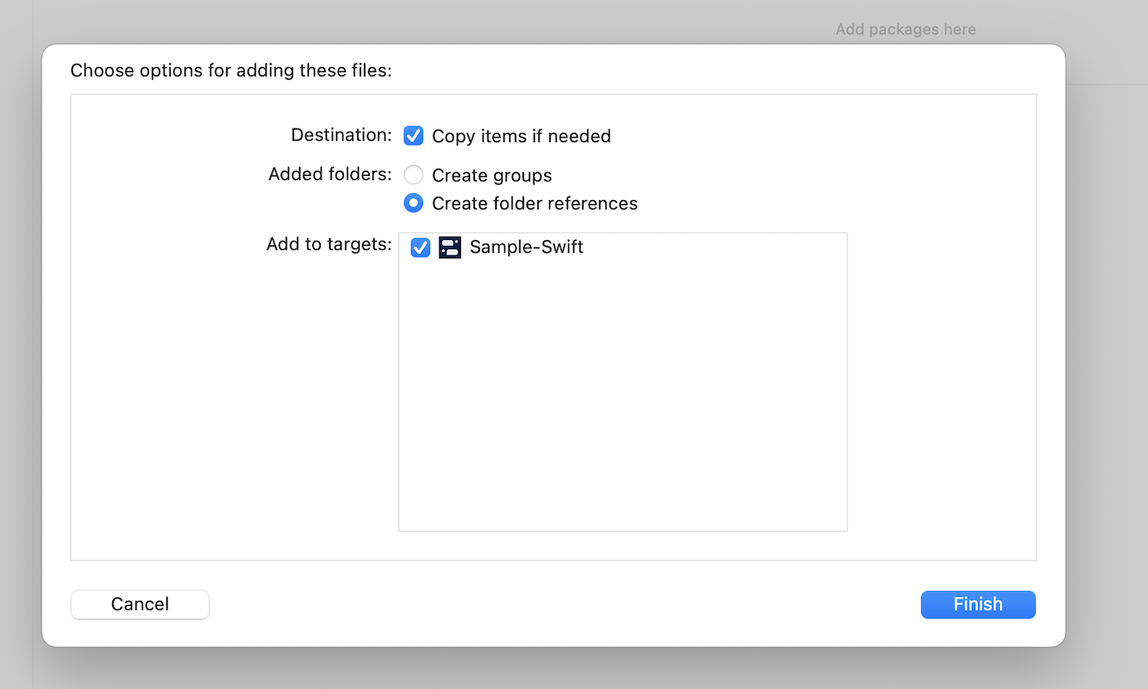
- Drag
SalesmateChatSDK.xcframeworkinto your project. Make sure “Copy items if needed” is selected and click Finish.
- In the target settings for your app, set the
SalesmateChatSDK.xcframeworkto “Embed & Sign”. This can be found in the “Frameworks, Libraries, and Embedded Content” section of the “General” tab.

Update Info.plist
Photo Library usage: With the exception of apps that only support iOS 14+, when installing Skara Chat SDK, you’ll need to make sure that you have a NSPhotoLibraryUsageDescription entry in your Info.plist. For apps that support iOS 13, this is required by Apple to access the photo library. It is necessary when installing Skara Chat SDK due to the image upload functionality. Users will only be prompted for photo library permission when they tap the image upload button.Initialize SalesmateChat
First, you’ll need to get your Skara Chat SDK App key, Workspace Id and Tenant Id. To find these, just select the ‘iOS Tab’ option in your Skara CRM Messenger Settings Installation section.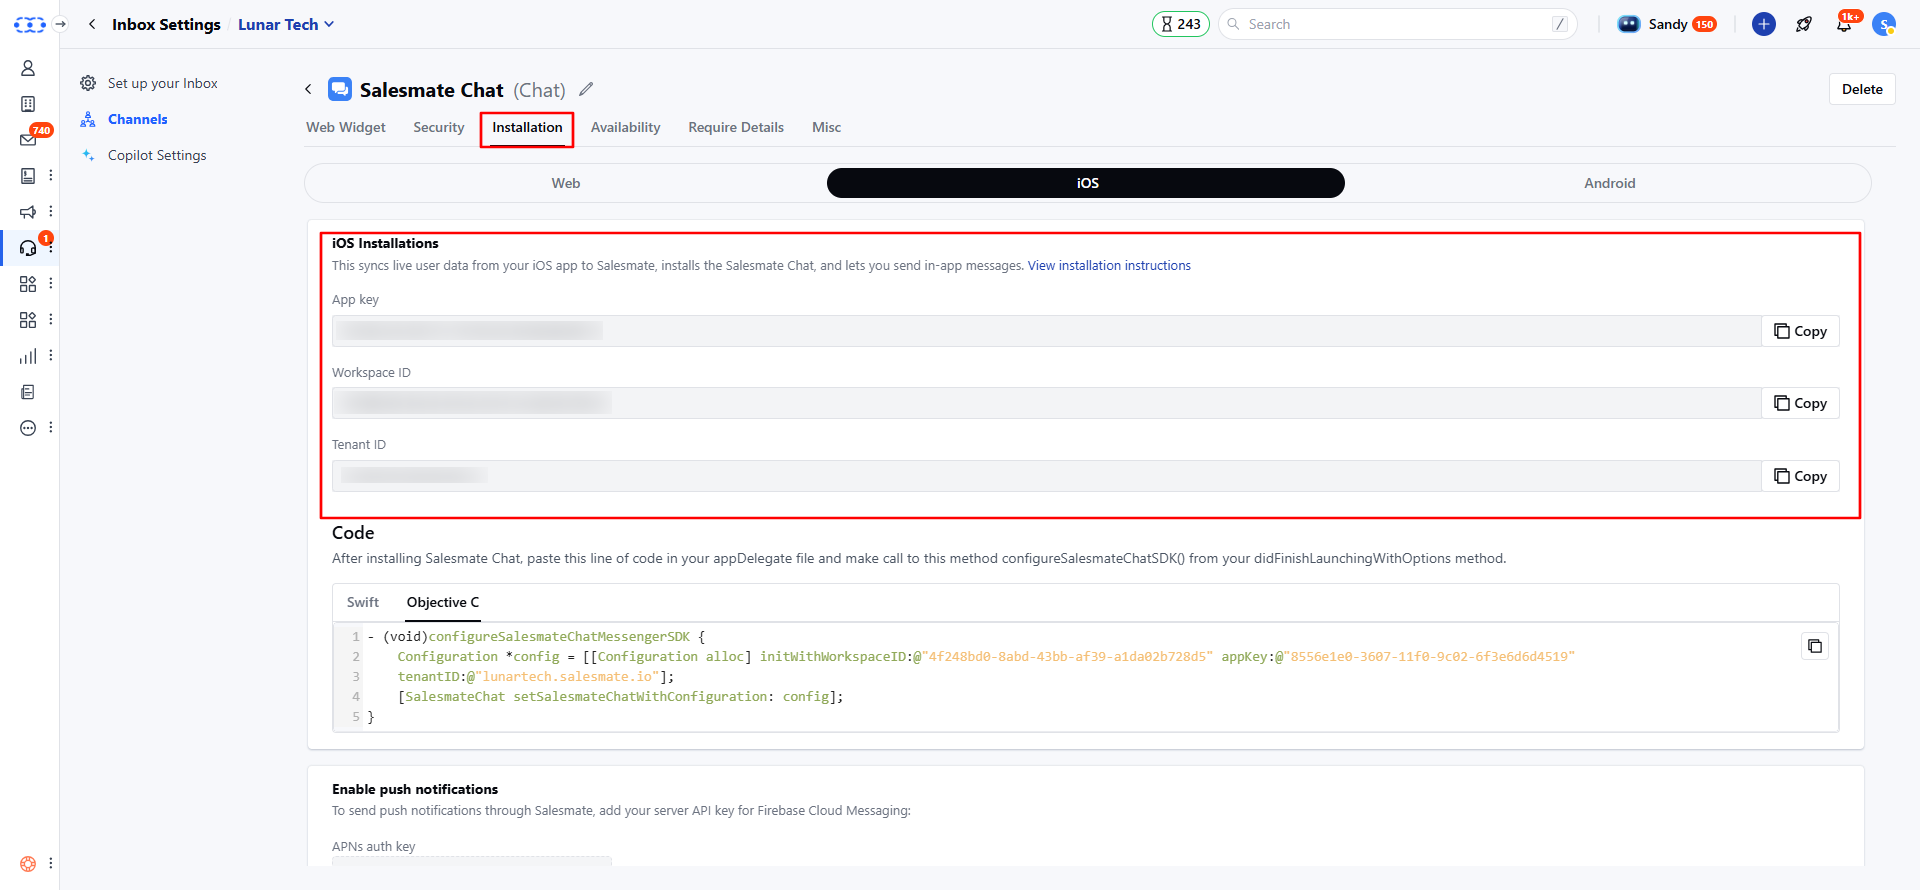
SalesmateChatSDK and adding the following to your application delegate:
Objective-C
- Note:- For environments, 0 for Dev, 1 for Staging, and 2 for Production.
Login a User
You’ll now need to log in to your users before communicating with them and tracking their activity in your app.- Login to your users (to talk to them and see their activity)- Depending on your app type, you can log in to users. Here are the instructions : Here we will create a user with basic user detail in Skara Messenger.
- If you have an app with logged-in (identified) users only (like Facebook, Instagram or Slack) follow these instructions:
- You’ll also need to log in to your user anywhere they sign in. Just call: