Topics covered:
- Install Chats
- Creating your workspace
- Inviting users to the workspace
- Customizing and Personalizing your Chat
- Installing the Skara Chats on your website
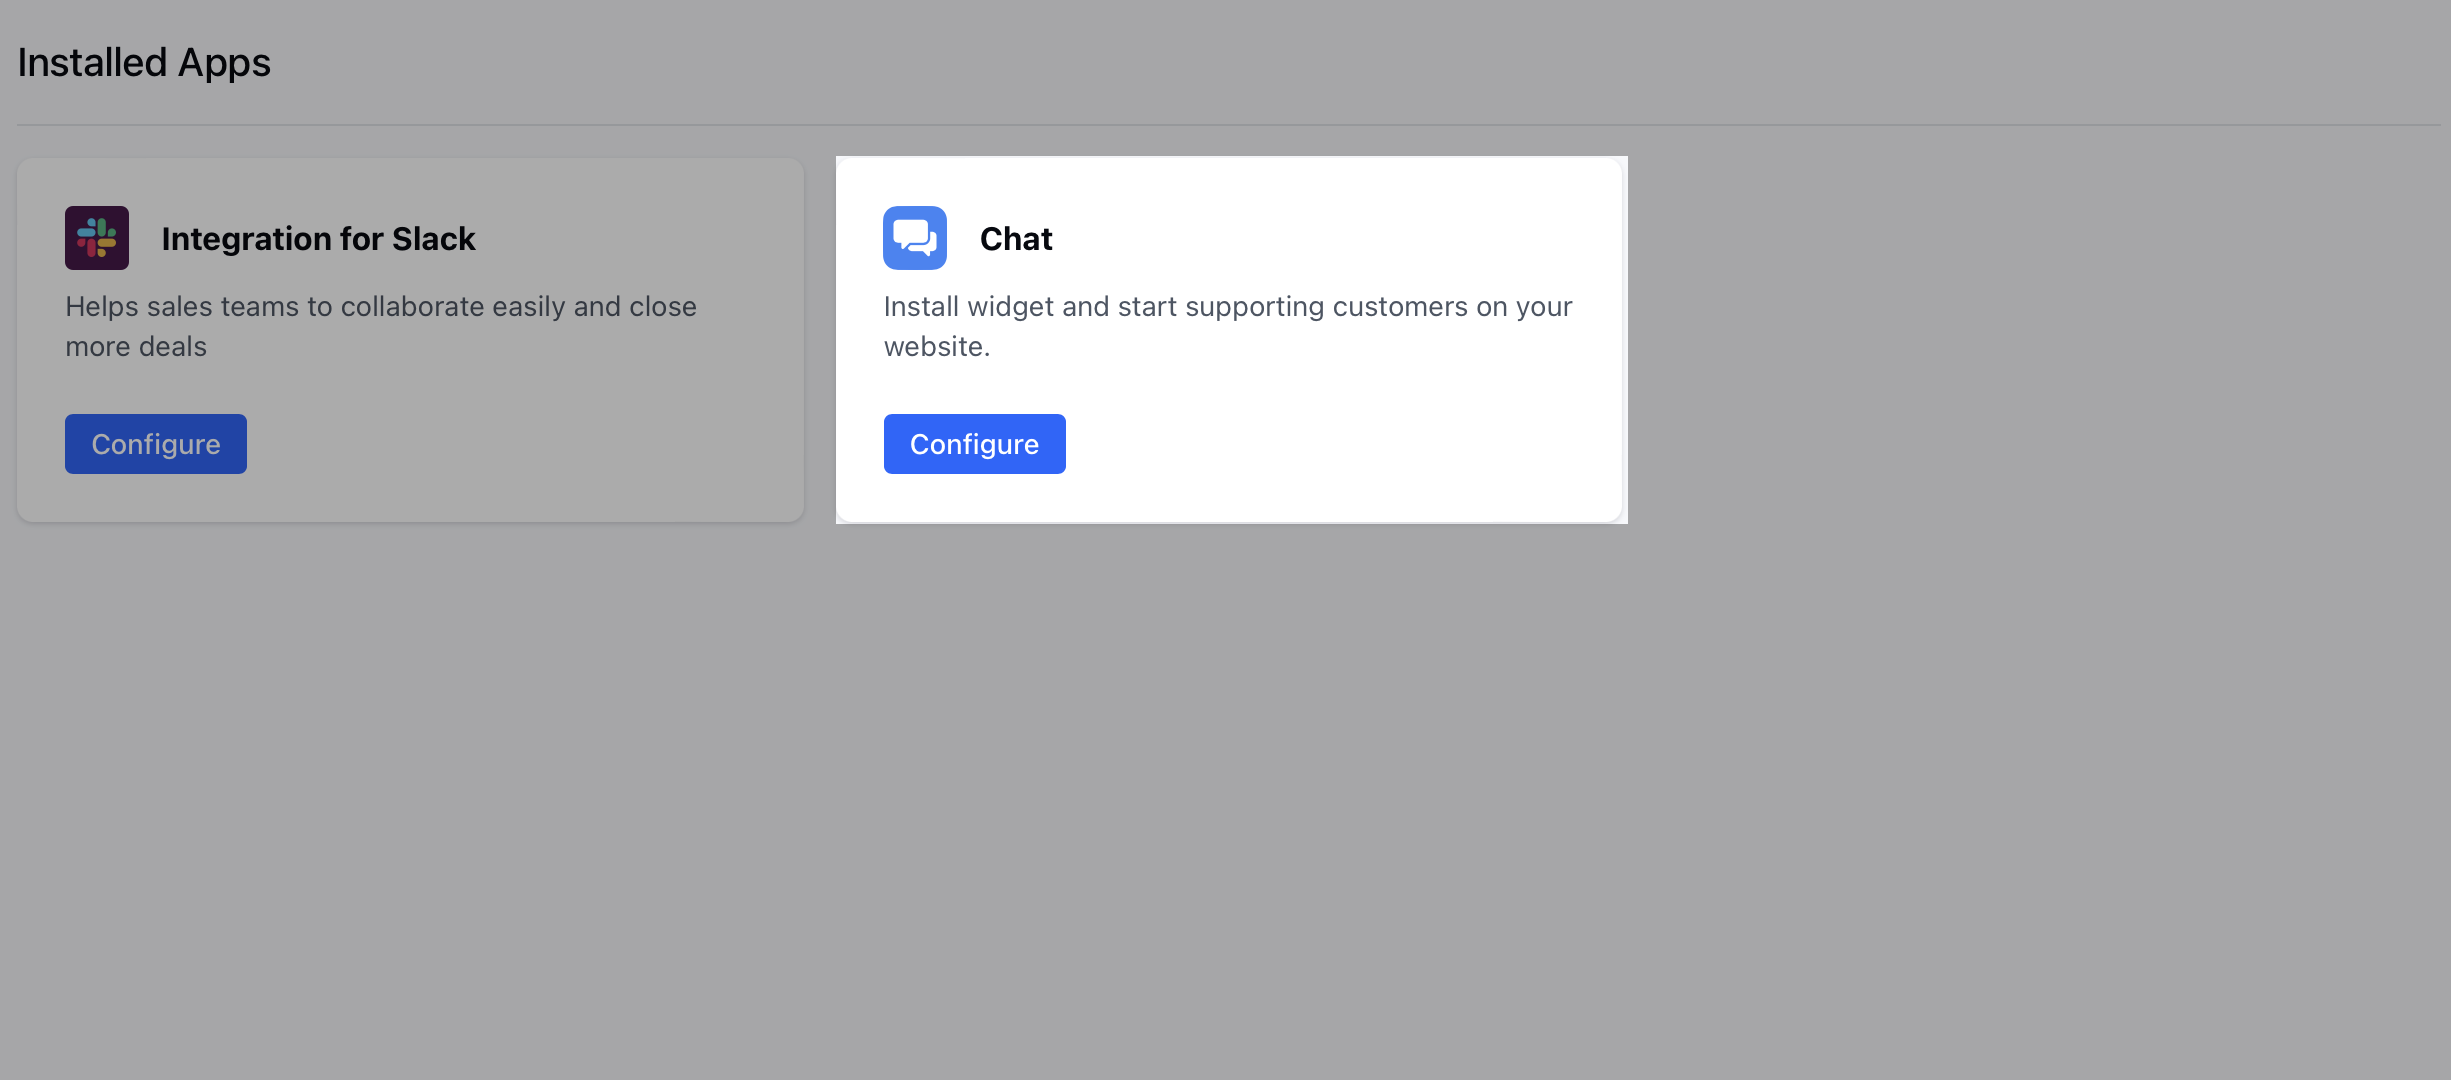
Install Chats
- Activate
- Unified Conversation Inbox to Install Skara Chats
- Select Skara Chat and click on the Install option.
Note: Make sure to check the expiry date mentioned just above the activate button for your trial account of the Chats.
Creating your workspace
Here you need to fill in the following information:- Workspace name: It will be visible to your website visitors when they’ll start a conversation.
- Team Intro: Write your welcome message
- To adhere to the compliances you would need to accept the “Terms & Conditions” and “Privacy Policy”
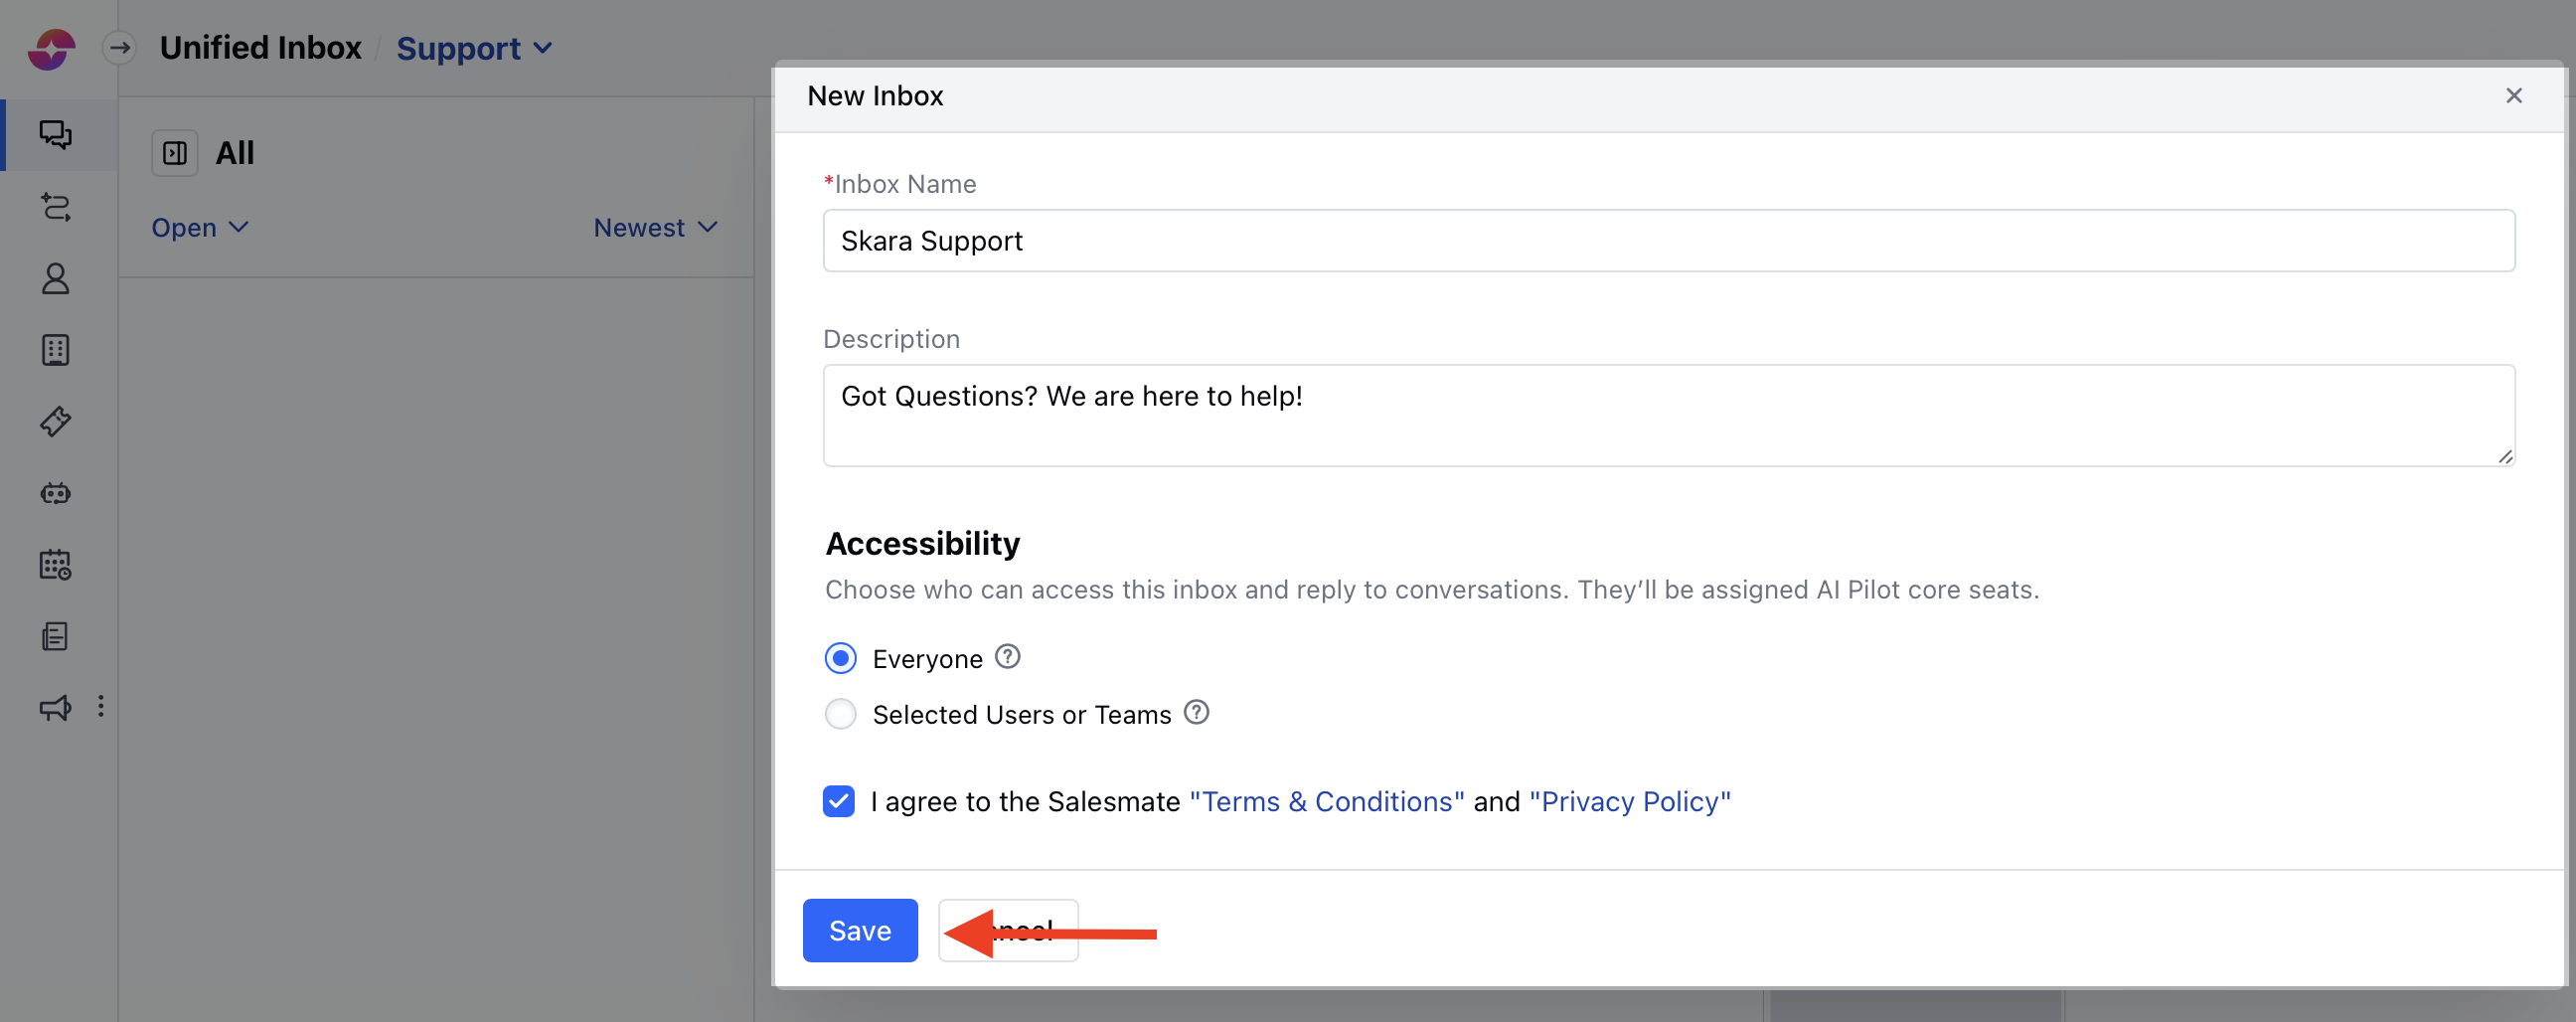
- Select I agree to the “Terms & Conditions” and “Privacy Policy” option once you have read it.
- Click on the Create New Workspace button.
Inviting users to the workspace
Now you can invite some users to your workspace who will be communicating with your website visitors. It can be done in two ways:- Invite Everyone to Chat: This will allow everyone with a chat license to respond to the channel’s conversations

- Invite selected Users: This will allow only the selected Users with a chat license to respond to the channel’s conversations
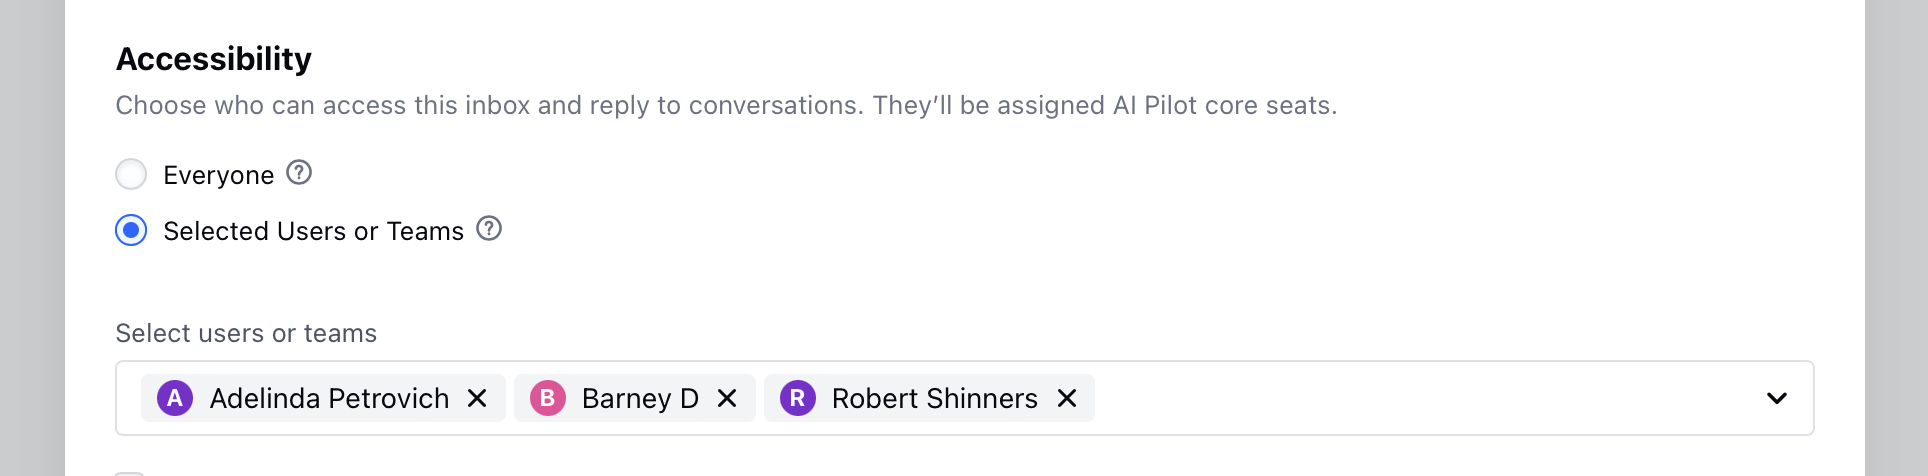
- Once you have selected the users for your Chats, you can click on the Next button to Setup Appearance.
Customizing and Personalizing your Chat
- Here you can customize the appearance of the Chats widget which will appear on your website to the visitors, either you can go with the default settings or Learn to customize your Chat later
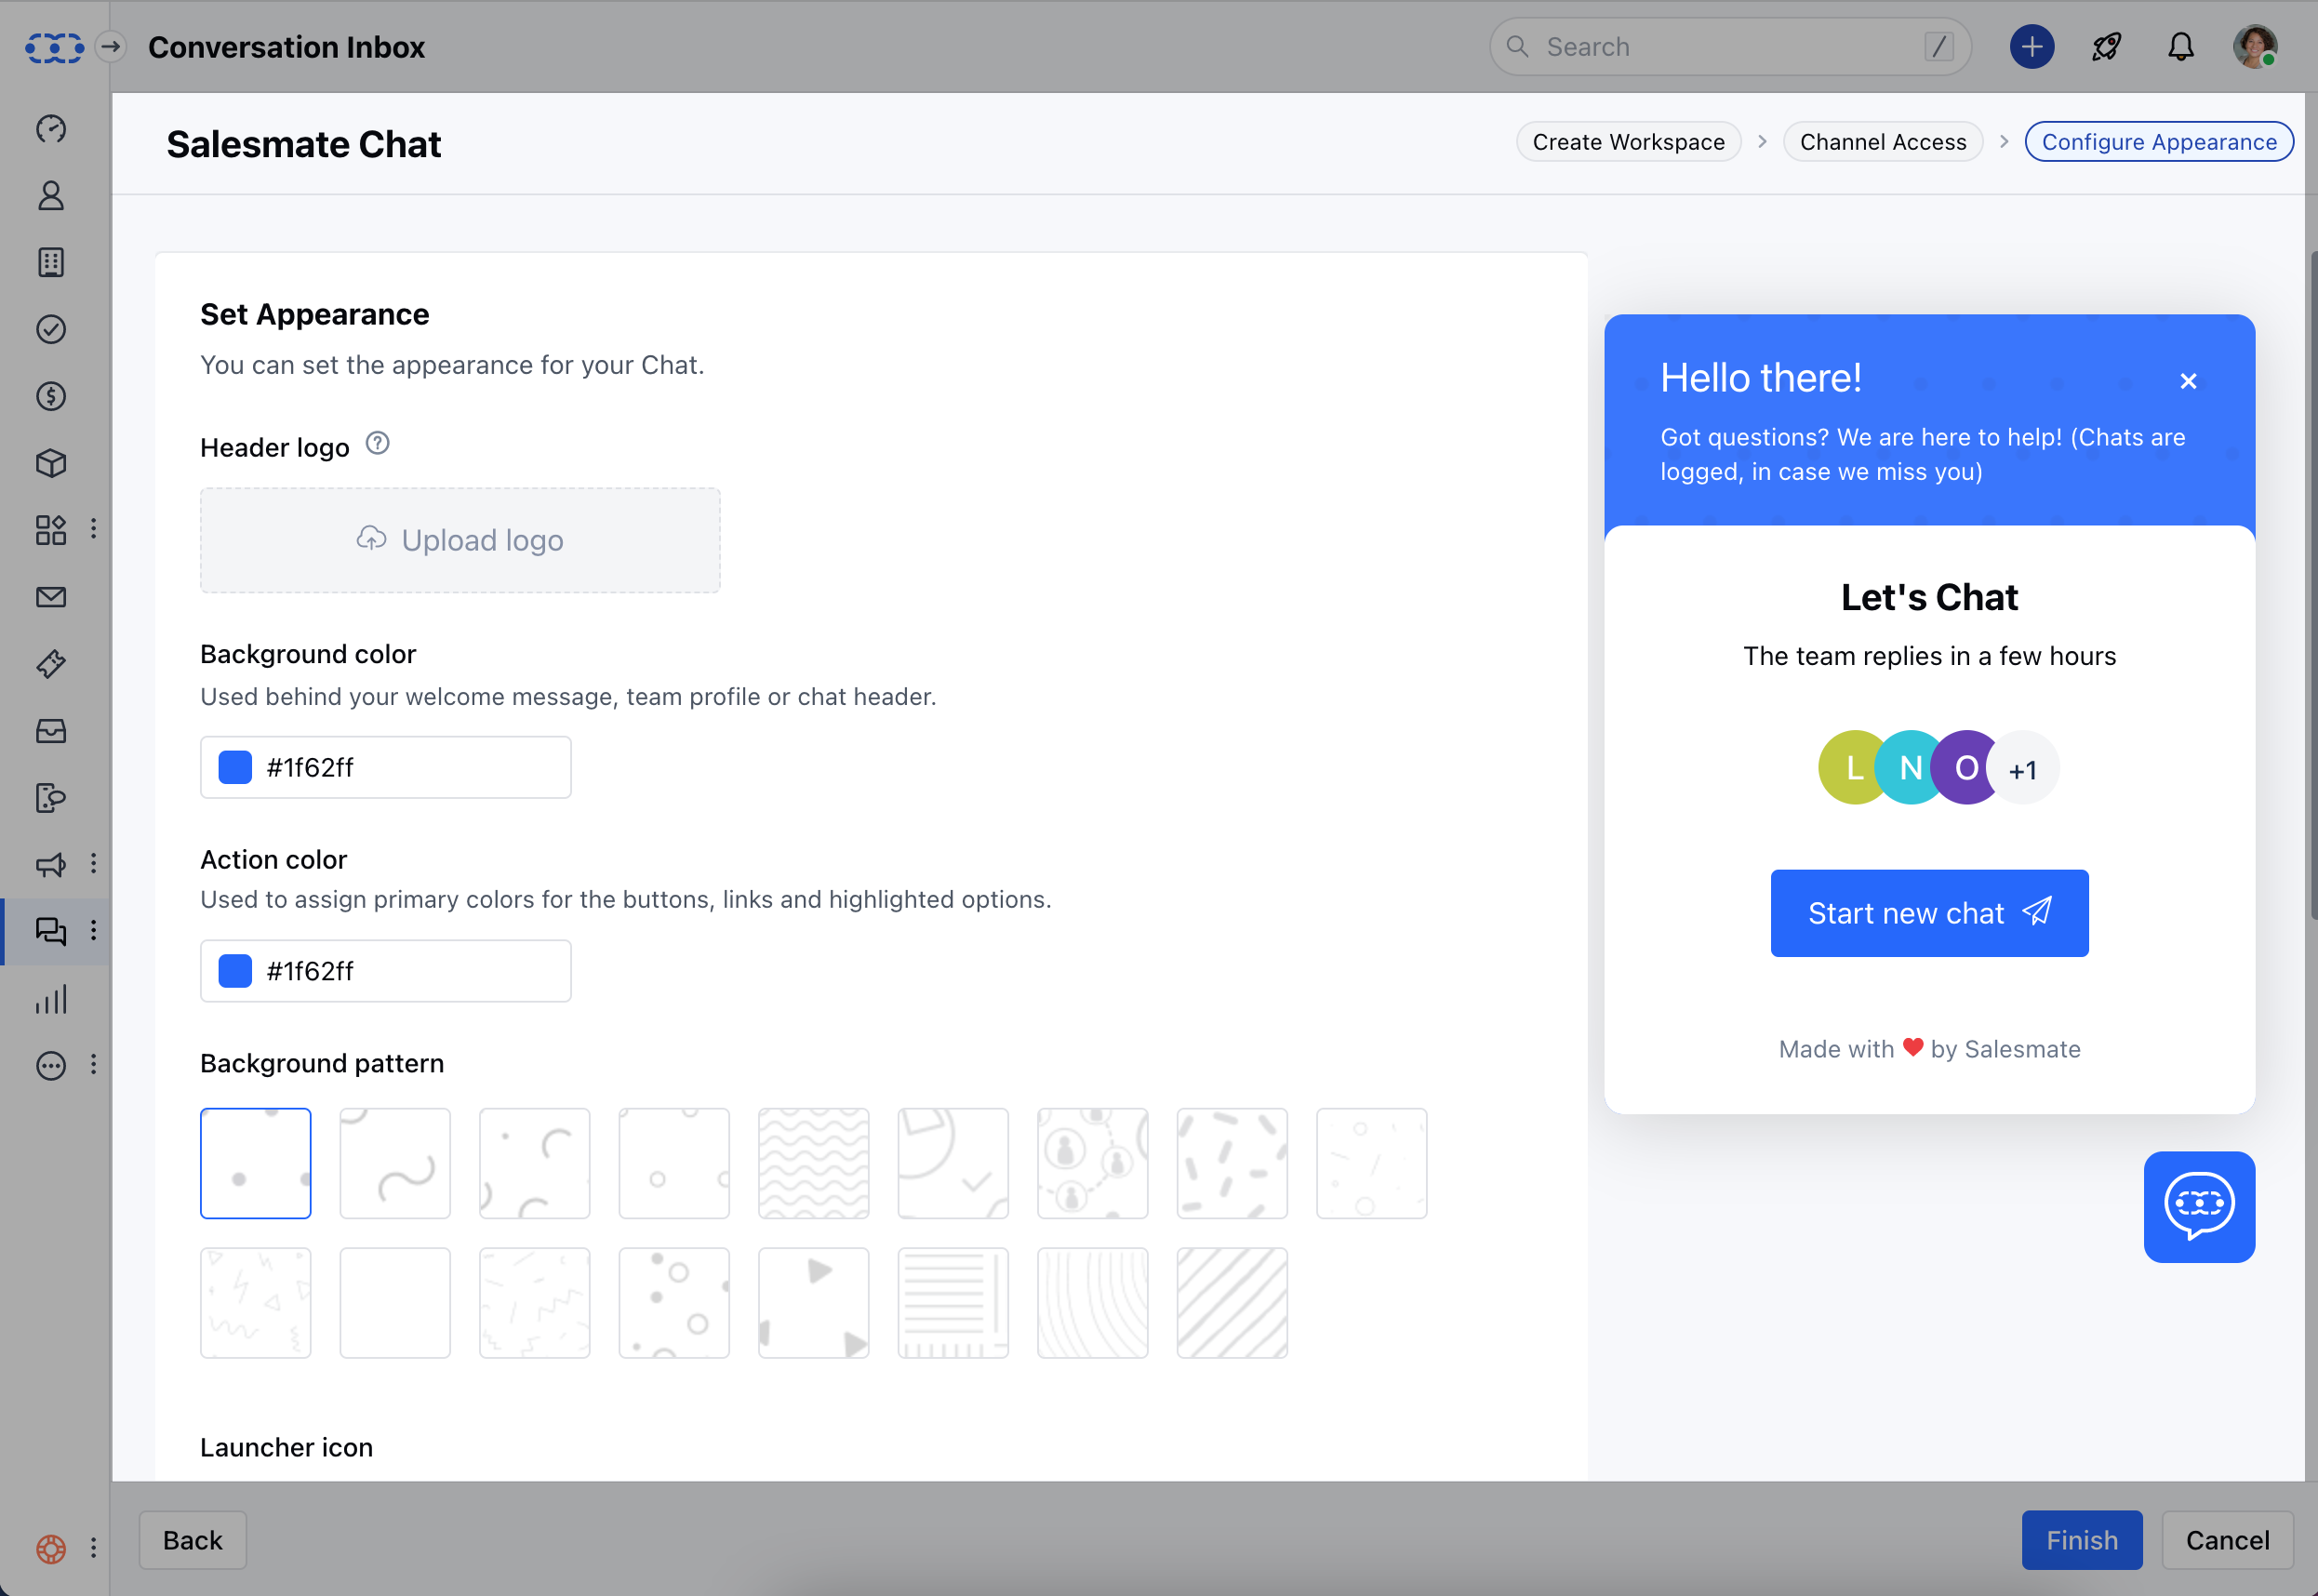
- Click on the Finish button to save your changes.
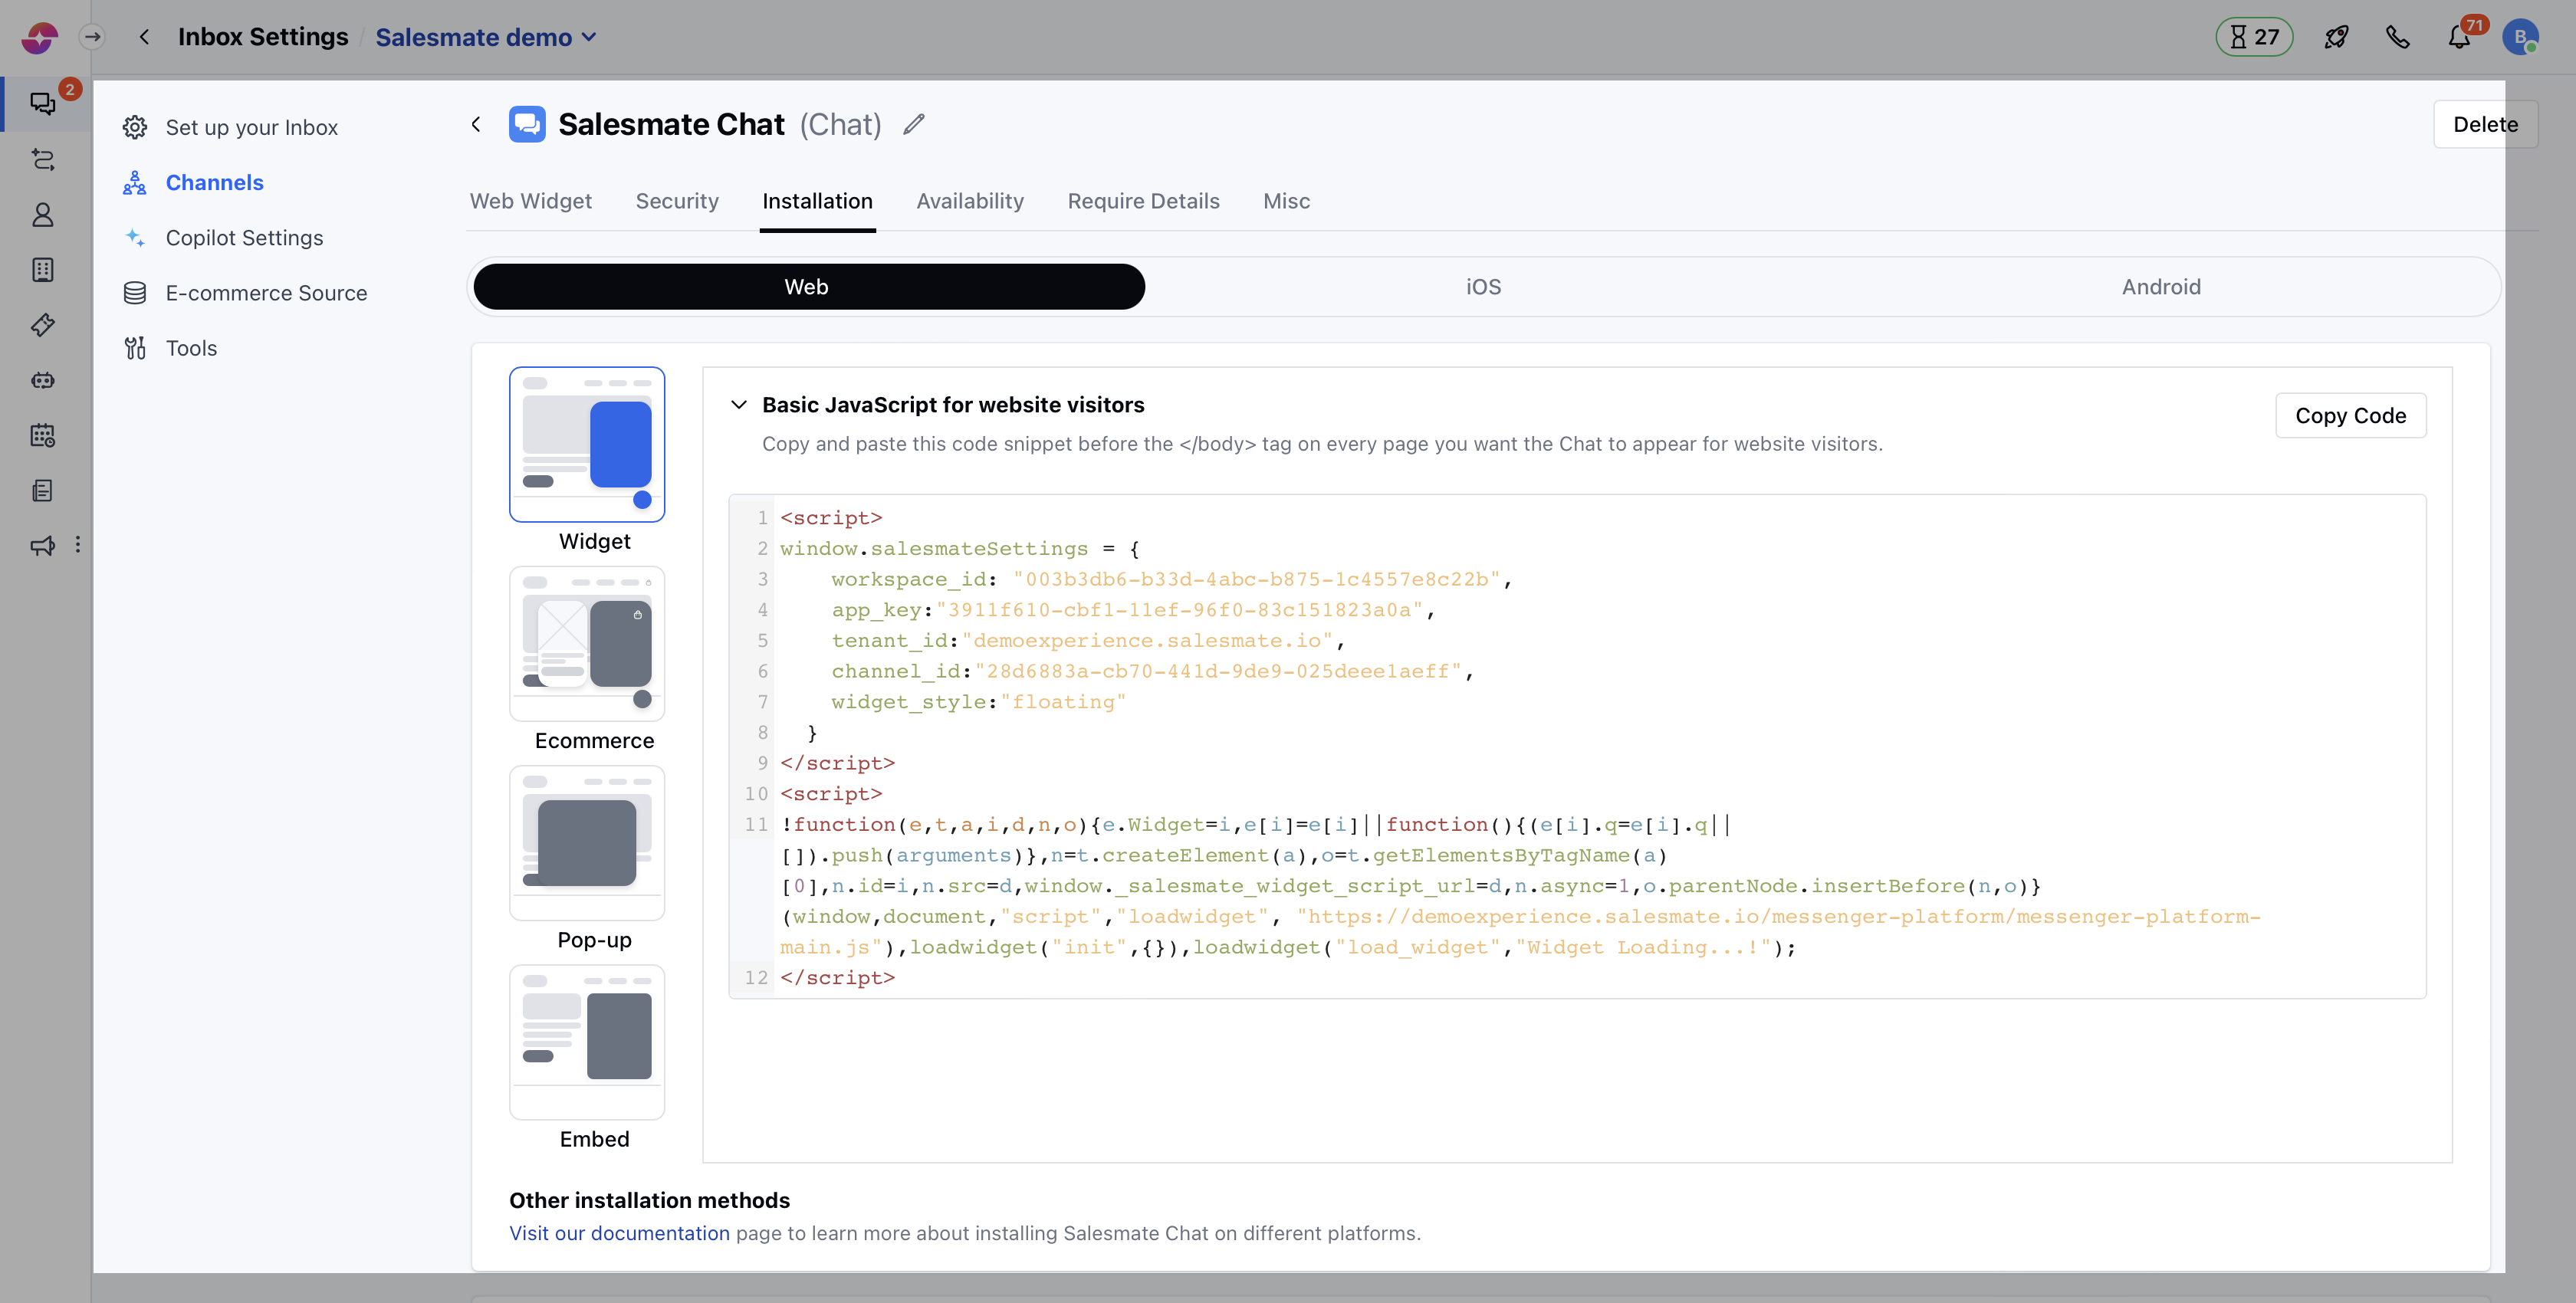
Installing the Skara Chats on your website
- Here you’ll see some code, which you need to copy and paste before the
</body>tag of every HTML page of your website where you want the chats widget to appear.
- Click on the Done button, and Voila! It’s all done. 😃
FAQ’s
How can I install the messenger code on the WordPress site?- SM: Please follow the below steps to paste the messenger code into your WordPress site.
- Login to your WordPress Store
- Navigate to the Plugins section
- Click on Add New and Search for Skara Messenger from the search bar.
- Click on Install Now on the Skara Messenger’s Plugin.
- Once it is installed, click on Activate.
- Now go to the Salesmate Messenger and enter the Workspace ID, AppKey, and Tenant ID from the Messenger code.
How can I install the messenger code on the BigCommerce store?
- SM: Please follow the below steps to paste the messenger code into your BigCommerce Store.
- Log in to your BigCommerce Store.
- From the left panel, Go to the Channel Manager section
- Under Storefront, navigate to Scripts.
- Click on Create a Script
- Now add the Name and Description of the script
- Keep the location of the page as Footer
- Now select “All Pages,” where the script will be added
- Move ahead by keeping the Script Category as “Essential”
- Select Script Type as “Script”
- Under the Script Content, place the messenger code.
- Paste this code in the script content section.
- Now update one line of the script below the tenant_id that is “hide_default_launcher: true”. This code hides the launcher icon yet keeps the tracking on.