- How to install the Salesmate Chrome Plugin?
- Log in to the Chrome plugin
- Adding Records (Contact/Company/Deal/Activity)
- Viewing Records
- Composing and using email templates
- Email tracking & Logging
- Uninstalling PluginBy default, the activities lined for you will be listed i.e.
- My Activities view will be loaded as you sign in to the plugin using your Salesmate web app login credentials.
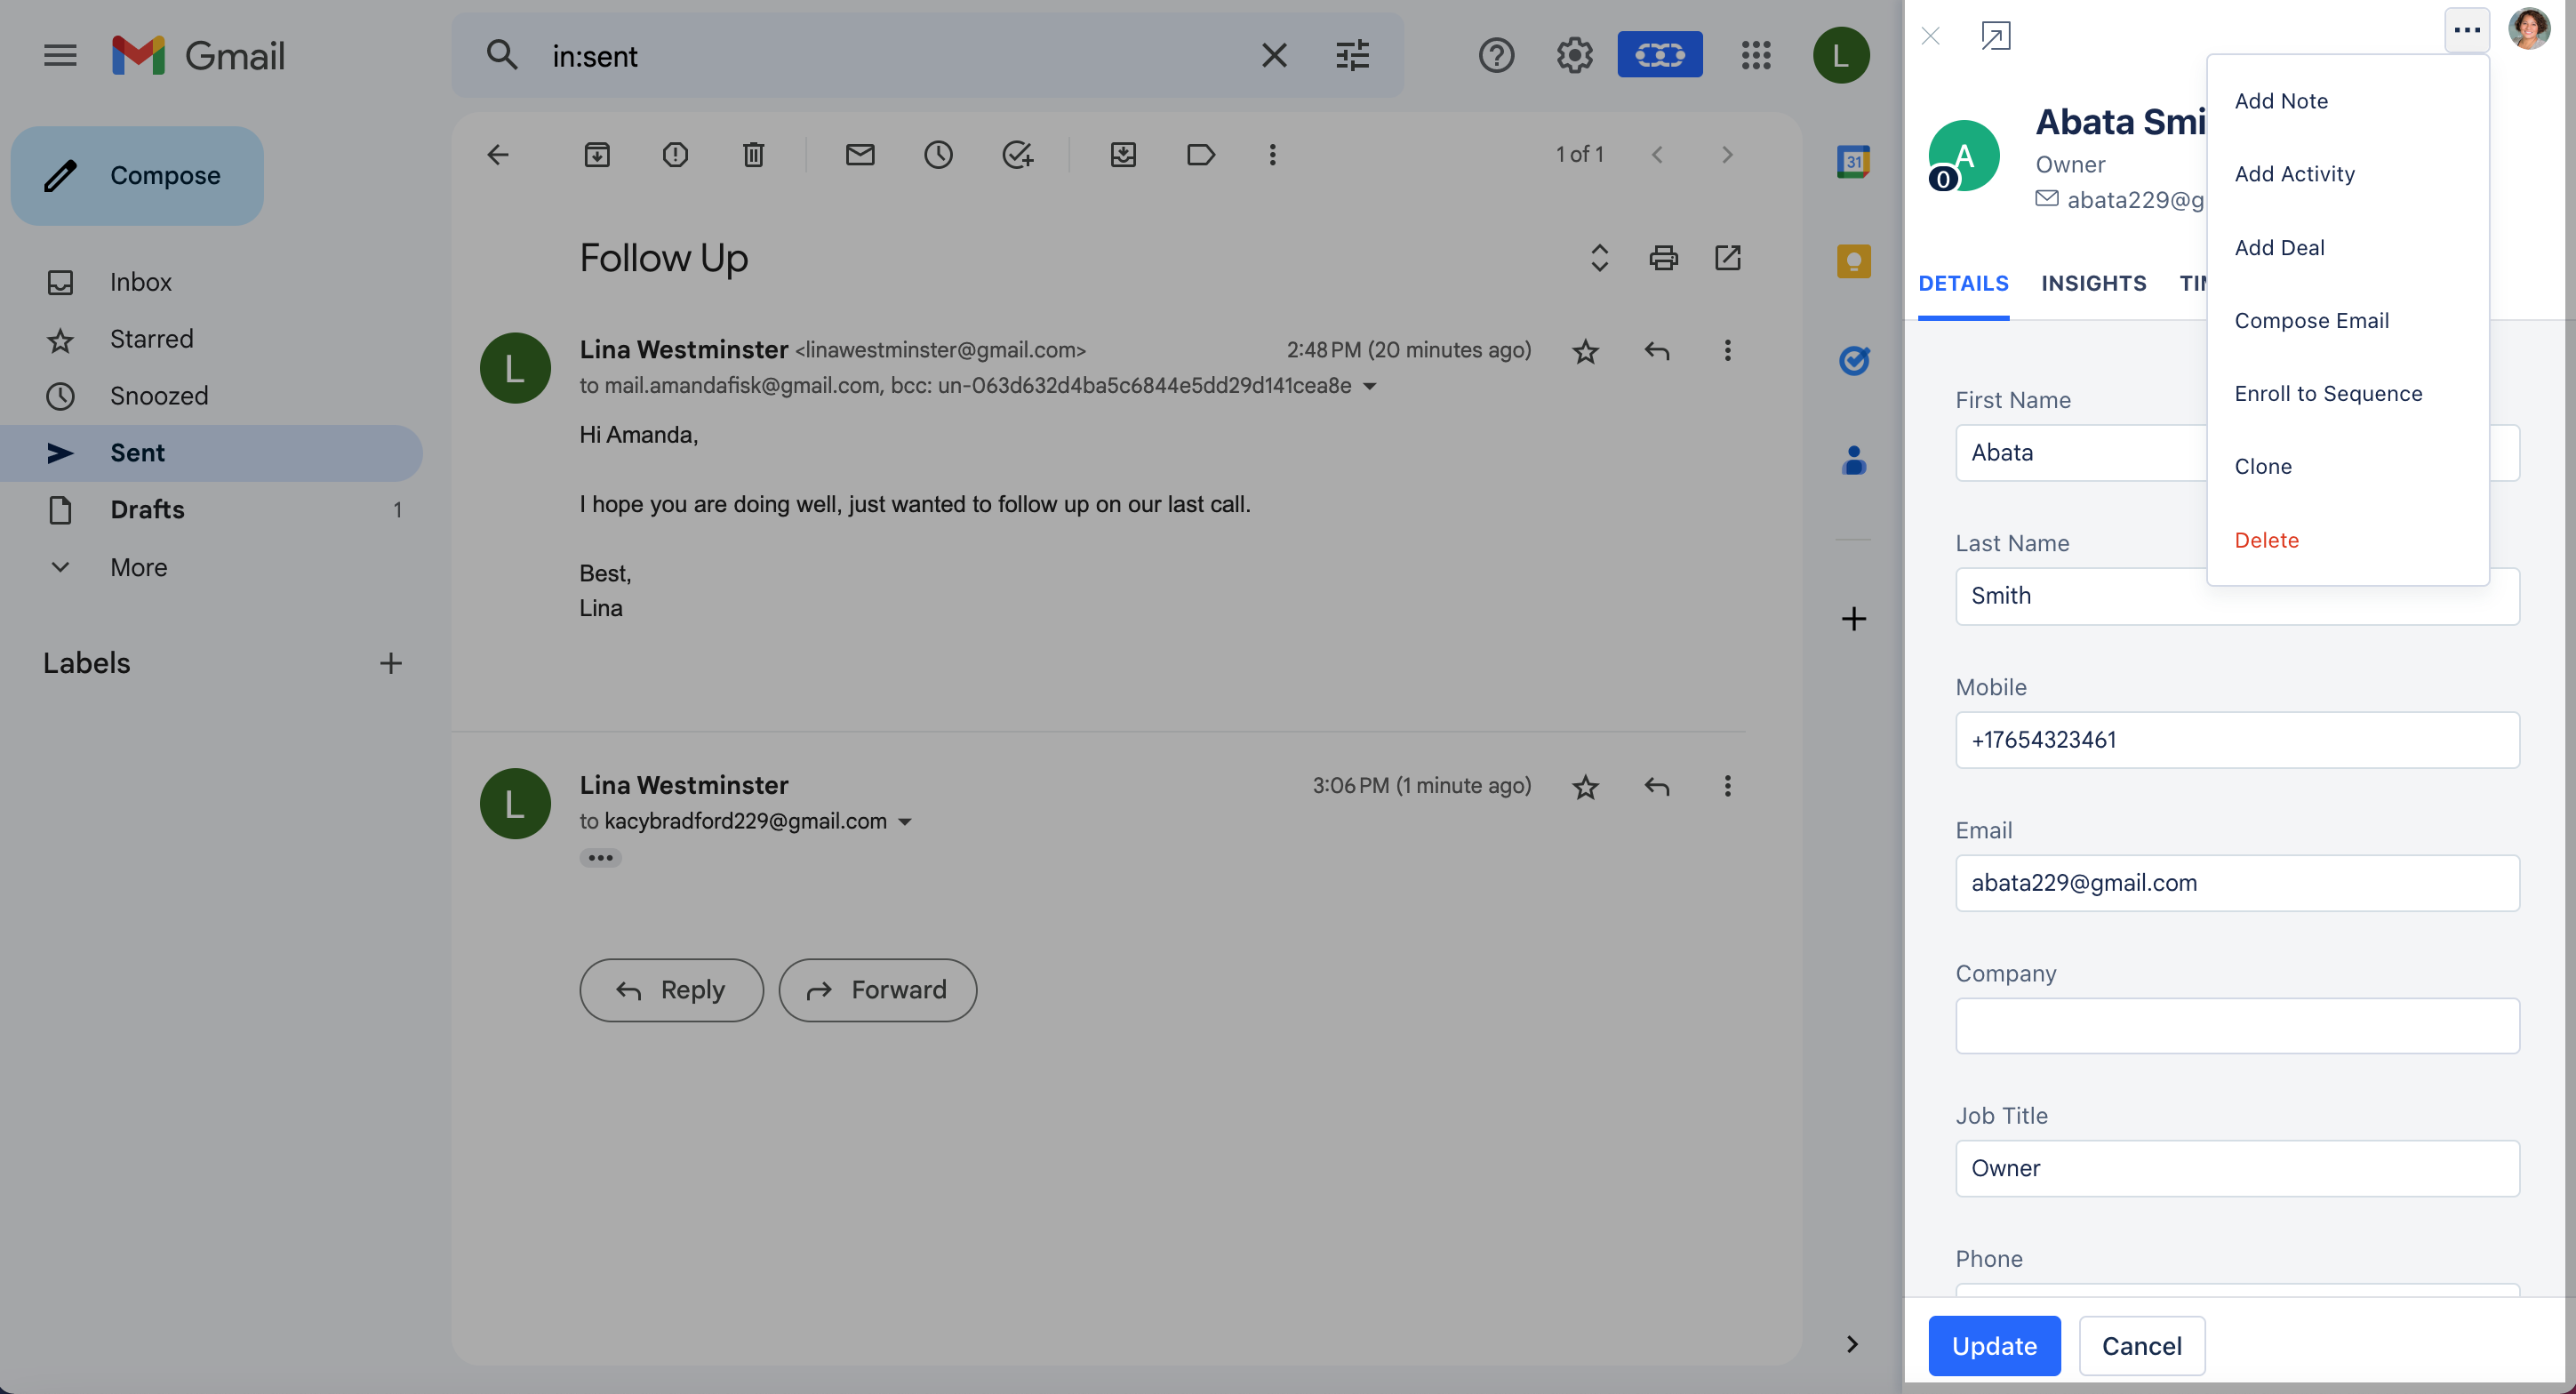
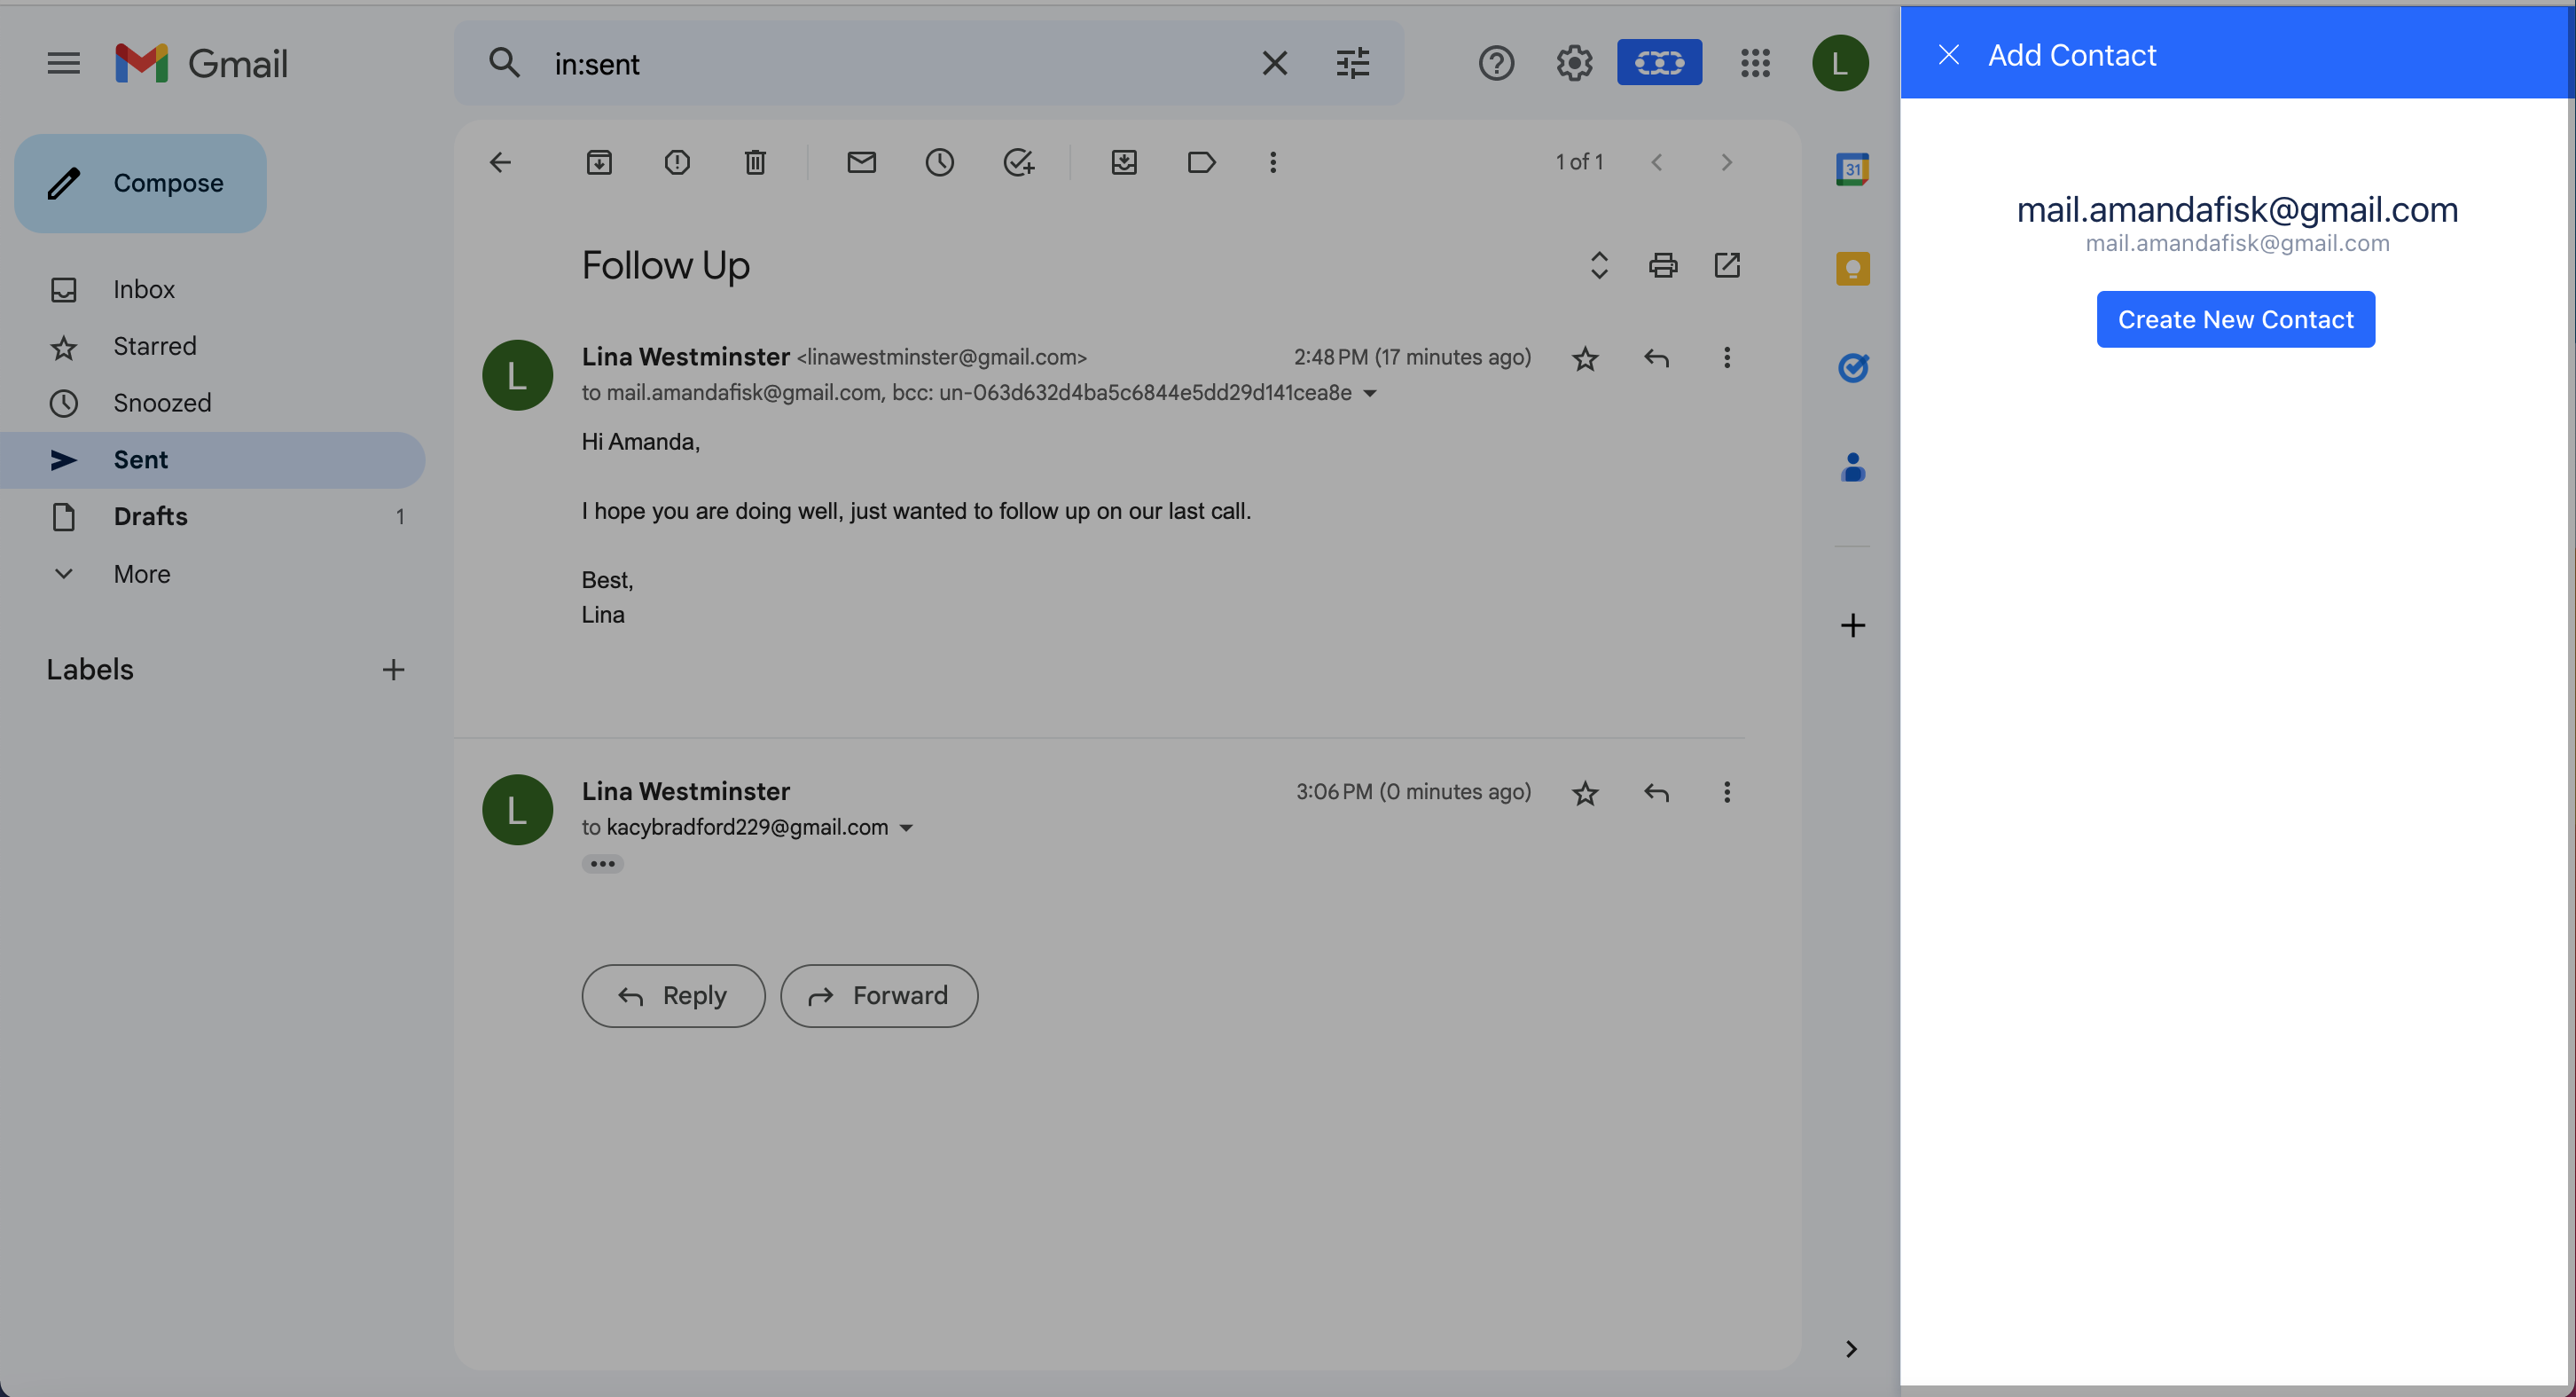
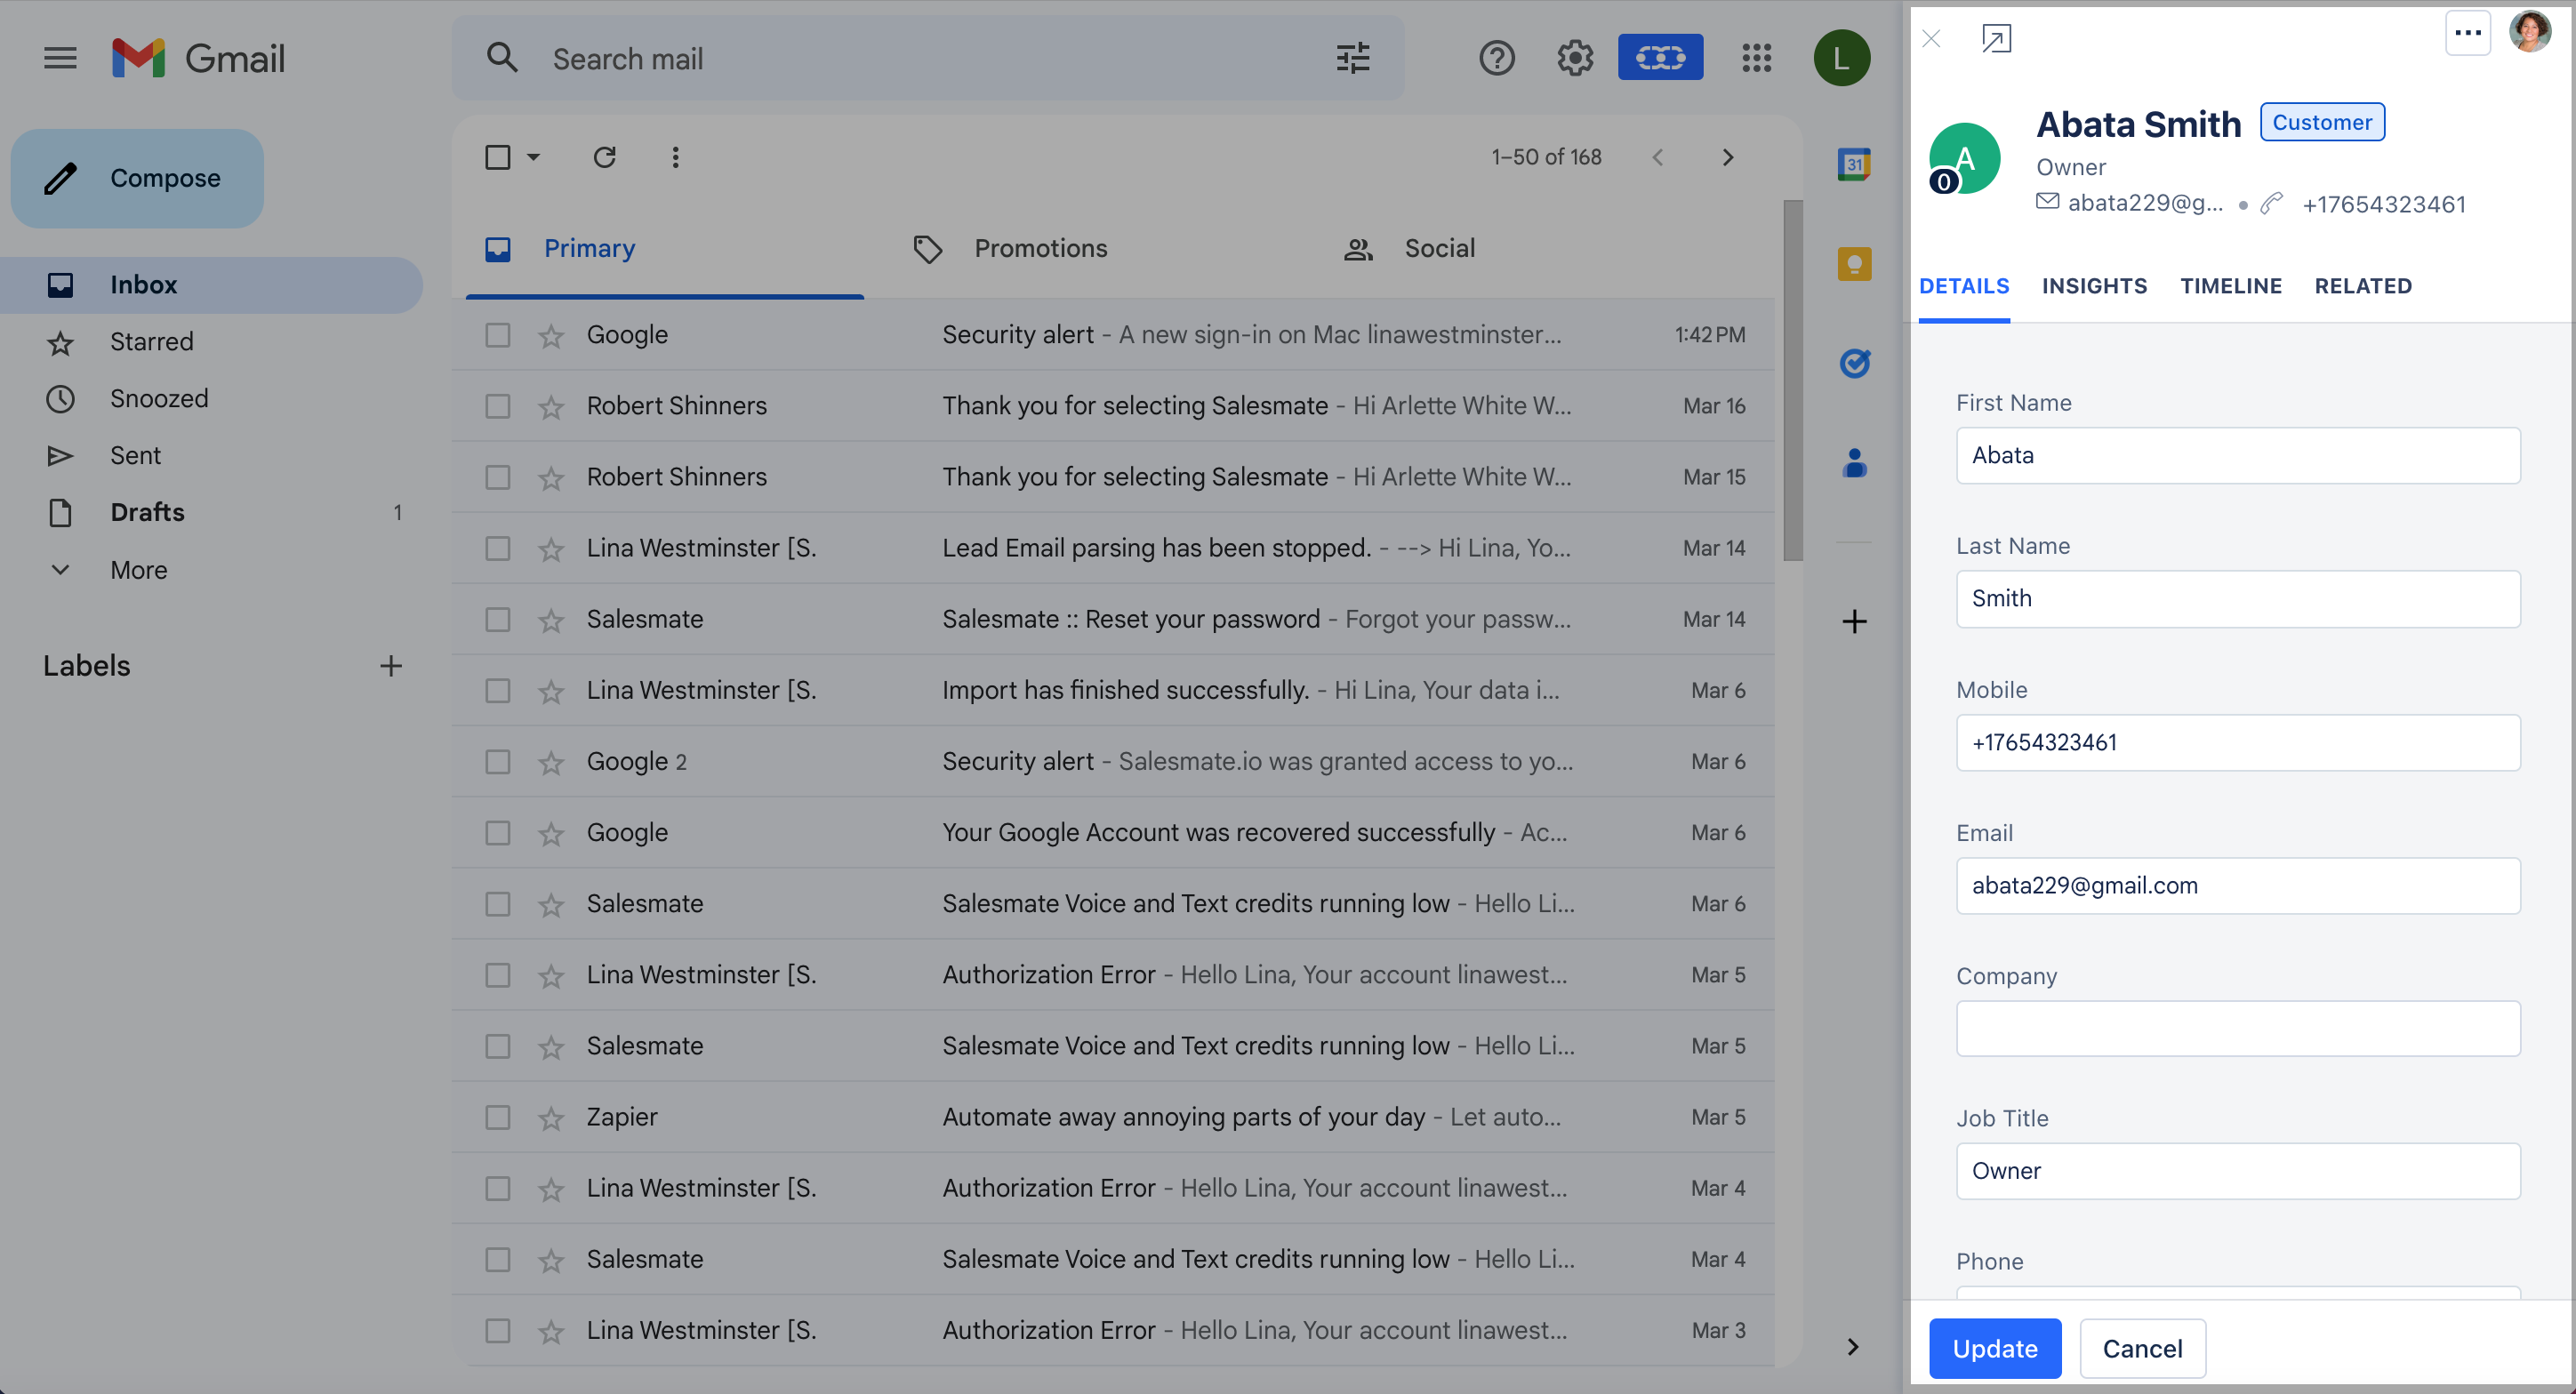
- Click an email, and it will fetch the associated contact based on the email ID. It will show all the details about the contact, the timeline, and related items like deals, activities, files, and emails. It also allows you to update the record, add a note, create an activity or a deal, send an email, or delete the contact from right there.
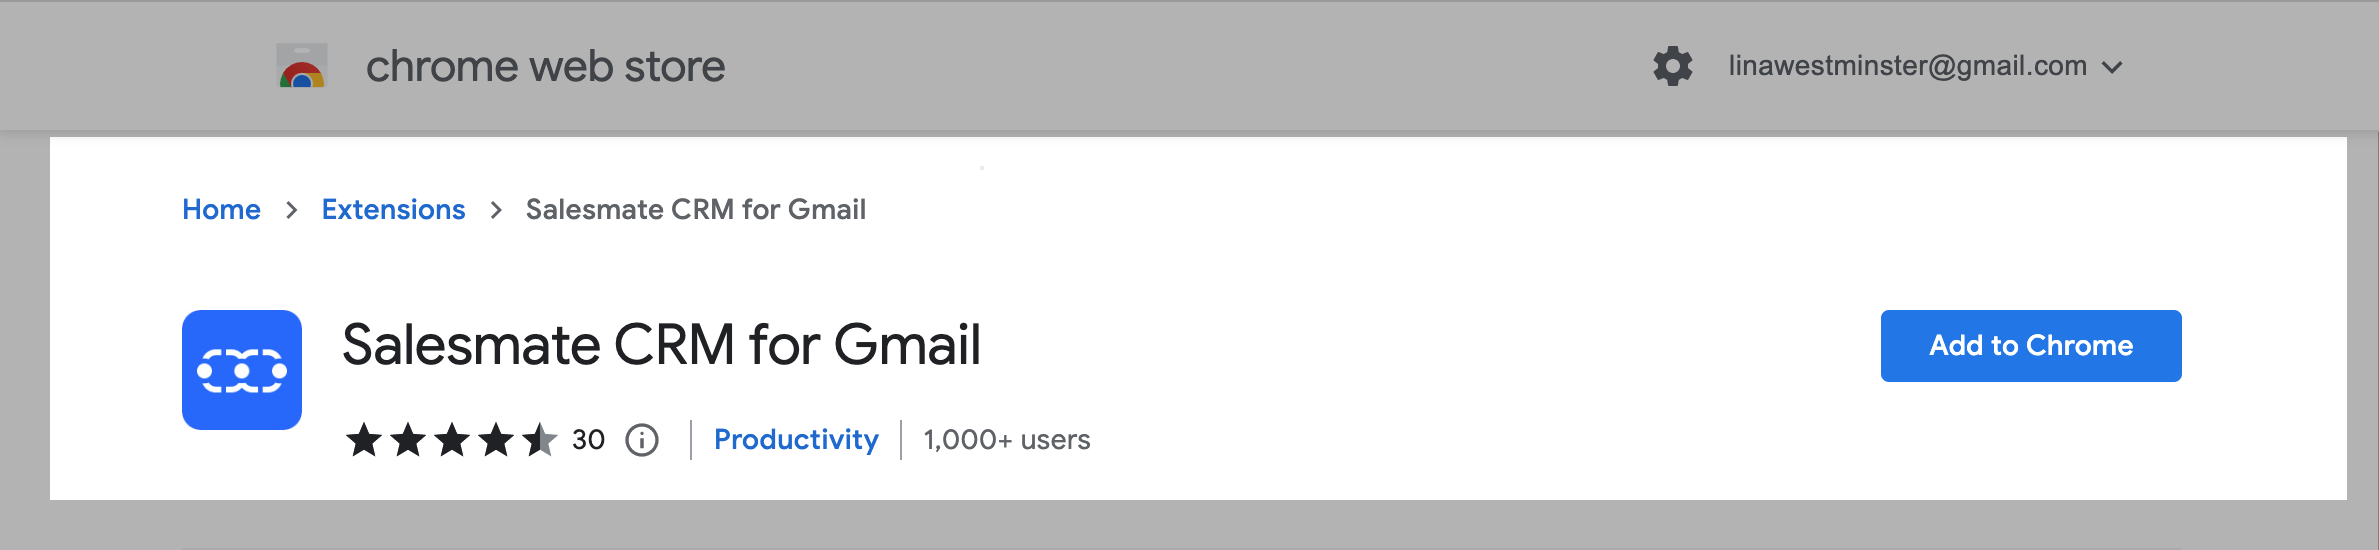
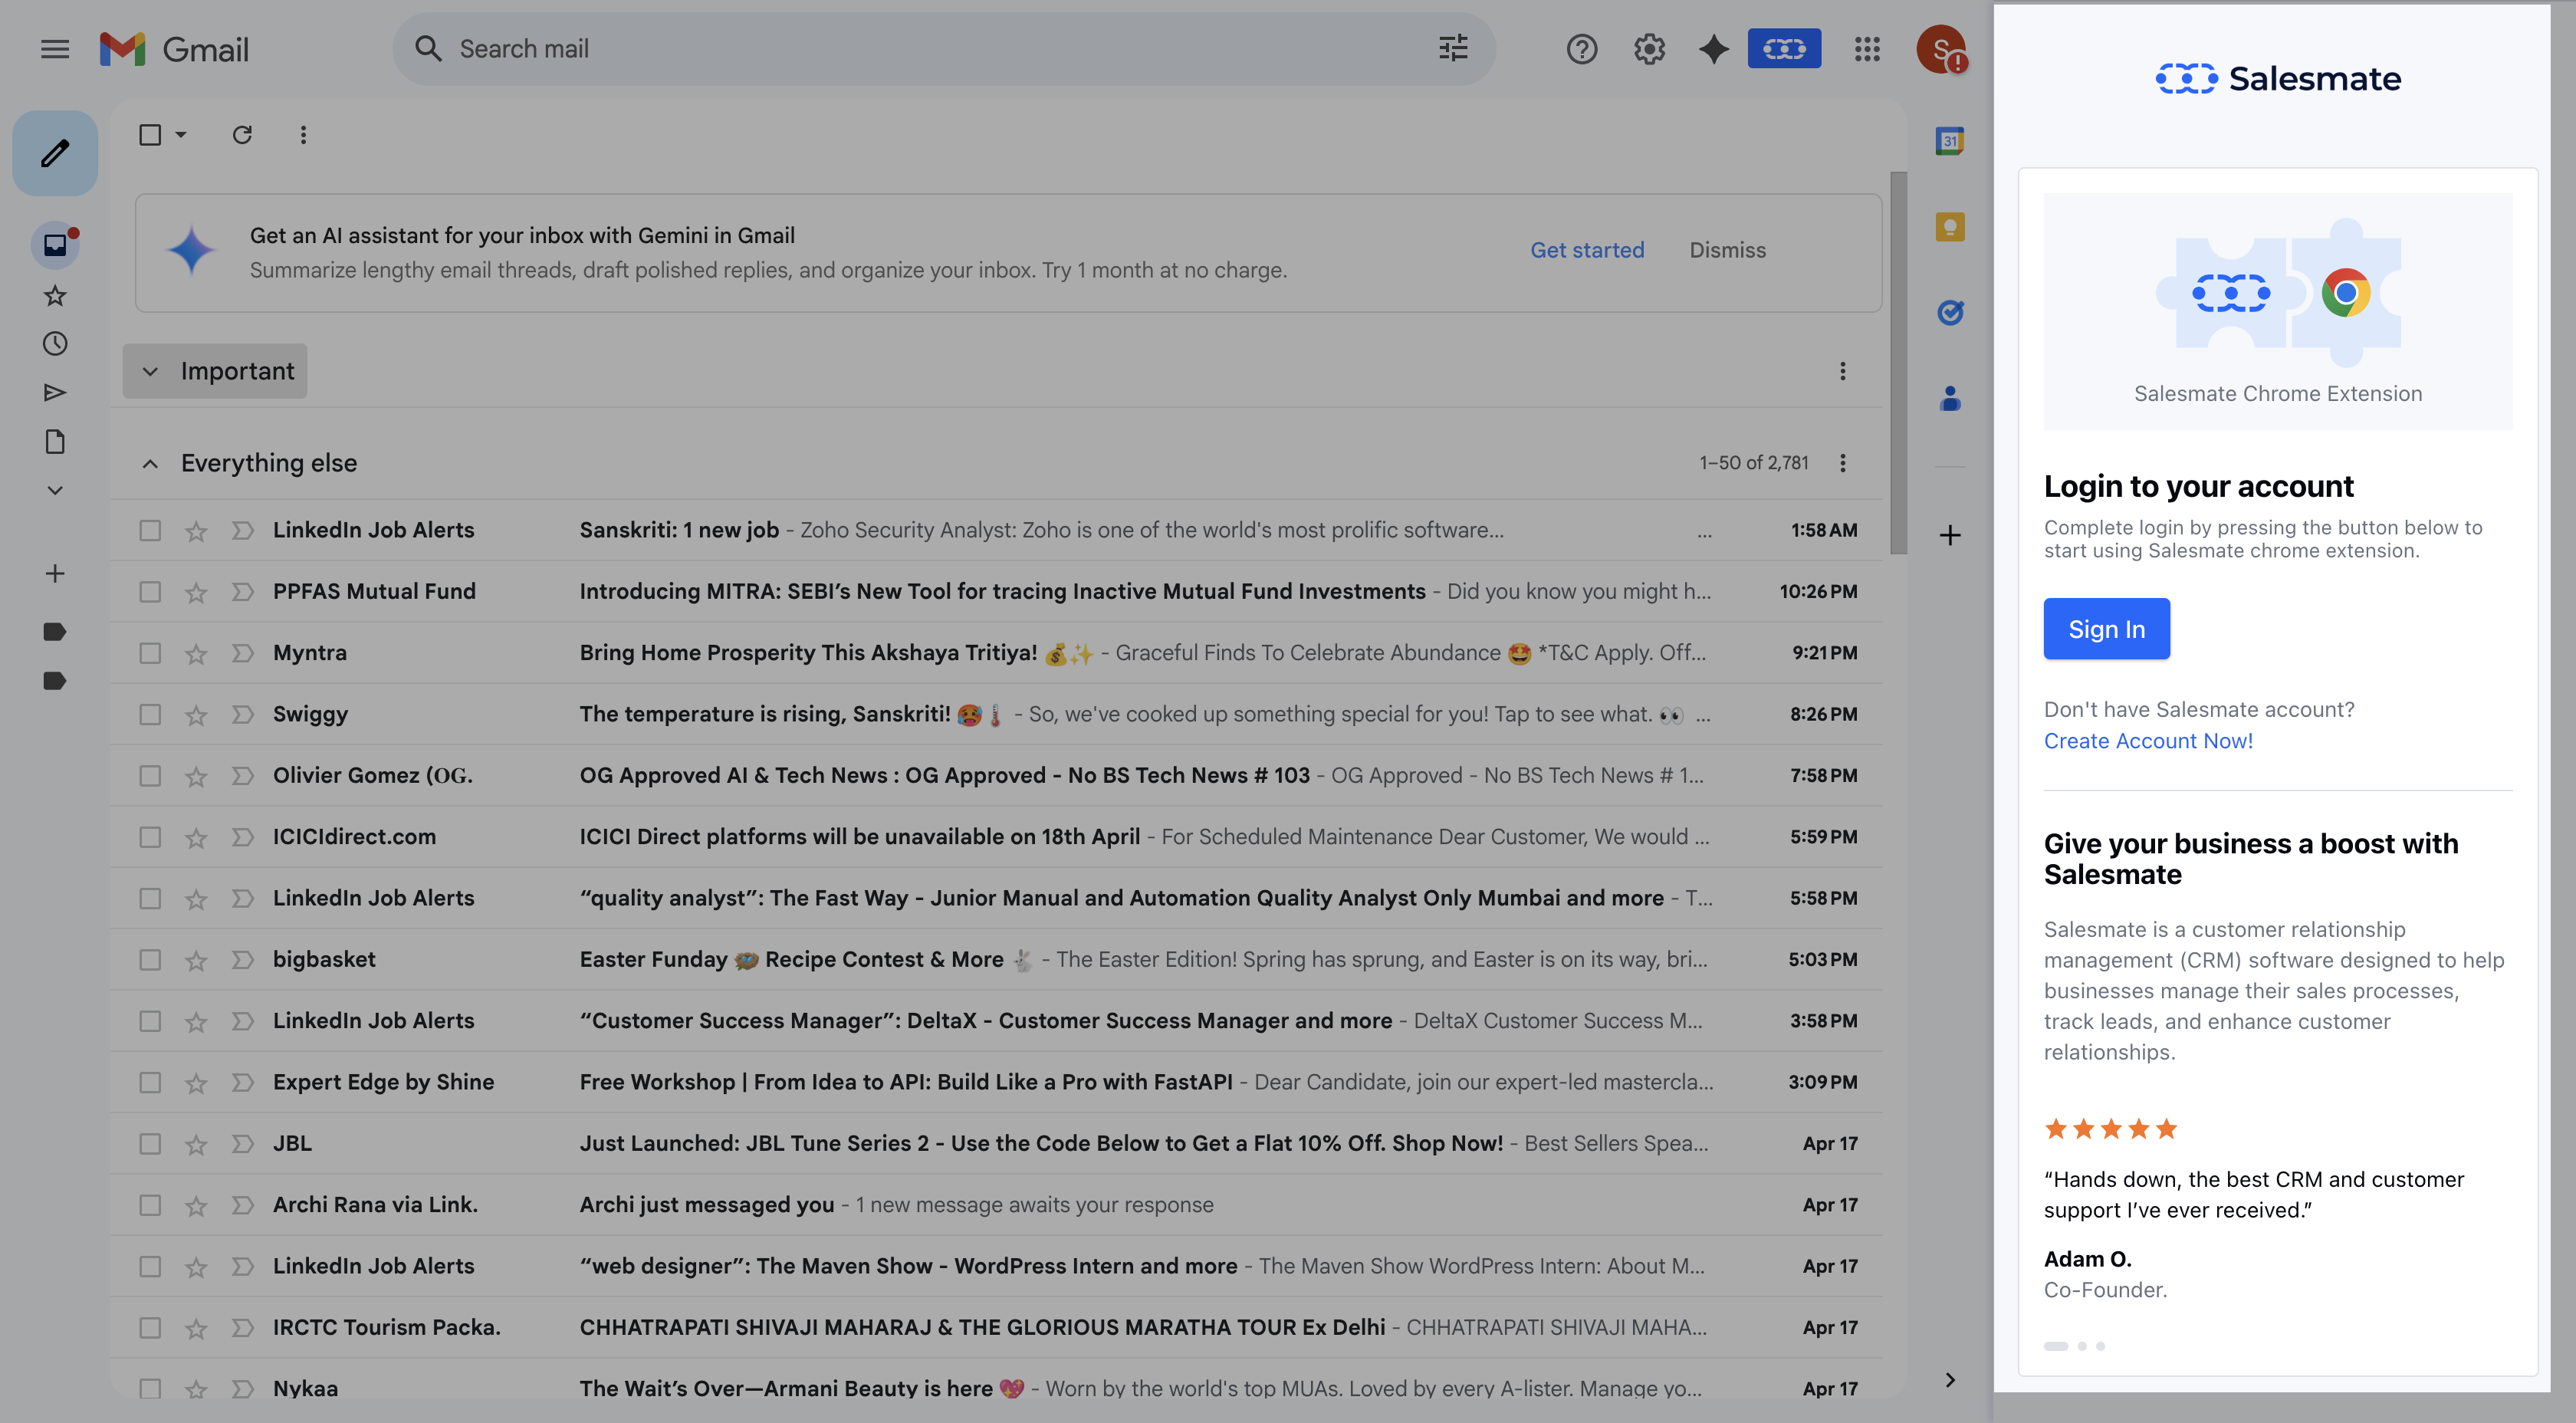
How to Install Salesmate Chrome Plugin On the Google Chrome Web Store search for Salesmate Chrome Extension for Gmail to install the Chrome Plugin.Click on ‘Add to Chrome’ in the top right corner of the window.
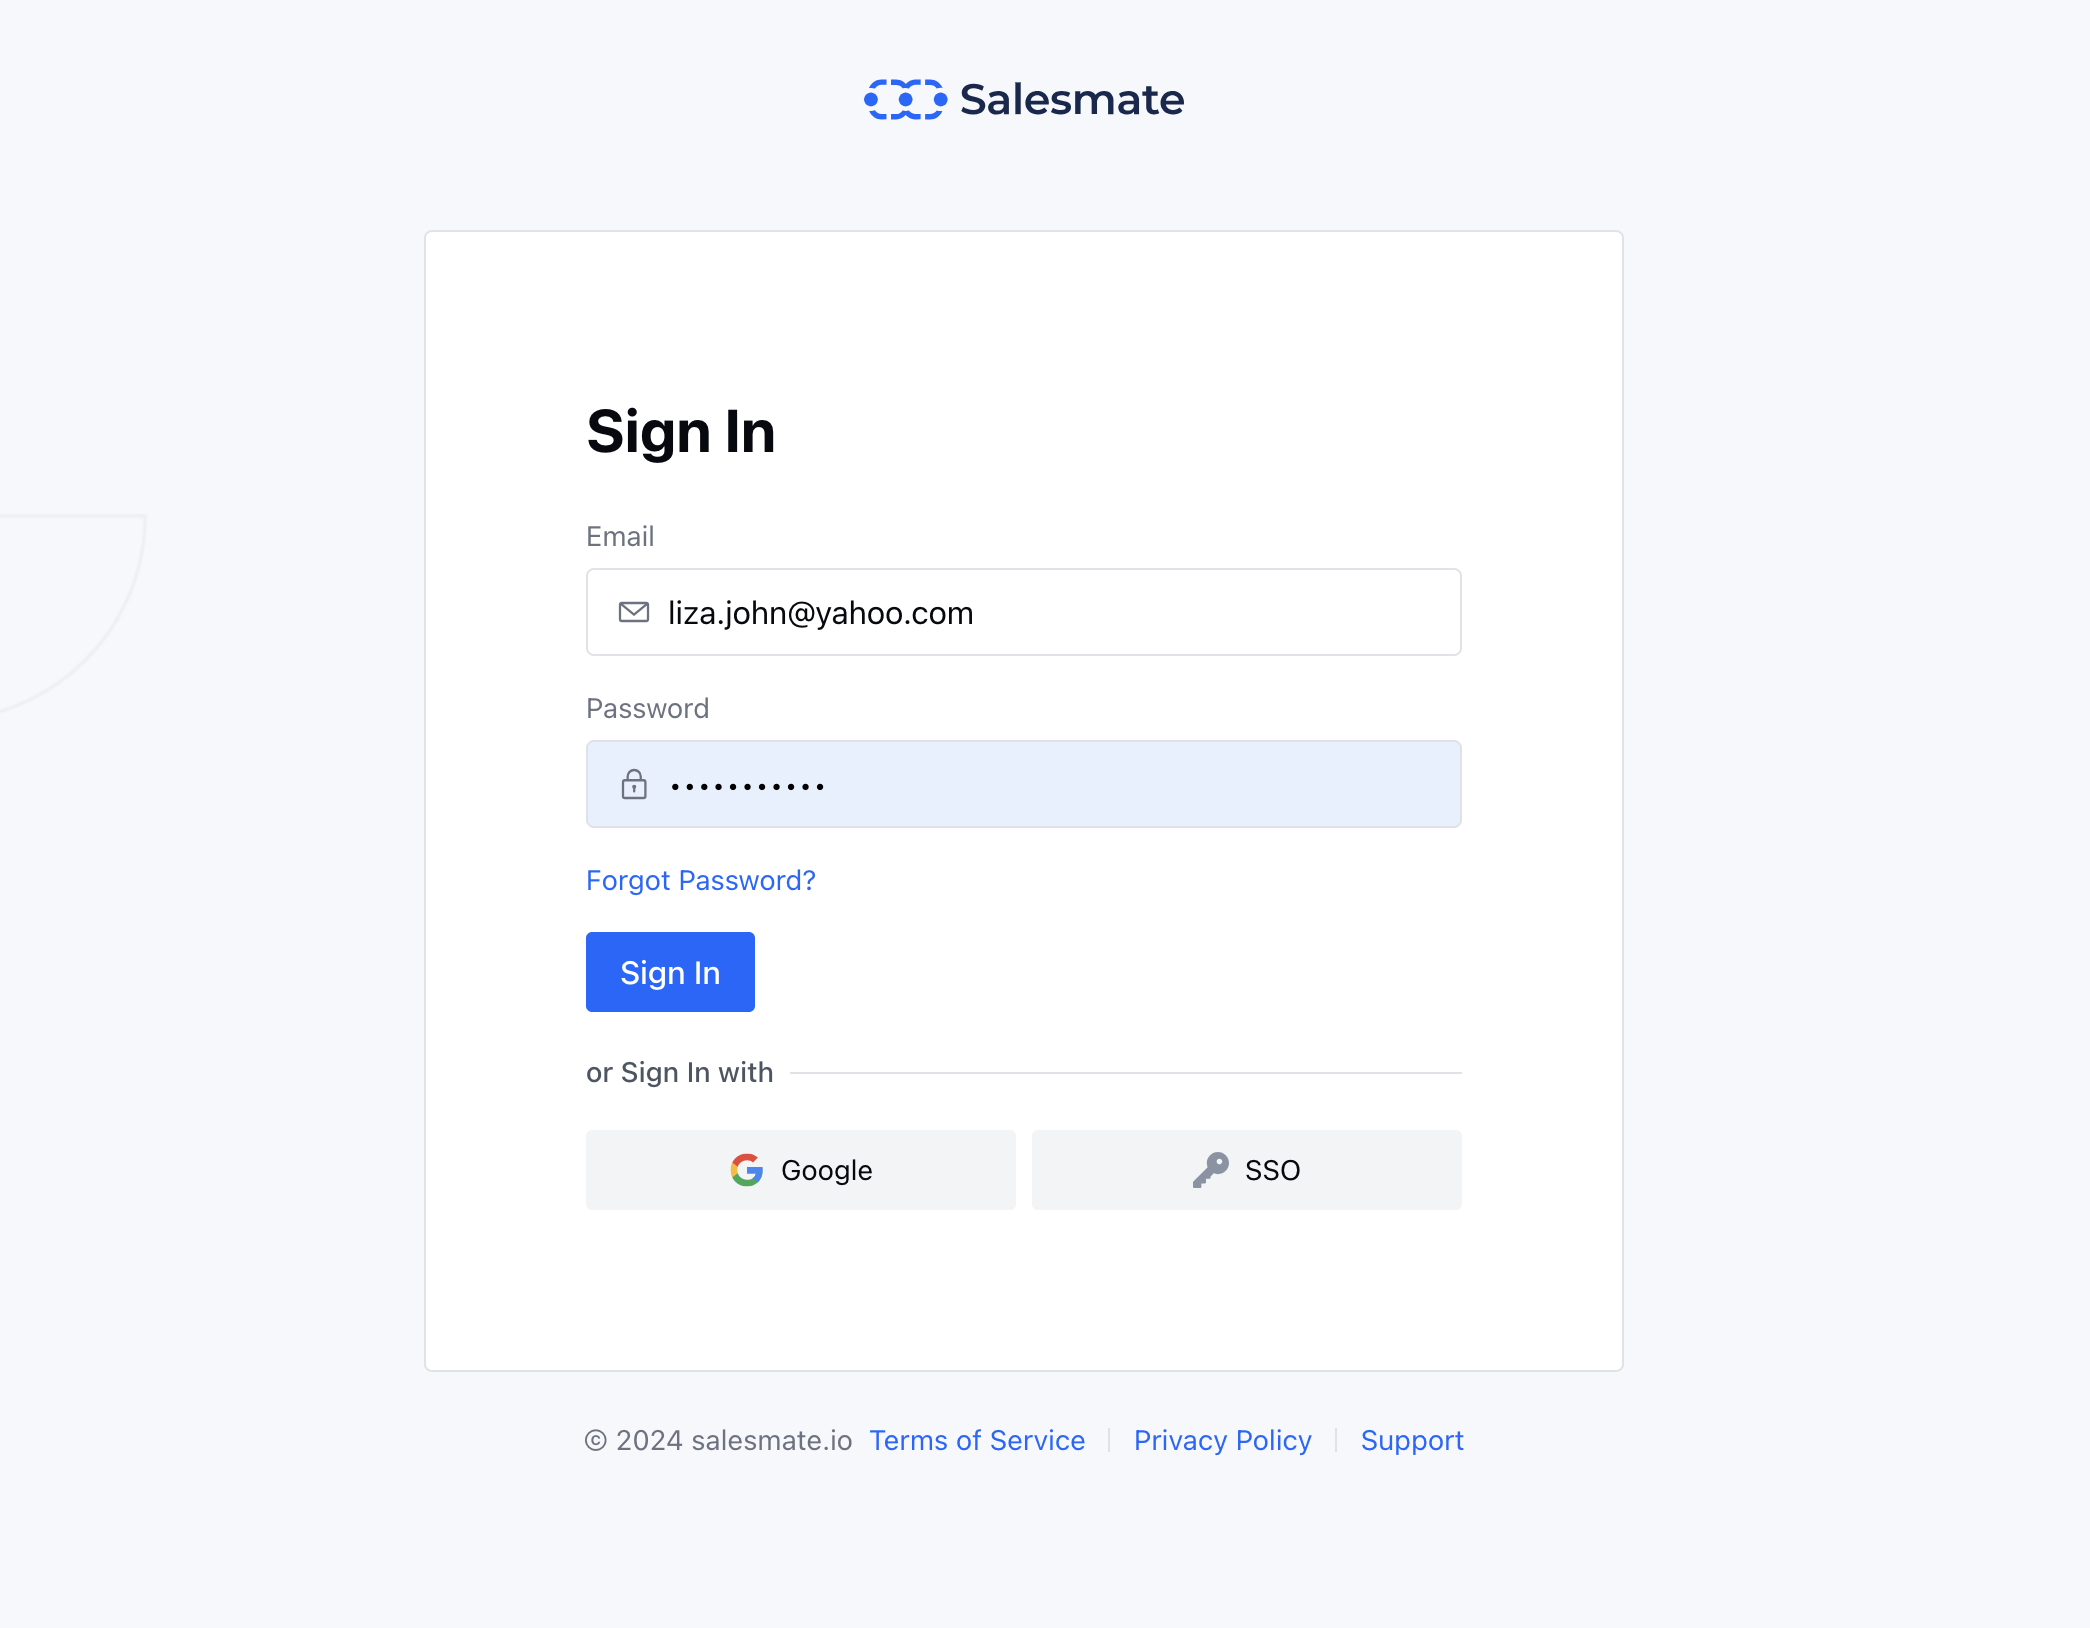
Login to the Chrome Plugin Click the Salesmate Chrome Extension icon from your Chrome toolbar.You’ll see the login screen with a “Sign In” button
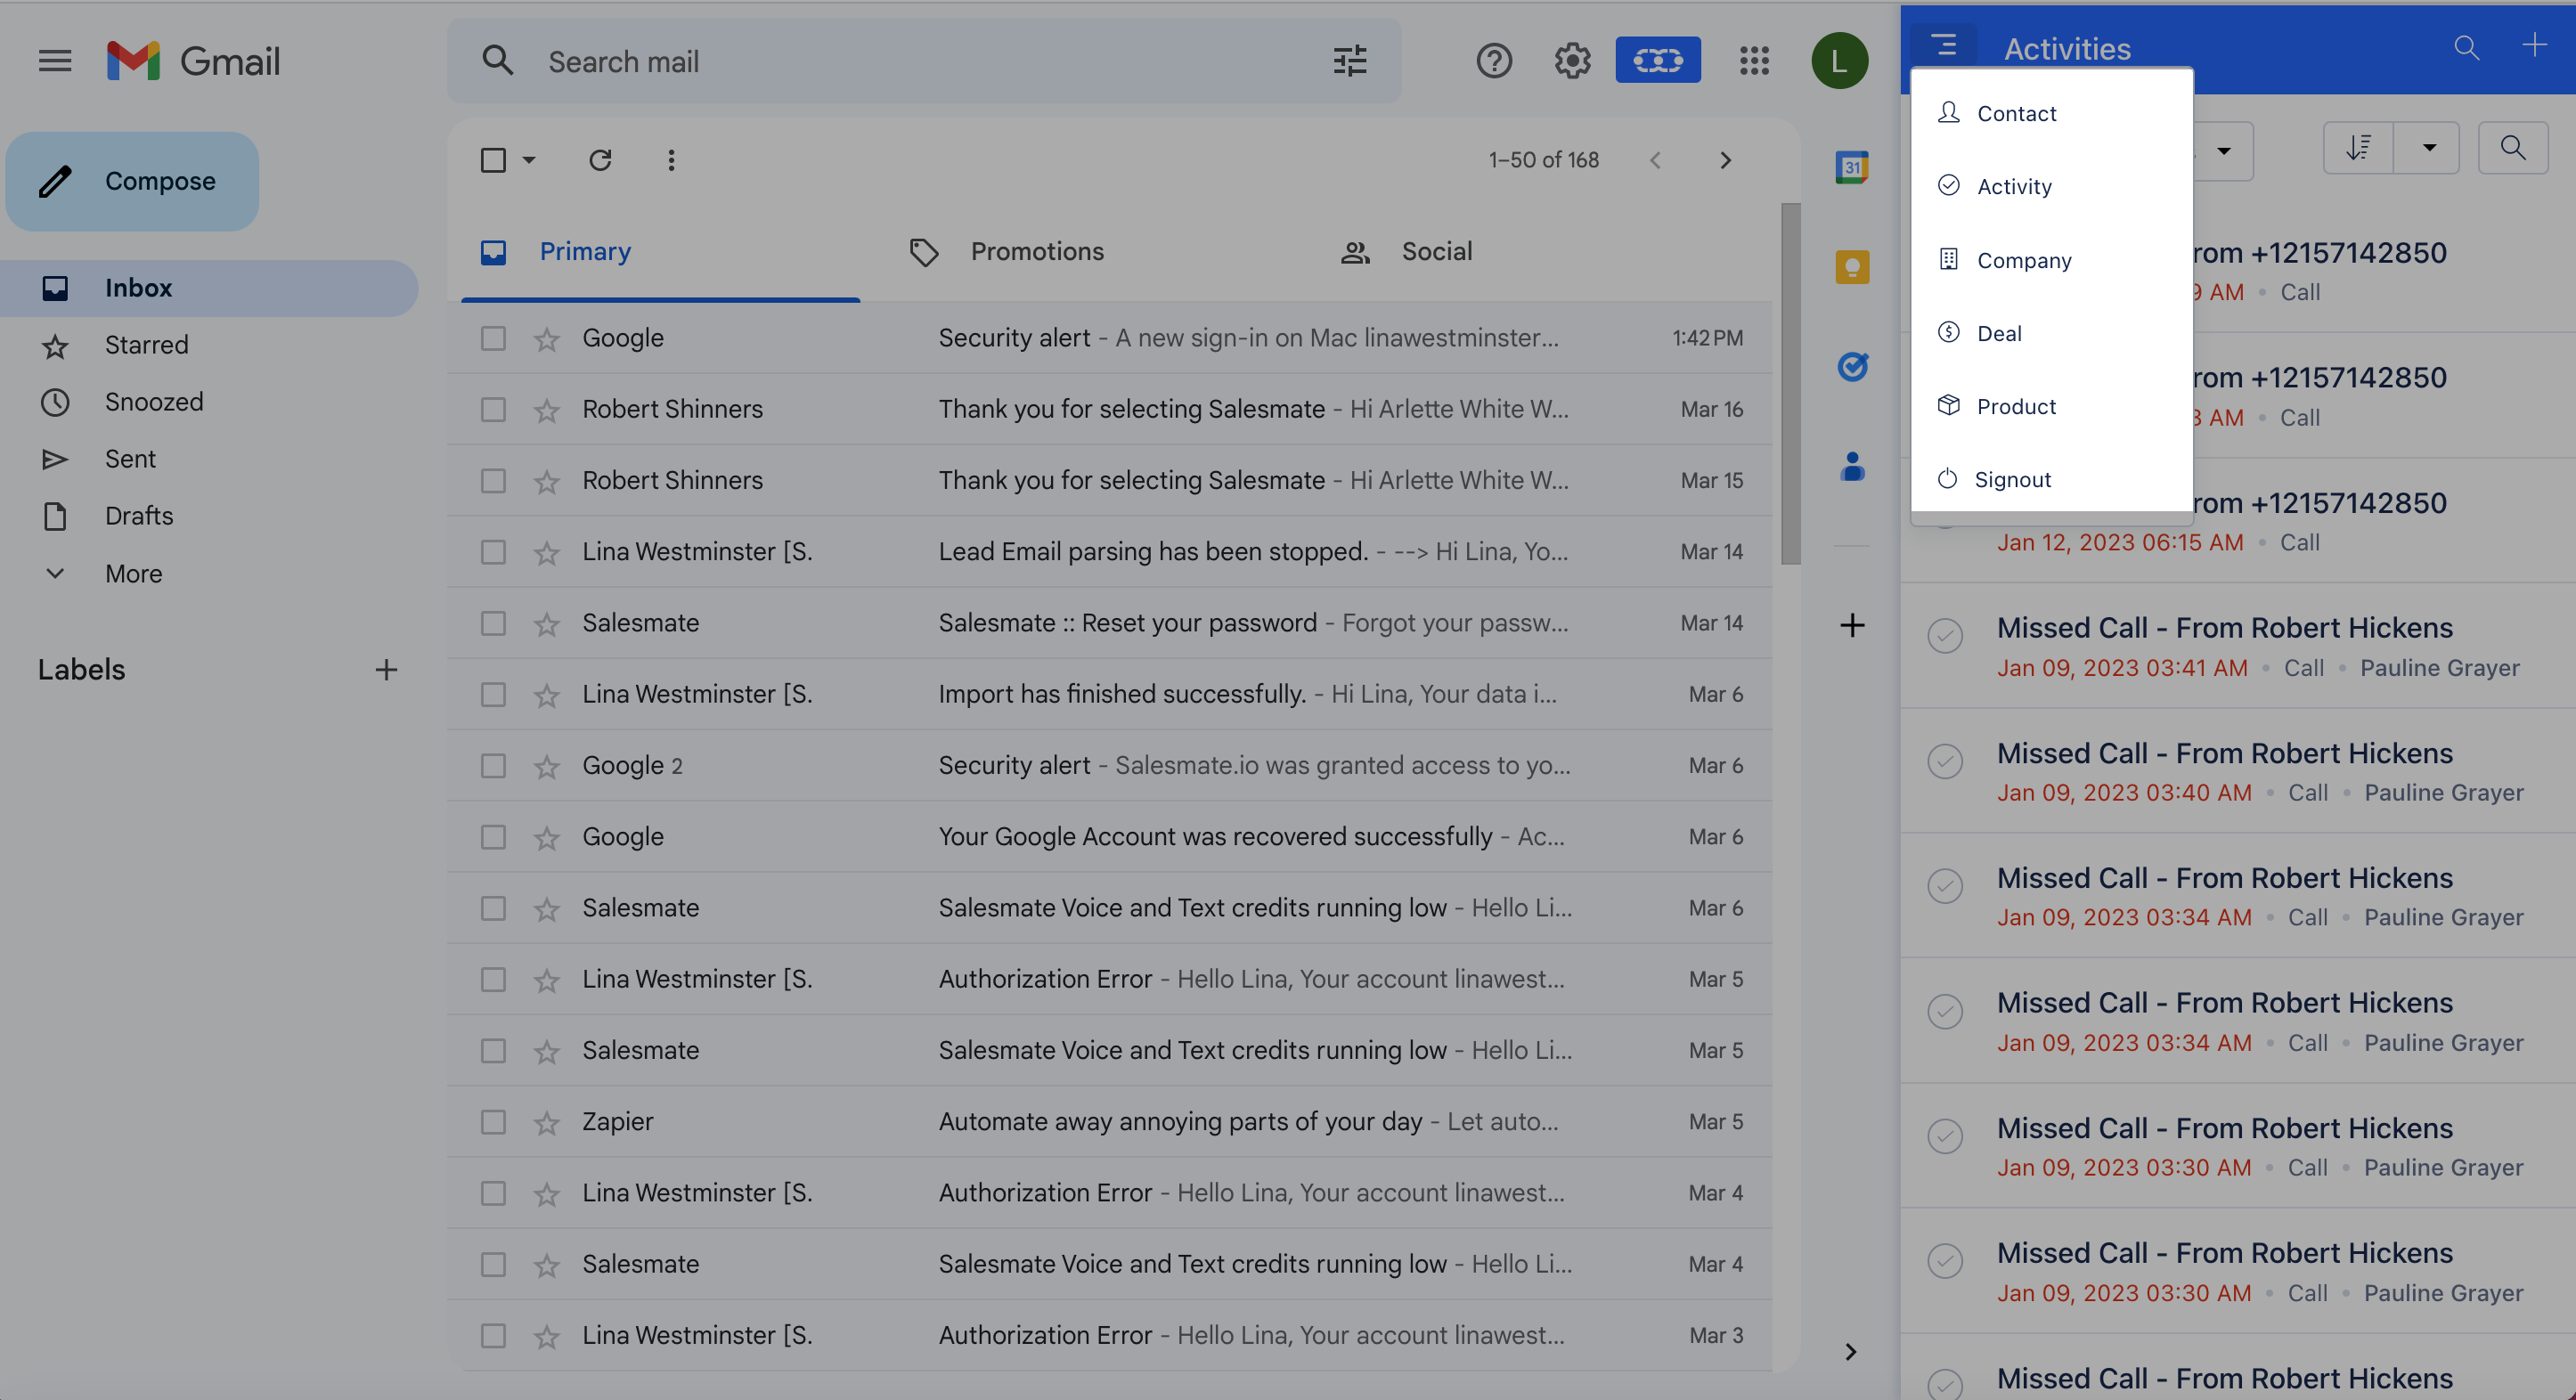
Adding Records ( Contact, Company, Deals, Activities, Products) You can quickly add records by hitting the + icon
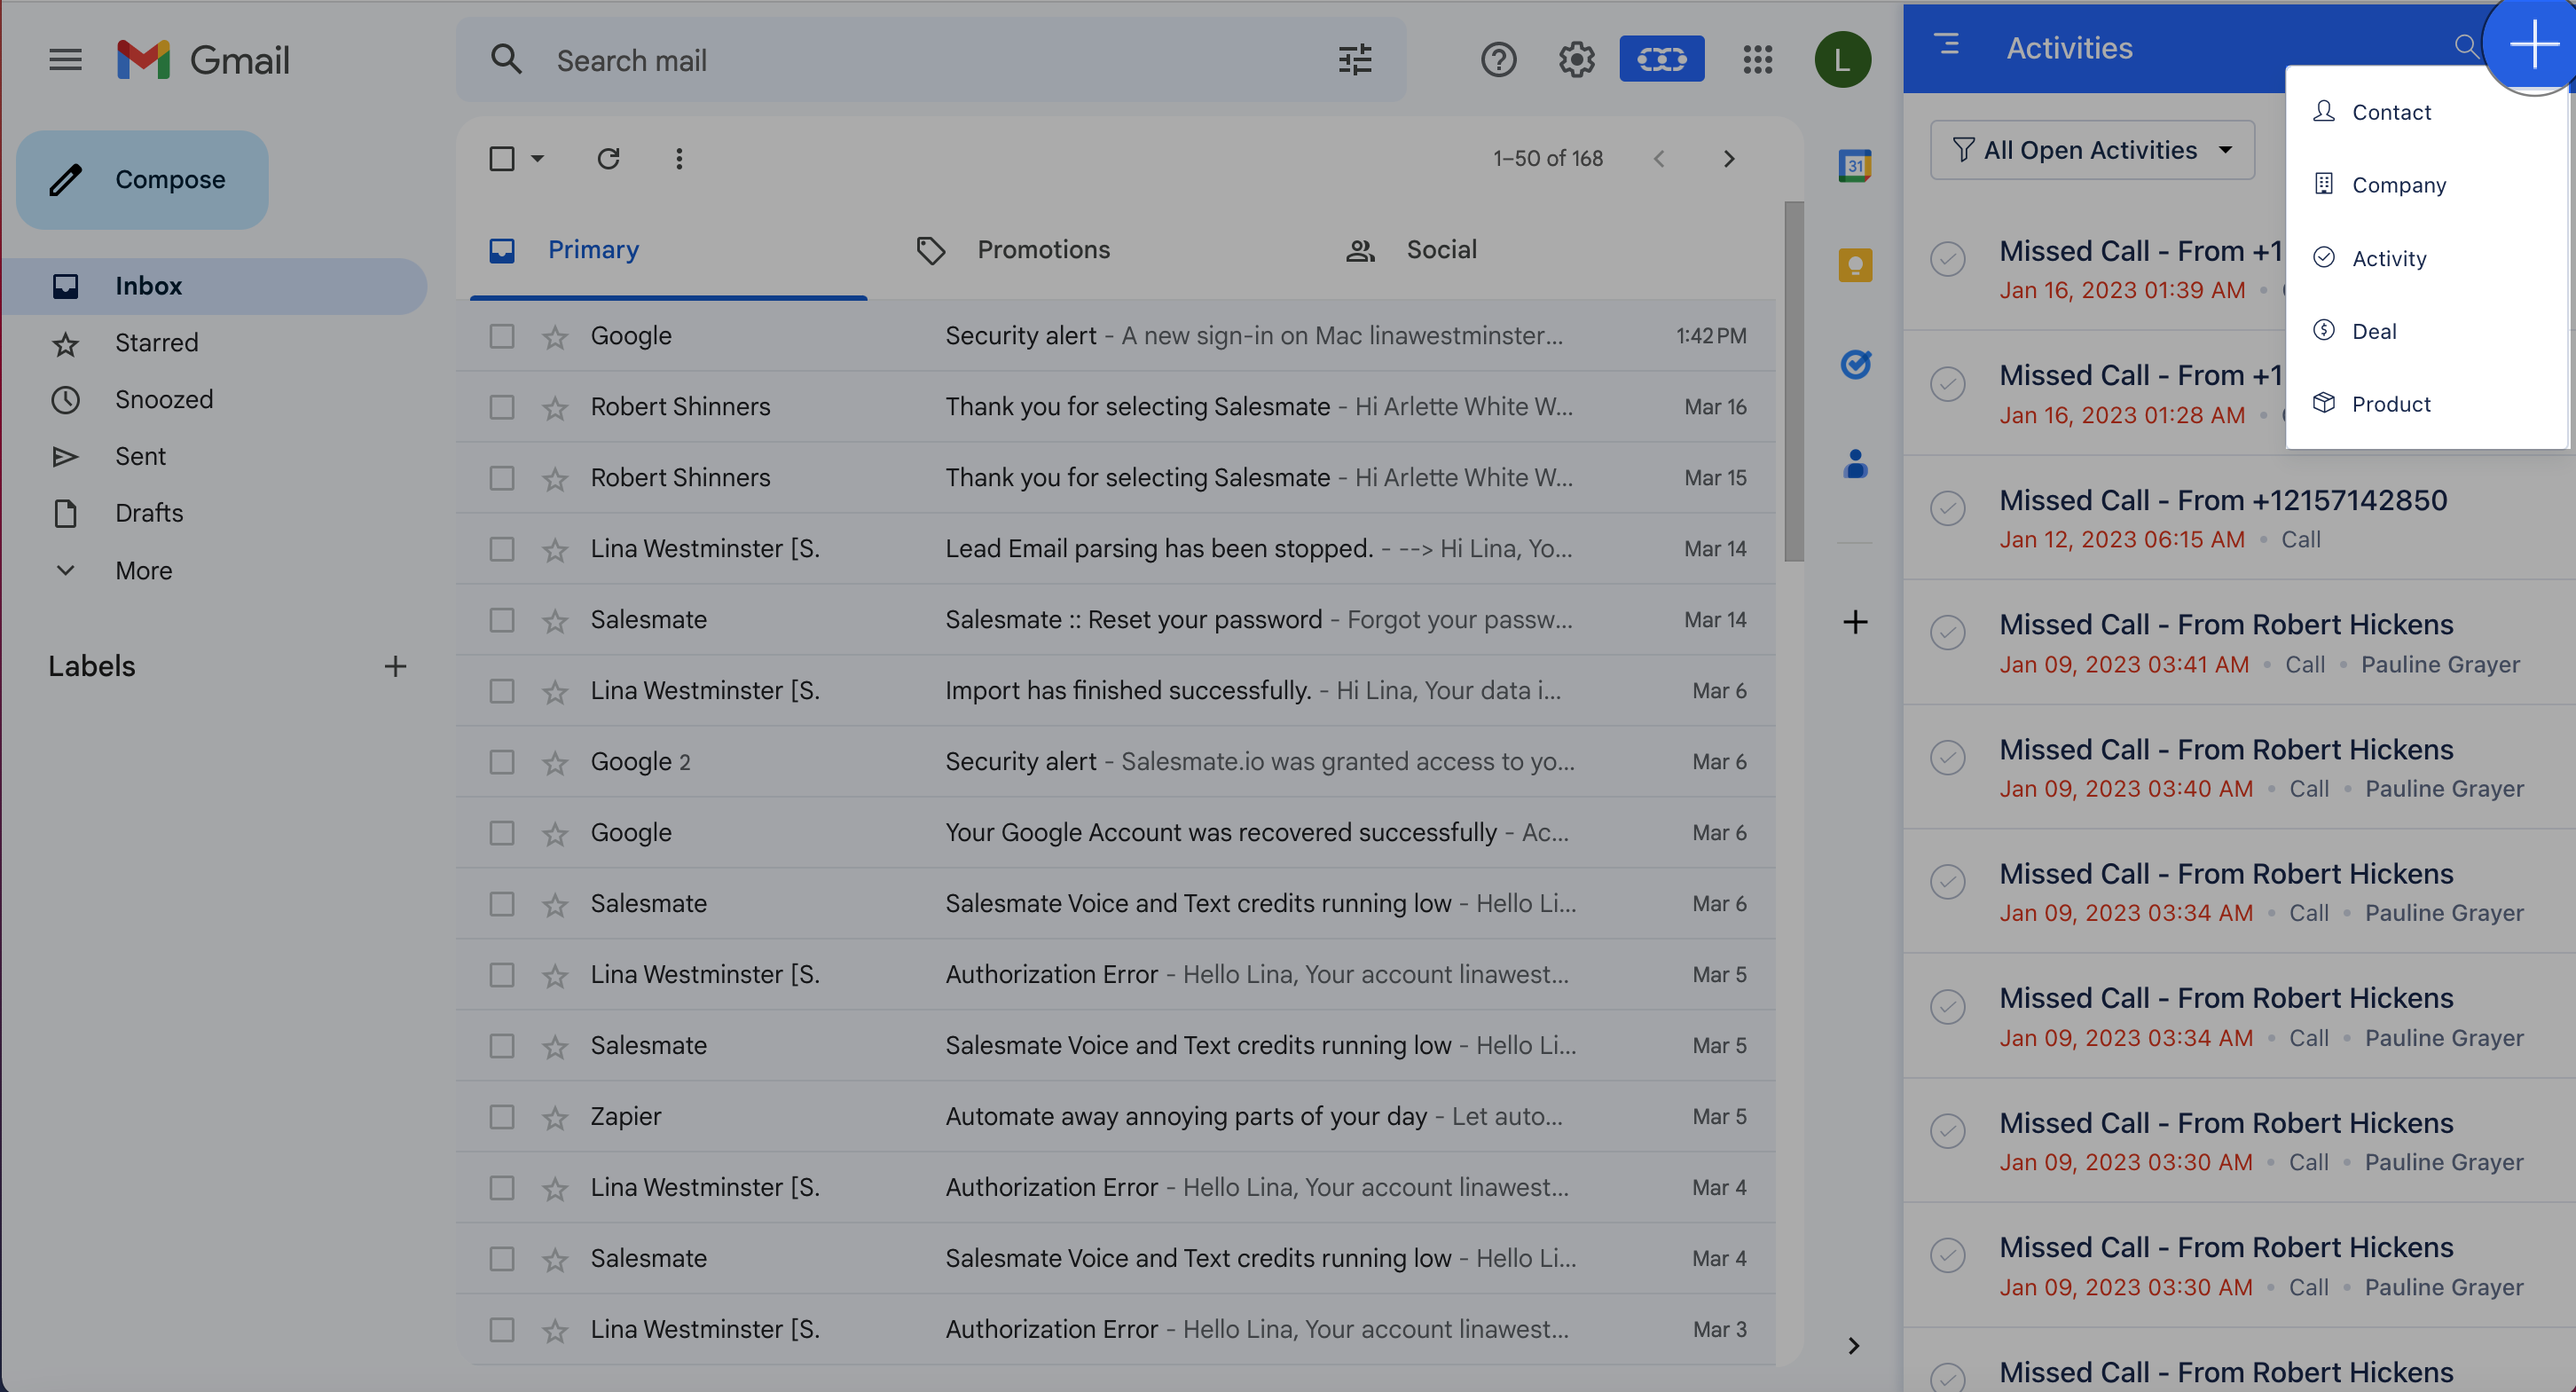
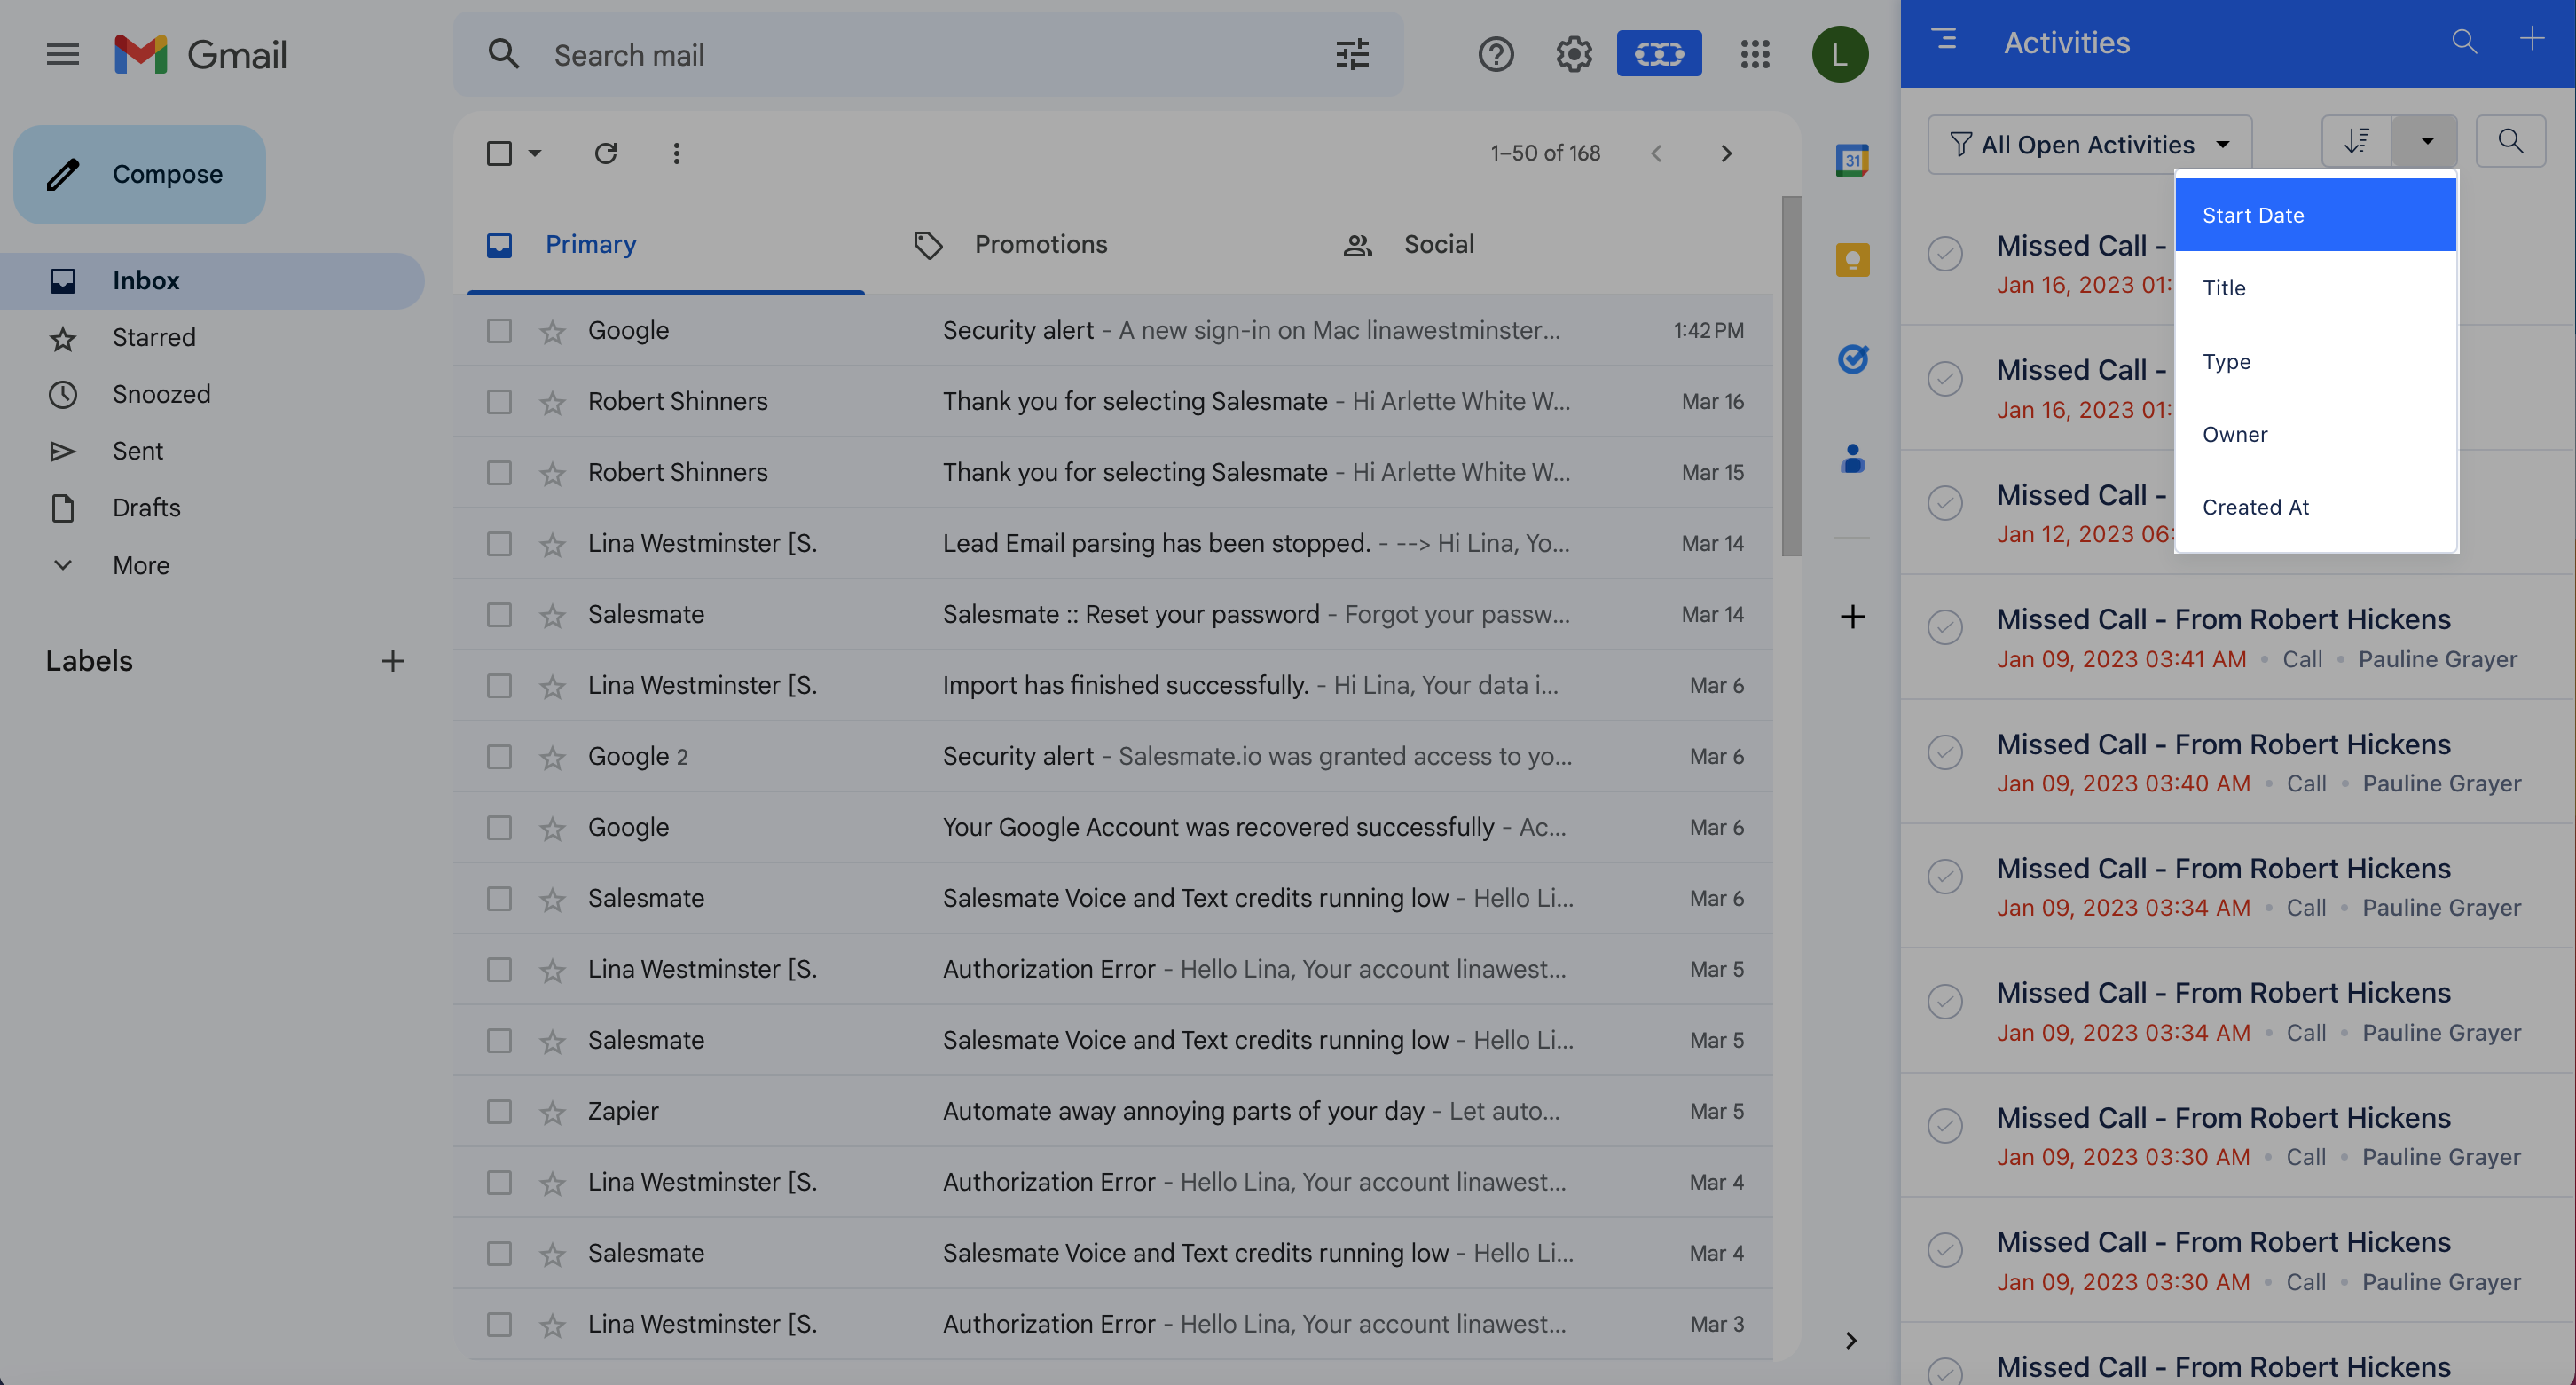
Viewing Records ( Contact, Company, Deals, Activities, Products ) Quickly view your records by hitting the left drop-down and selecting the module you want to view the records for.
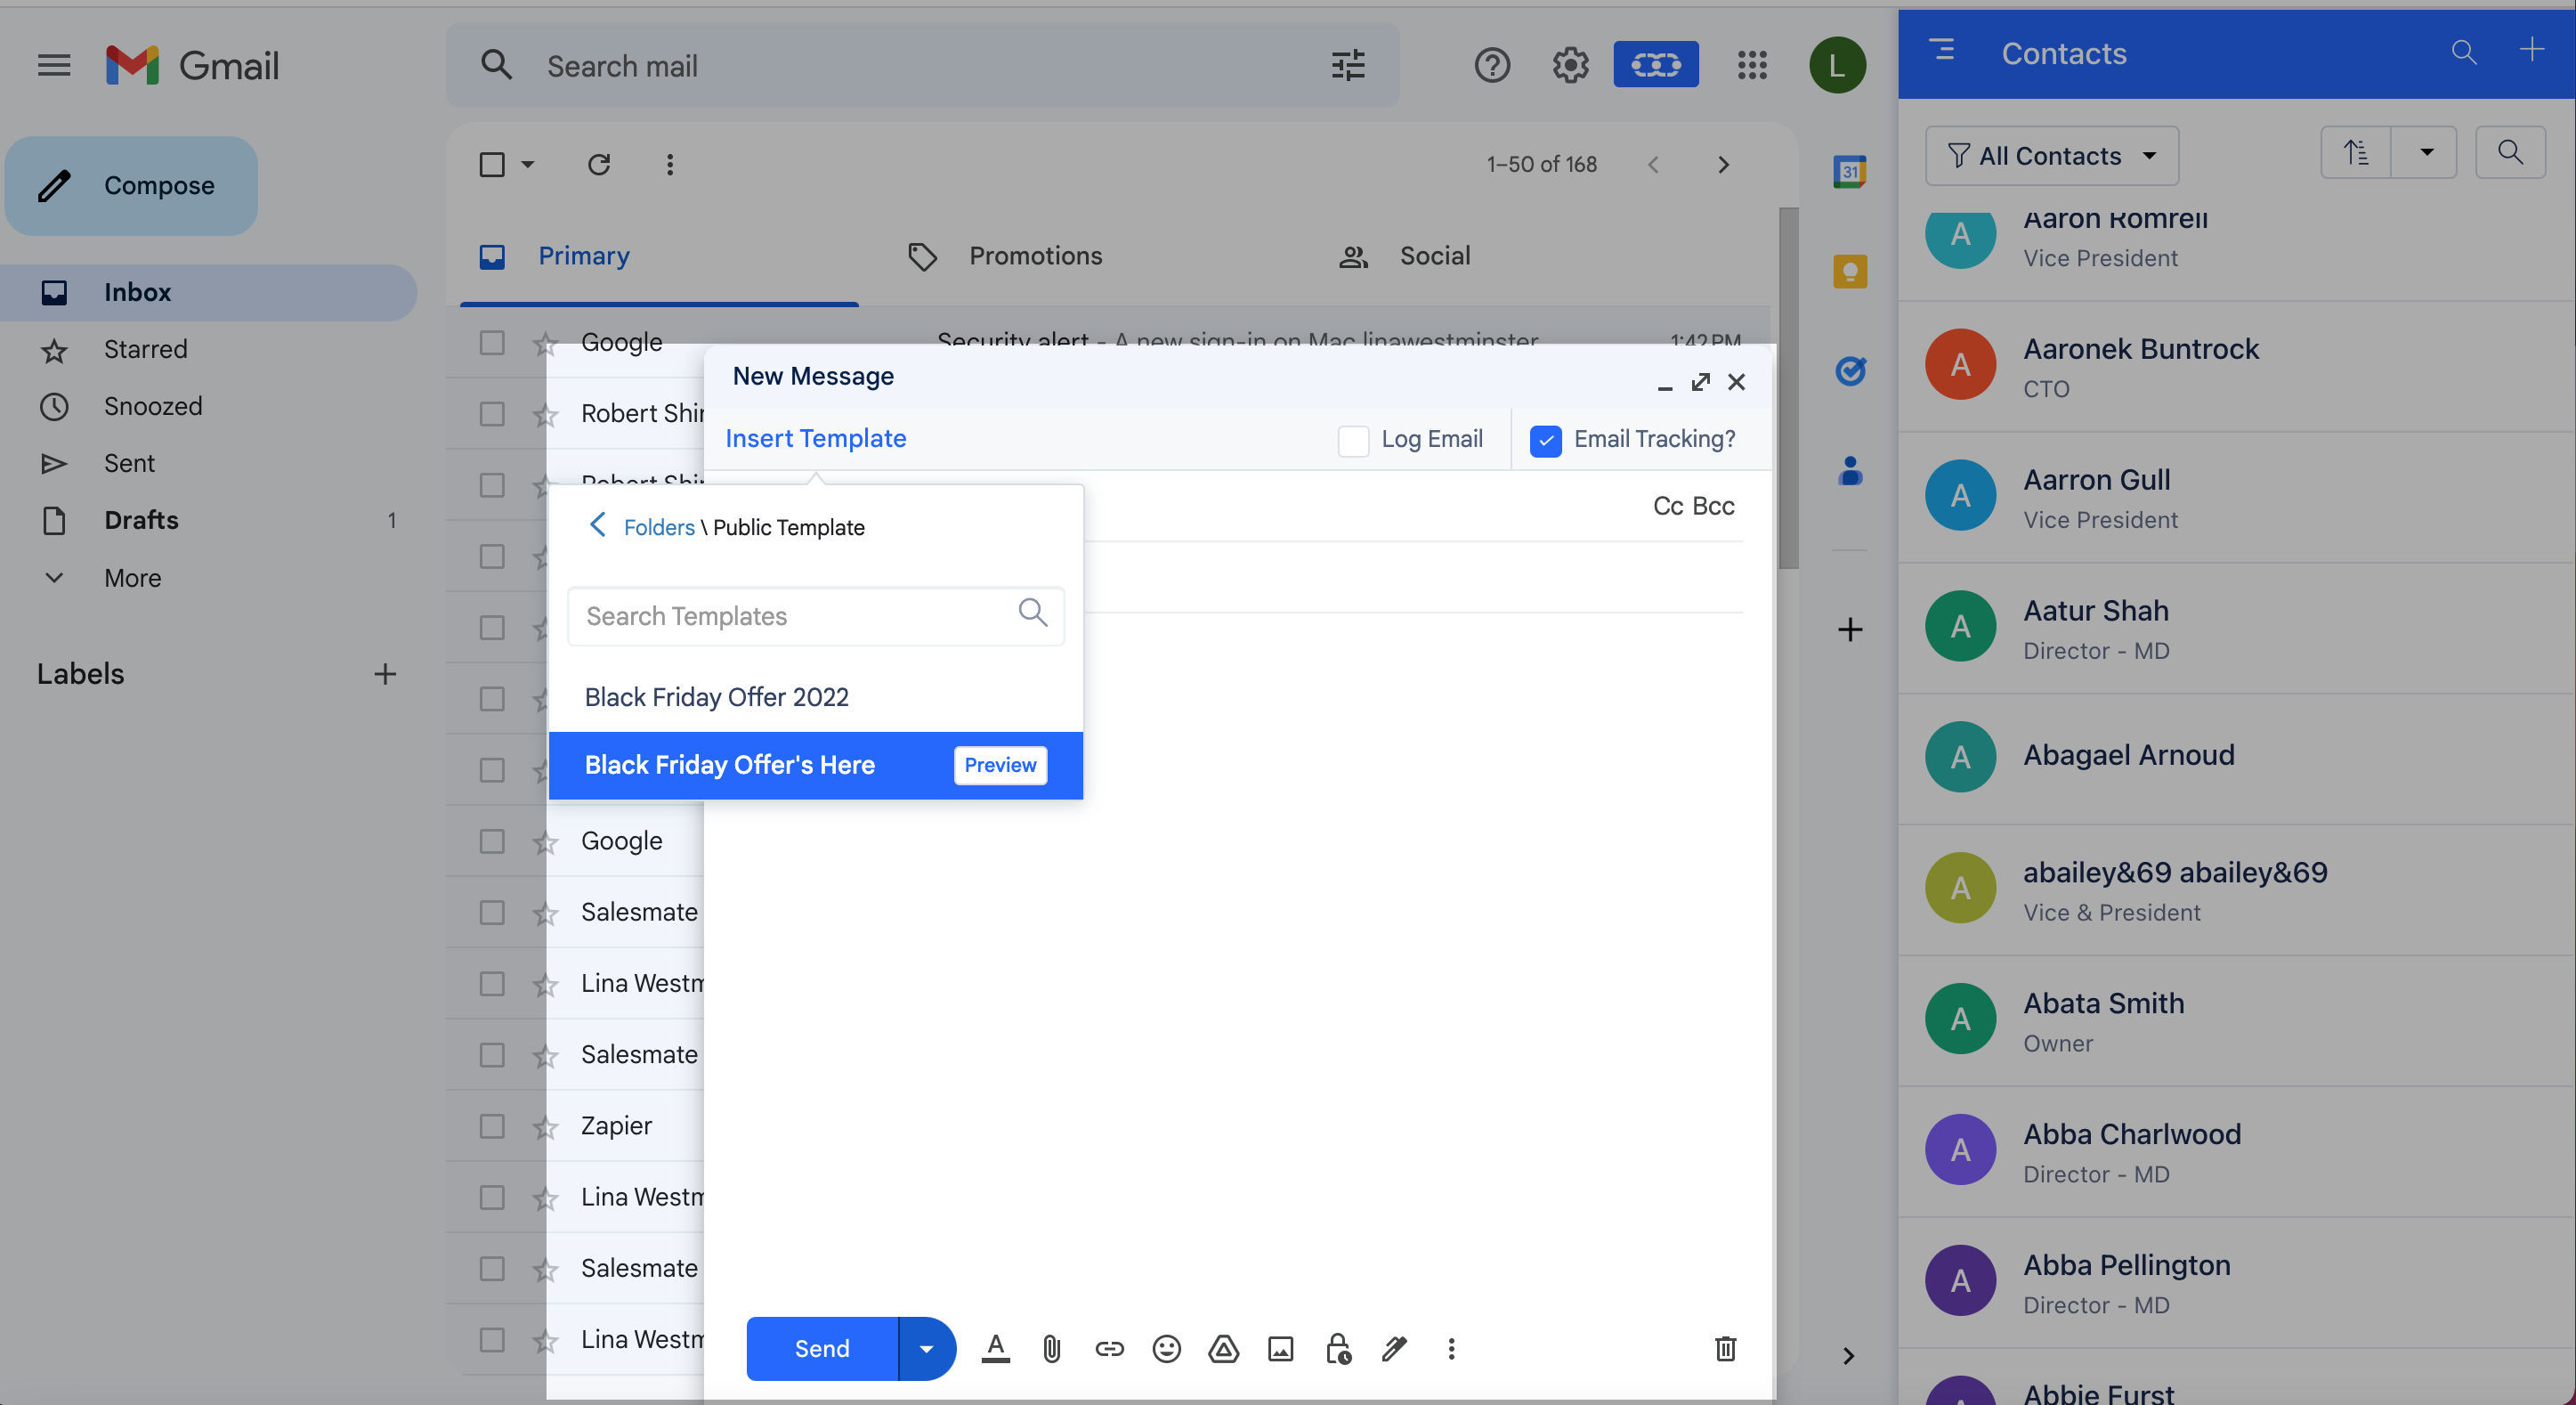
Composing an Email and use of Salesmate Email templates While composing an Email from within Gmail, the Chrome plugin allows you to use the already created Email Templates on the Salesmate Web App and personalize your emails.You can preview the email template before you use it.
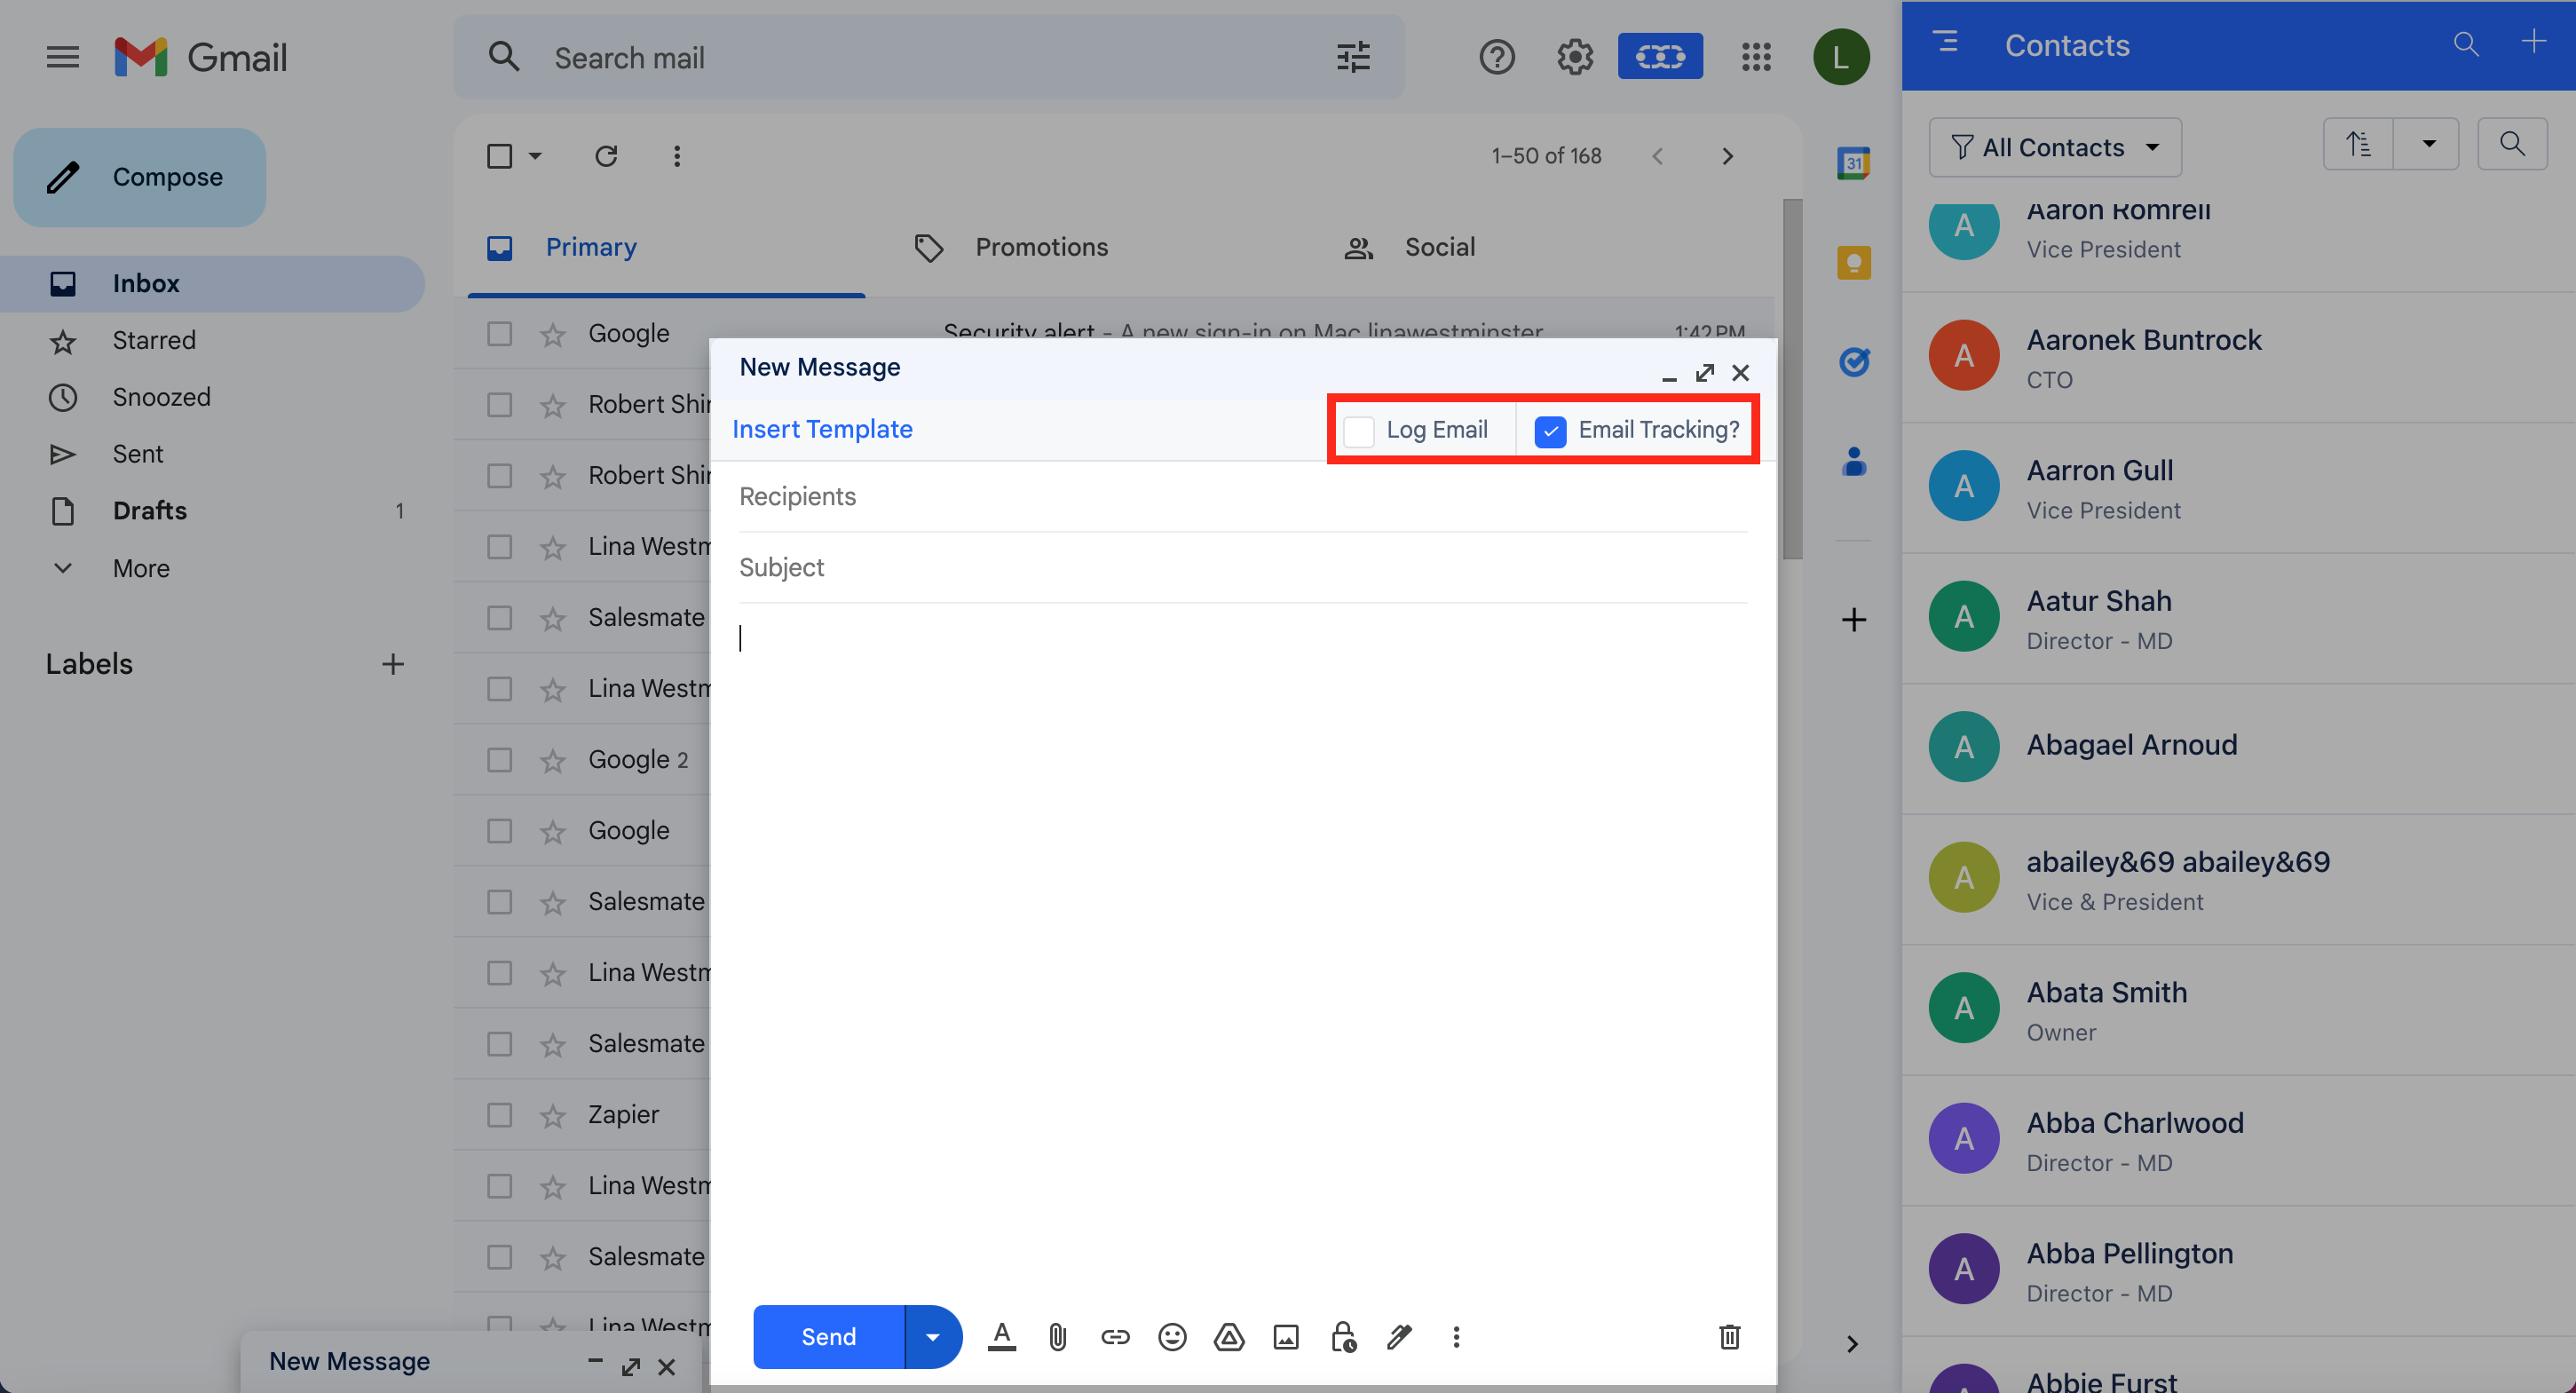
Email Open & Click Tracking, Email Logging While sending an Email tick the checkbox for Log Email and Email Tracking

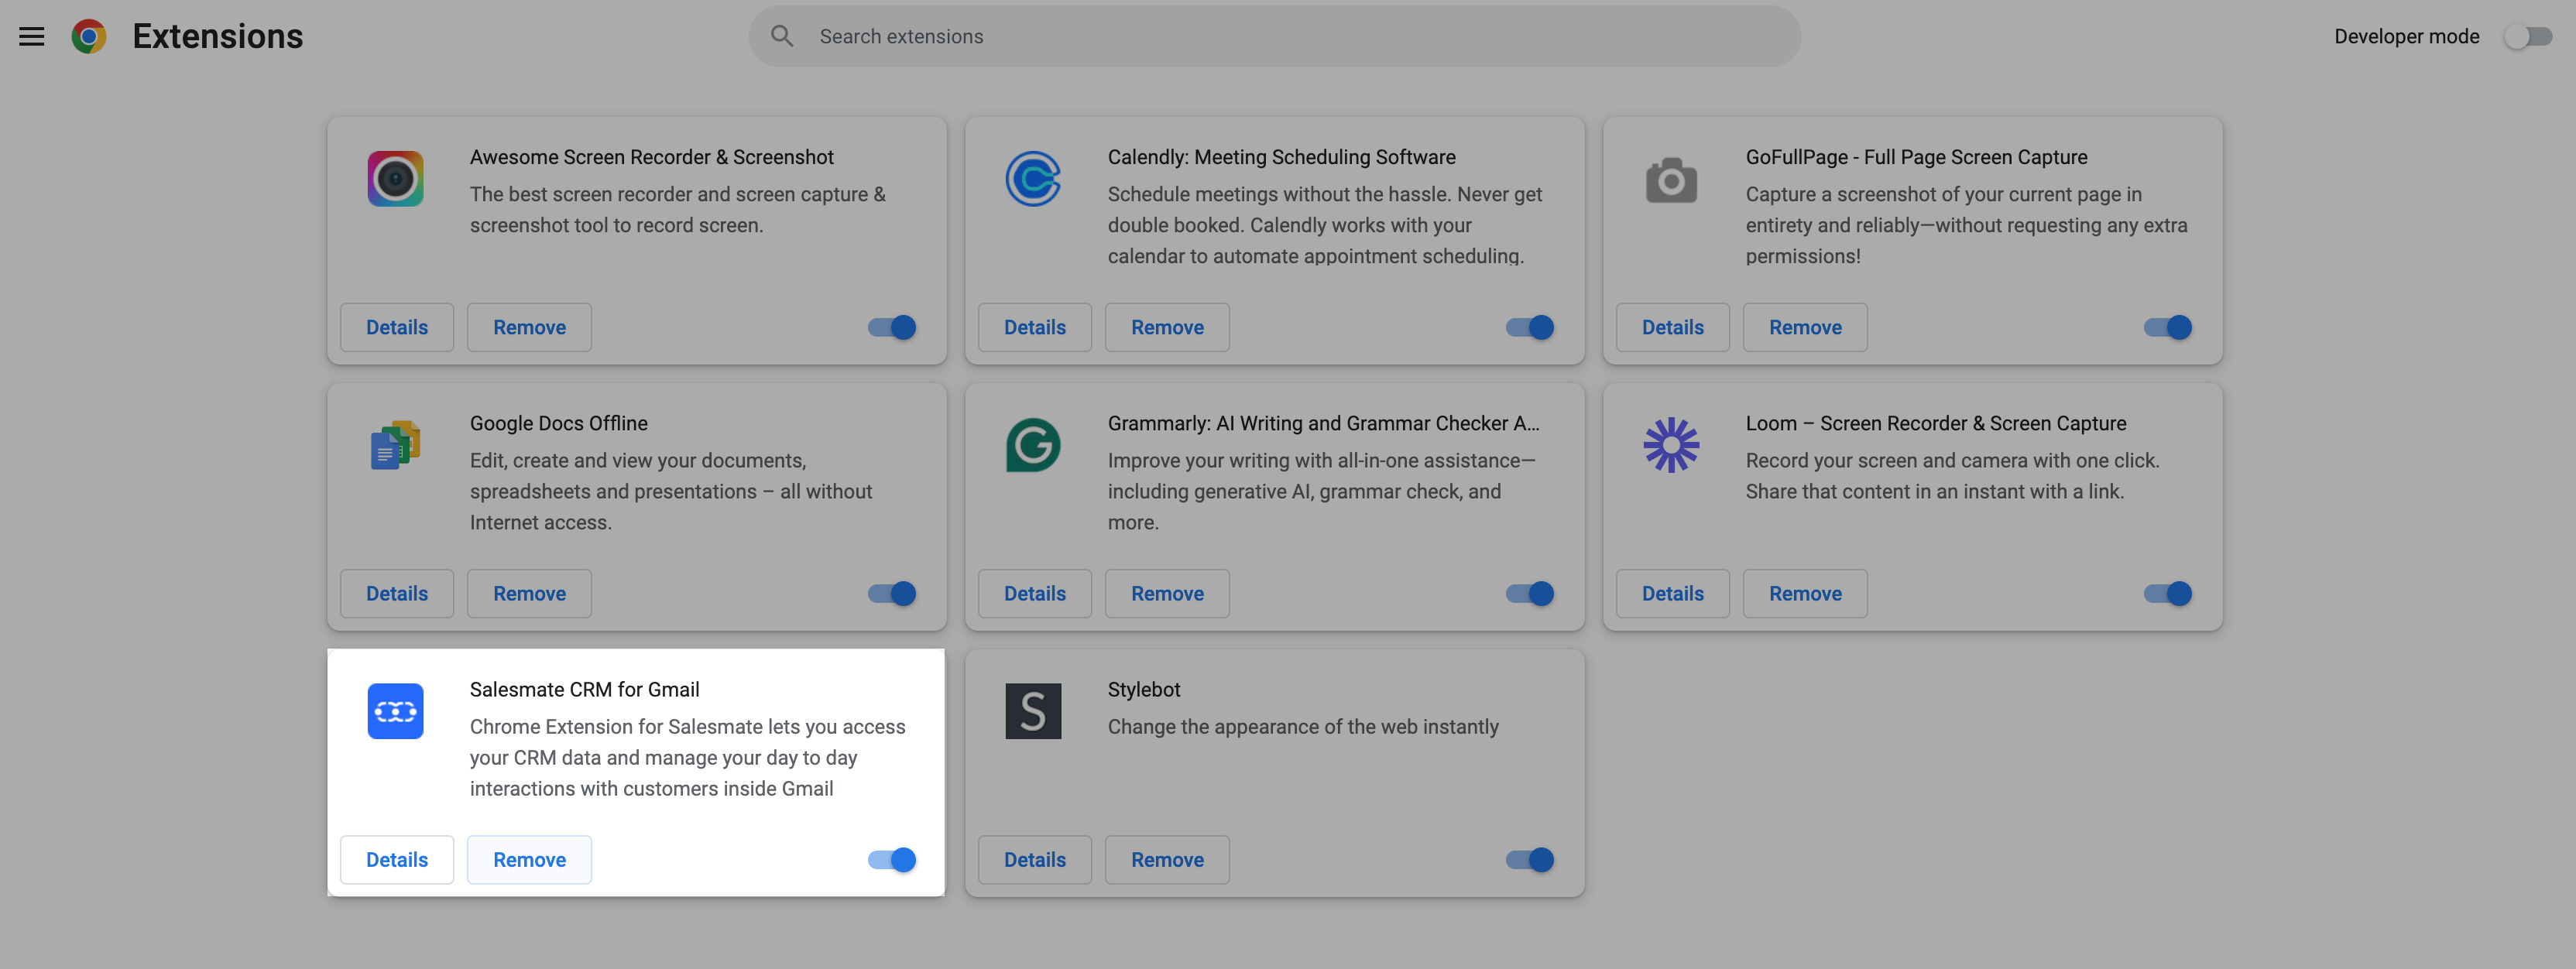
Uninstalling Salesmate Chrome Plugin Uninstalling the Plugin will remove it entirely from the browser.To uninstall:
Click the Chrome menu on the browser toolbarClick More tools Select ** Extensions ***
- Click the* trash can icon Remove an extension from Chrome next to the Salesmate AppA confirmation dialog appears, click Remove**