Note: You need Manage Knowledge Base permission to perform any action on categories.
How to Create Category
To Create the Category,- Navigate to the Profile Icon from the top right corner.
- Click on the Set Up
- Headover to the Library category
- Select the Knowledge Base option
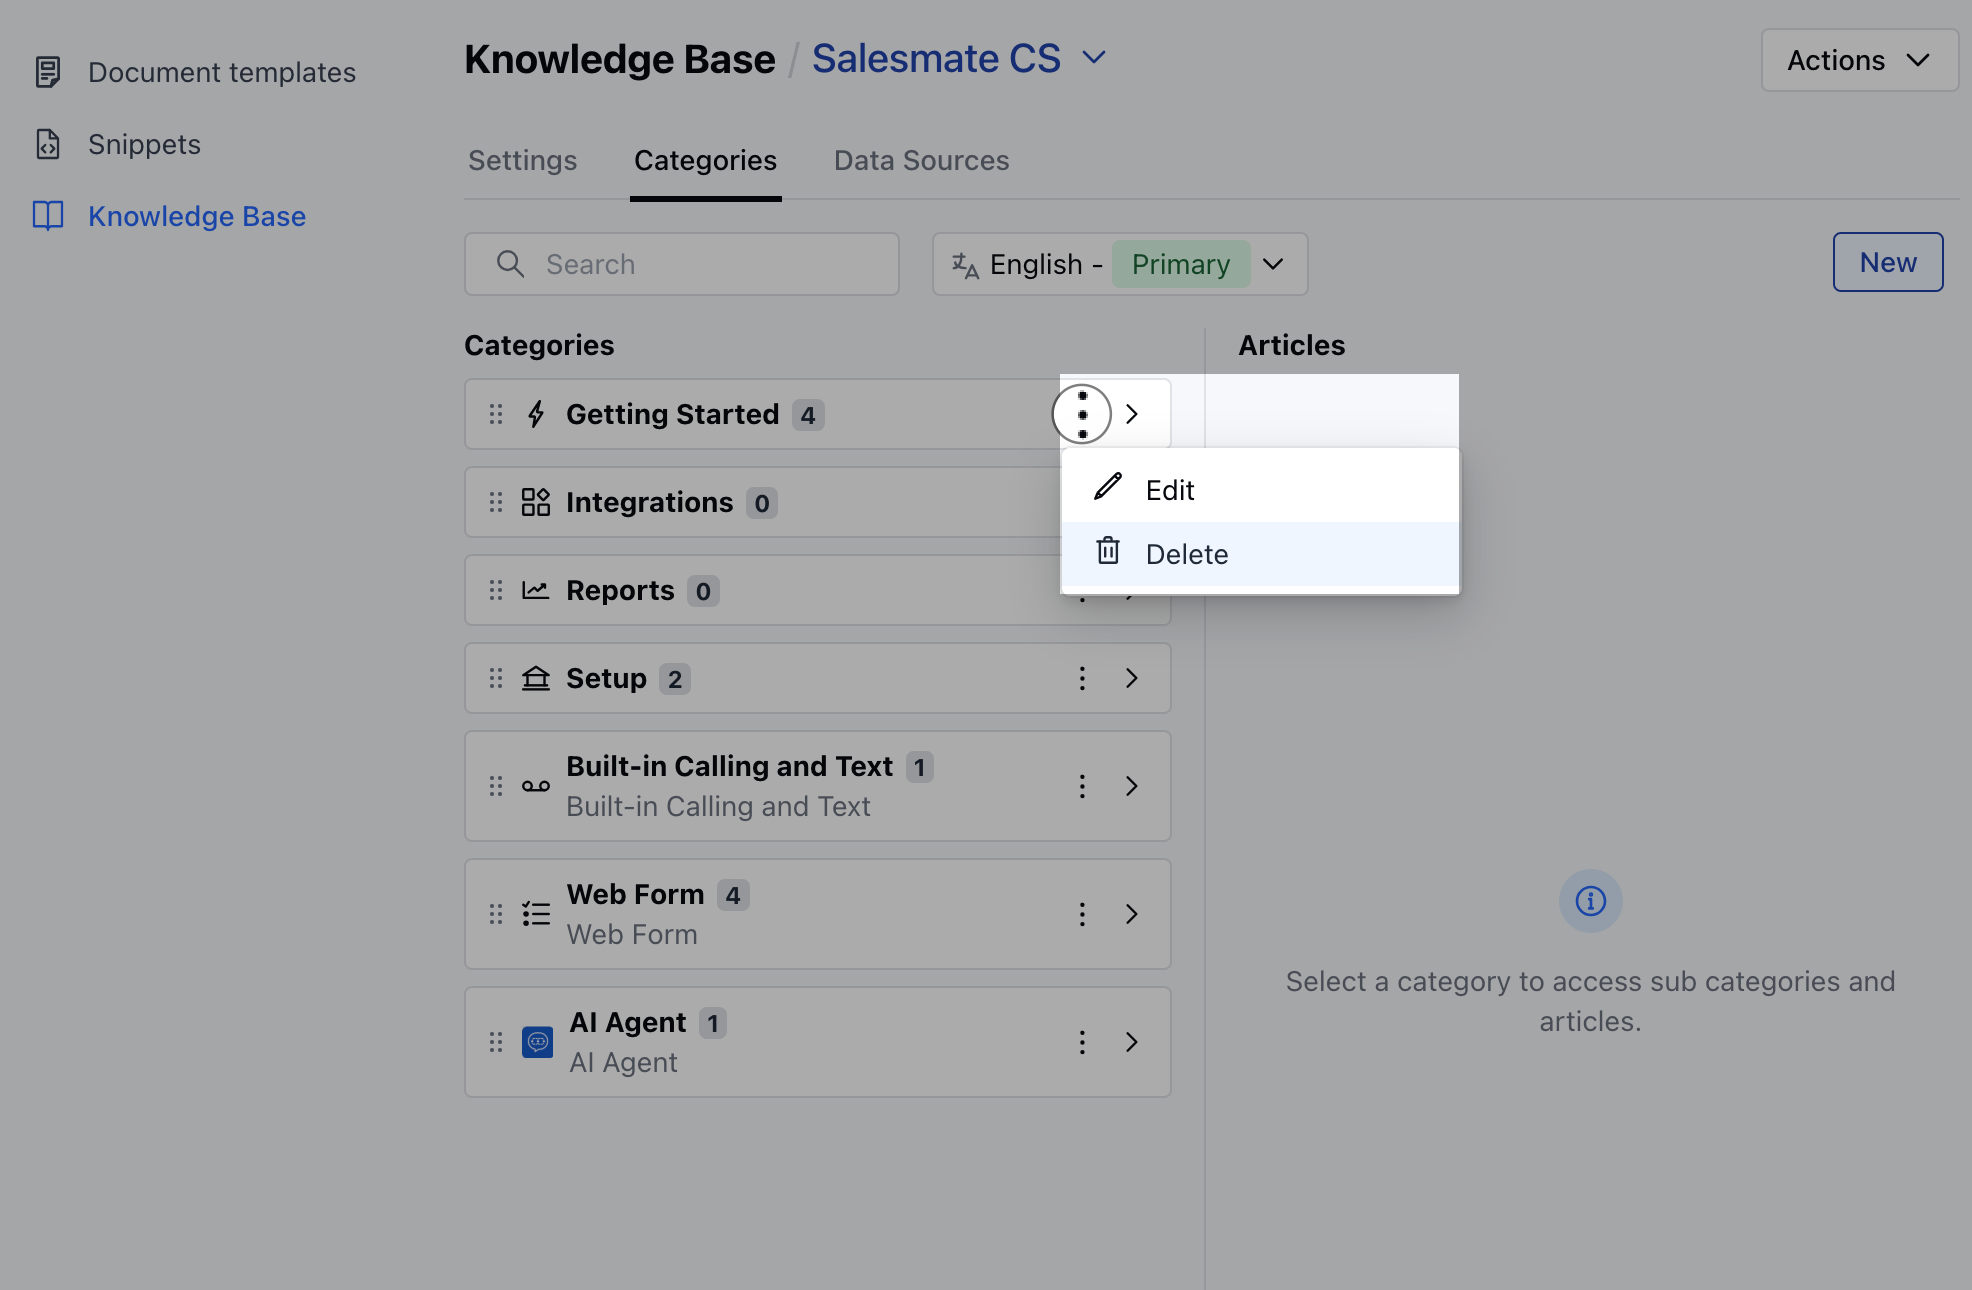
- From the Knowledge Base screen**, go to the** Category tab.
- You’ll see a list of all categories currently added to your knowledge base.
- Click the New button to create and add a new category.
- When you click this button to create a new category, you’ll be prompted to provide the following details:
- Category Name:The title of the category.
- Description:A brief summary of the category’s content.
- Language:The language for the category.
- Icon:A visual symbol representing the category.
- Category Internationalization: Options to manage translations for different languages.
- Click the Save button to create the category
- Upon success, a confirmation message will appear as Created successfully
Note: A category is displayed in the public knowledge base only when it contains any published articles.
How to Create Sub Category
To Create the Sub Category,- Select the parent category under which you want it to be created.
- Hover over the parent category and click the arrow that appears on its right side.
- Click on the “New” button to create a new subcategory.

- The Create Category popup will open, after you click Save , the new category will be added as a subcategory under the selected parent category.
