Topics covered:
Steps to Set Up Knowledge Base
- Navigate to Setup from the profile icon
- Click on Library Select Knowledge Base

- If there is no knowledge base created, you will land on the knowledge base’s landing page.
- If there’s an existing knowledge base, follow the steps to proceed further.
Create Knowledge Base
- Click on the “ Setup Knowledge Base ” button.
- Enter Details in the Knowledge Base Creation Wizard Knowledge Base Title: Enter a unique name for the knowledge base visible within the system and to external visitors.
- Brand: Select a brand associated with the knowledge base. The style, theme, and colors will be copied from the brand guide.
- Primary Language: Select the primary/default language for the knowledge base. Default: English.
- Favicon: Upload an optional favicon for the knowledge base. The favicon will be displayed when the knowledge base URL is shared.
- Internationalization: If you want to support multiple languages, enable internationalization and add the languages you plan to support. This will allow article translations in the selected languages.
- Once you’ve entered the details, click the Next button to move to the next step.
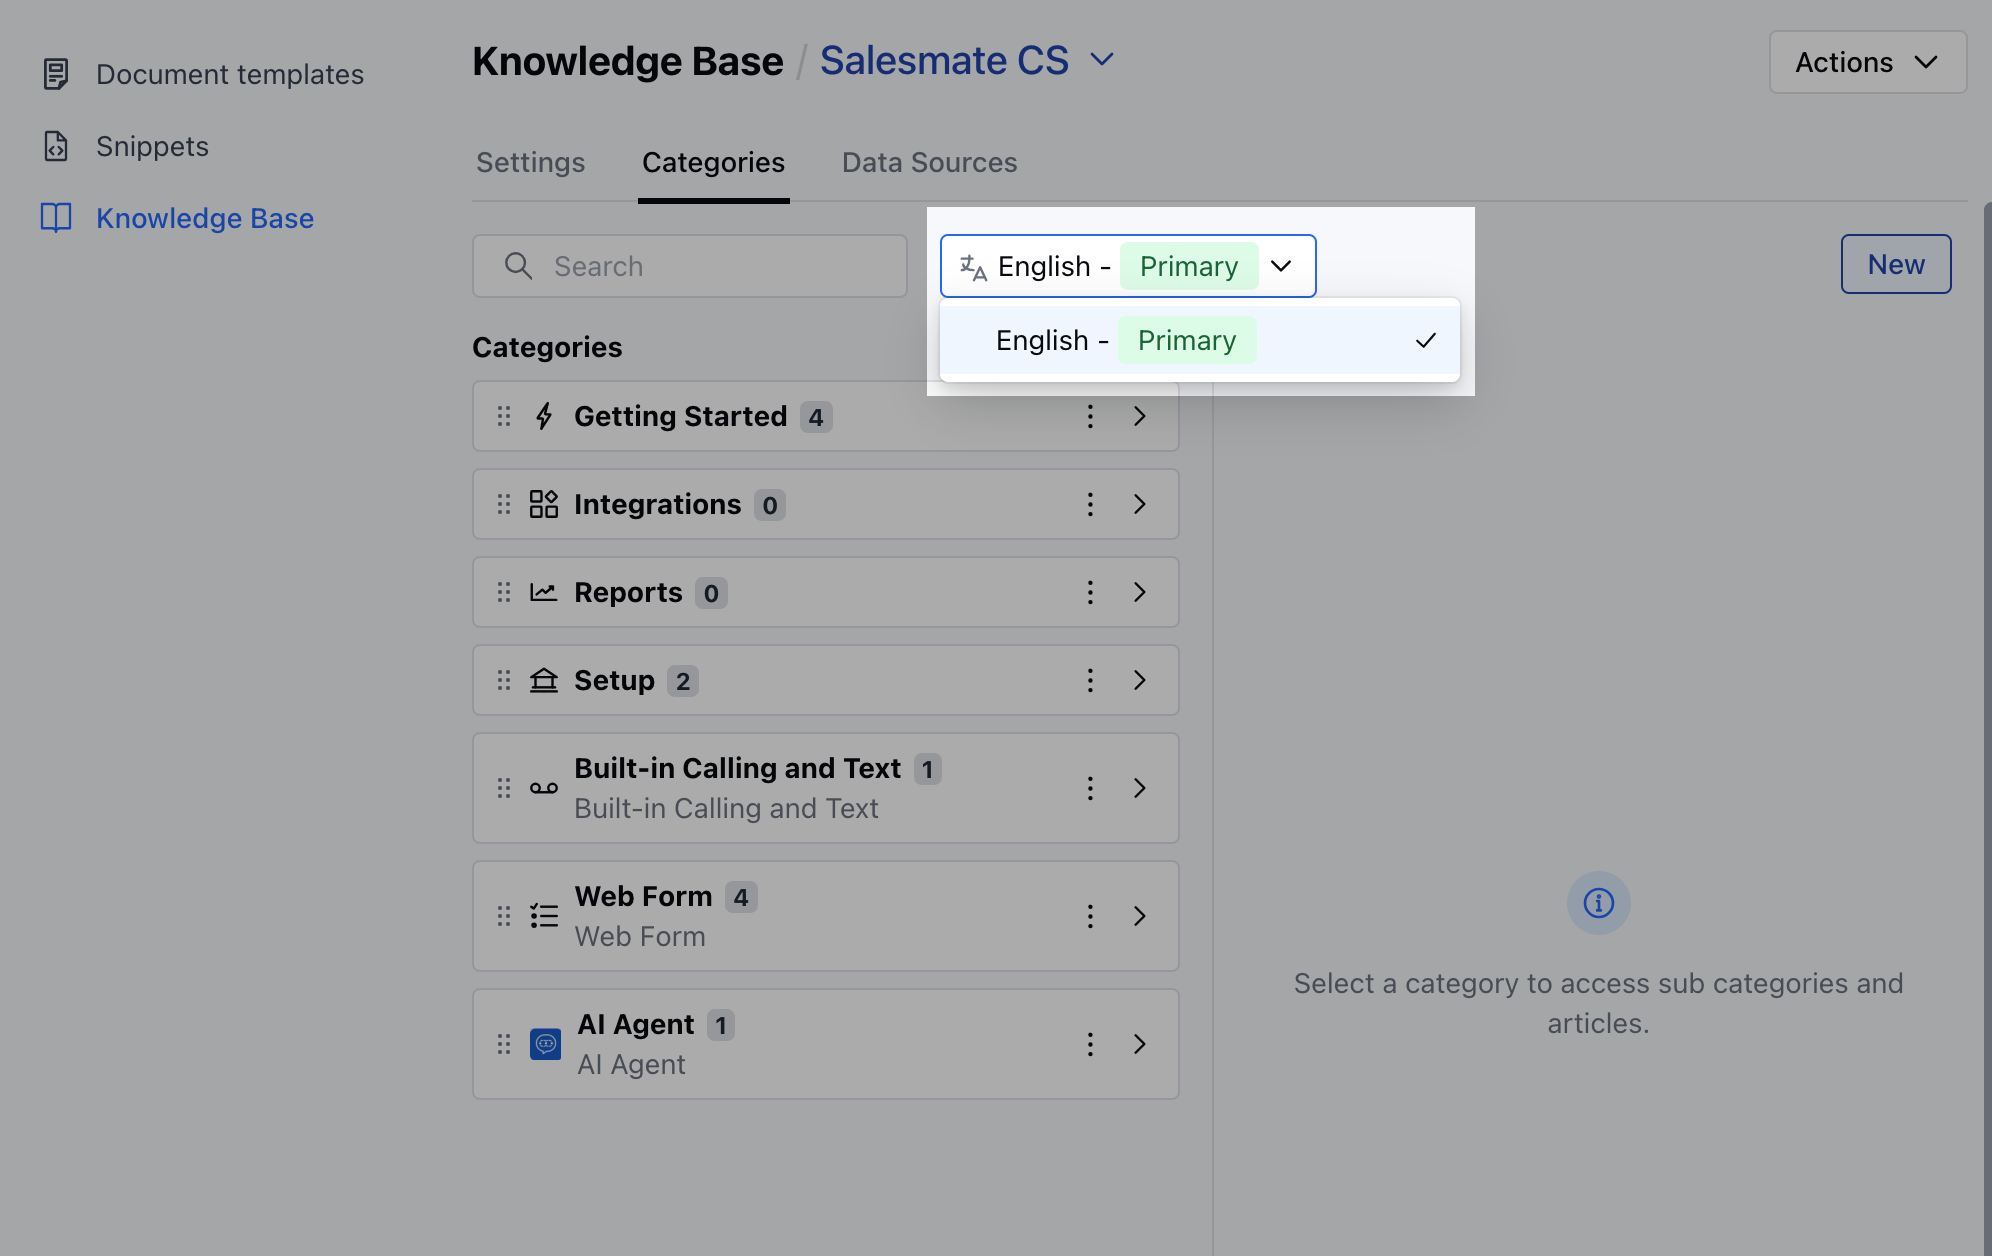
- Organize Articles with Categories: You can organize your articles using predefined categories like Getting Started, FAQs, Troubleshooting, General, and others. Categories are displayed in the selected primary language, and their translated labels will be automatically created for added languages.
- Click on the Save button to create the knowledge base. On success, an alert message will appear: “Your knowledge base is ready. Start adding your articles!
- The knowledge base will be created with a default layout and colors. You can customize it further in the knowledge base settings.
- After the knowledge base is set up, click the “ Create Your First Article ” button to start adding articles.
Note: You need to manage Knowledge Base permissions to do this. If you don’t have it, the button will be disabled and show a message: “You don’t have permission to perform this action. Please contact your admin.” Learn more
Adding a Second Knowledge Base
- From the Article Listing Screen - Click on the Knowledge Base Title at the top and then select Add New Knowledge Base.
- From the Setup Screen
- Go to Setup
- Click on Library
- Select Knowledge Base
- Click on the Knowledge Base Title dropdown and select Add New Knowledge Base.