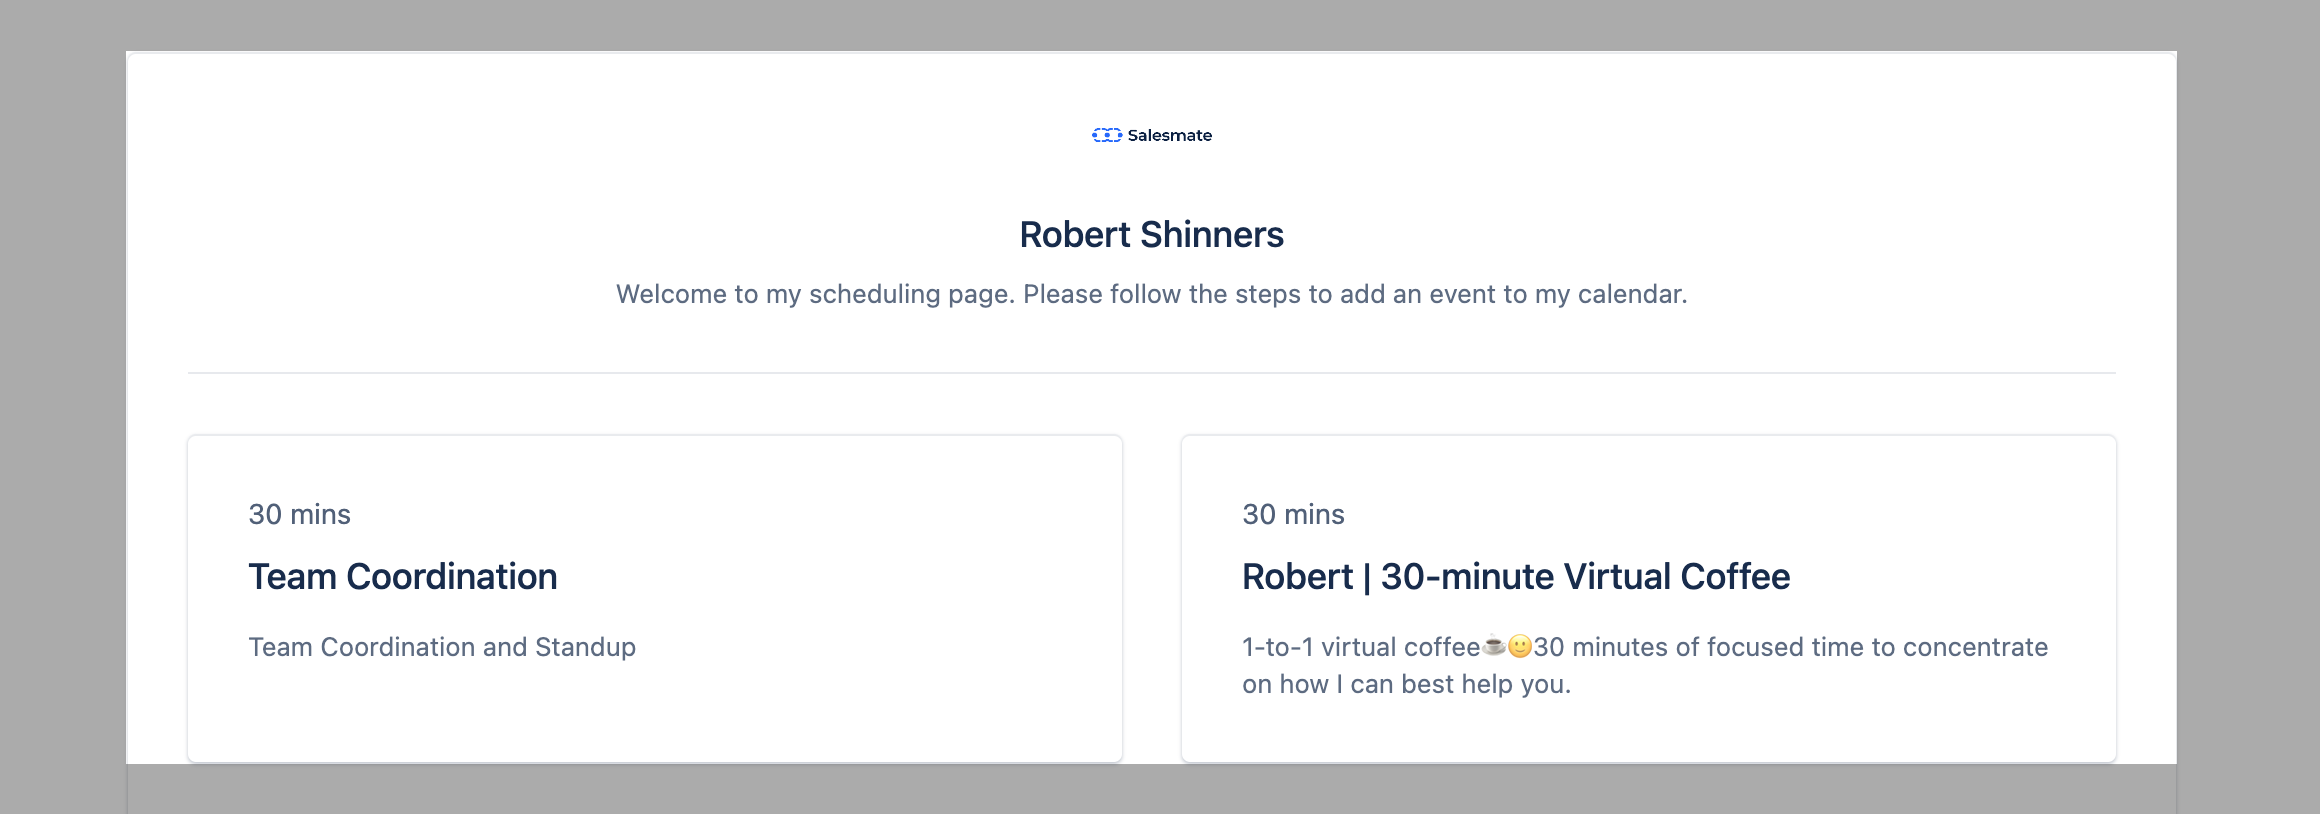
Customize the landing page of the meeting scheduler to express yourself/your business better to visitors/customers.
Here’s how you can do it- Navigate to the More option from left sidebar menu
- Click on Meeting Scheduler
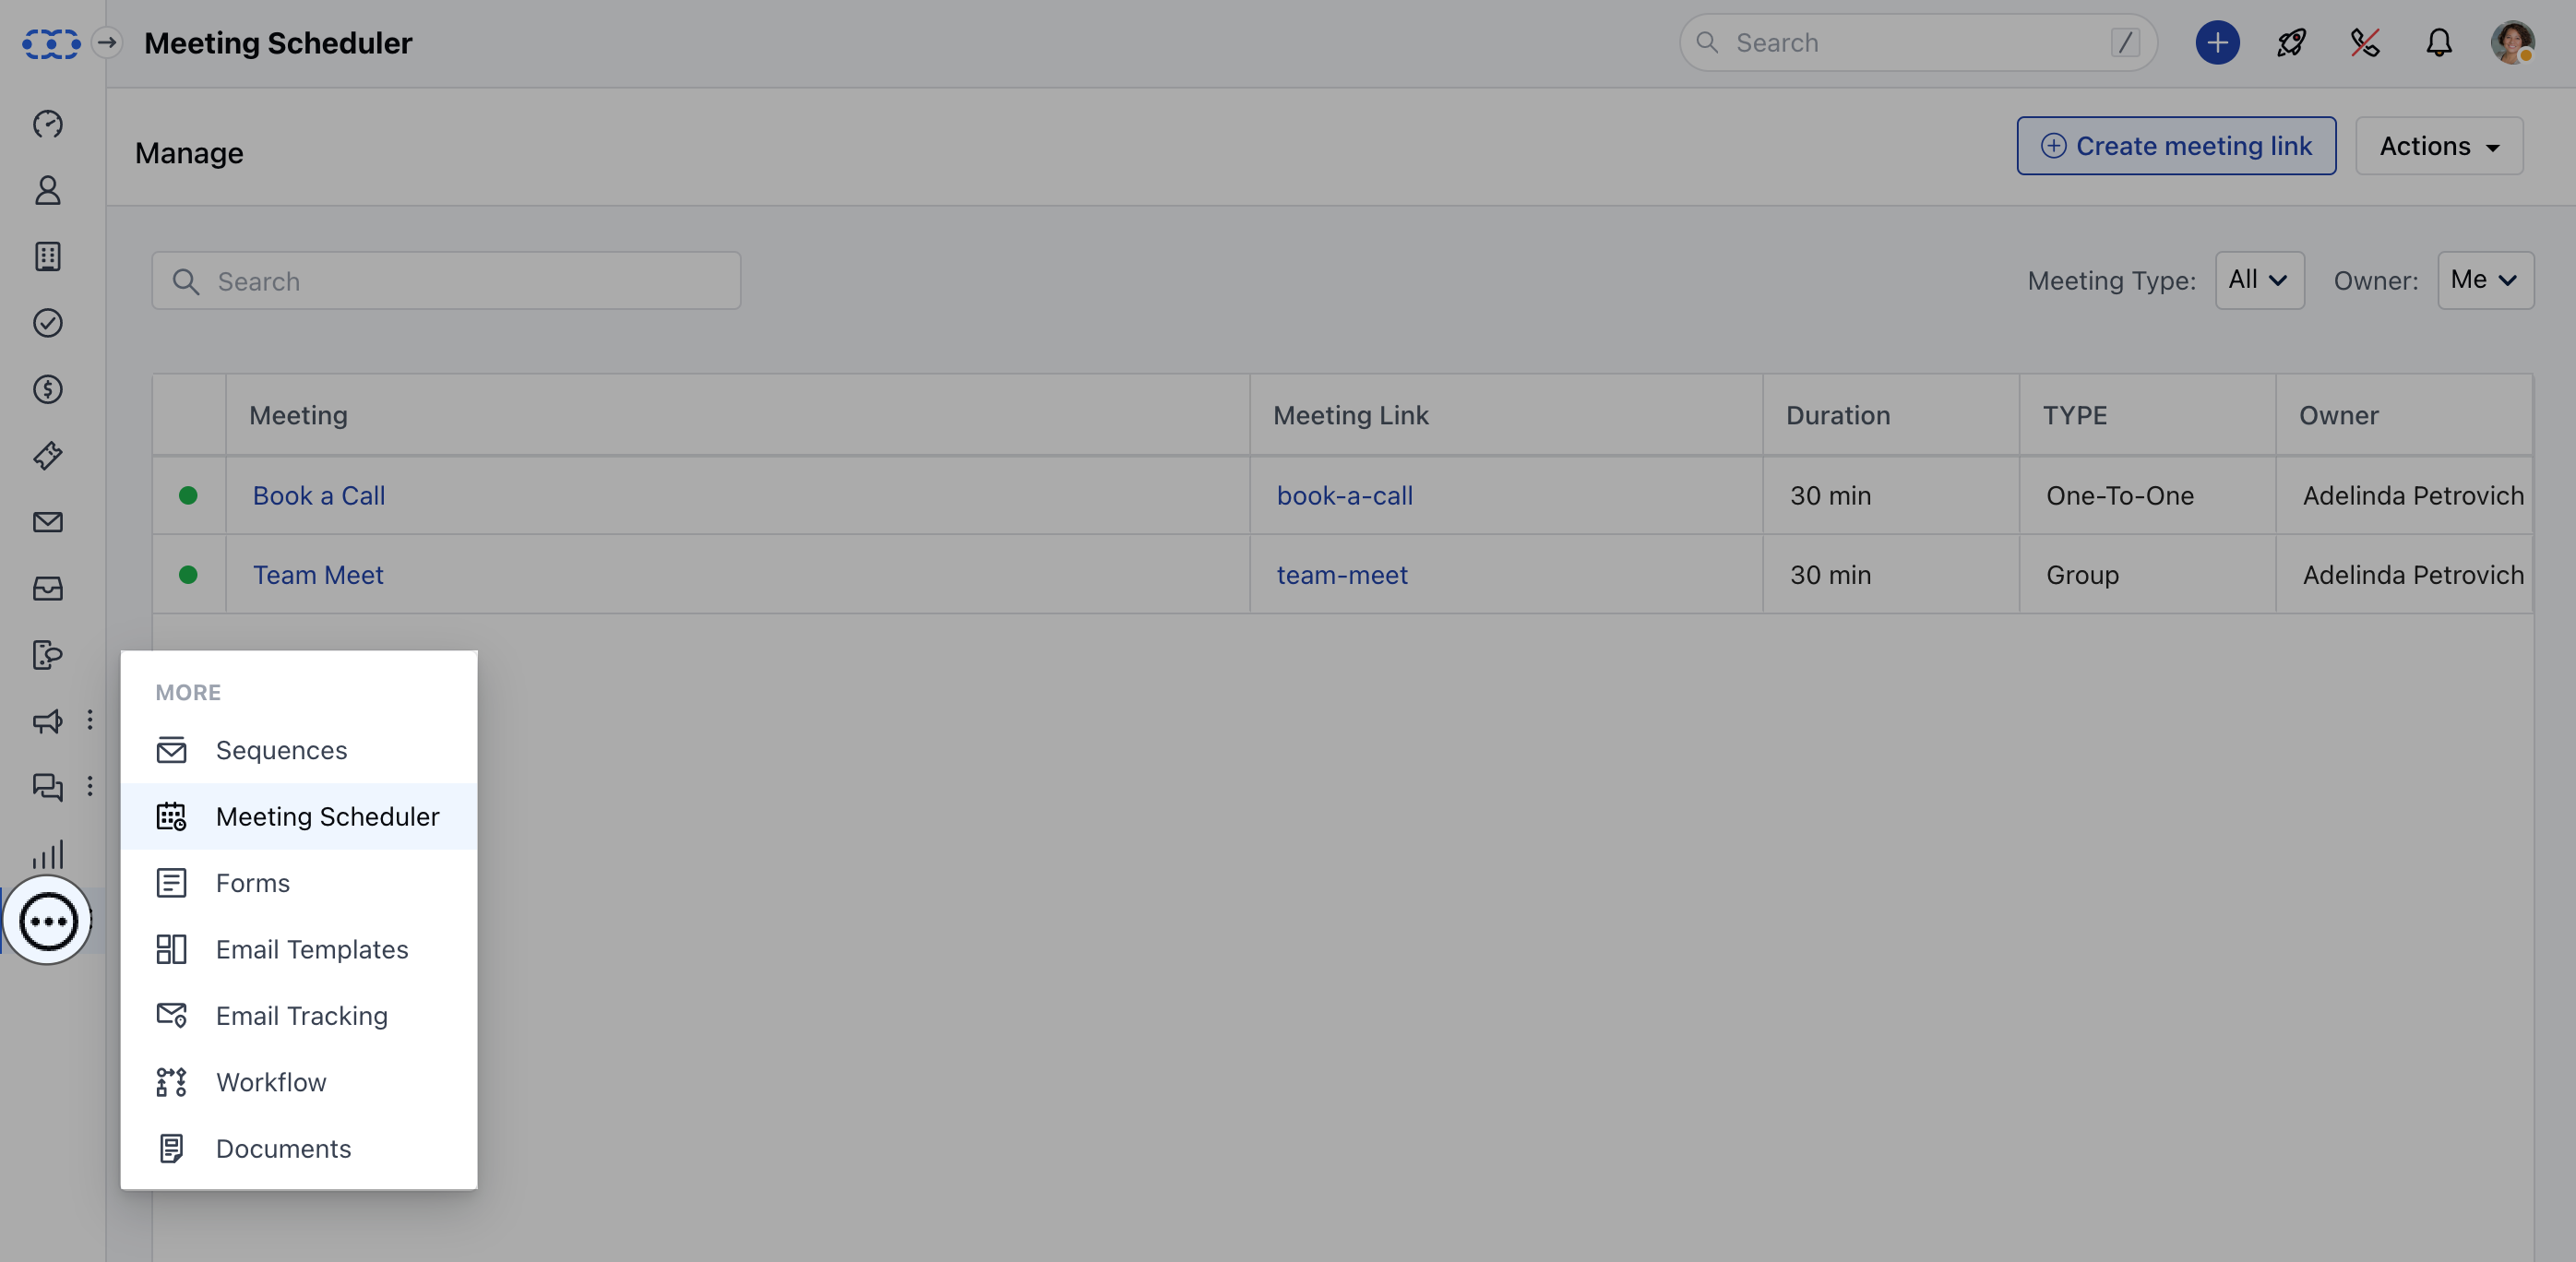
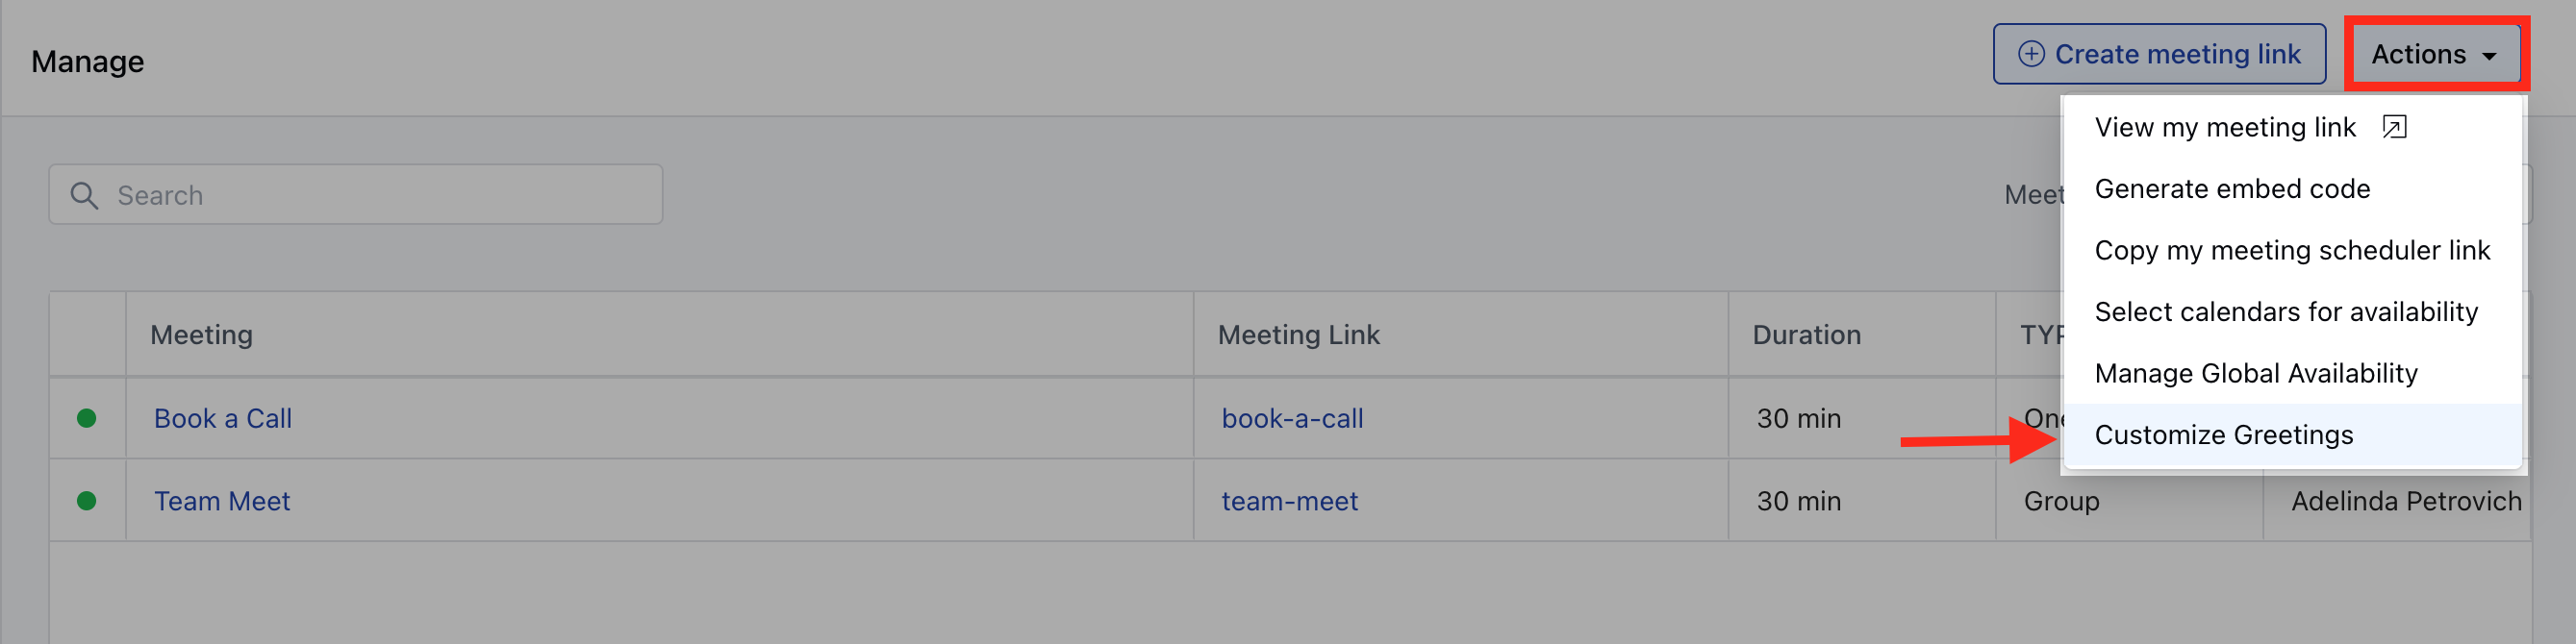
- Further, click on Actions on the page and select
- Customize Greetings.
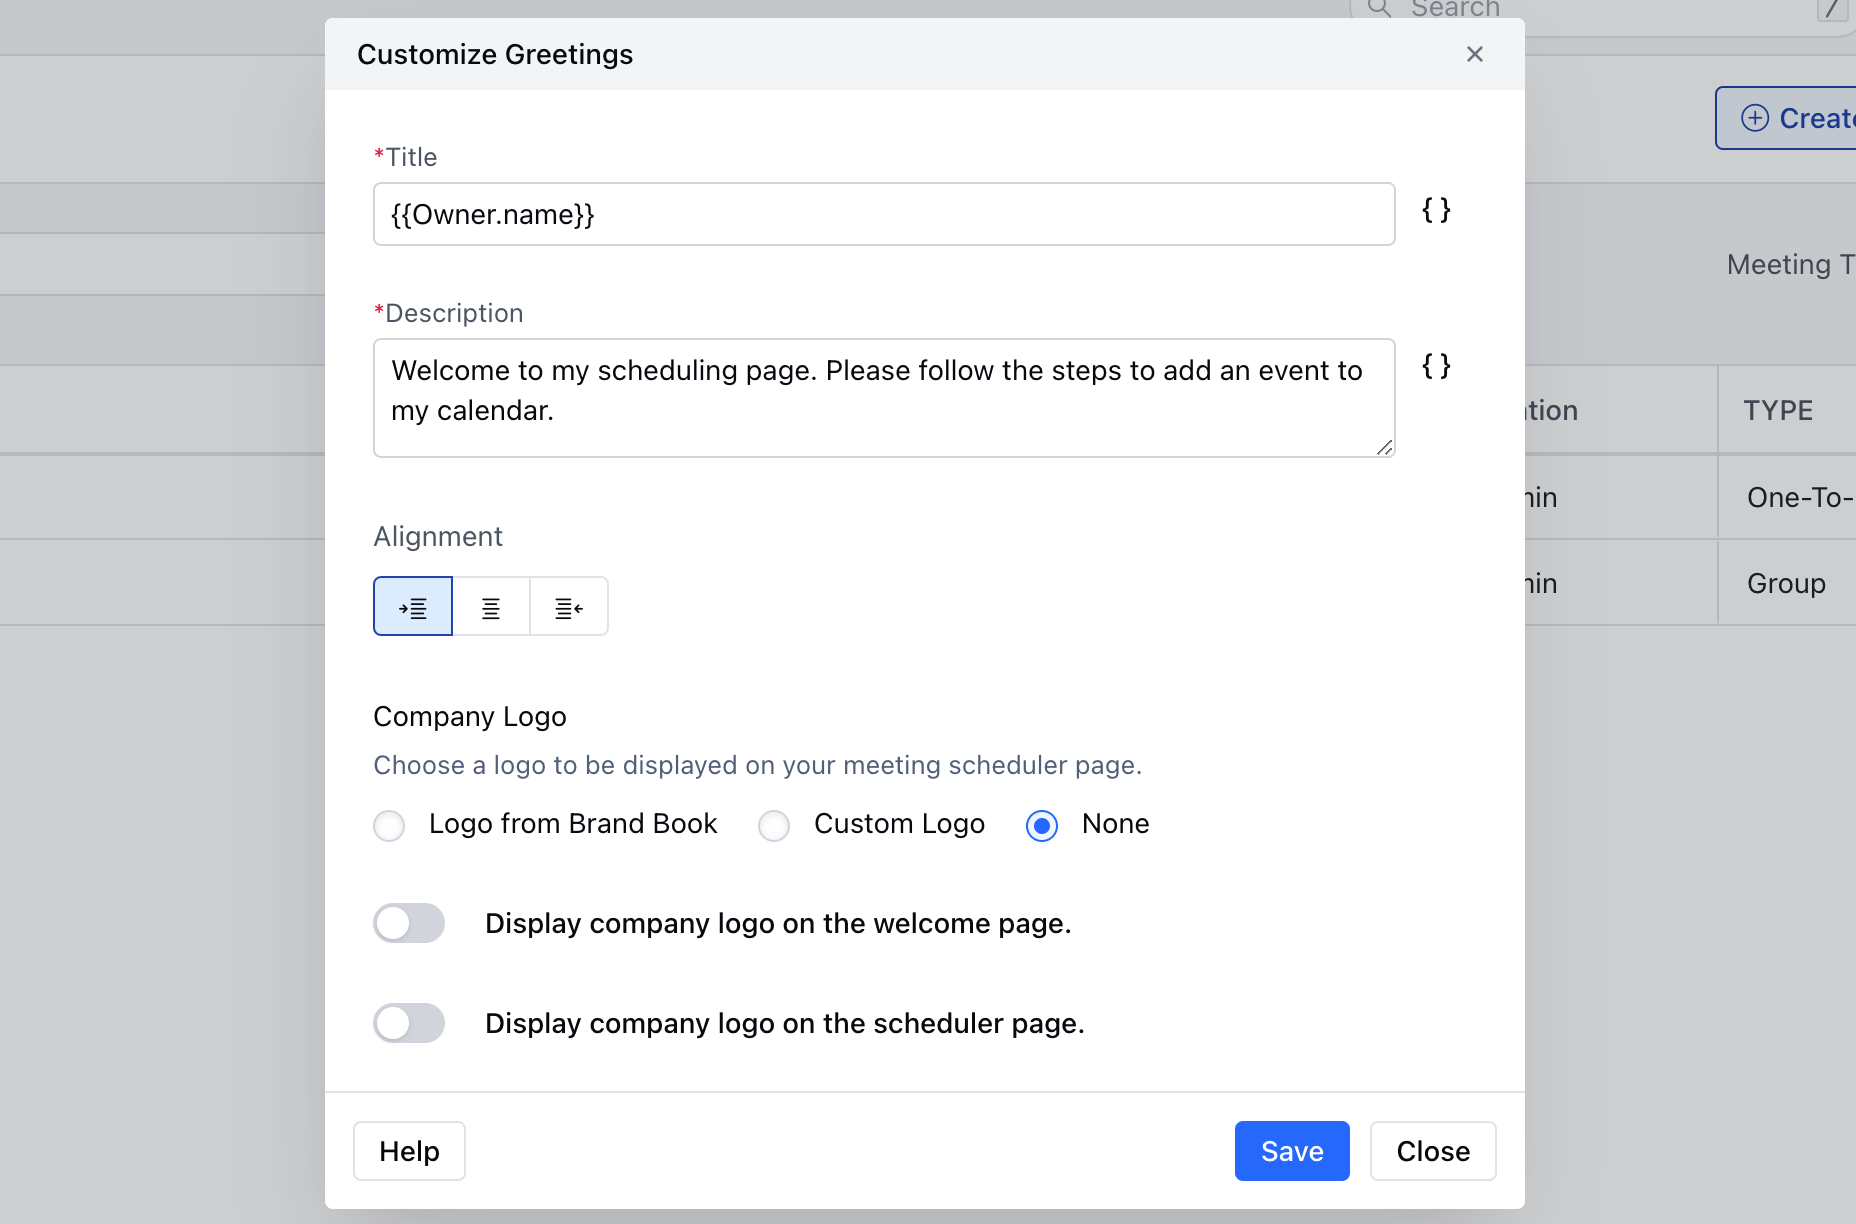
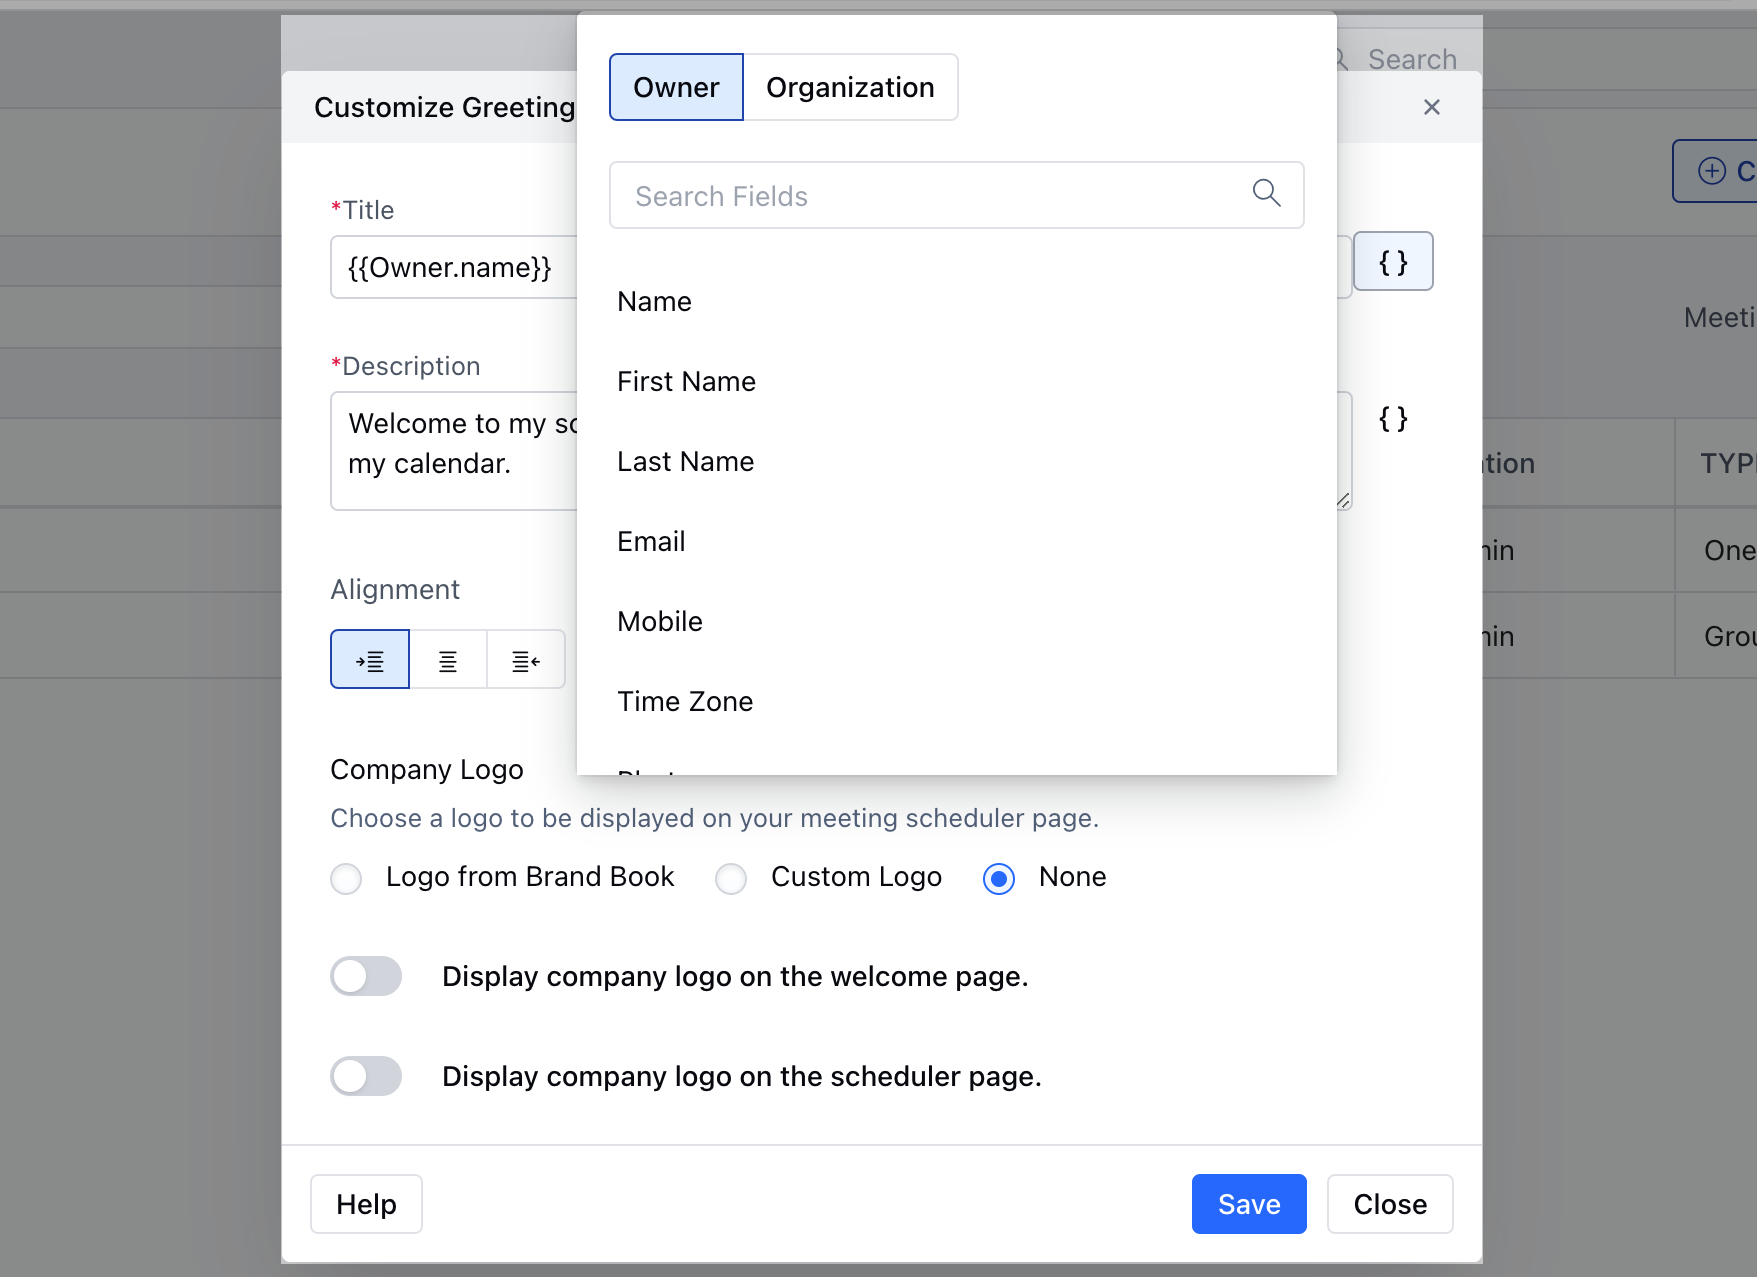
- A pop-up box would open up allowing the user to customize the below options to customize greetings: **Title:A title would be displayed on the scheduler pageDescription:**A brief description would be displayed below the title on the scheduler page.
- **Alignment:Set the alignment of the content to be displayed on the pageCompany Logo:This will show your company logo on the scheduler pageLogo From Brand Book:**You can choose one from the list of logos you have added to the Brand Book and its small preview will be displayed below.
- **Custom Logo:Upload a custom logo and then a small preview of the uploaded logo wiNone:This option will not provide the option to upload a logoDisplay company logo on the welcome page:**When you enable this option, the logo will be displayed on the welcome page of the meeting scheduler where all meetings of the users are displayed.
- Display company logo on the scheduler page: When you enable this option, the logo will be displayed on the page where the customer picks the date and time for the meeting with the user.
- The users would also be able to insert the attributes related to the
- owner and organization fields in order to dynamically populate the values on your landing page.
- Hit on the Save button to display the changes on the
- Welcome page and Scheduler page.