Conversational View
Communication isn’t a one-way street. To ensure effective two-way communication, Salesmate CRM includes a Conversation view for text messages. To view the Conversation screen, follow the steps below.- Navigate to the Left Menu bar and click the Text icon.
- All-Inbox-Scheduled-Sent-Outbox-Failed-Templates---
All
With All, you can view every sent and received message within a single view.
Inbox
You can view all text messages that have received a reply.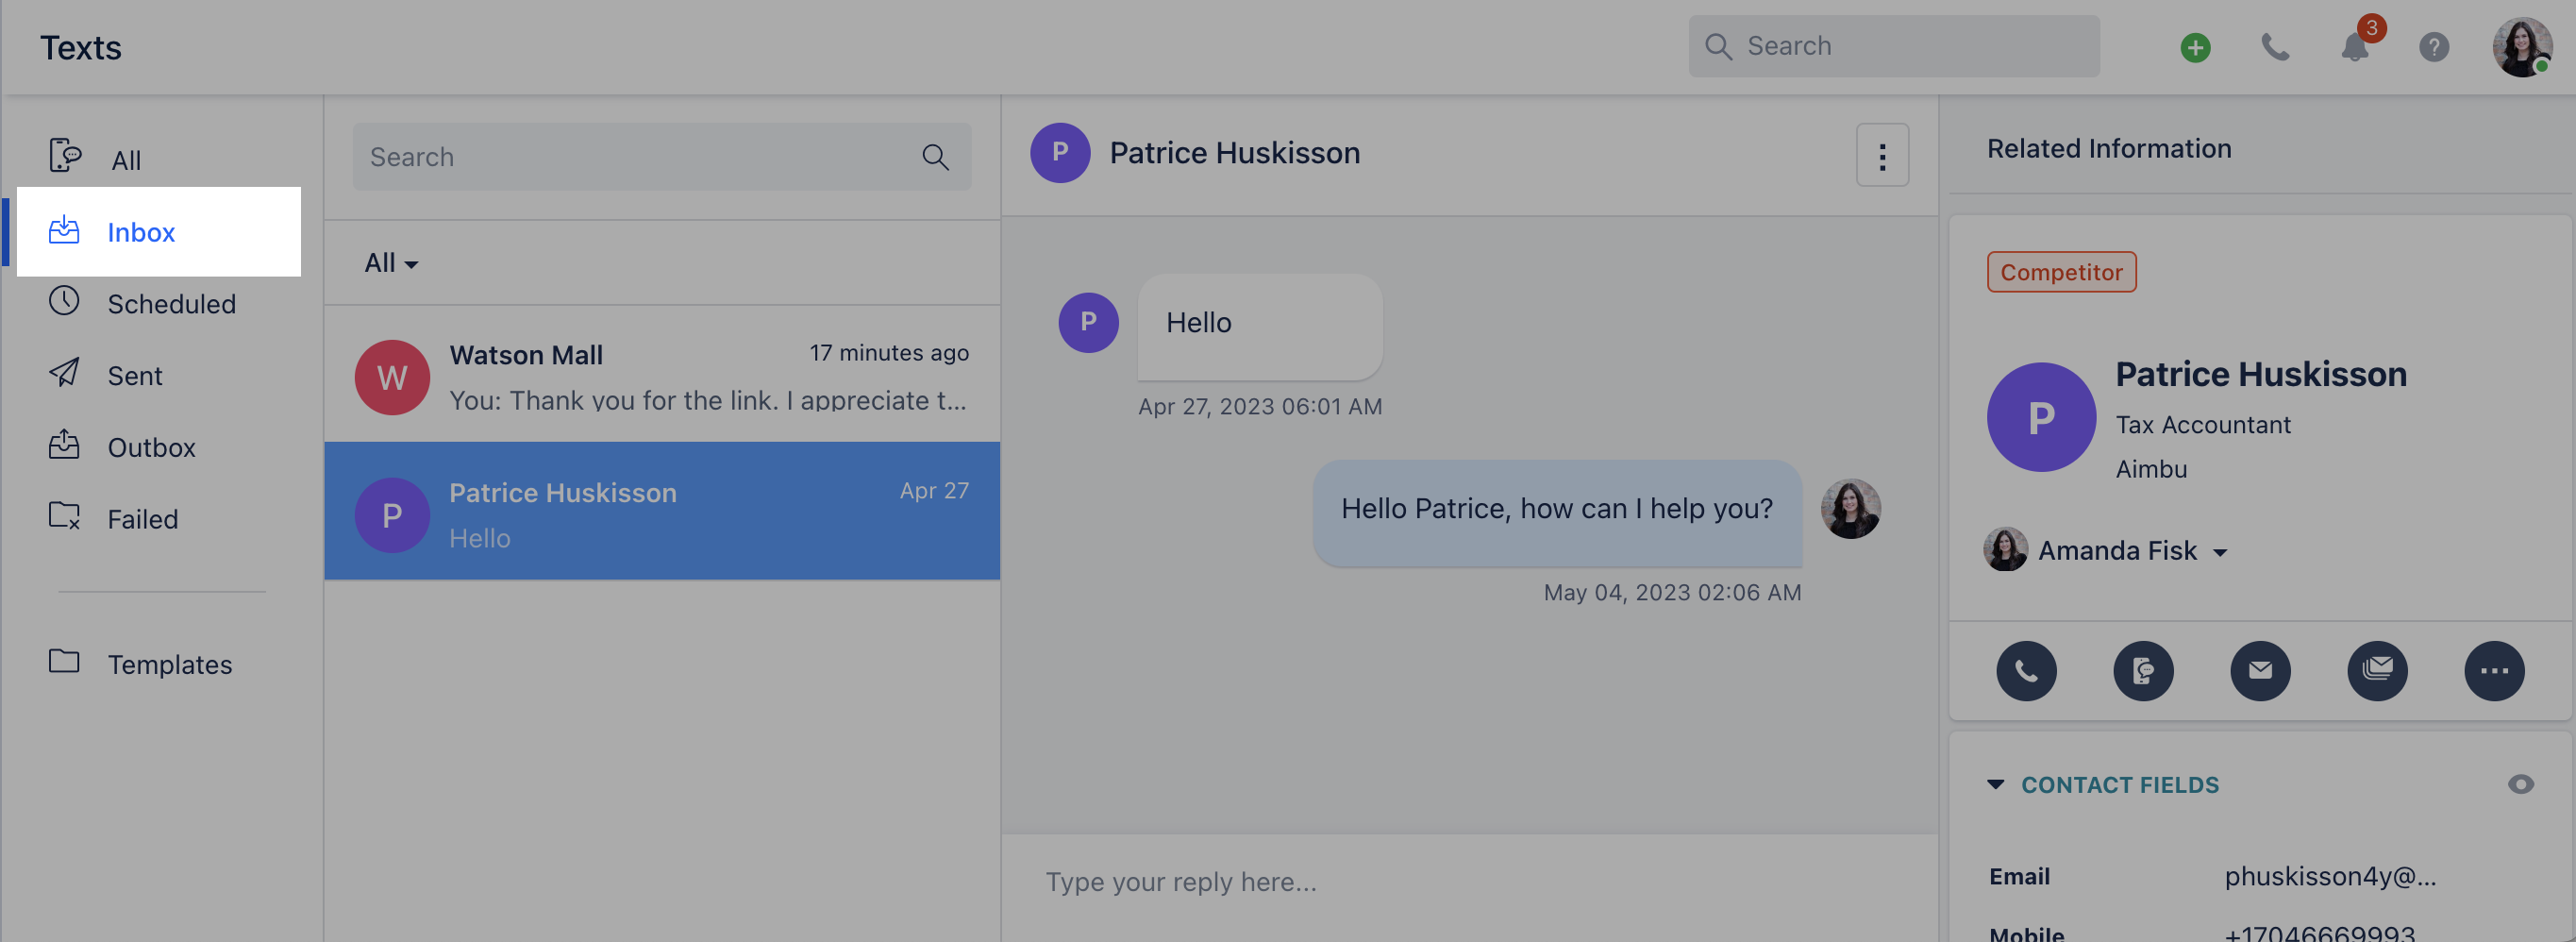


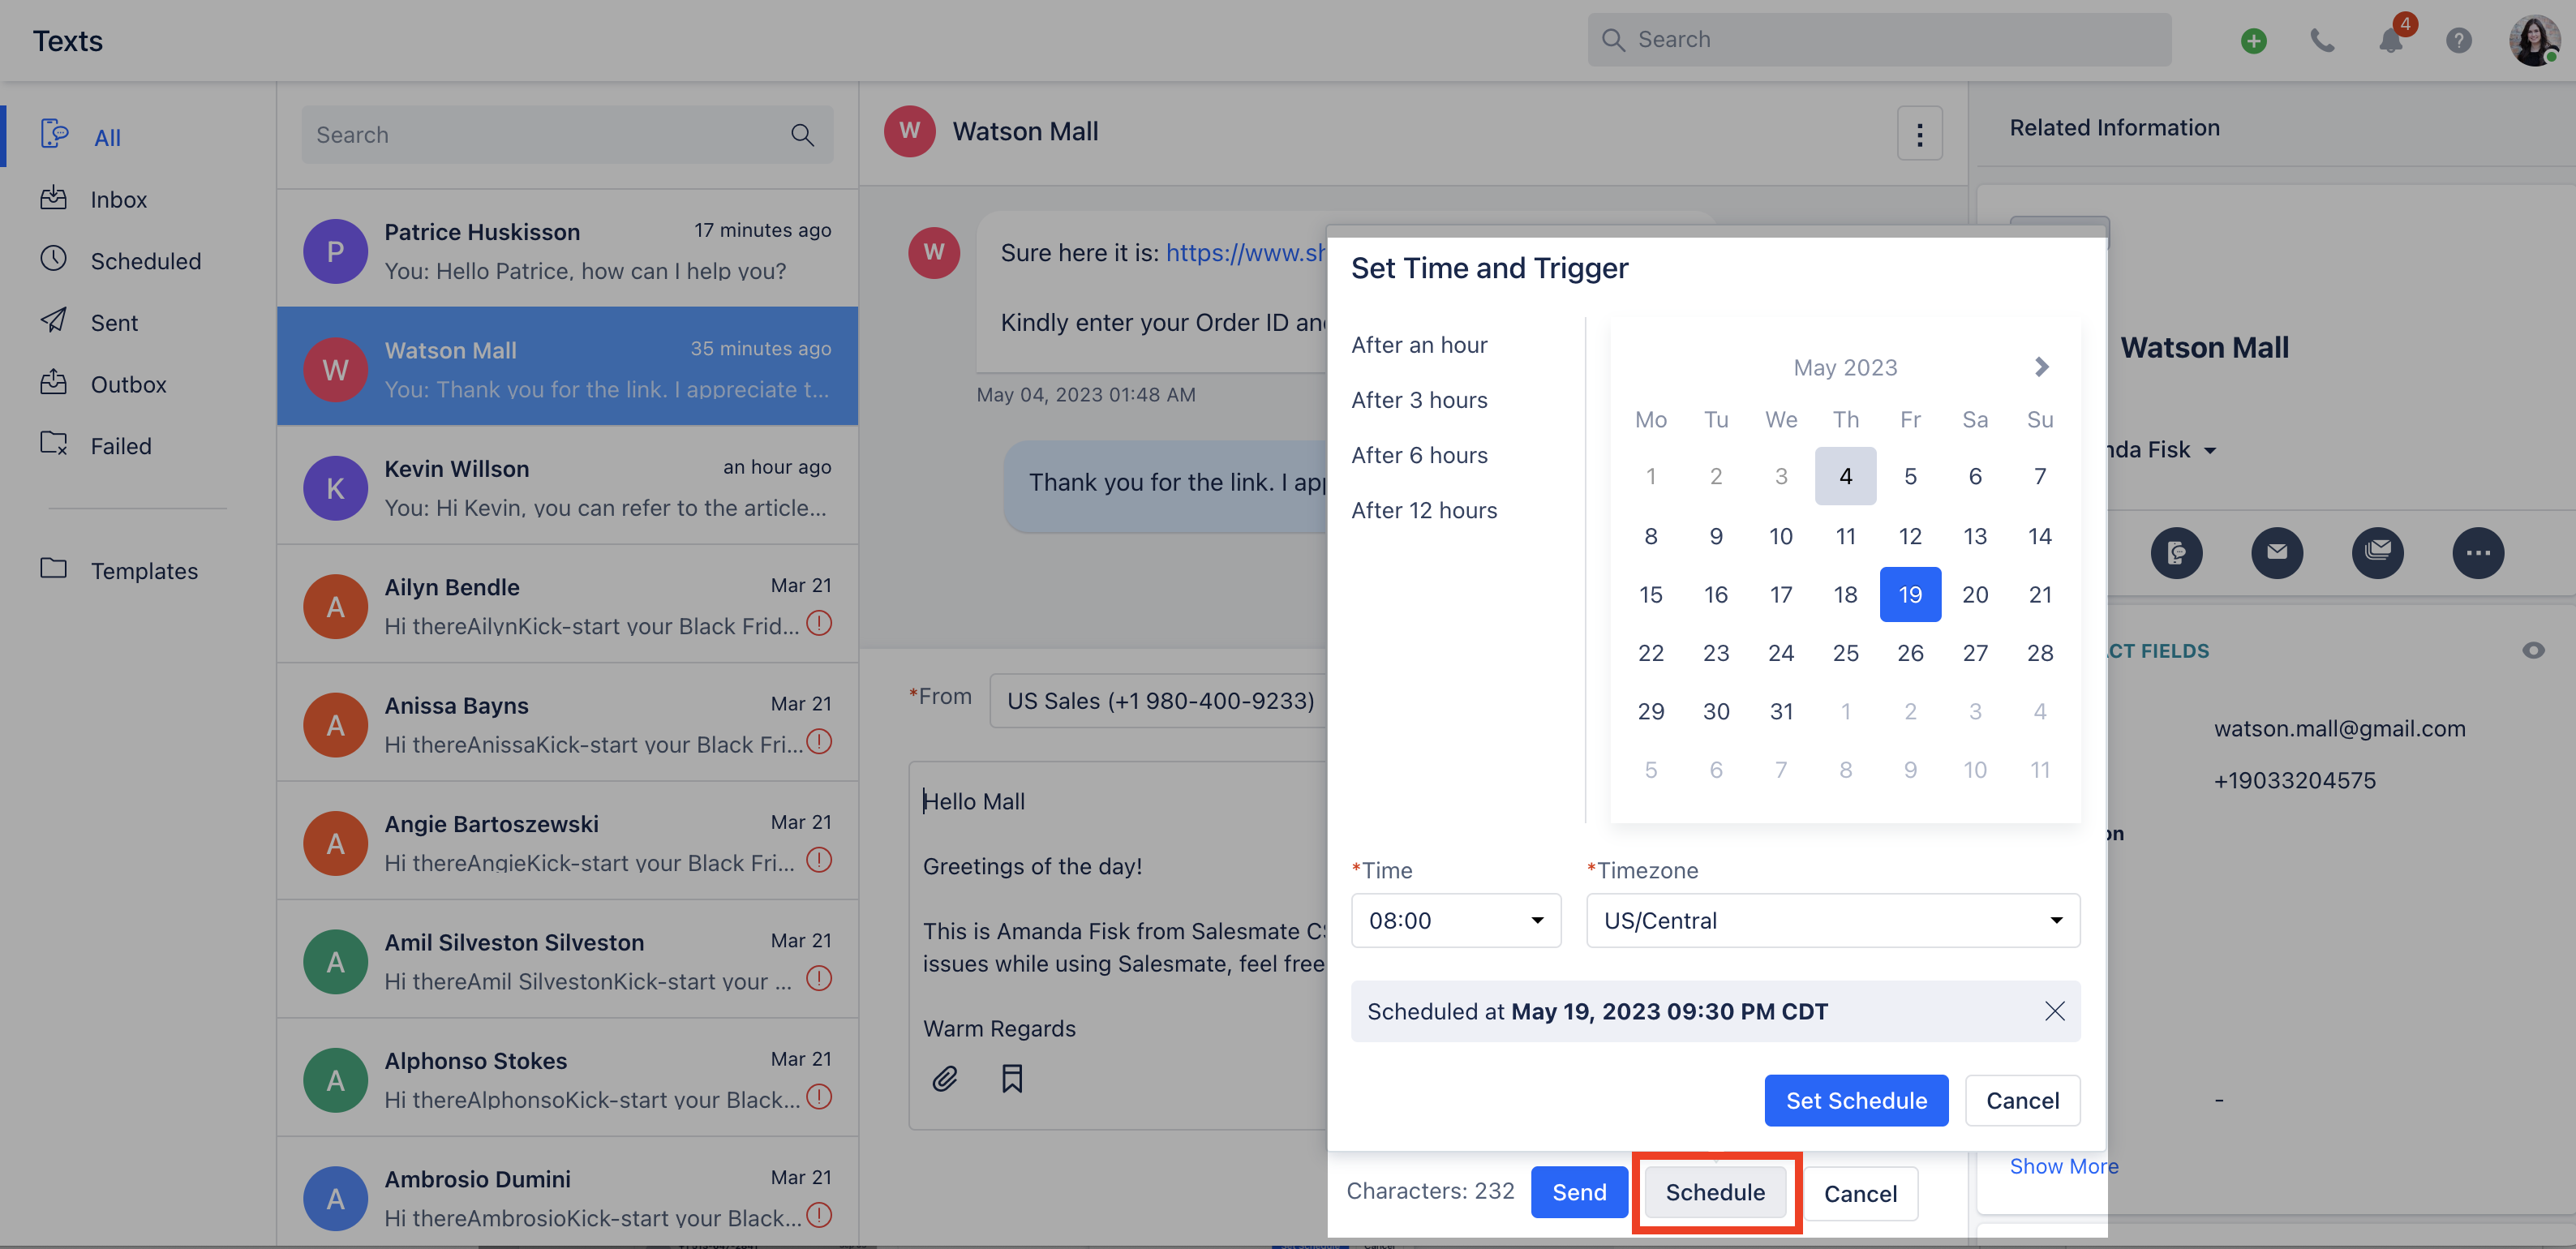
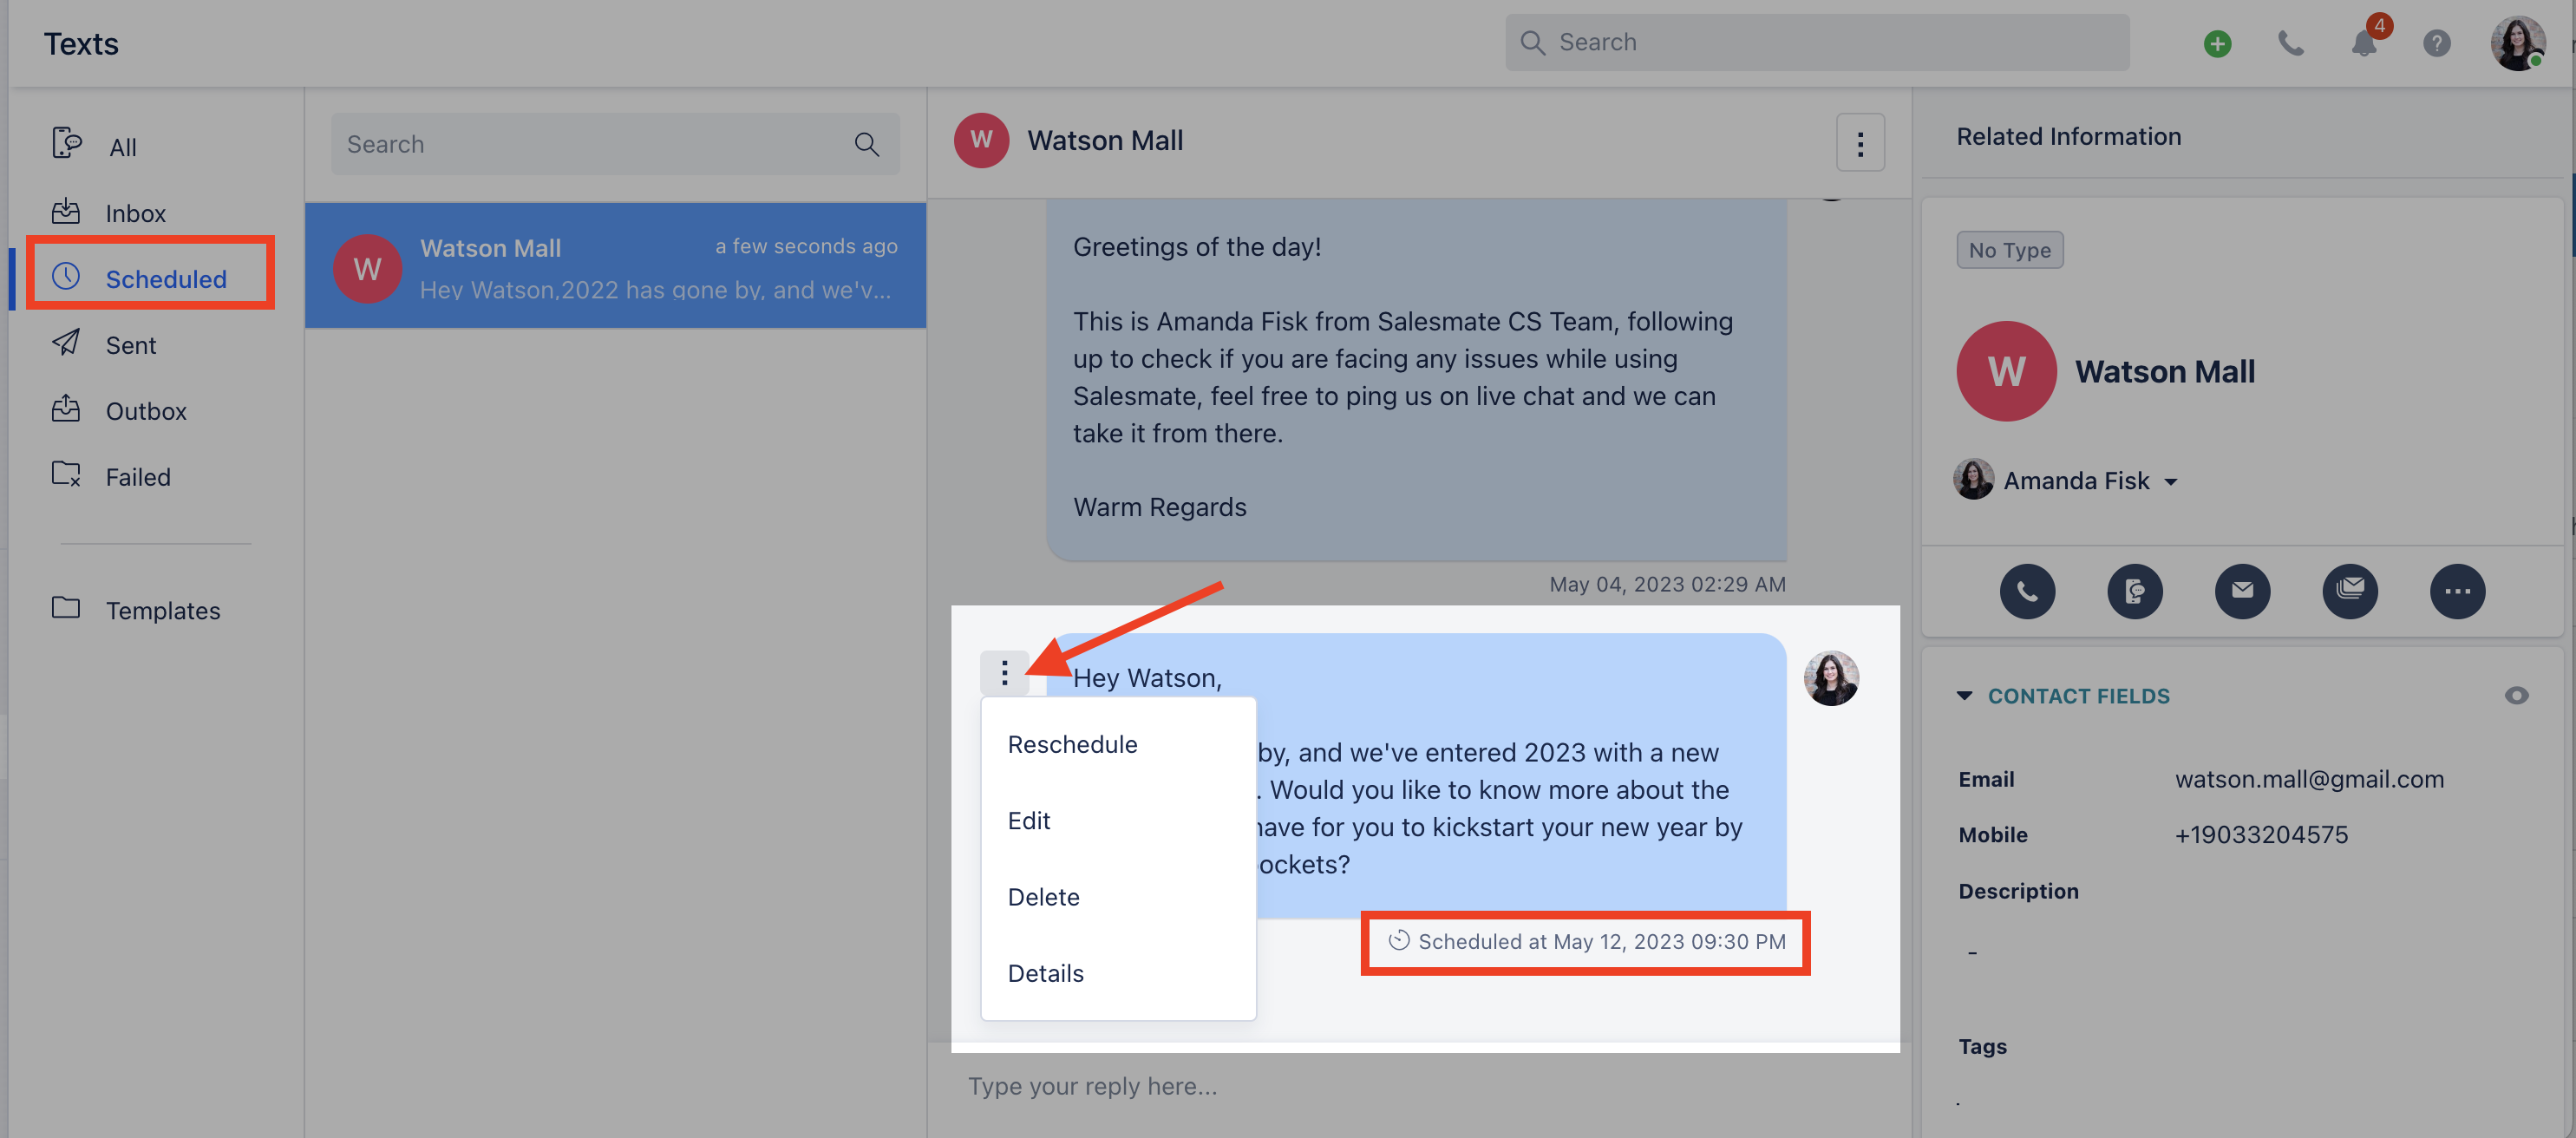
Scheduled
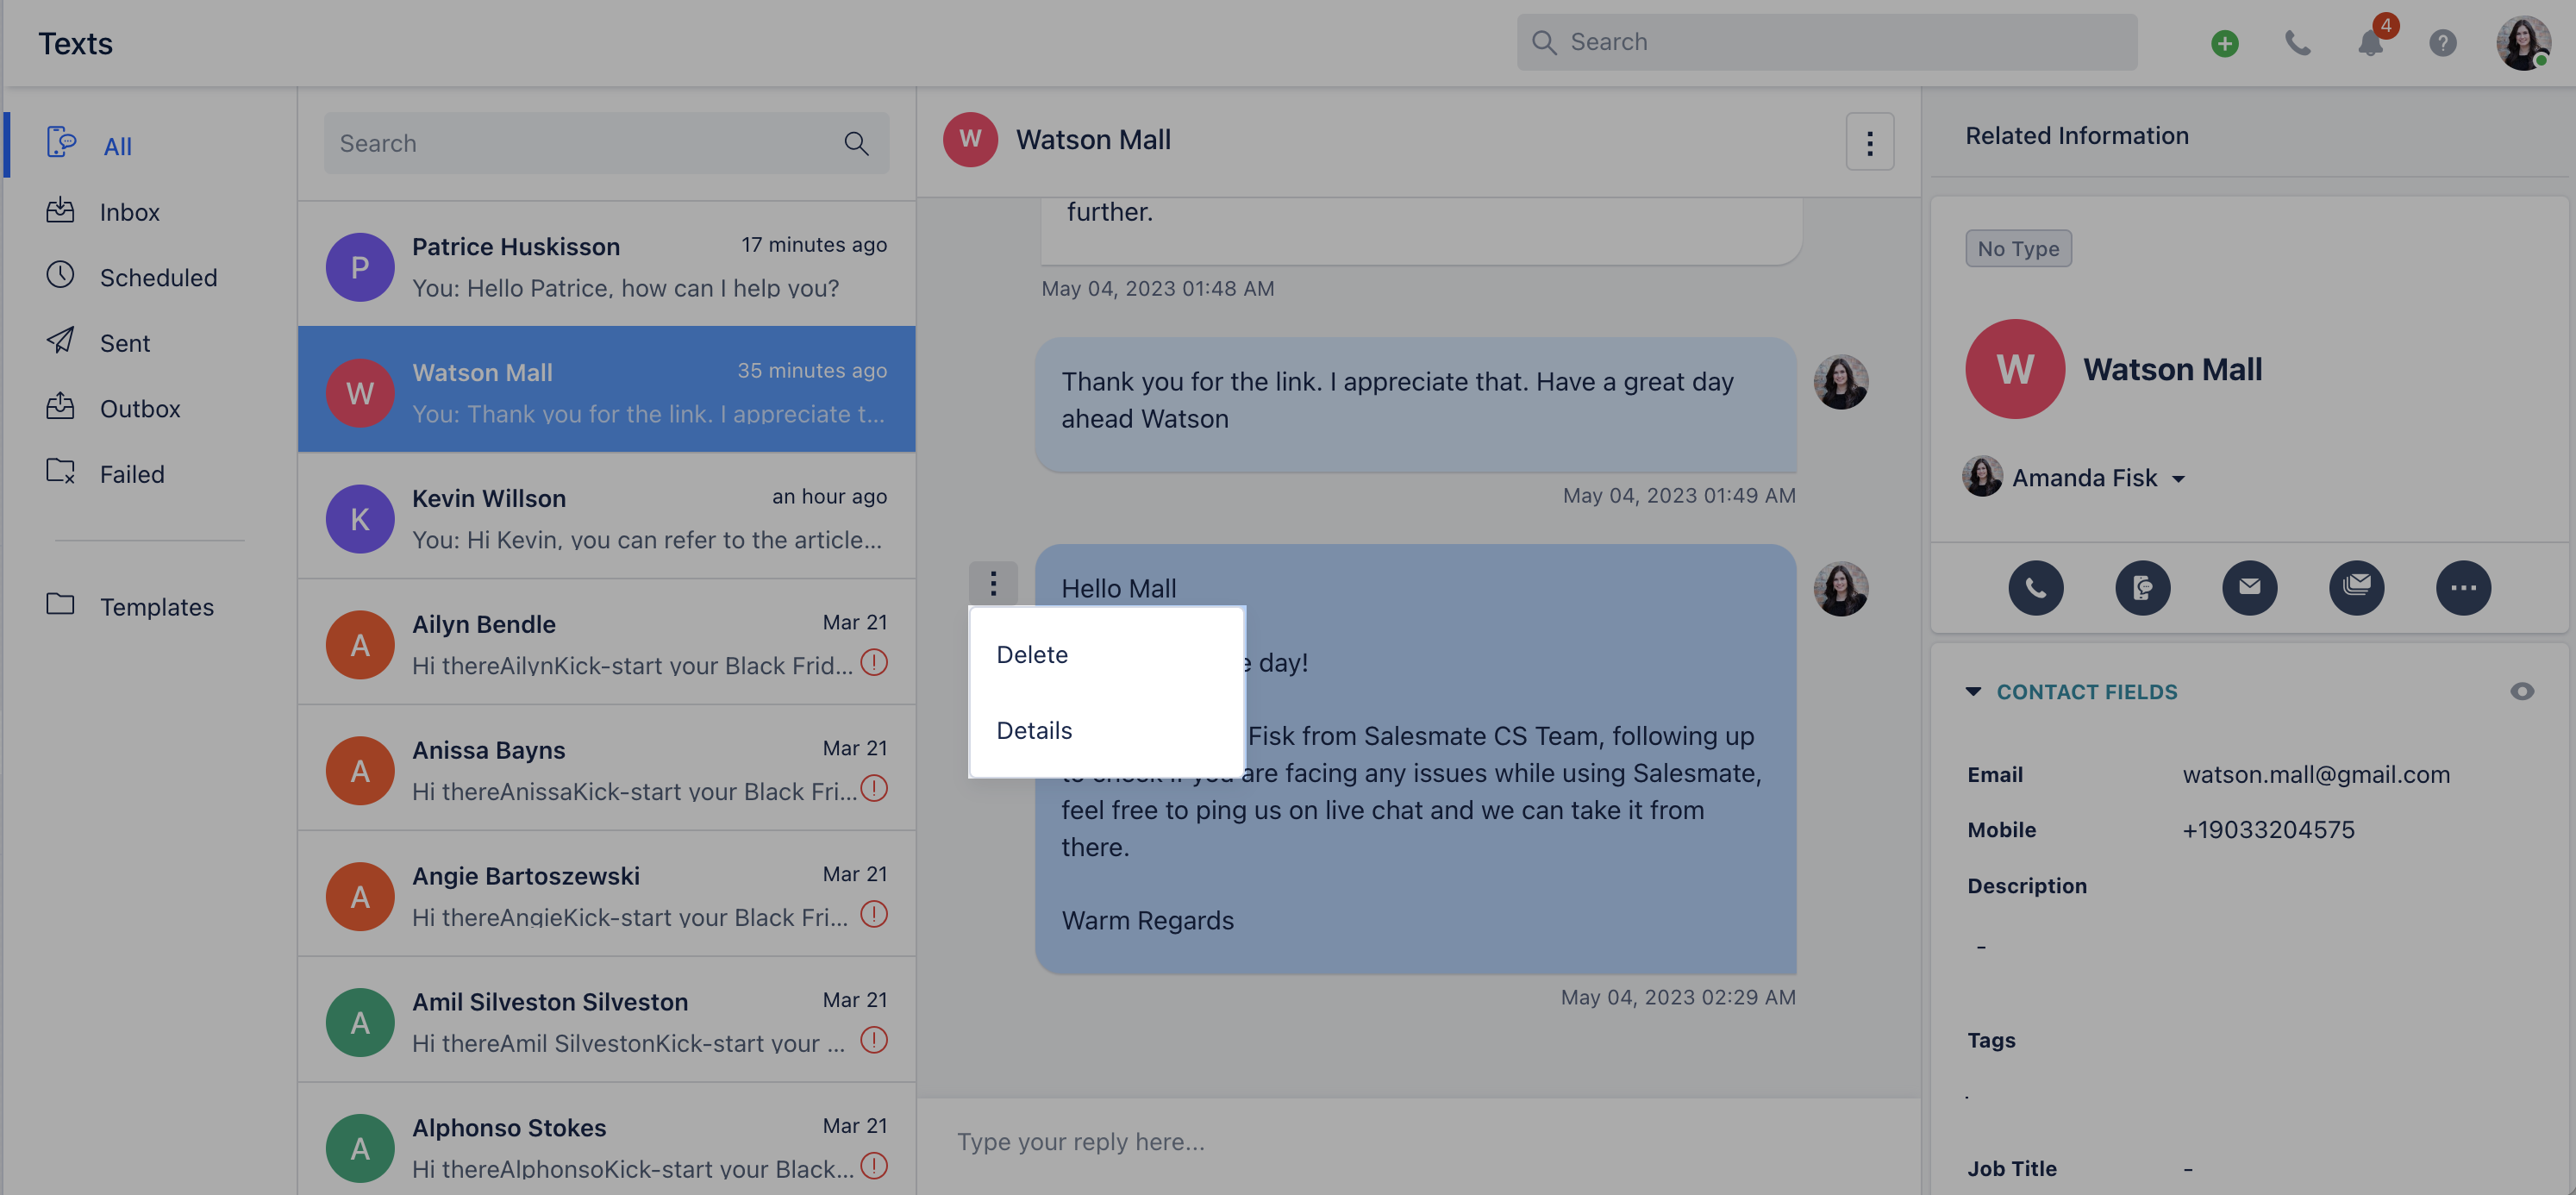
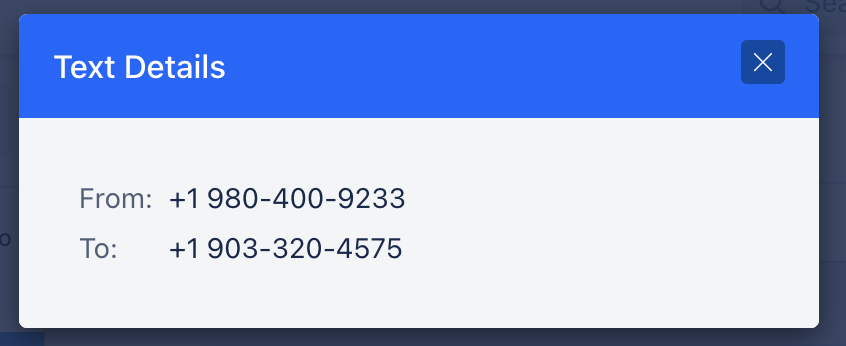
Contains all text conversations that are scheduled for future delivery. You can check the scheduled timing. From Actions(three dots menu), you can:- Reschedule-Edit-Delete-Check Details
Sent
If you use bulk texting, you can check the status of bulk messages here.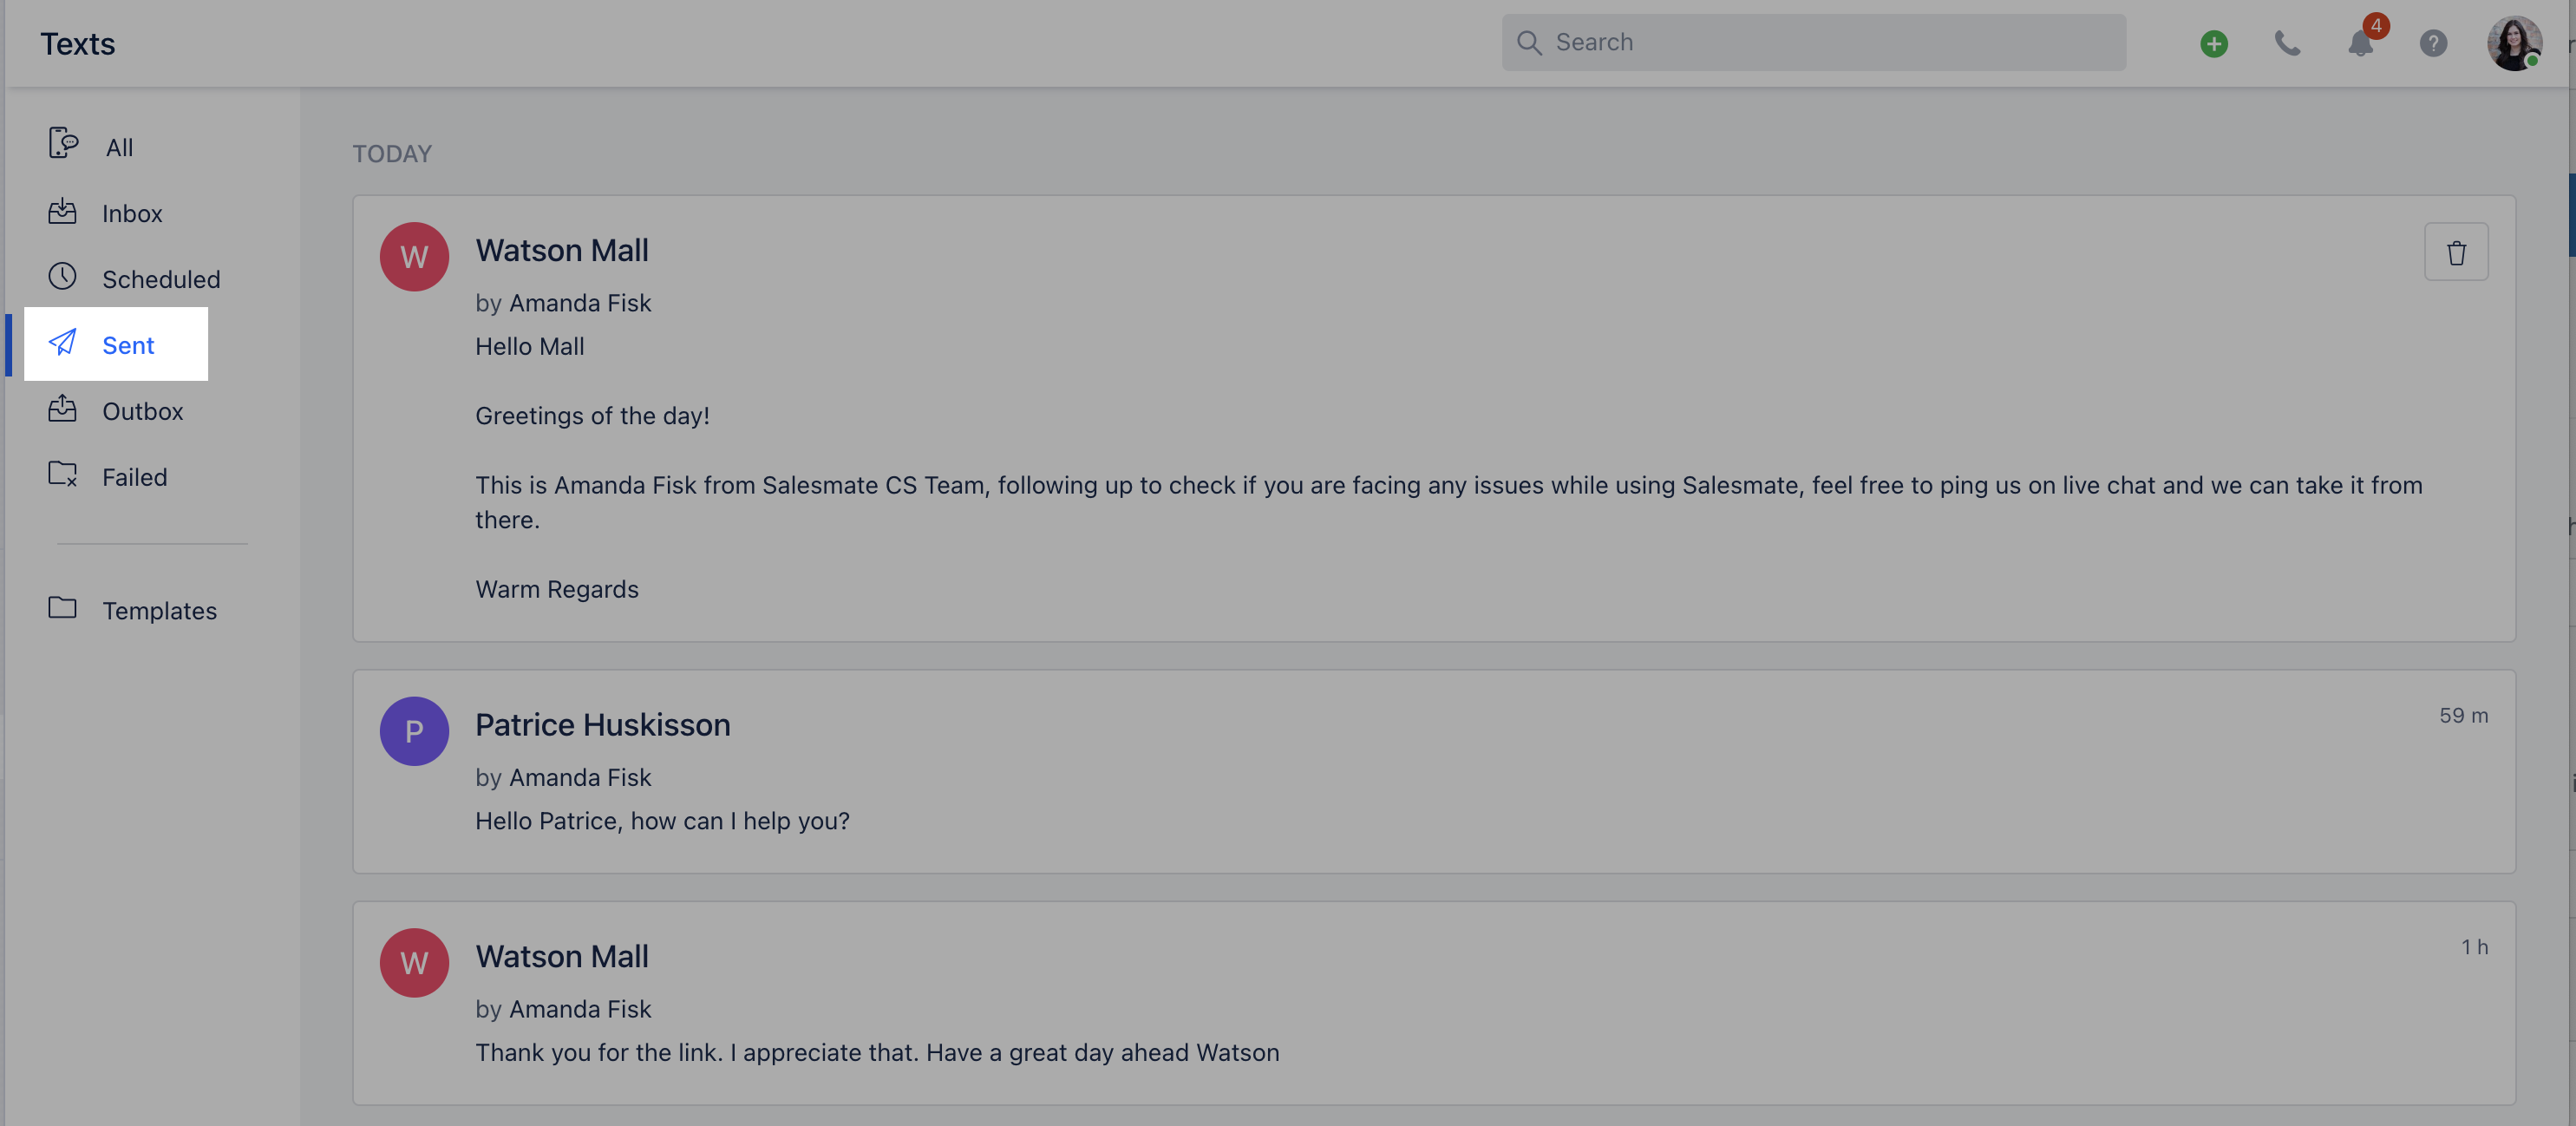
Outbox
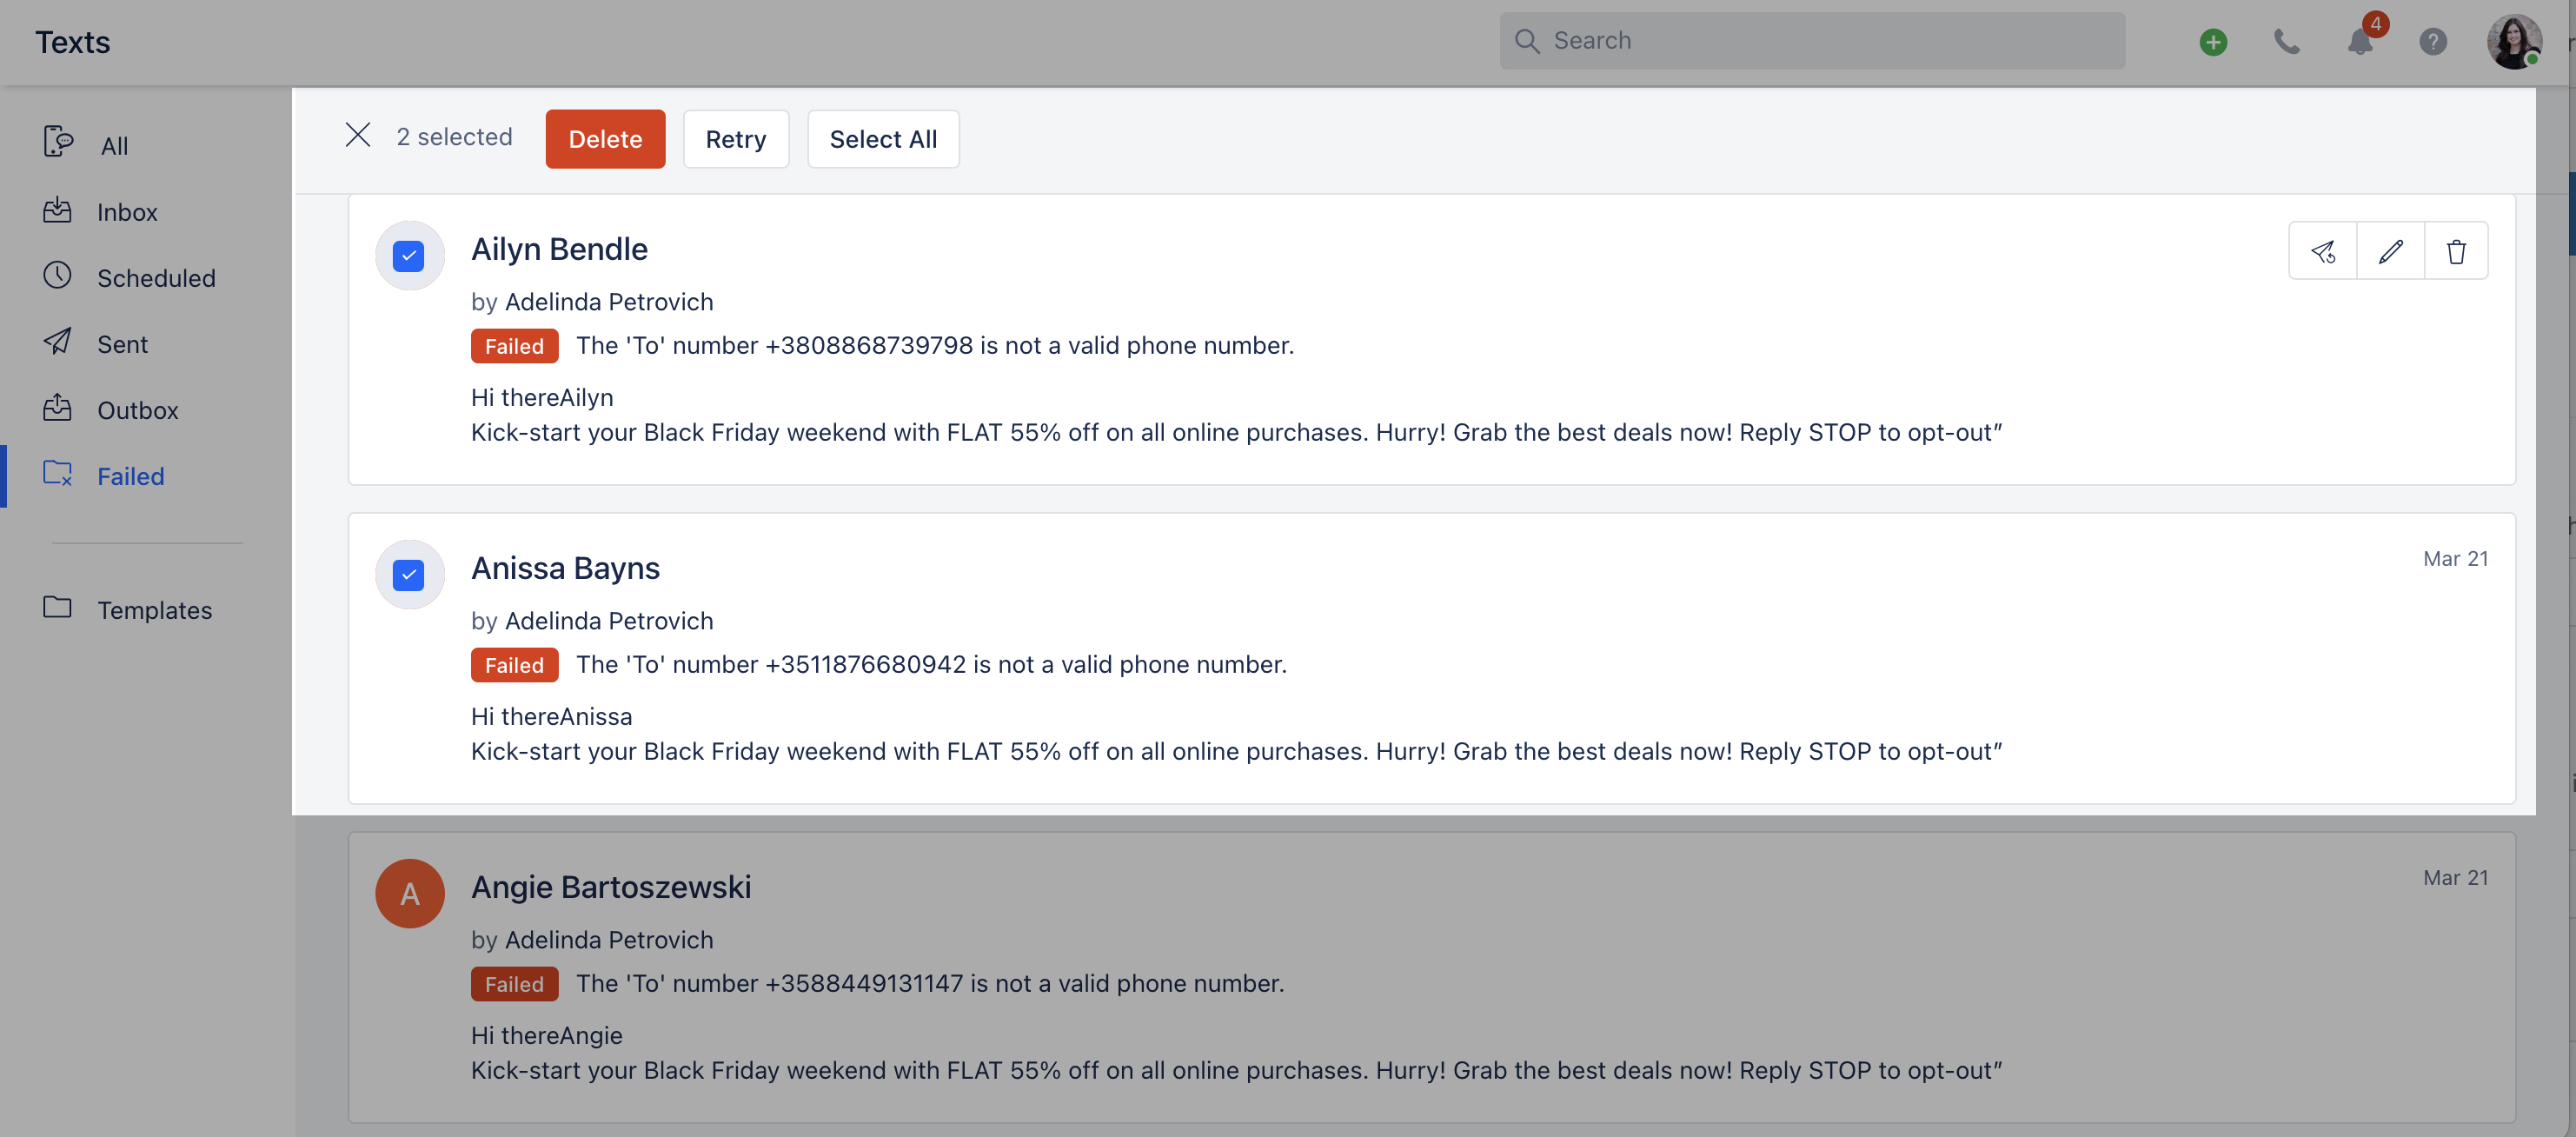
All messages scheduled for instant delivery are queued under Outbox and are sent in small batches.Failed
Check the status of failed messages in this folder and retry sending from the same screen to the contact.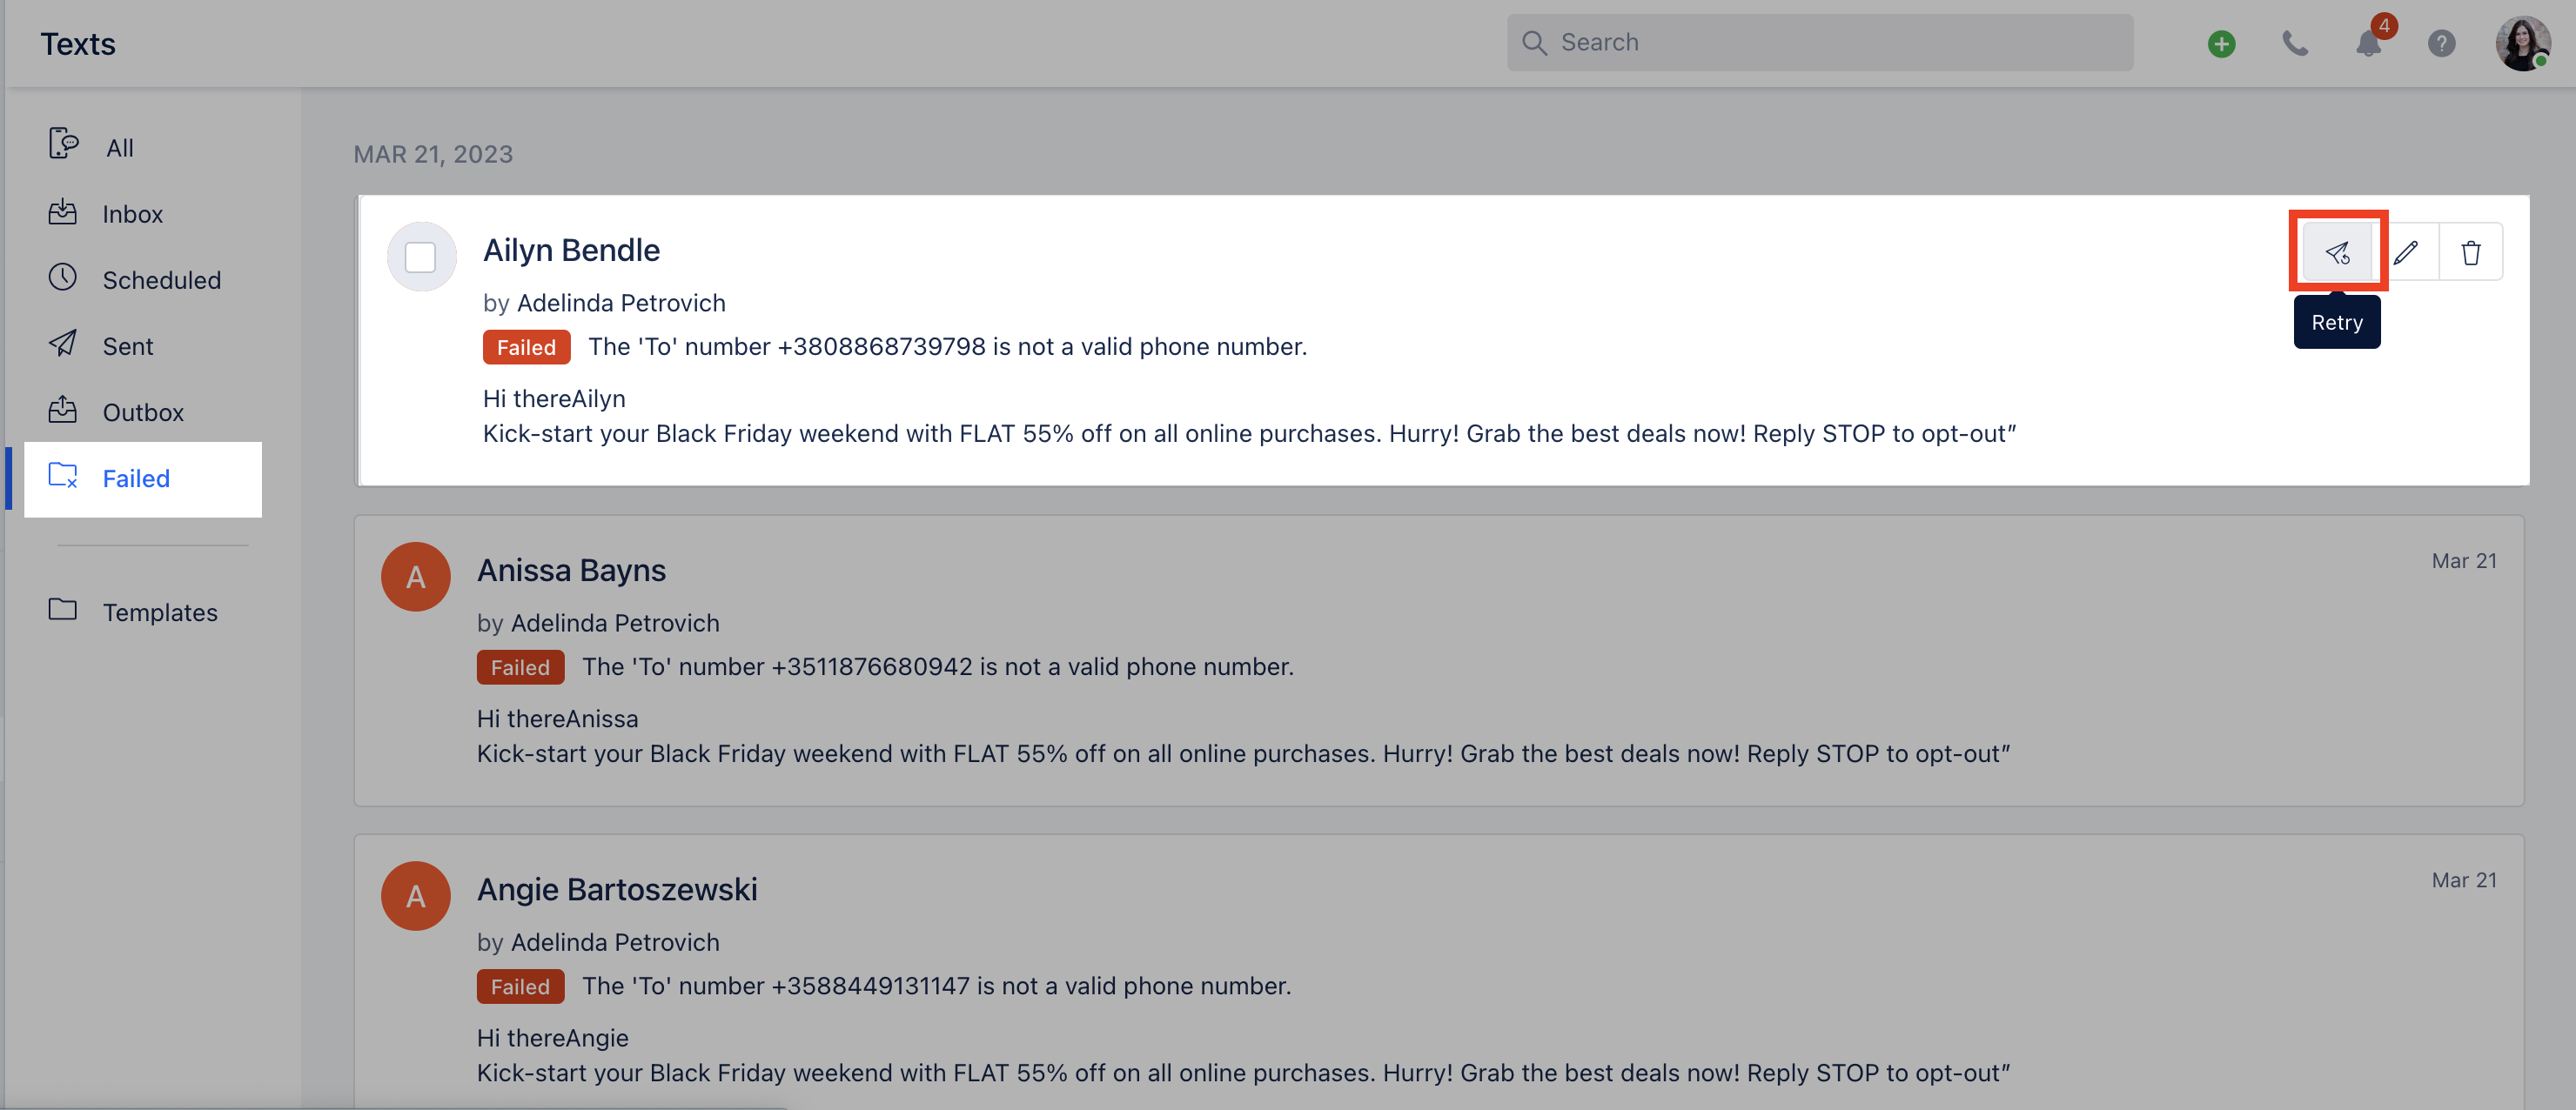
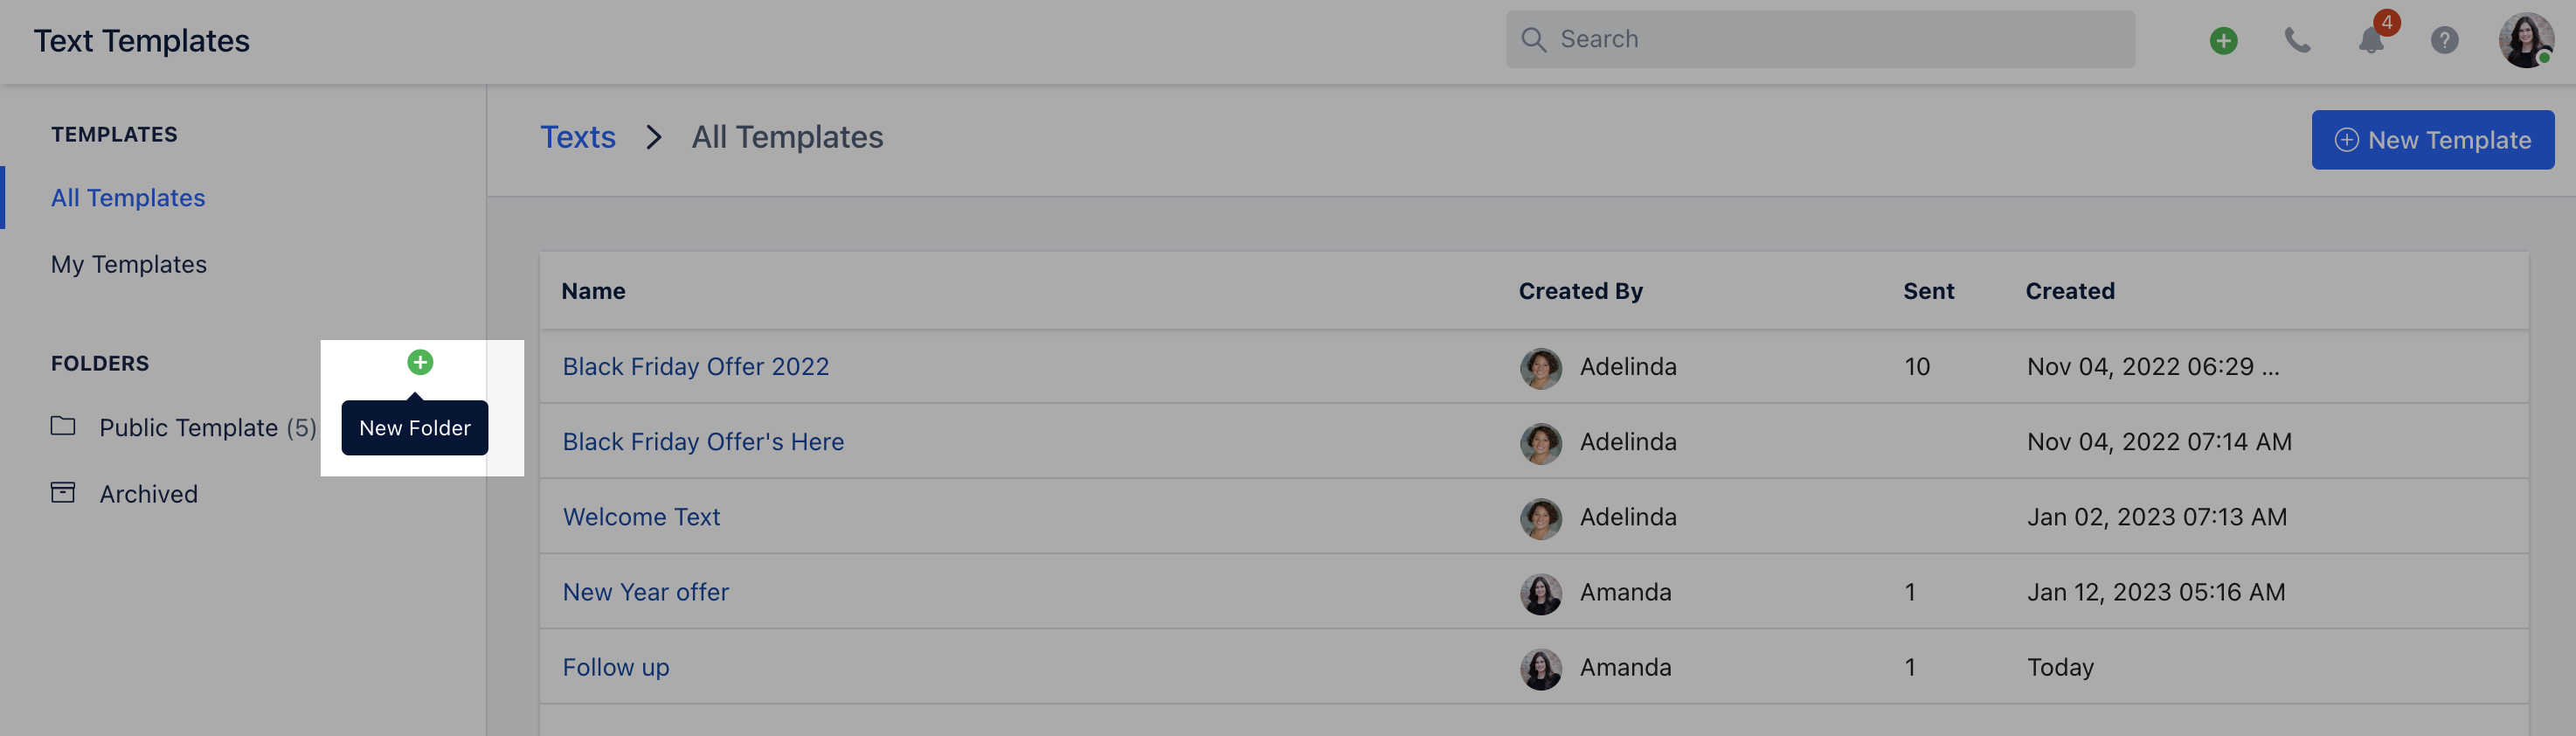
Templates
You can create and manage text templates.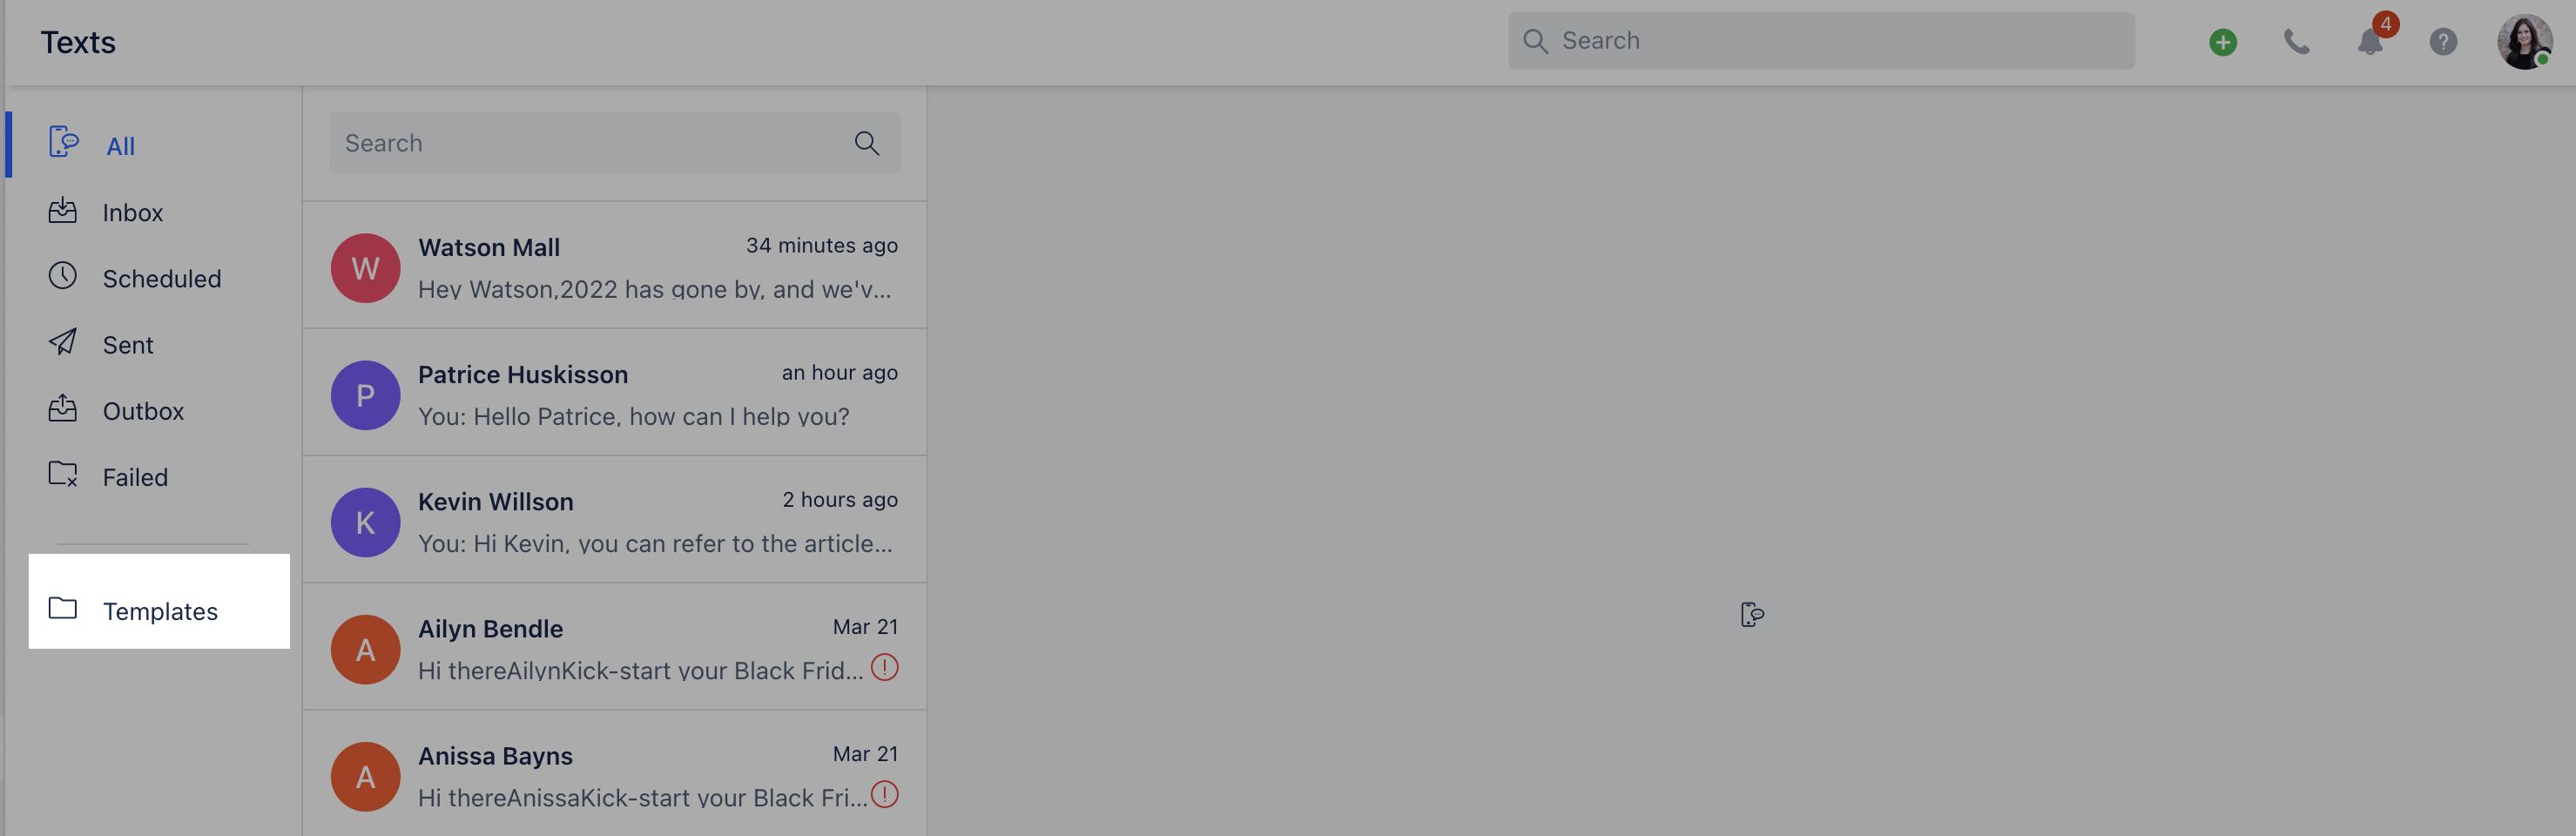
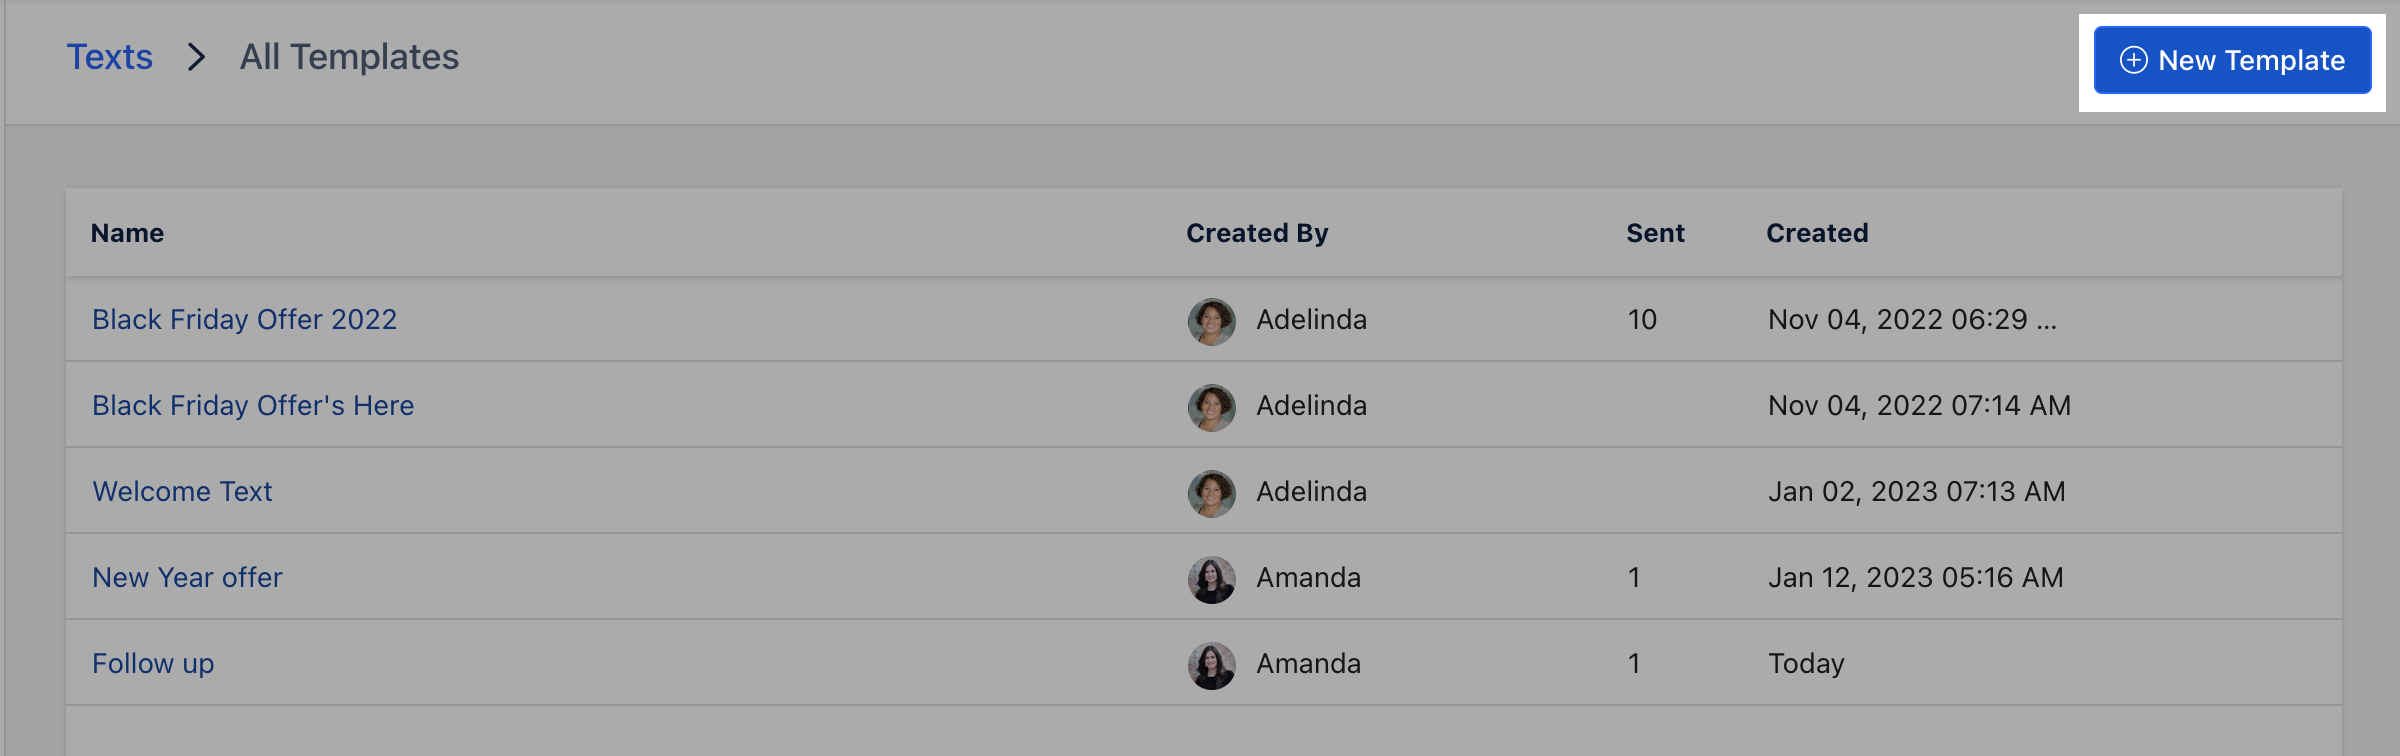
- Template fields— Template Name: For identification and future reference.
- Folder: Select the folder where the template should be saved.
- Text Message: The message body to be sent.
-
Insert Attributes: Use replaceable variables (for example,
{{Contact.firstName}}to insert the contact’s first name).