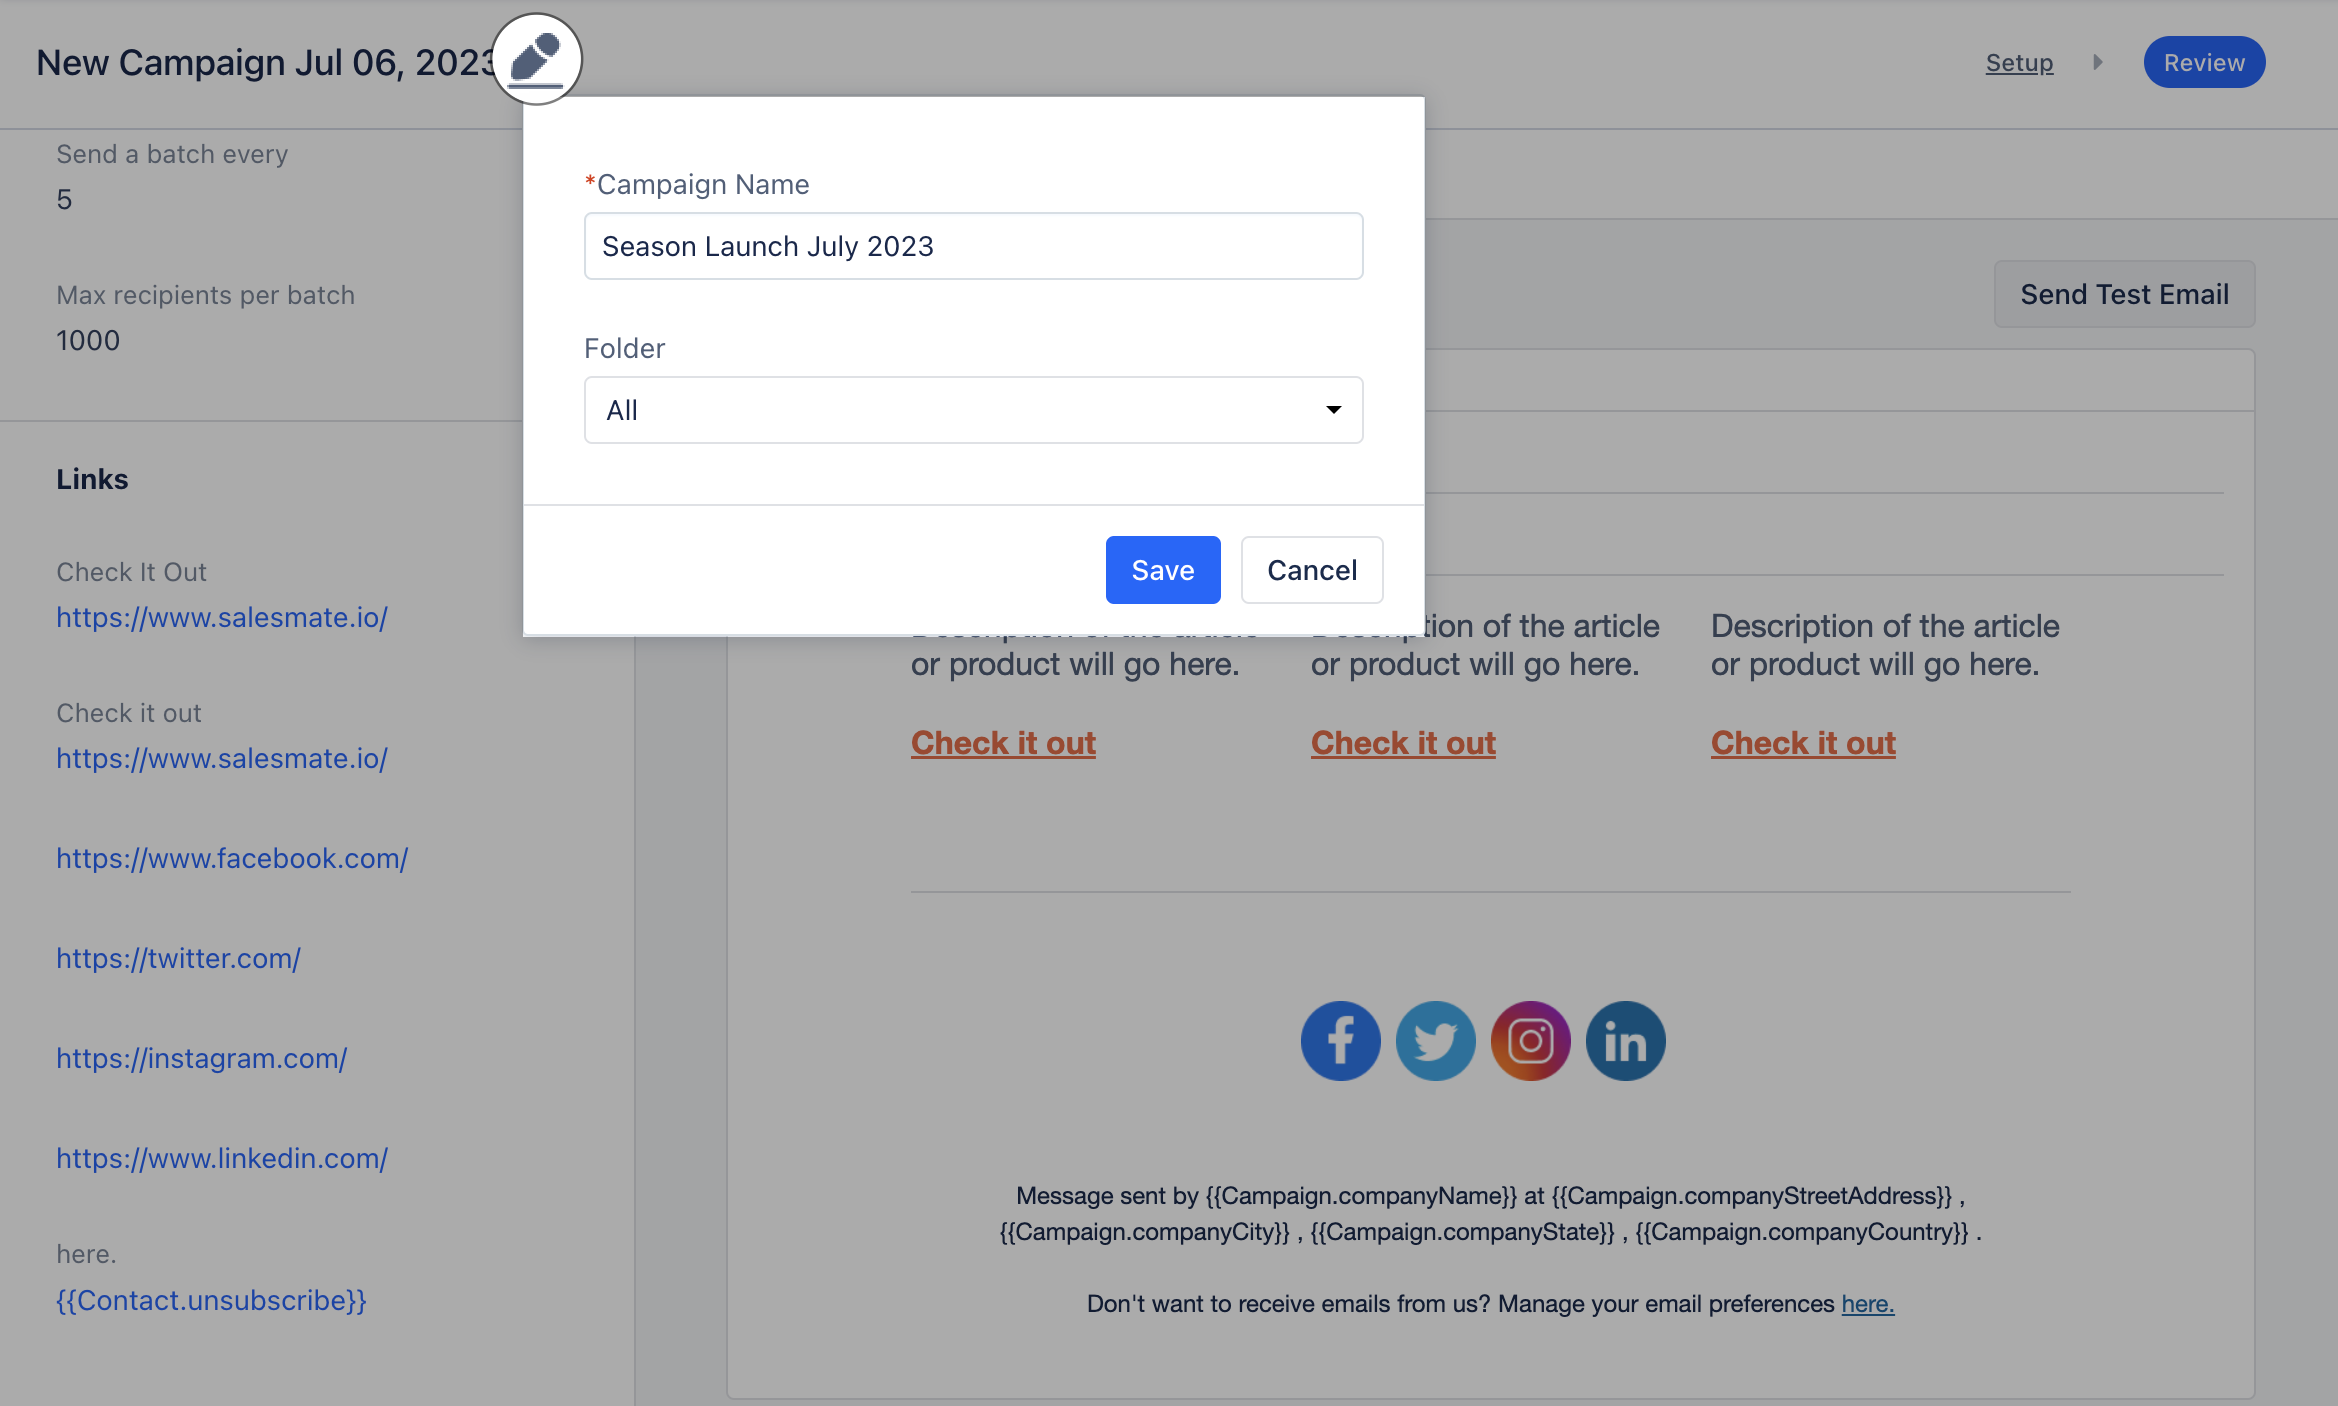
How to Create an Email Campaign
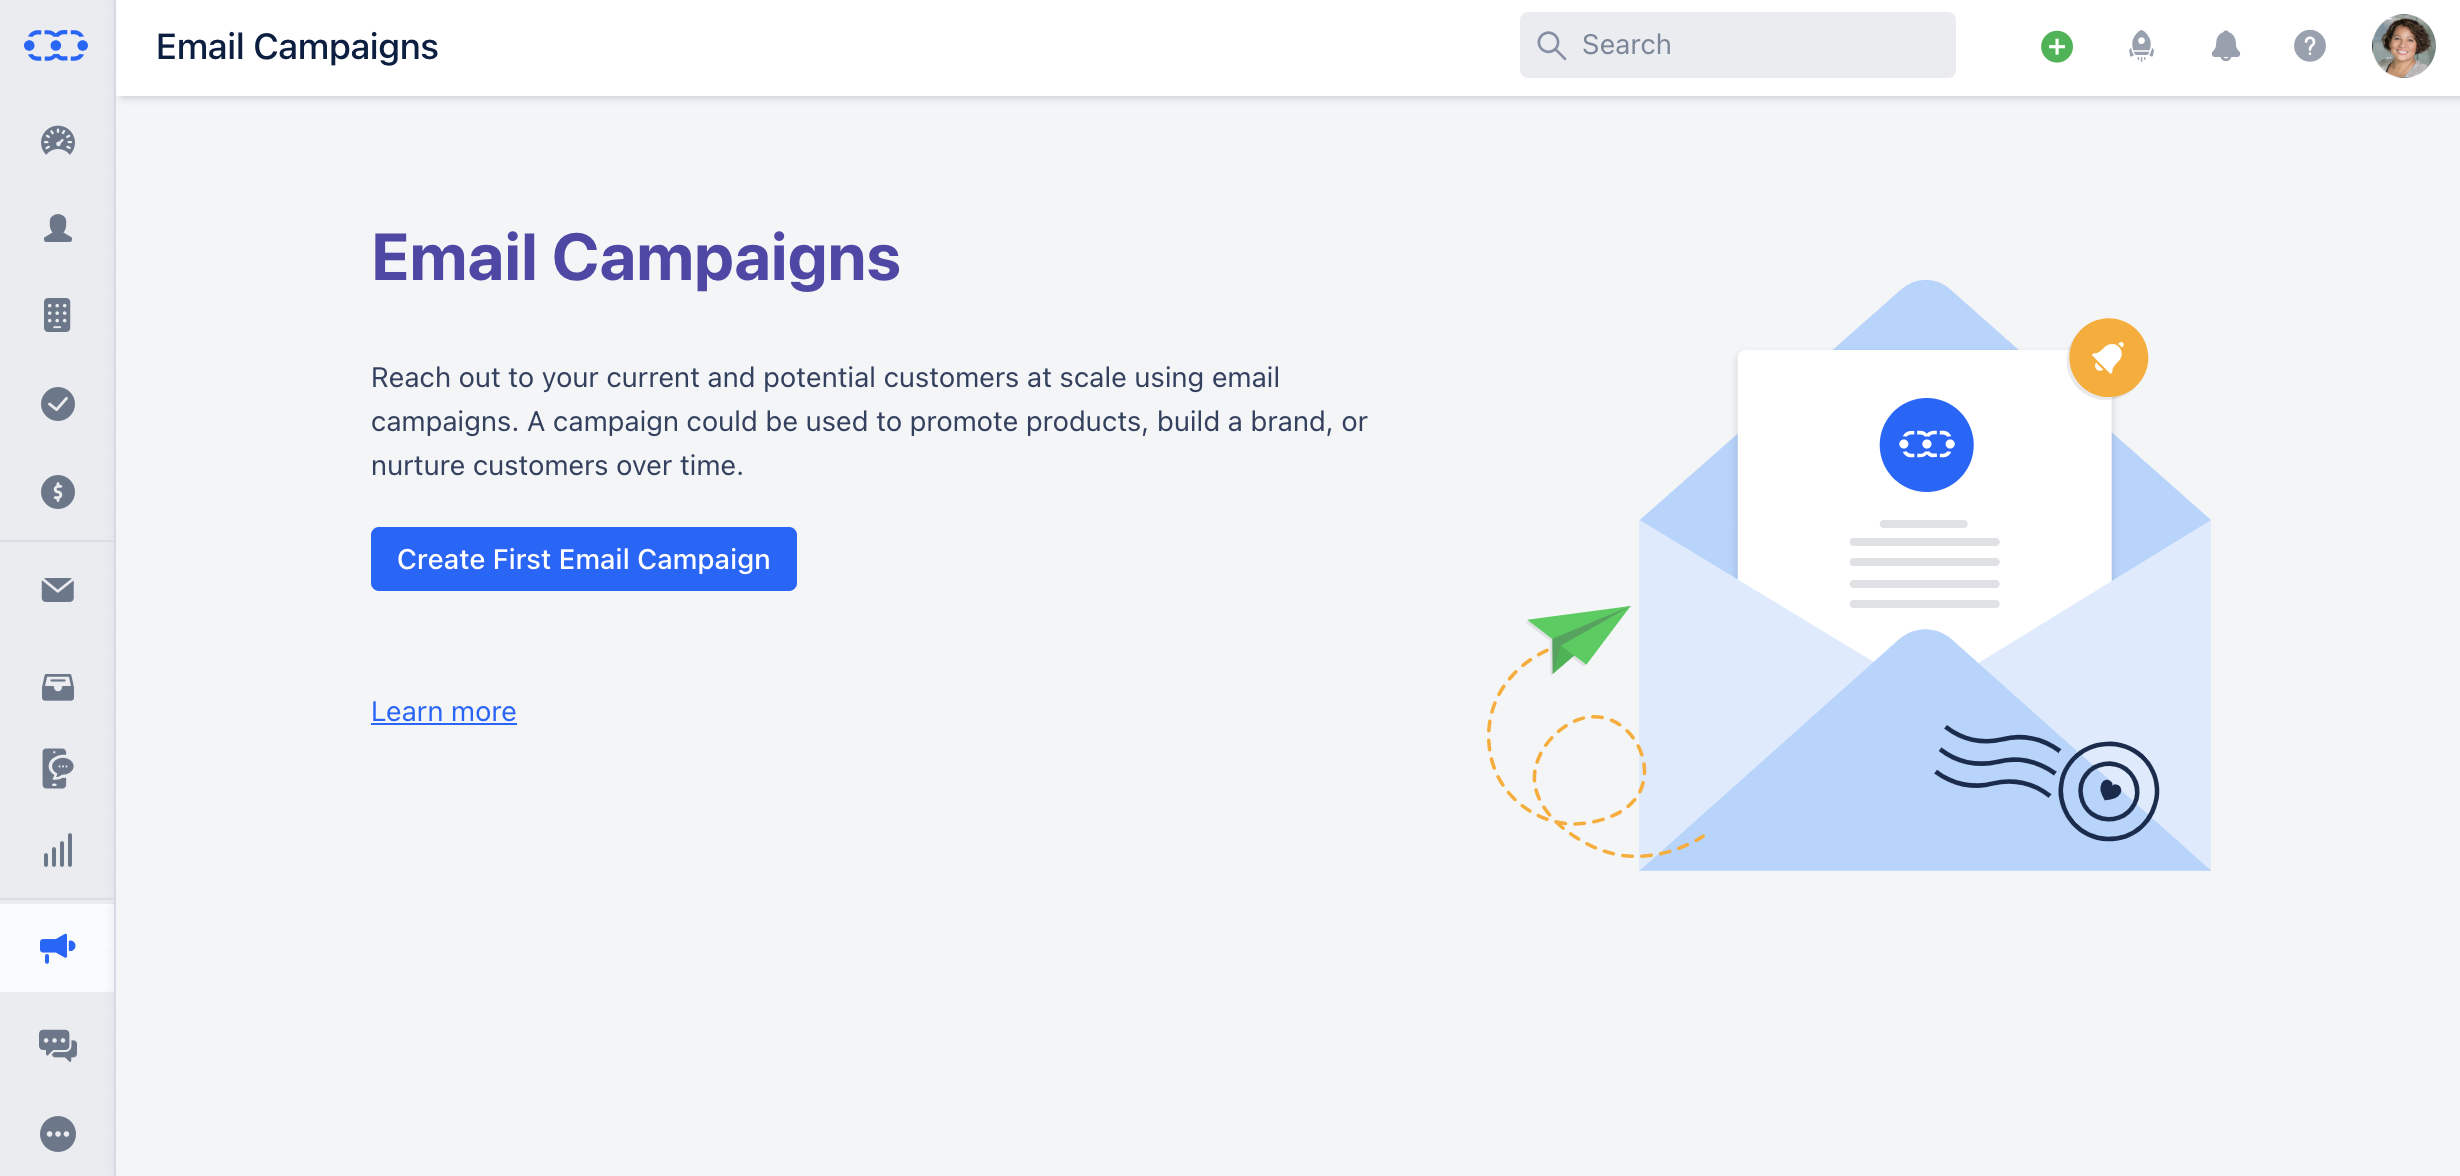
To create an Email Campaign, Navigate to the Outreach Icon on the left Menu Bar.Click on** Email Campaign ***
- If you have not created any Email Campaign yet, you will be presented with the screen to create your First Email Campaign.Click on* Create First Email Campaign.
Set Up the Campaign
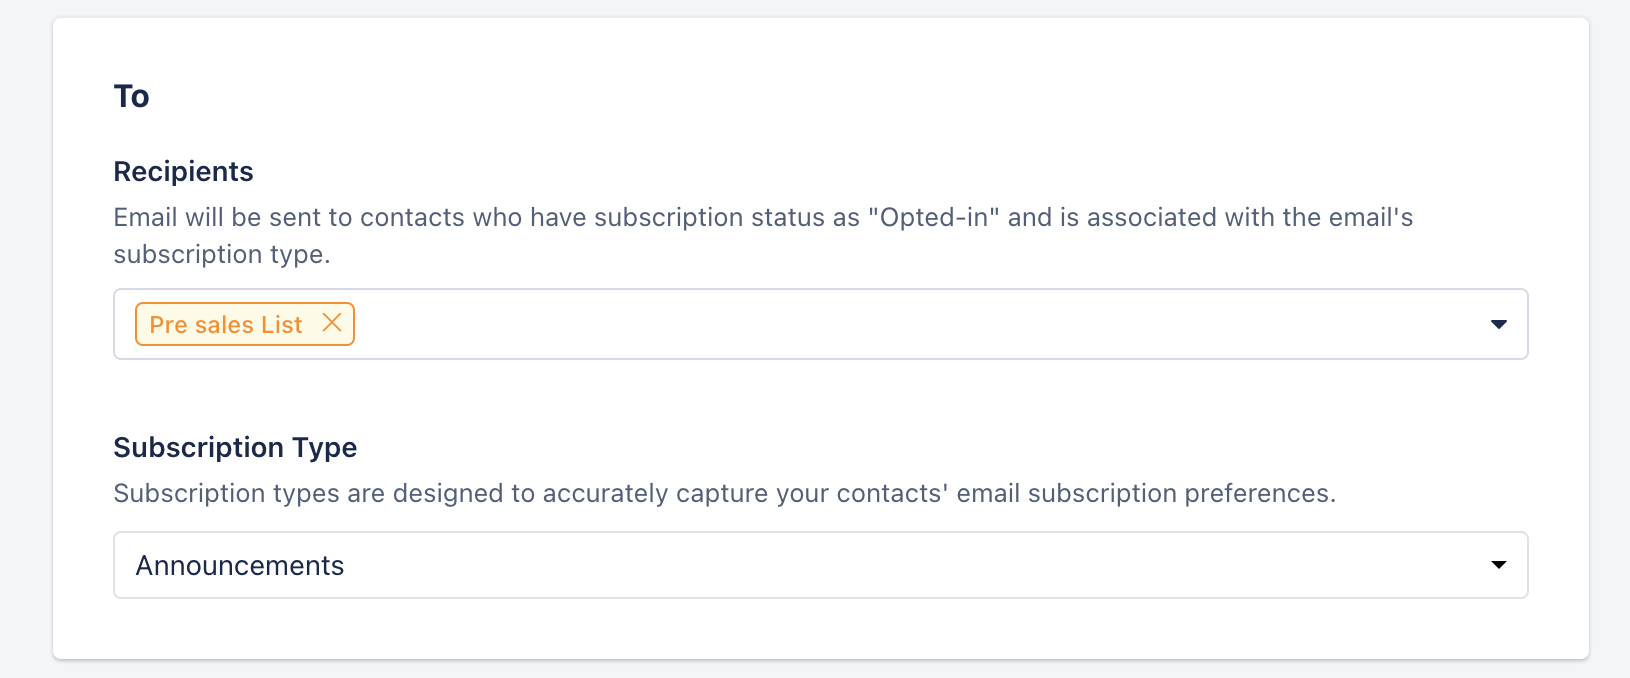
Once you click on Create First Email Campaign you will be redirected to the Set Up screen Recipients: Select the **Recipient List or a View **that you would like to run a Campaign for.- Subscription Type: Choose the suitable Subscription Type to run the Campaign for.
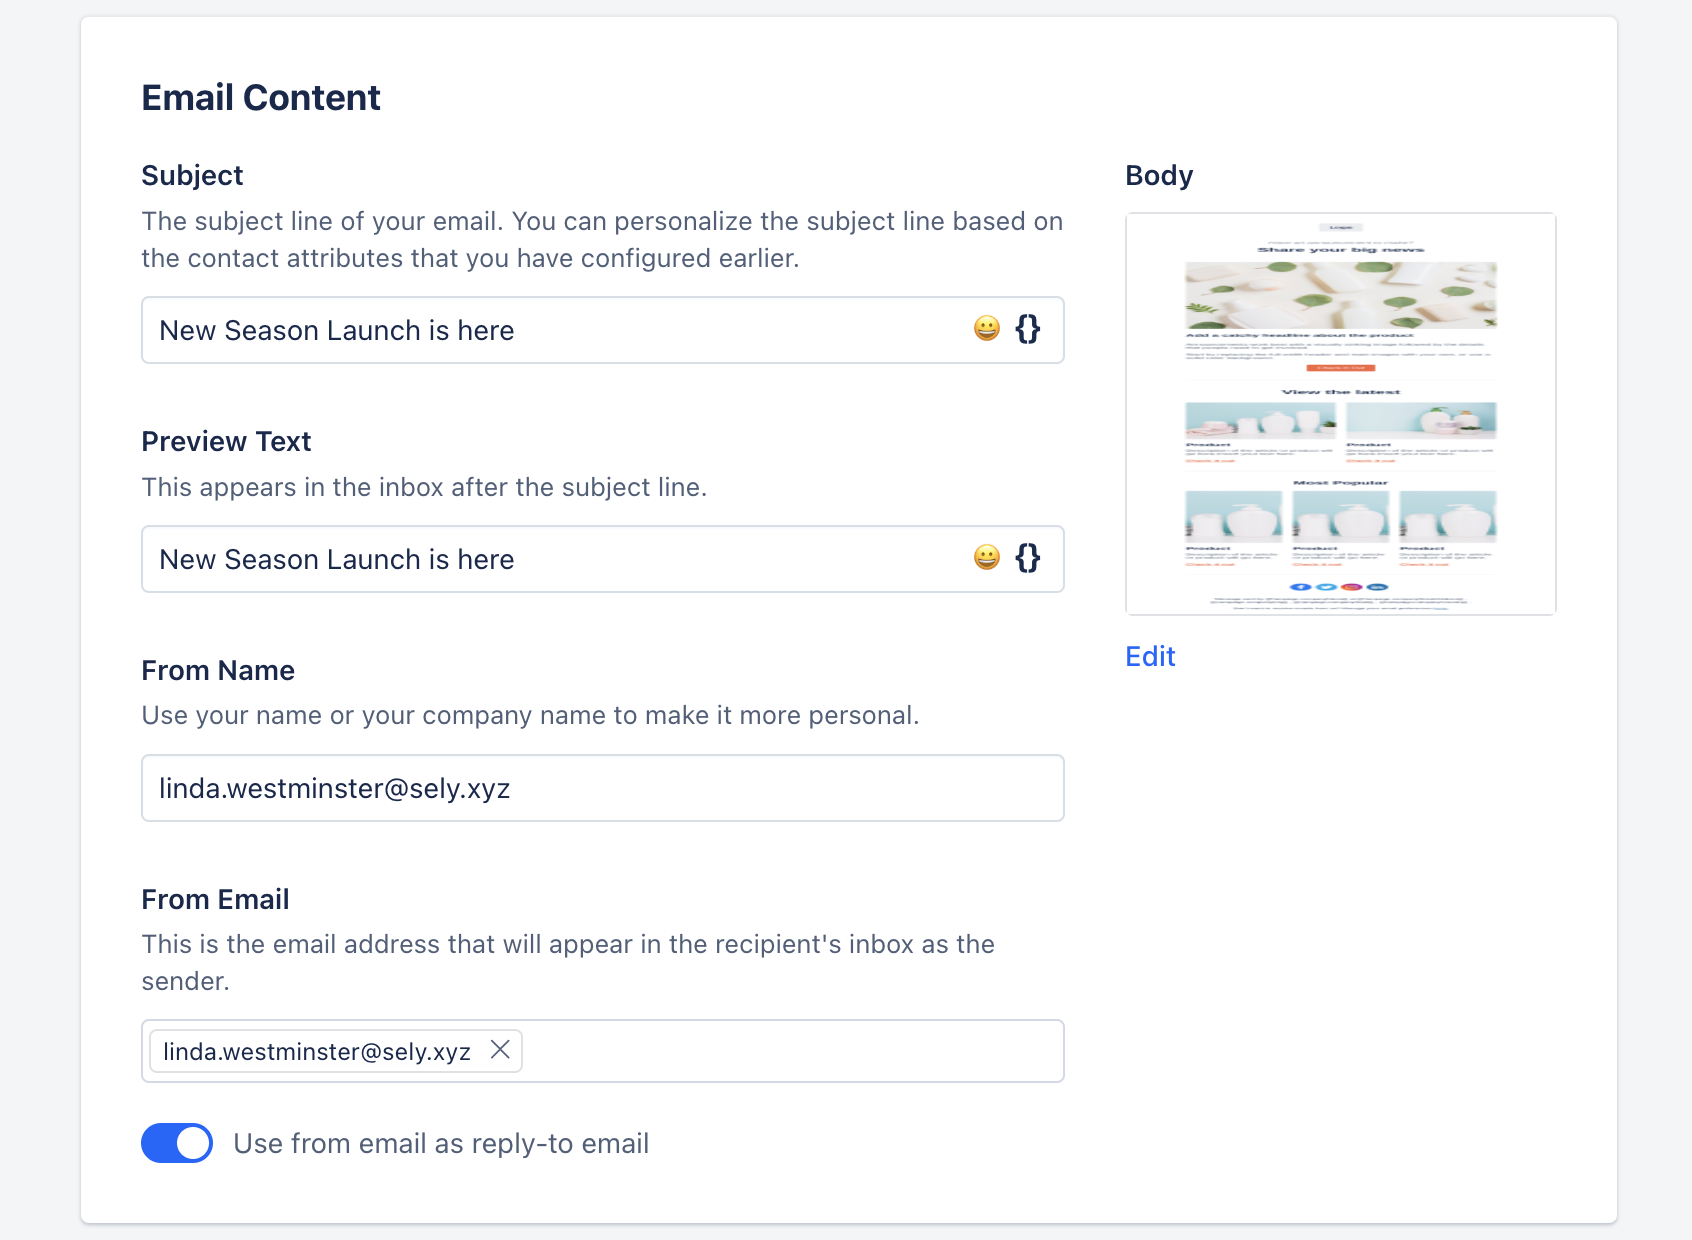
- Subject: The subject line of your email.
- Preview Text: A text summary appears within the email client below the email subject.
- From Name: The name of the person sending the email
- From Email: This is the email address that will appear inside the email header of the receiver
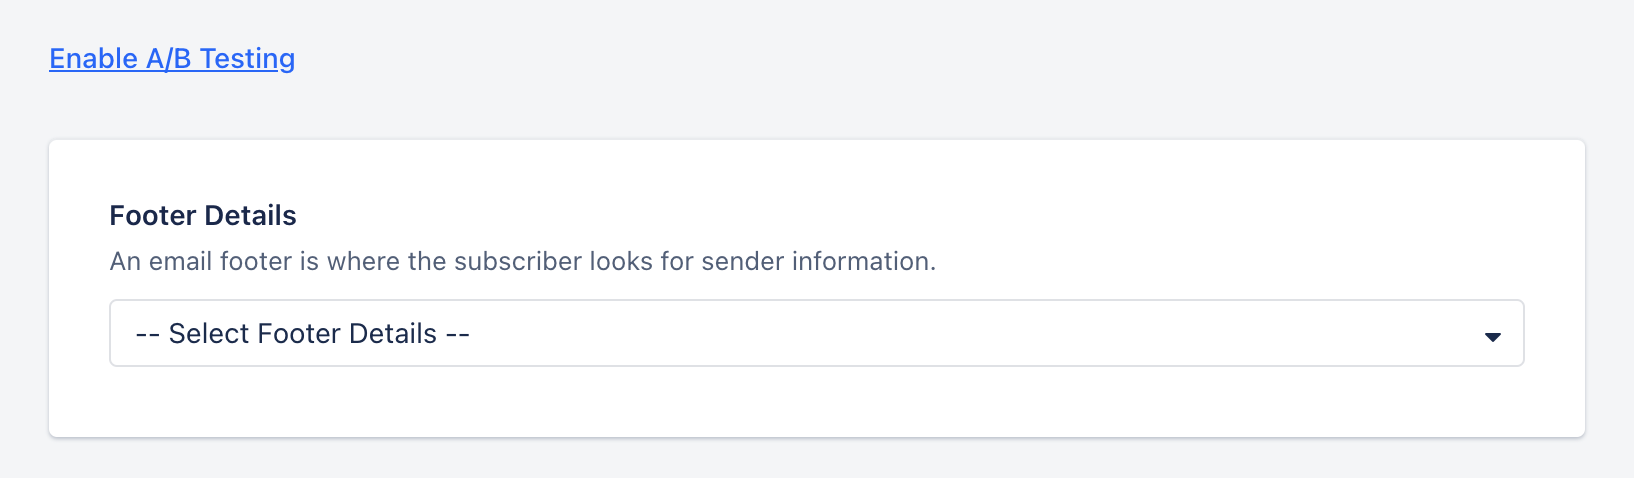
- Enable A/B Testing: Click to enable A/B Test and clone the variant of the current version. Make the necessary changes to either of the variants.
- Learn More
- Footer Details: Choose the correct footer address information used in your email.
- Learn More
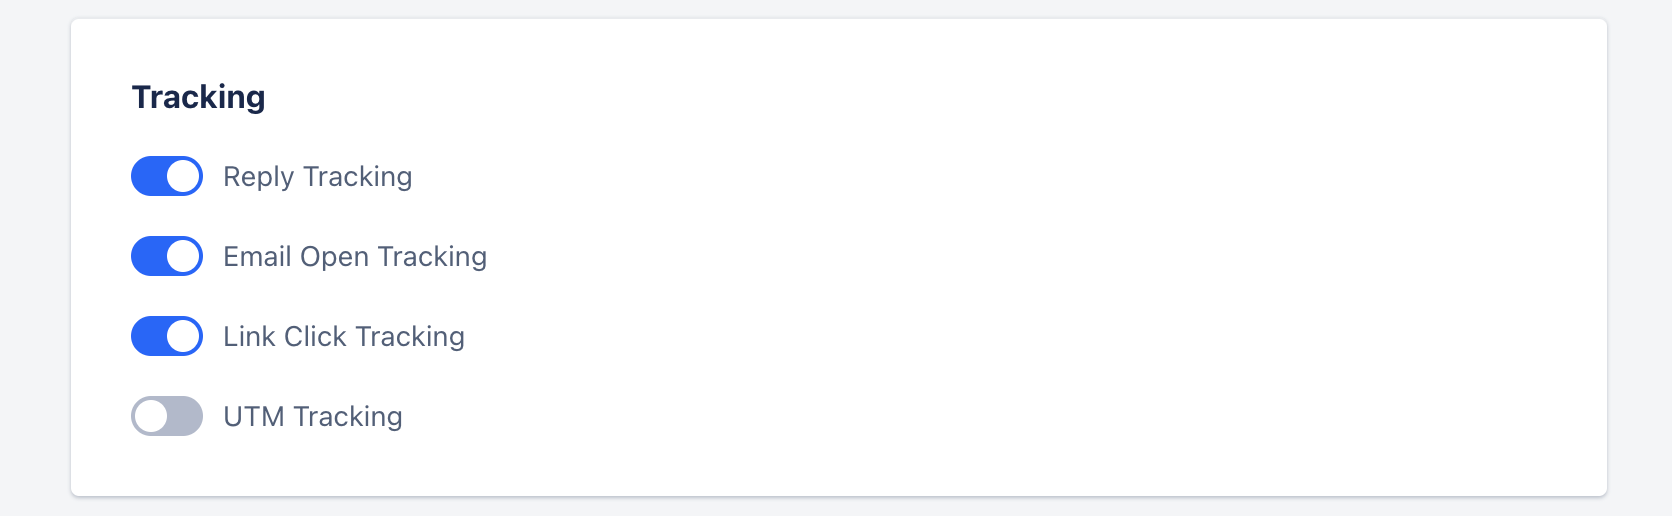
- *Tracking:**- Reply Tracking: Enable this option to track the data for contacts who reply to the campaign emails.
- Email Open Tracking: Enable this option to track the data for contacts who open the campaign emails.
- Link Click Tracking: Enable this option to track the unique clicks on links in the email template.
- UTM Tracking: Enable this option to track the traffic to your website by appending information about the campaign to each URL. You configure the custom UTM parameter and its values
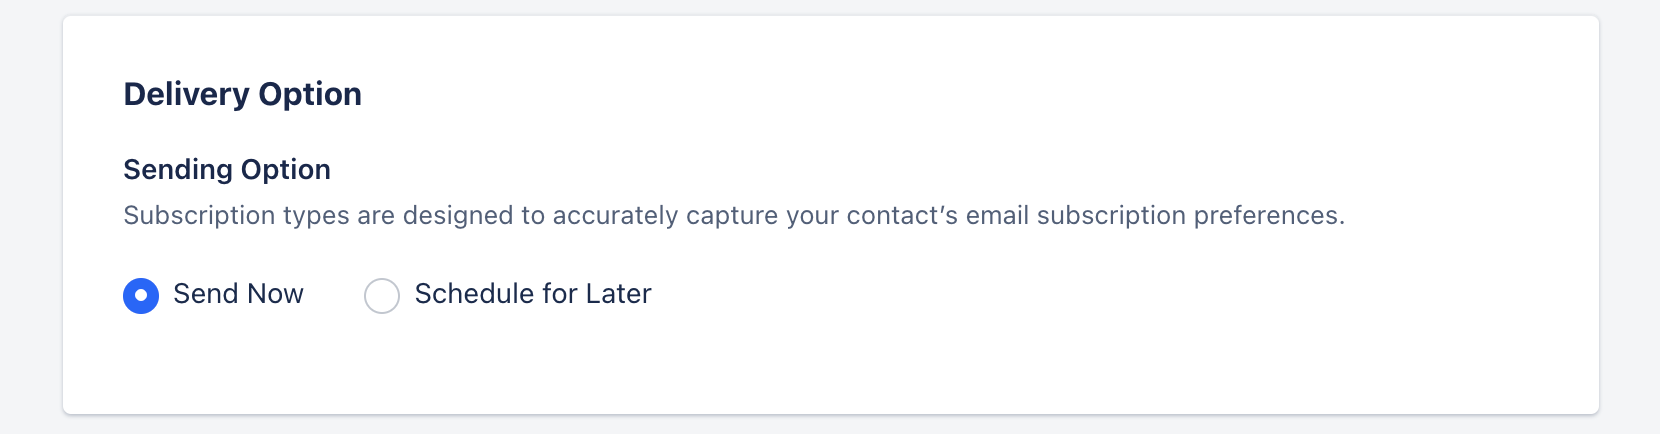
- Delivery Options: Send or Schedule your campaign.
- Send now: Select this option to start sending emails immediately.
- Schedule for Later: Select this option if you want to schedule the email campaign to send it later on the selected date and time.
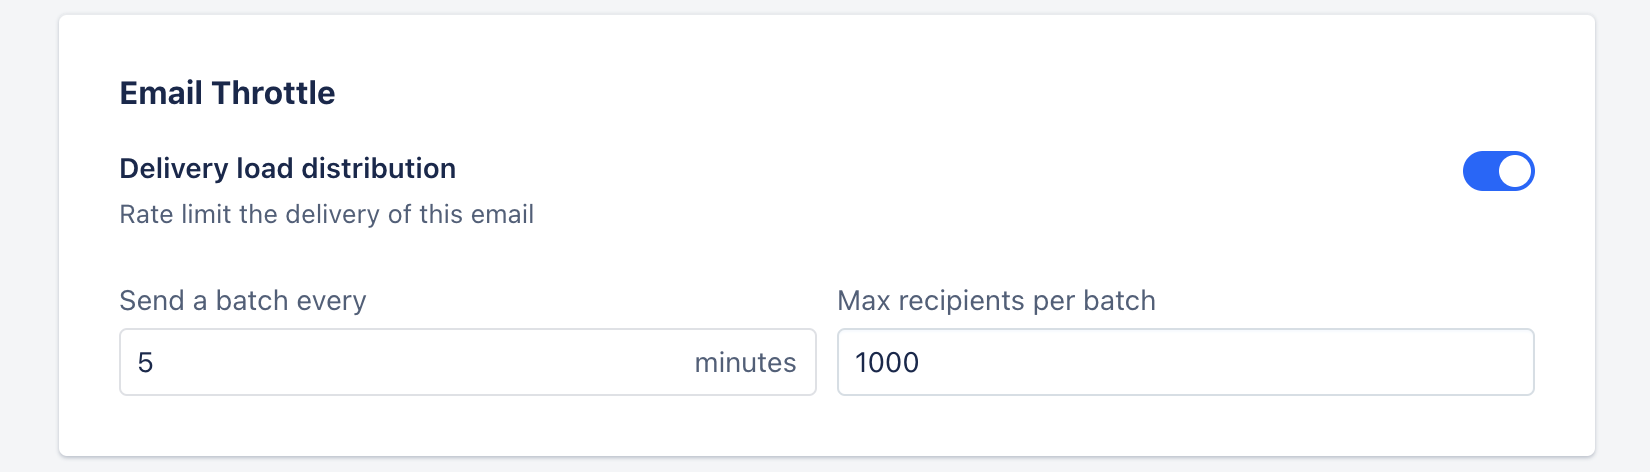
- **Delivery Load Distribution:**Enable this option to limit the delivery rate of the email campaign. It basically controls the throttling.
- Send a batch every: It is the amount of time in minutes during which the system will send the campaign to a batch of contacts.
- Max recipients per batch: It is the maximum number of people that will be in a batch. For example, if you have 700 subscribers, a maximum of 500 will be in the first batch and the remaining will be in the second.
Review & Send the Campaign
Once the click on Next the Campaign will get saved and you will be redirected to the Review Screen.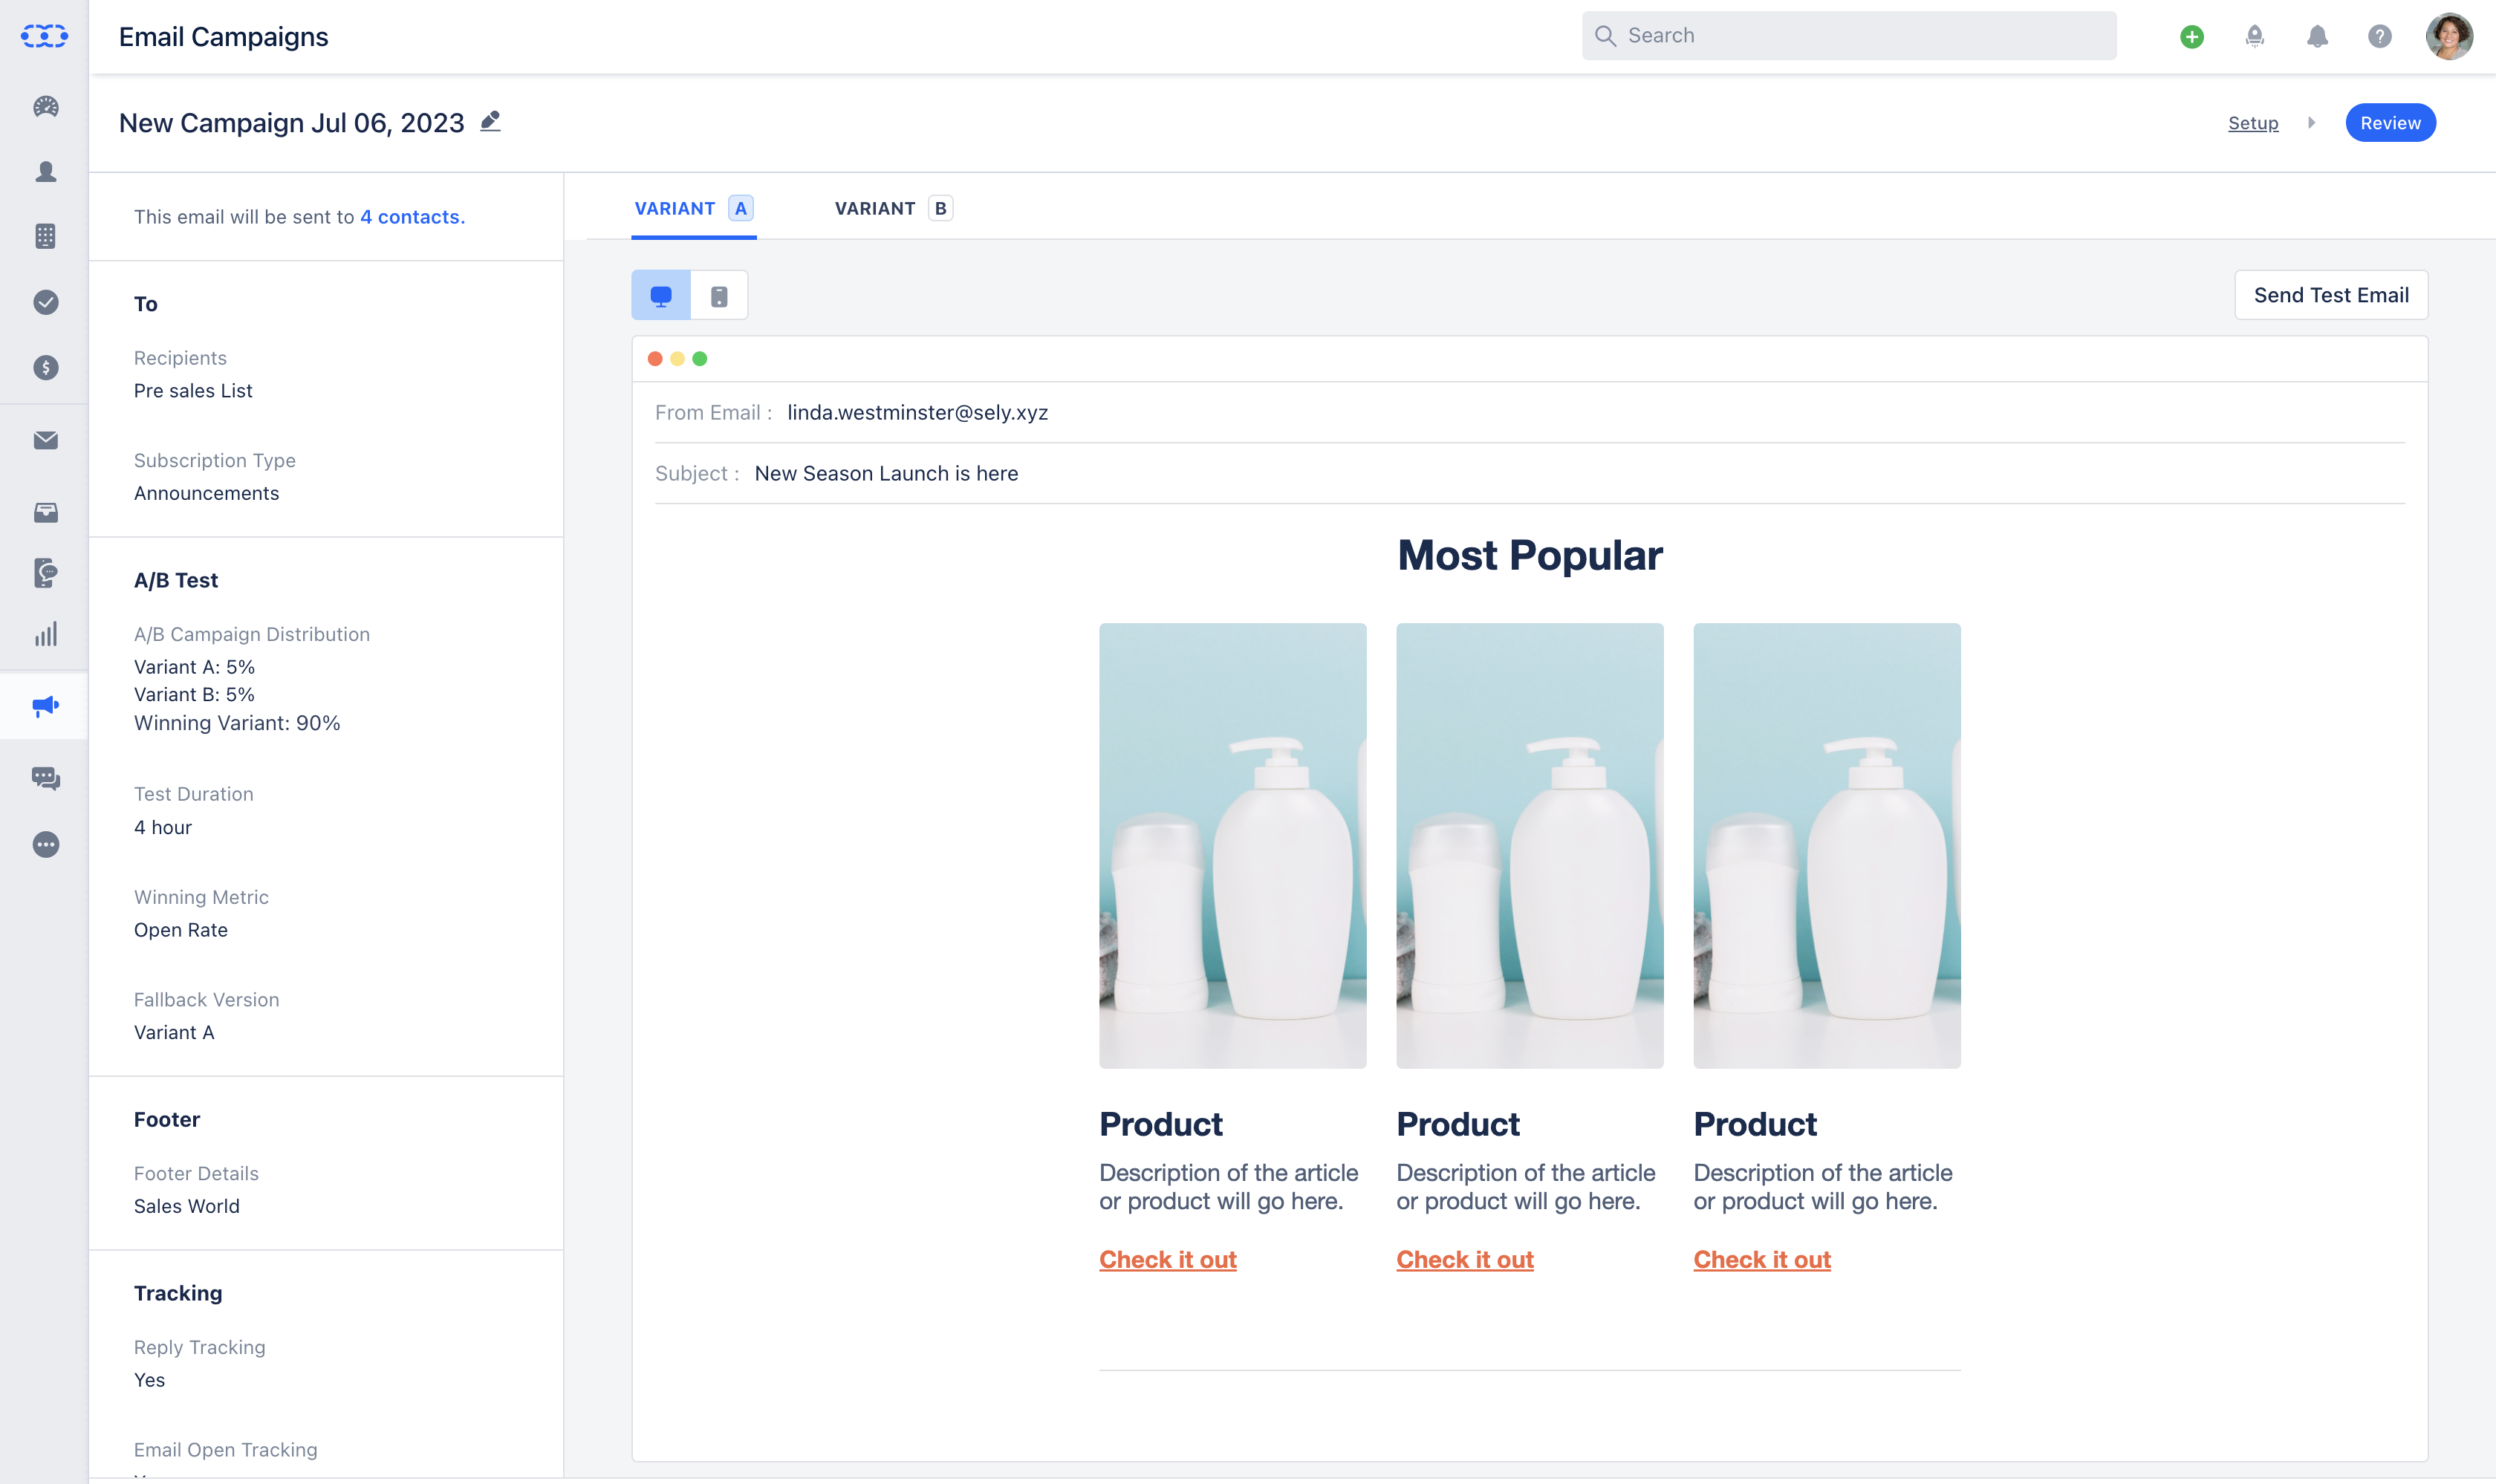
- Included: the number of contacts that have opted-in for the subscription type and will receive the email campaign.
- Excluded: the number of contacts that have Opted-out or consent not specified for the subscription type.
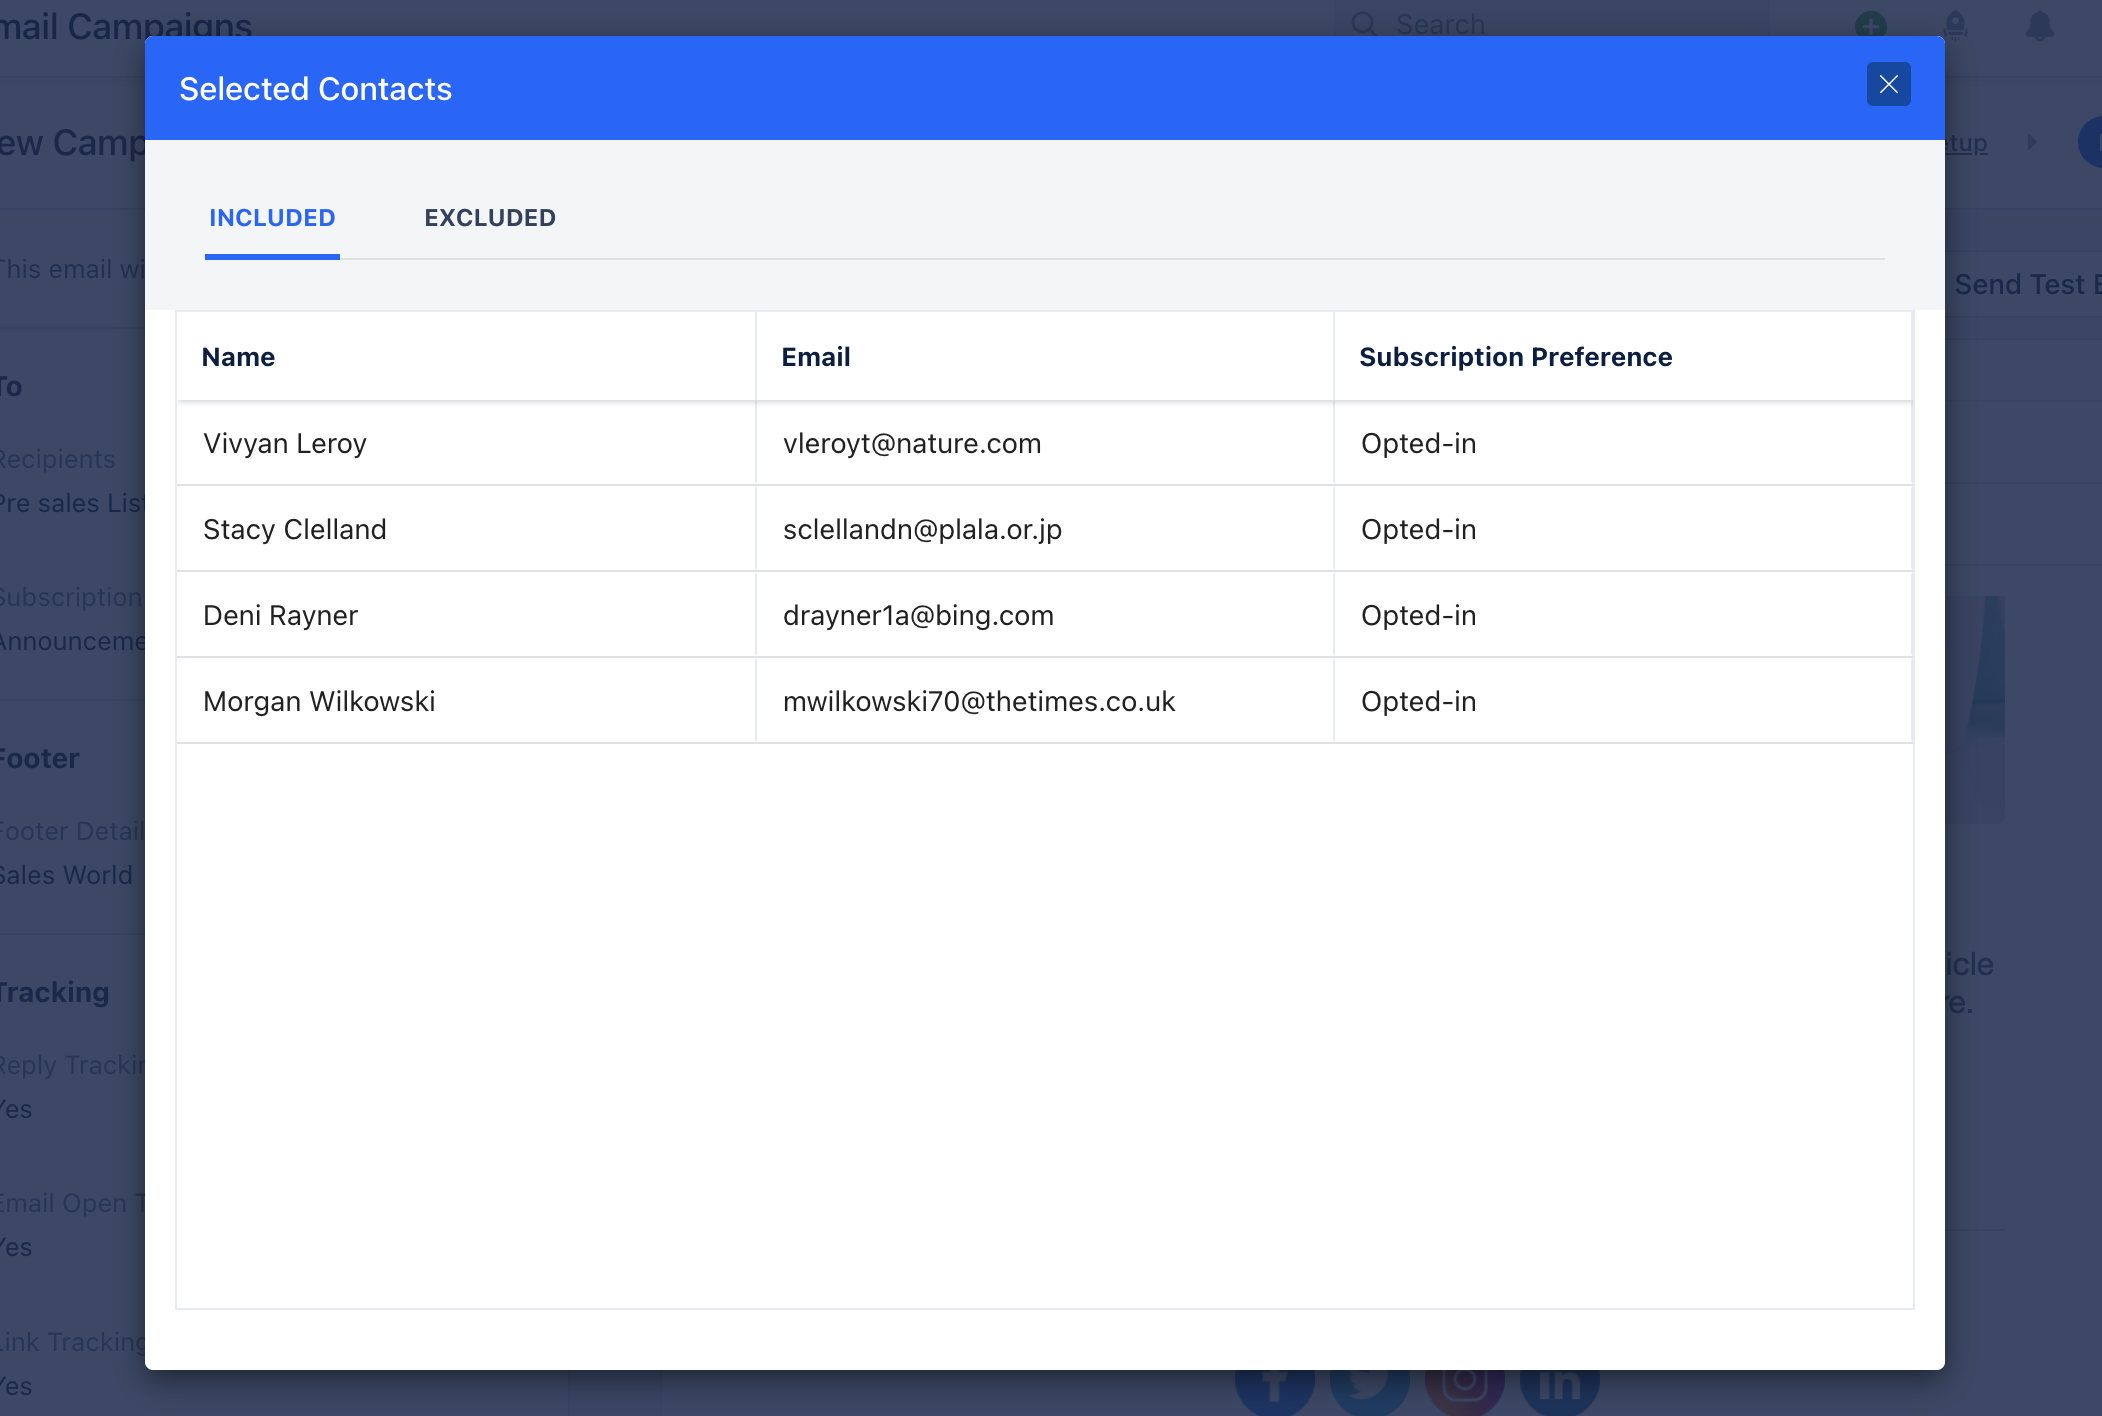
-
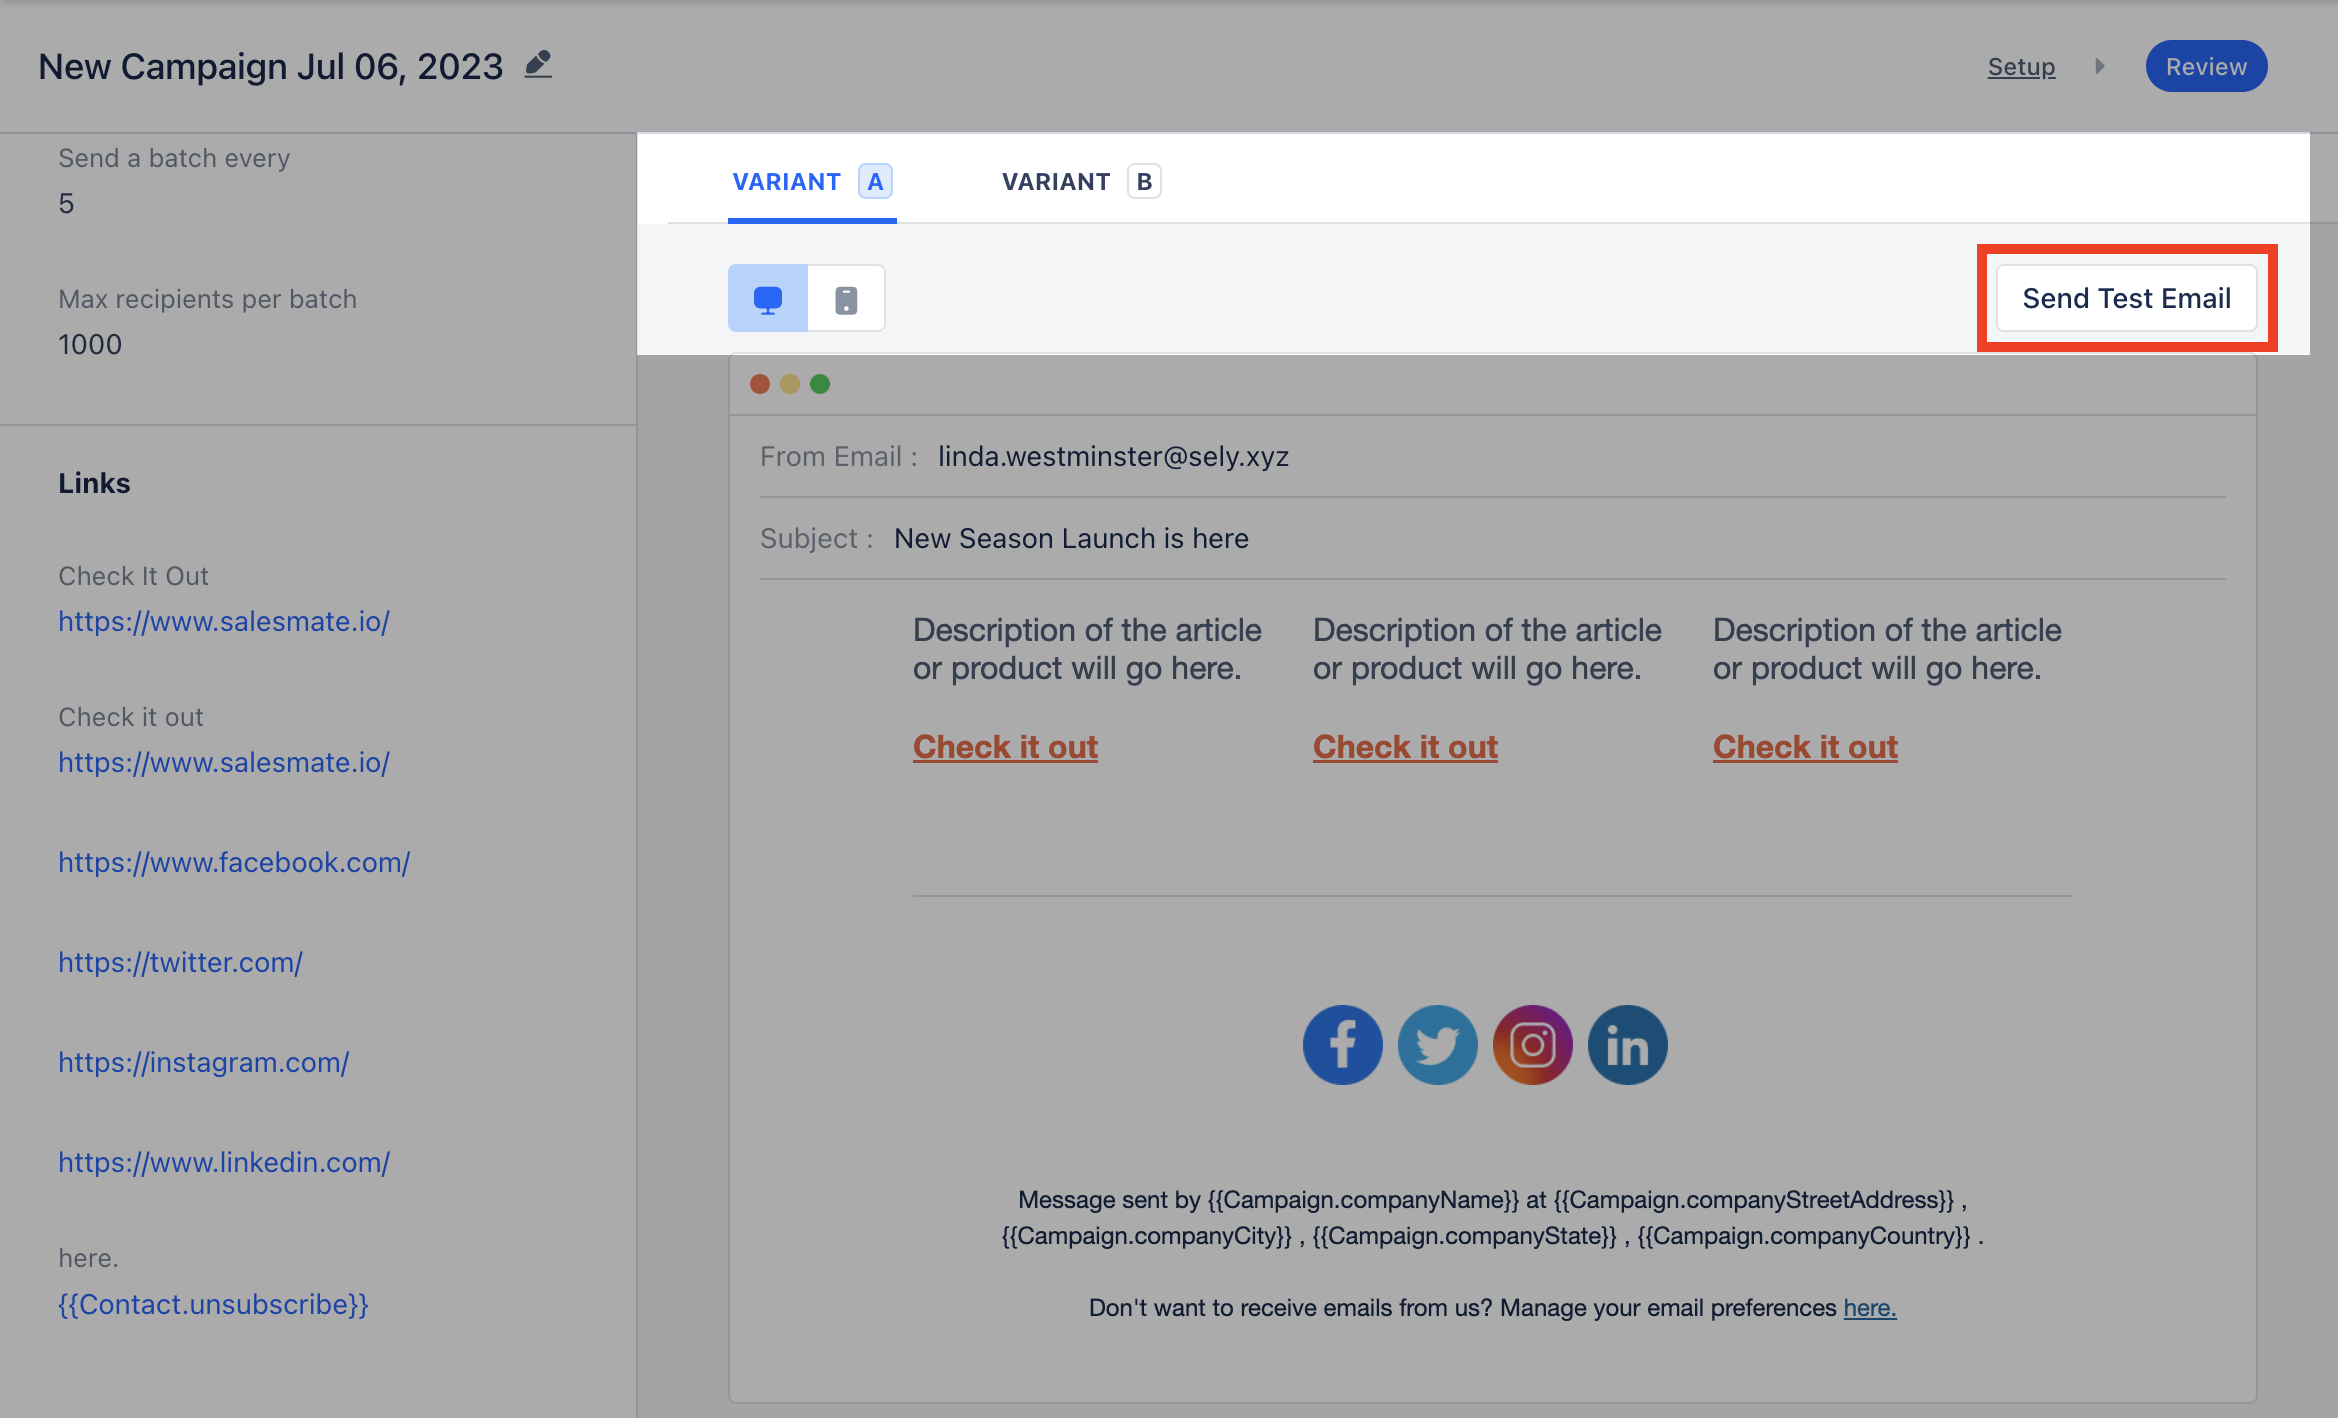
Links: All the links that you have used within the Email Campaign would be displayed under** Links ***

- *If you have enabled the A/B Testing you can view configured details of both the Variants.
- Send Test Email: You can send a test email to any email address for understanding the end delivery.
- ** Click on Save.