Topics covered:
- Creating a Universal Layout
- How to Use the Pre-built Layout
- How to Create a New Layout
- Actions You Can Perform on a Layout
How to Create a Universal Layout:
Navigate to the Outreach Icon on the left Menu Bar.Click on Template Library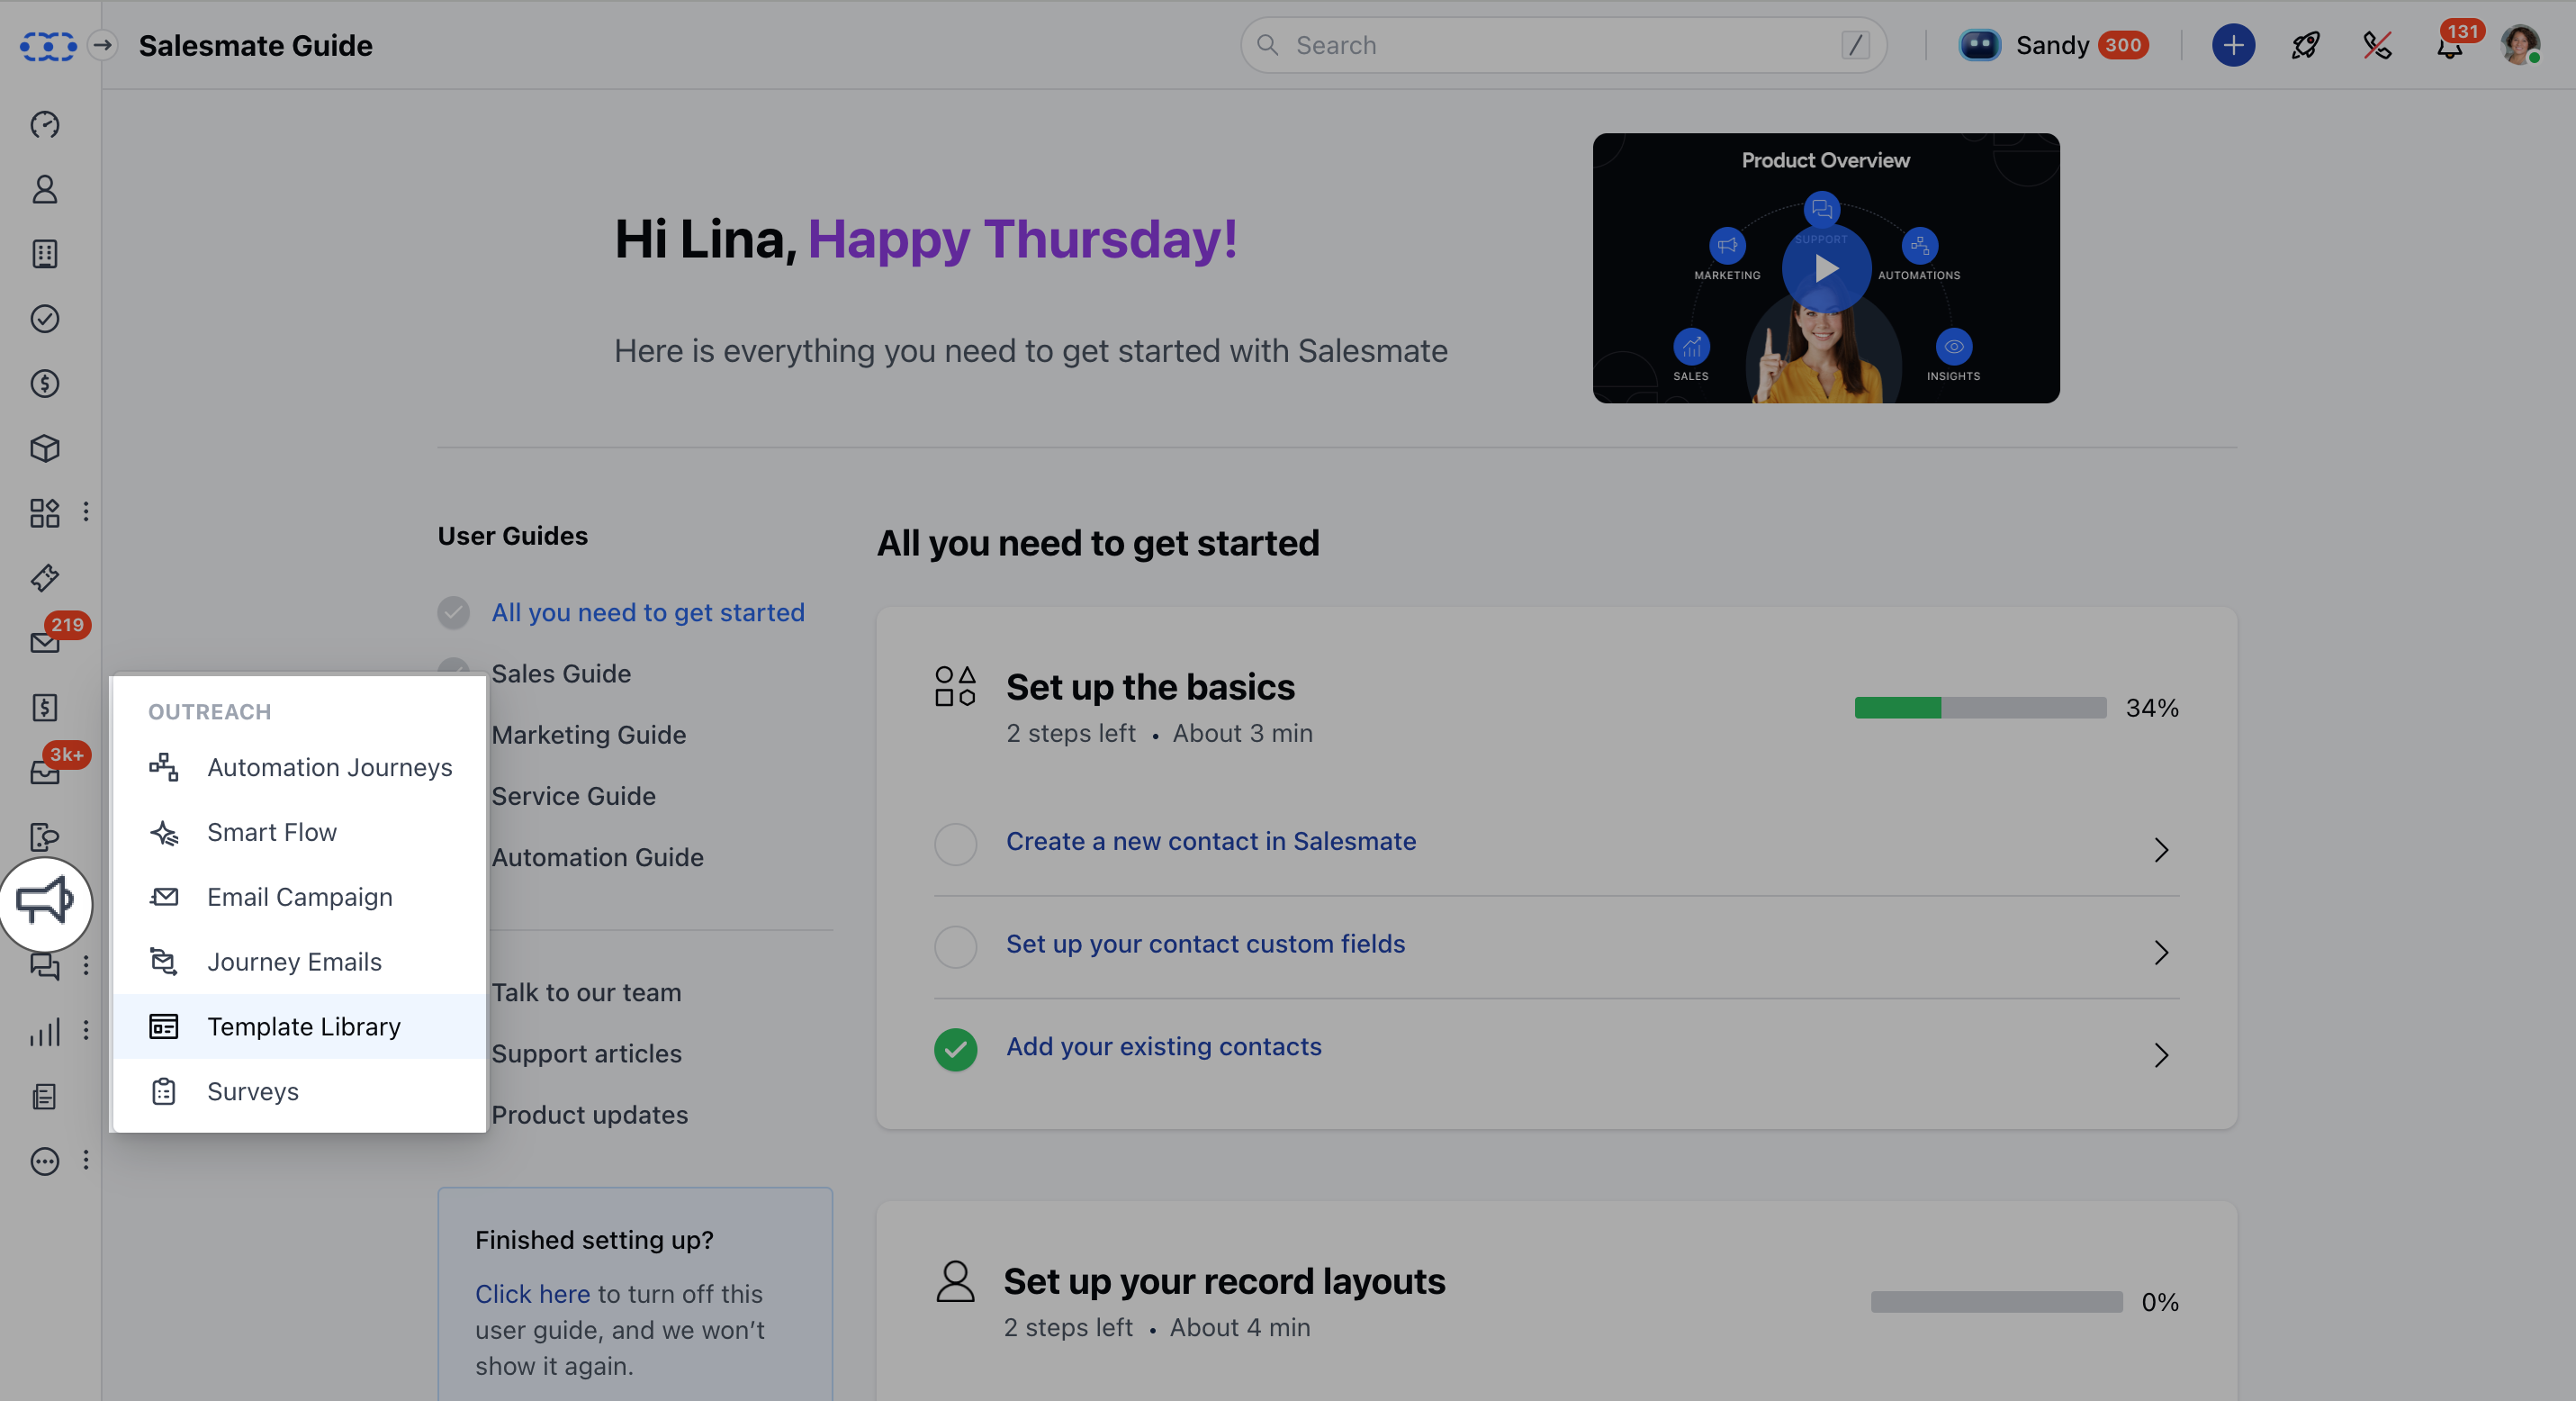
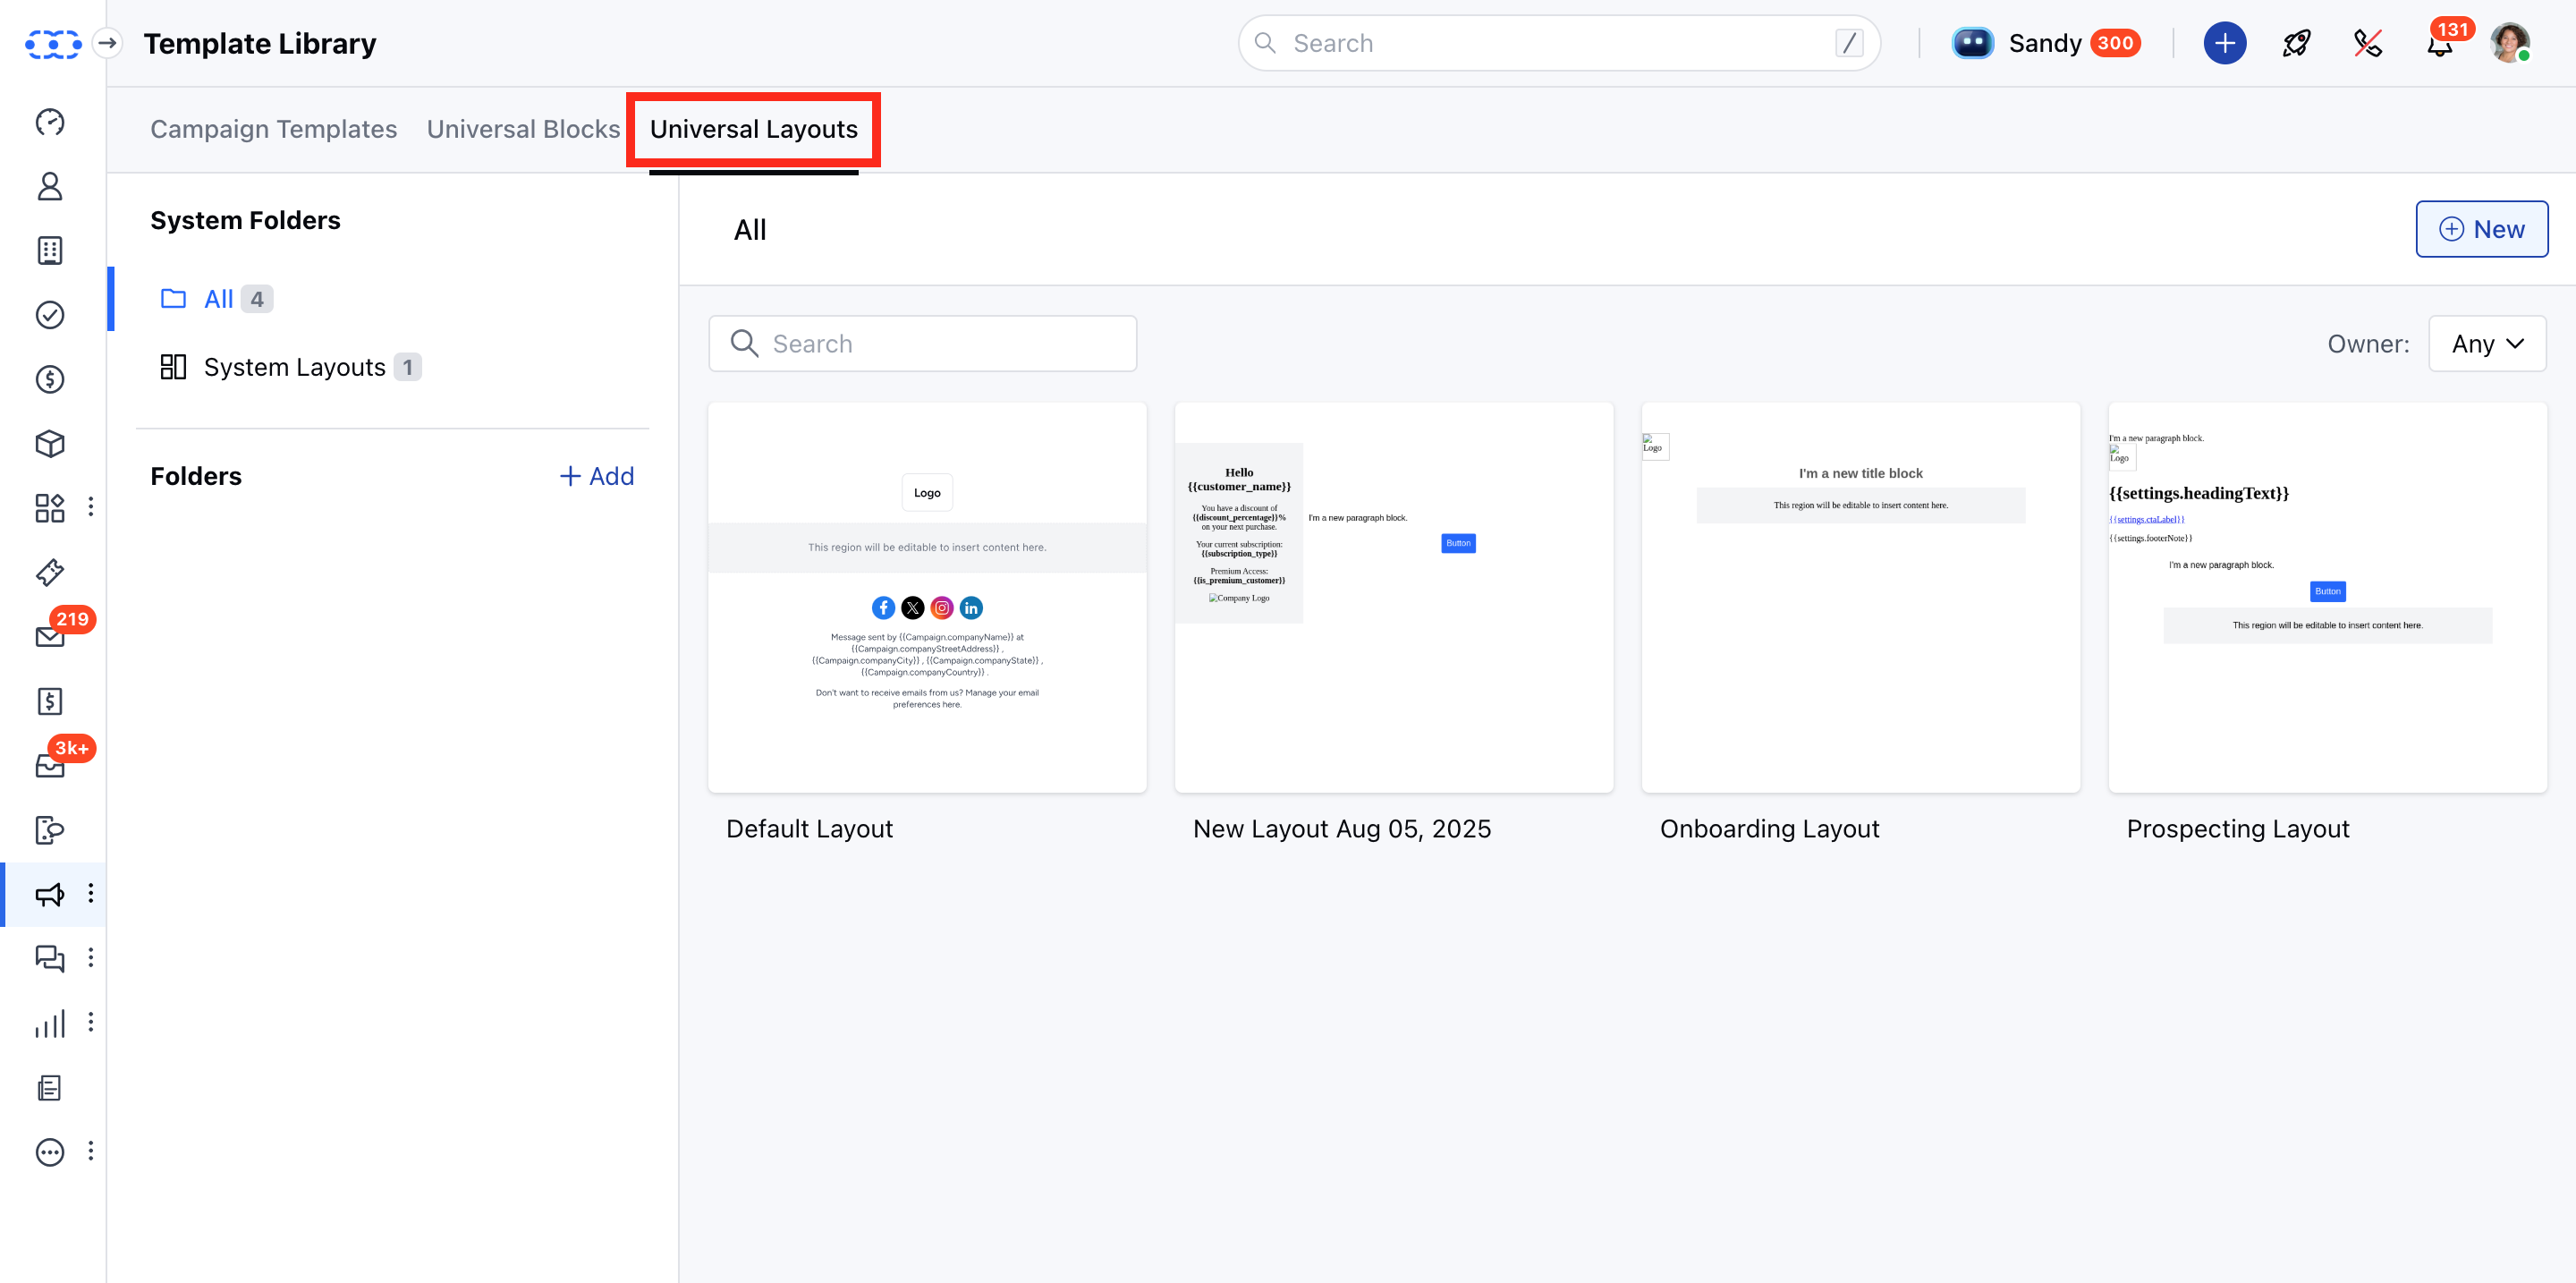
How to Use the Pre-built Layout
To use the Pre-build Templates, Click on the Layout that you would like to use.The Layout will open in a Preview mode Click on Use Template.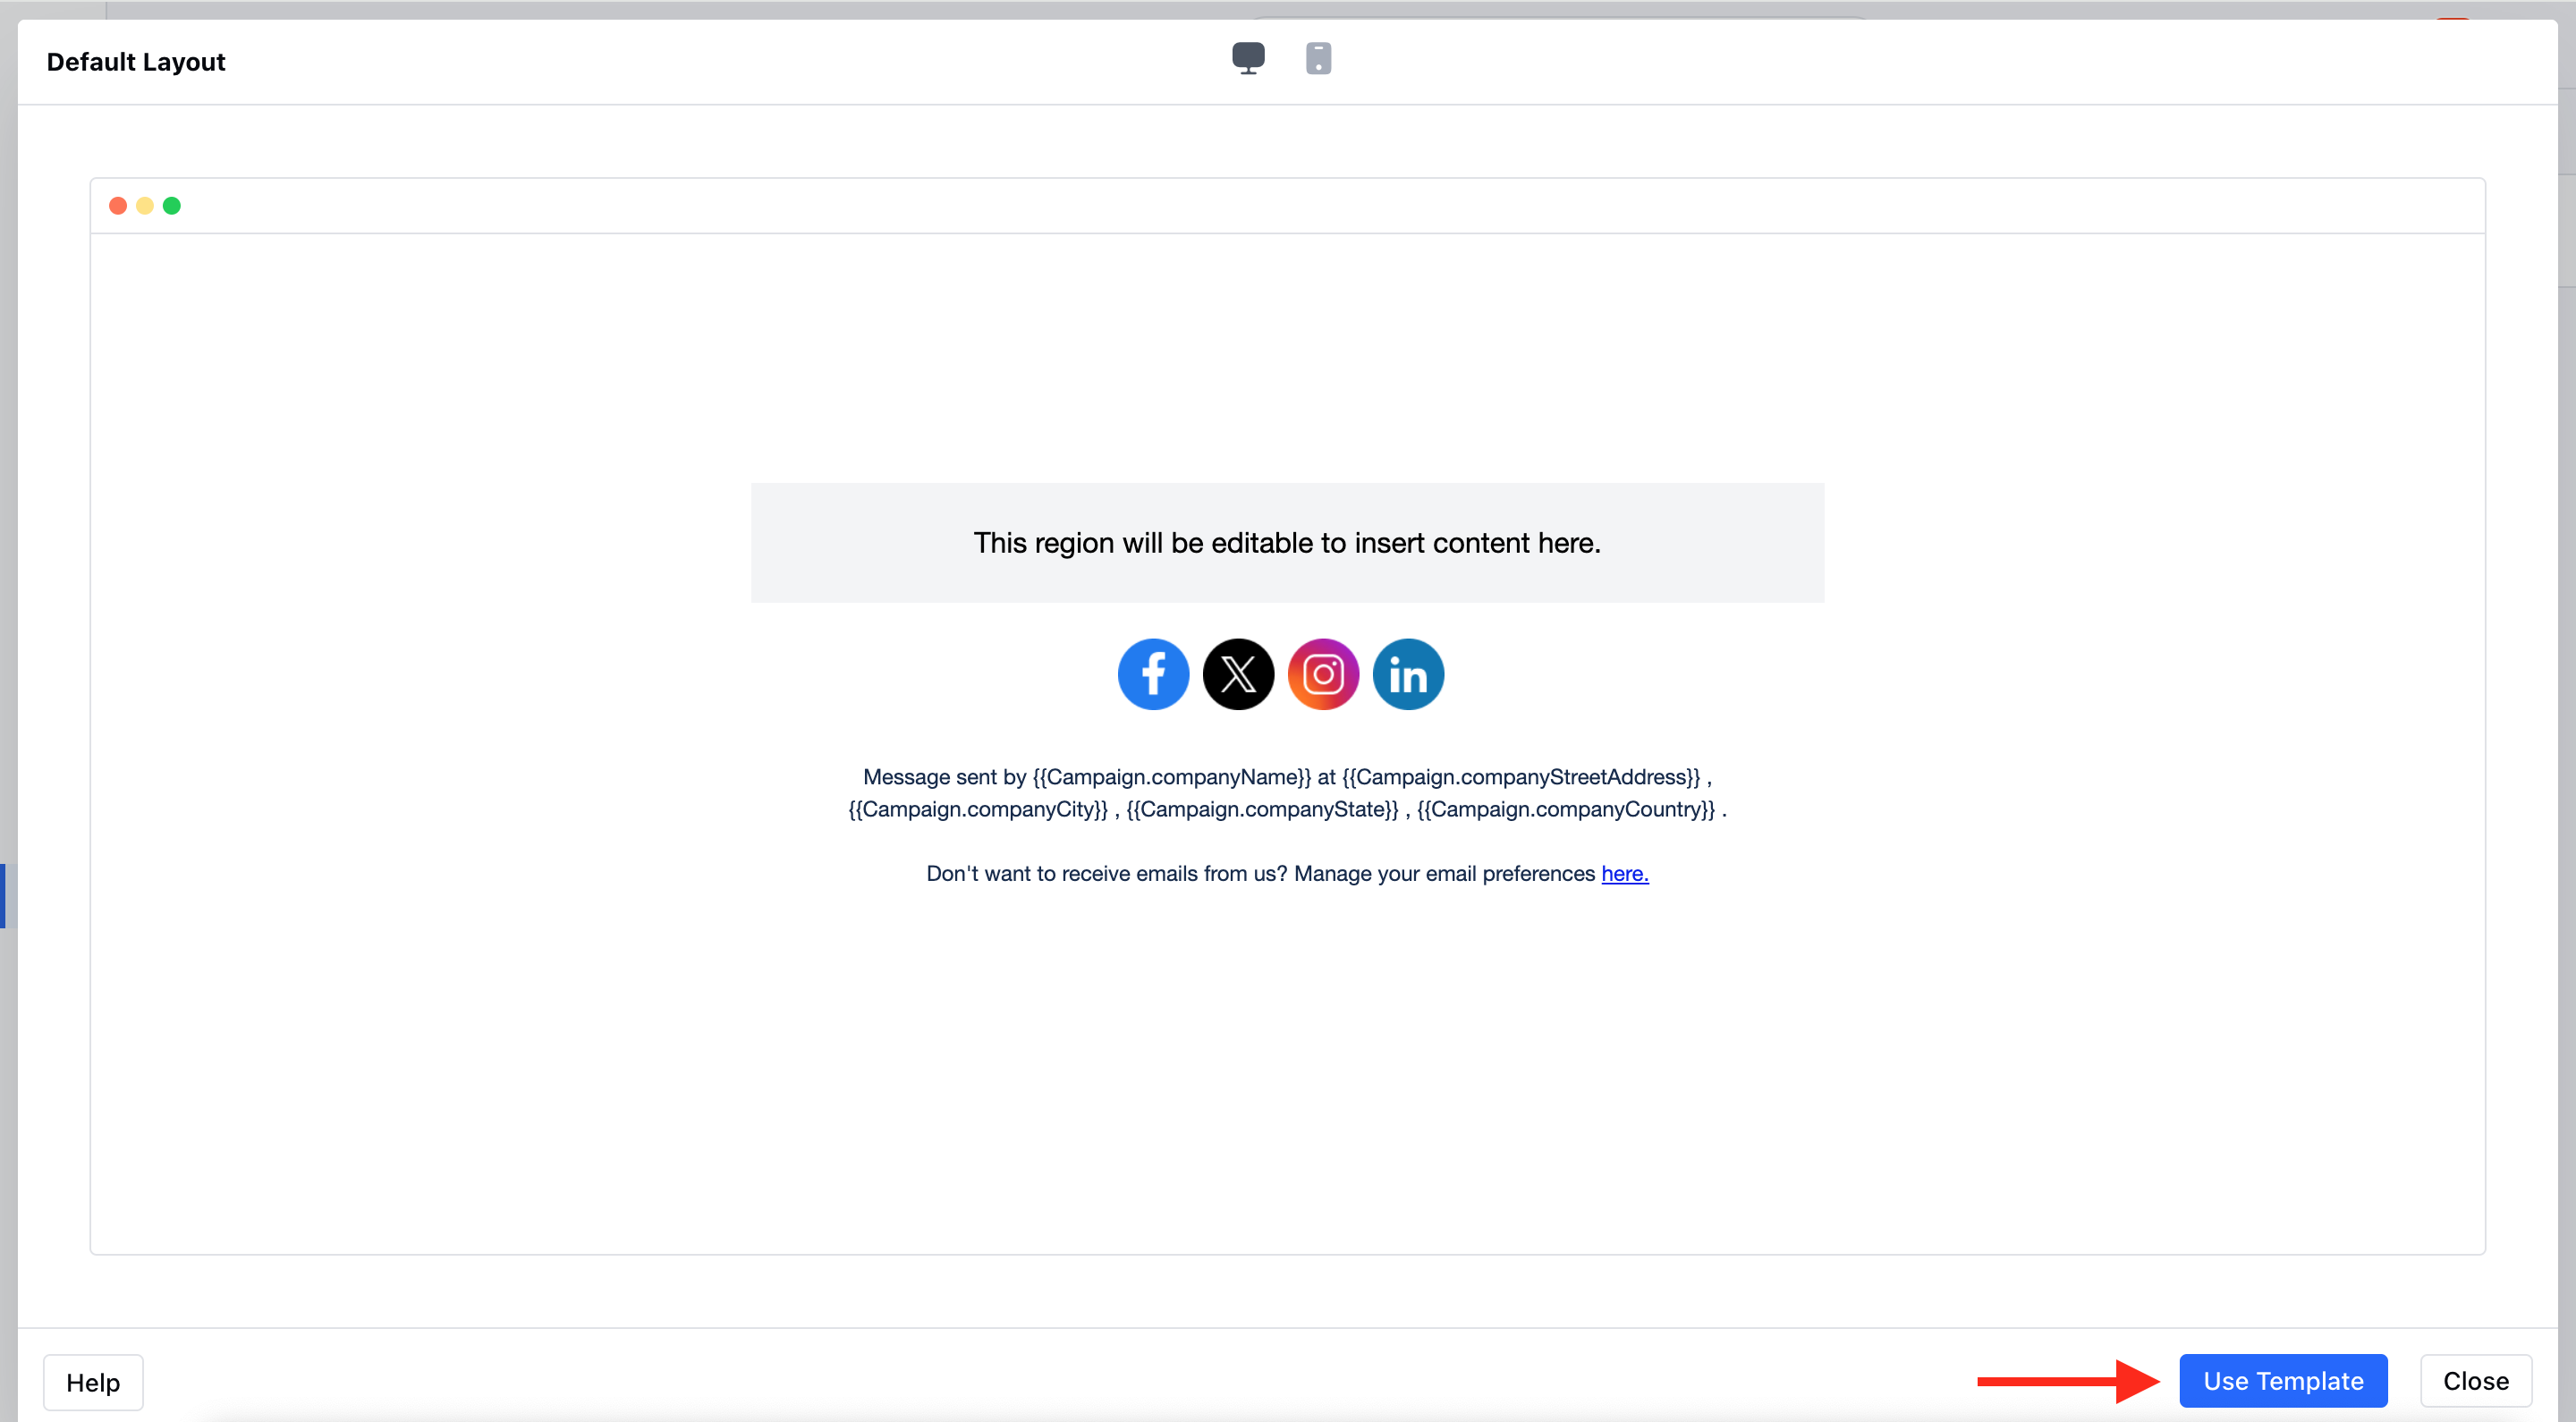
How to Create a New Layout
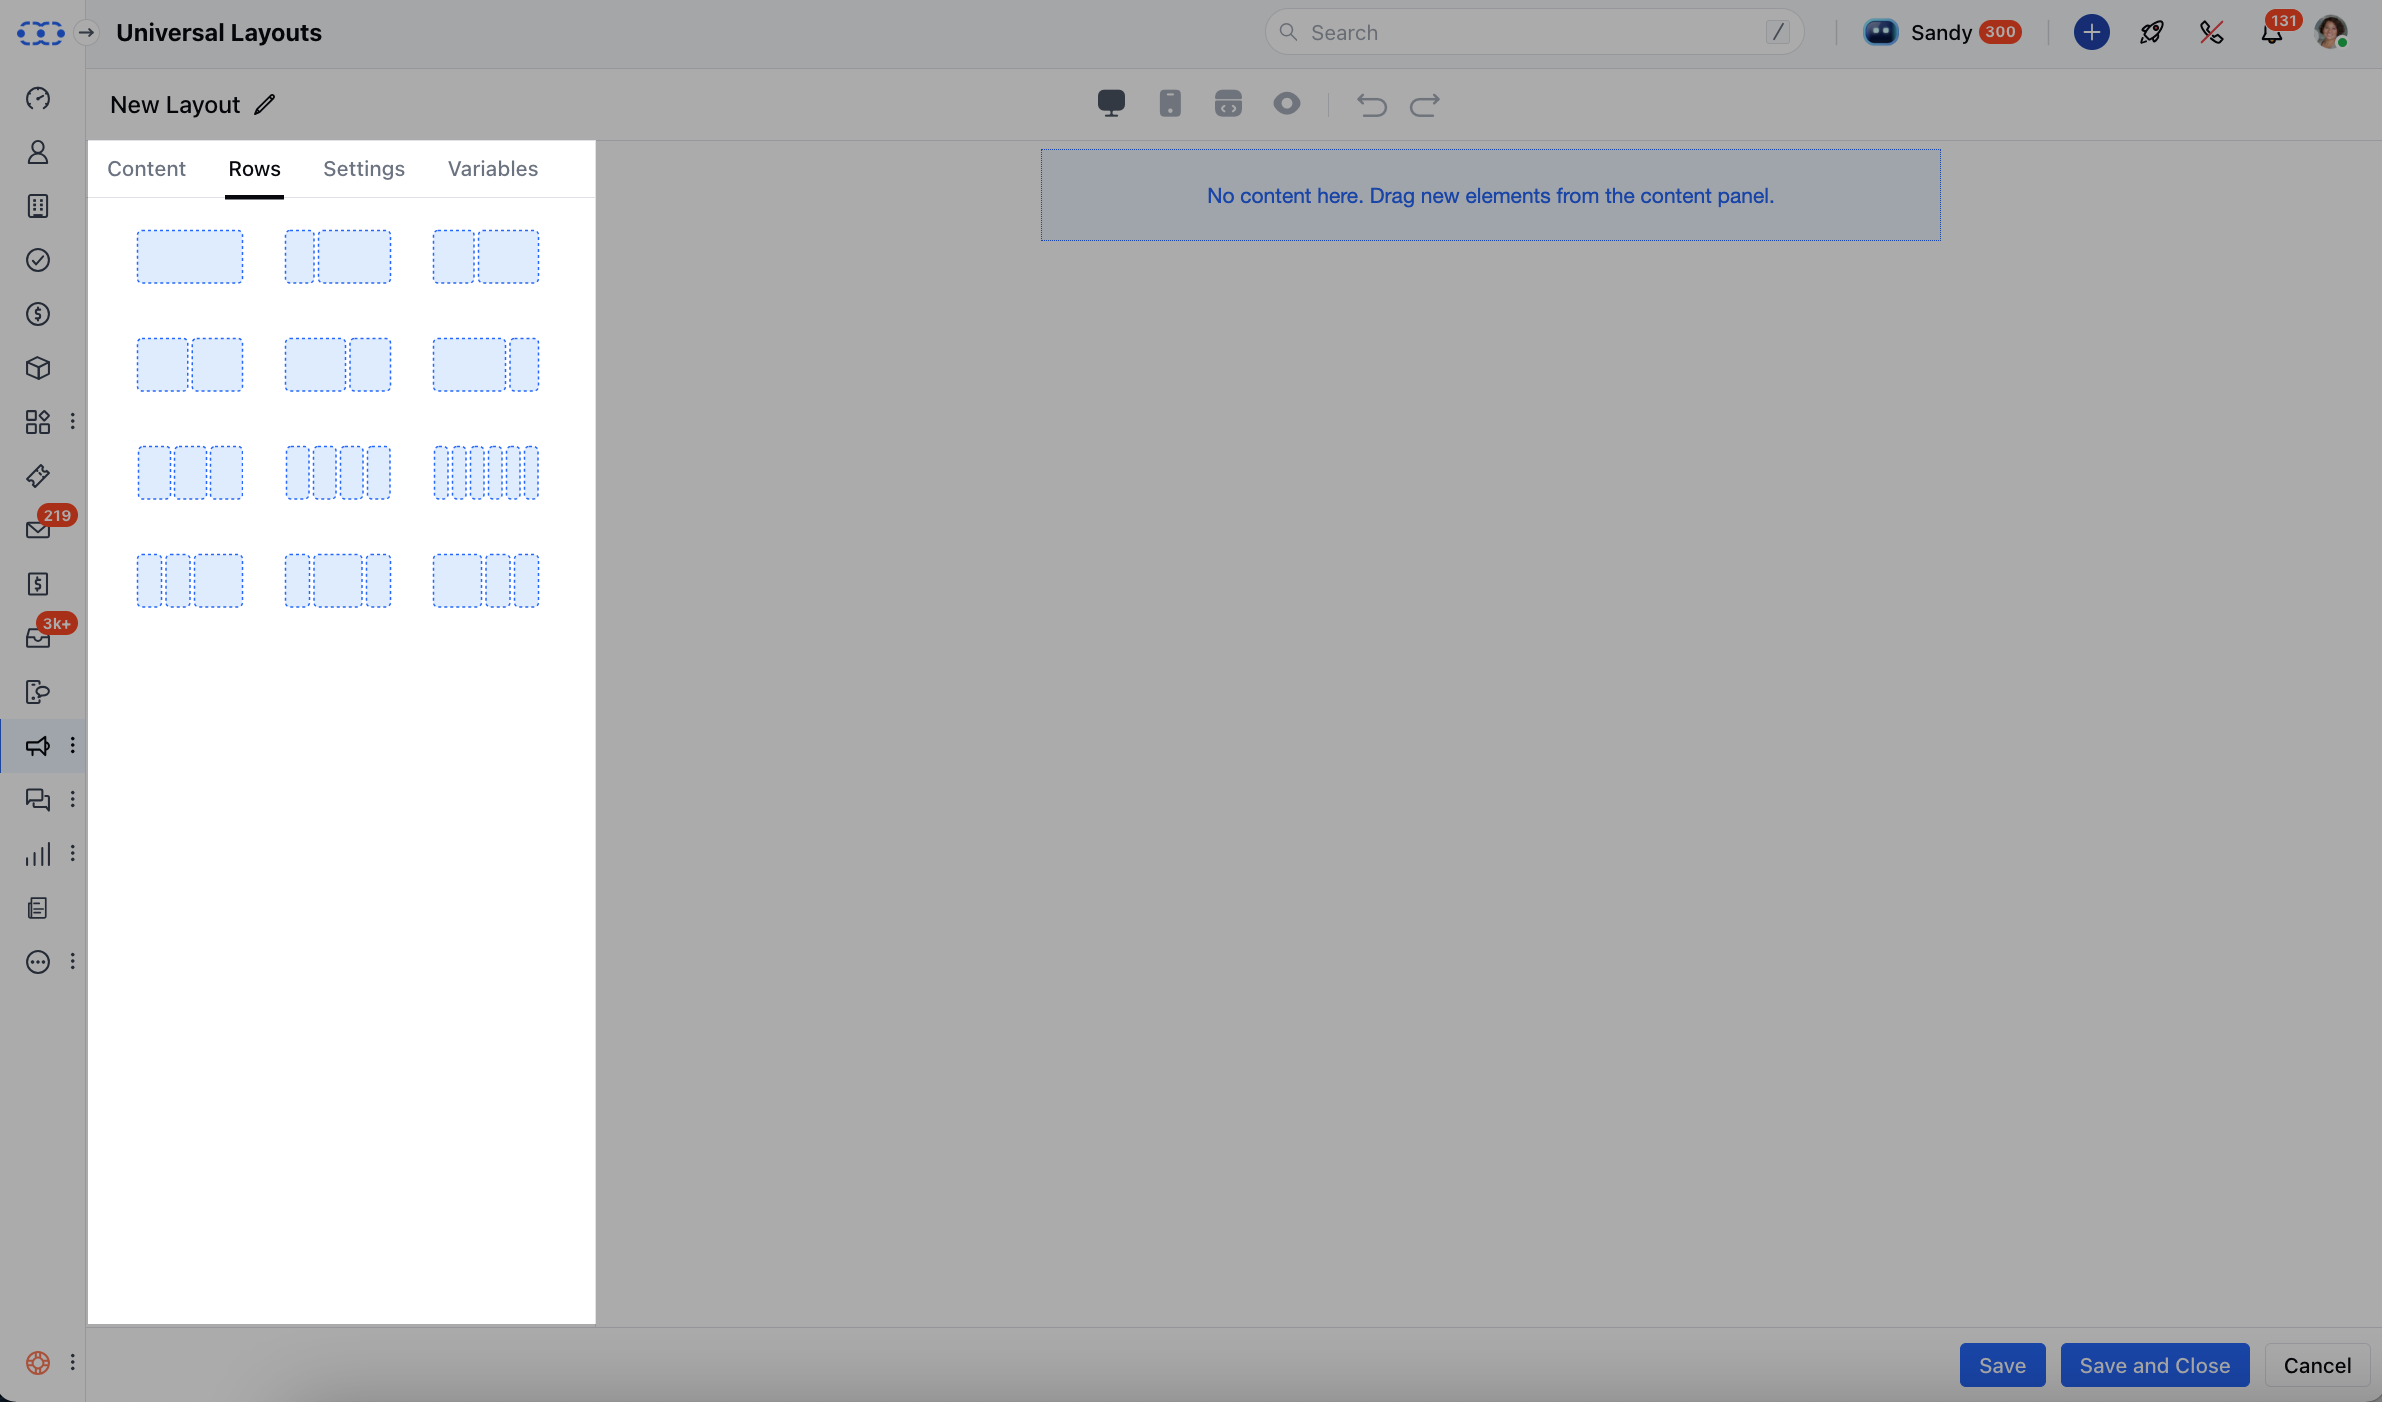
To create a New Template Navigate to the Universal Layout Hit +New.*
-
Select the* Blank Layout ***

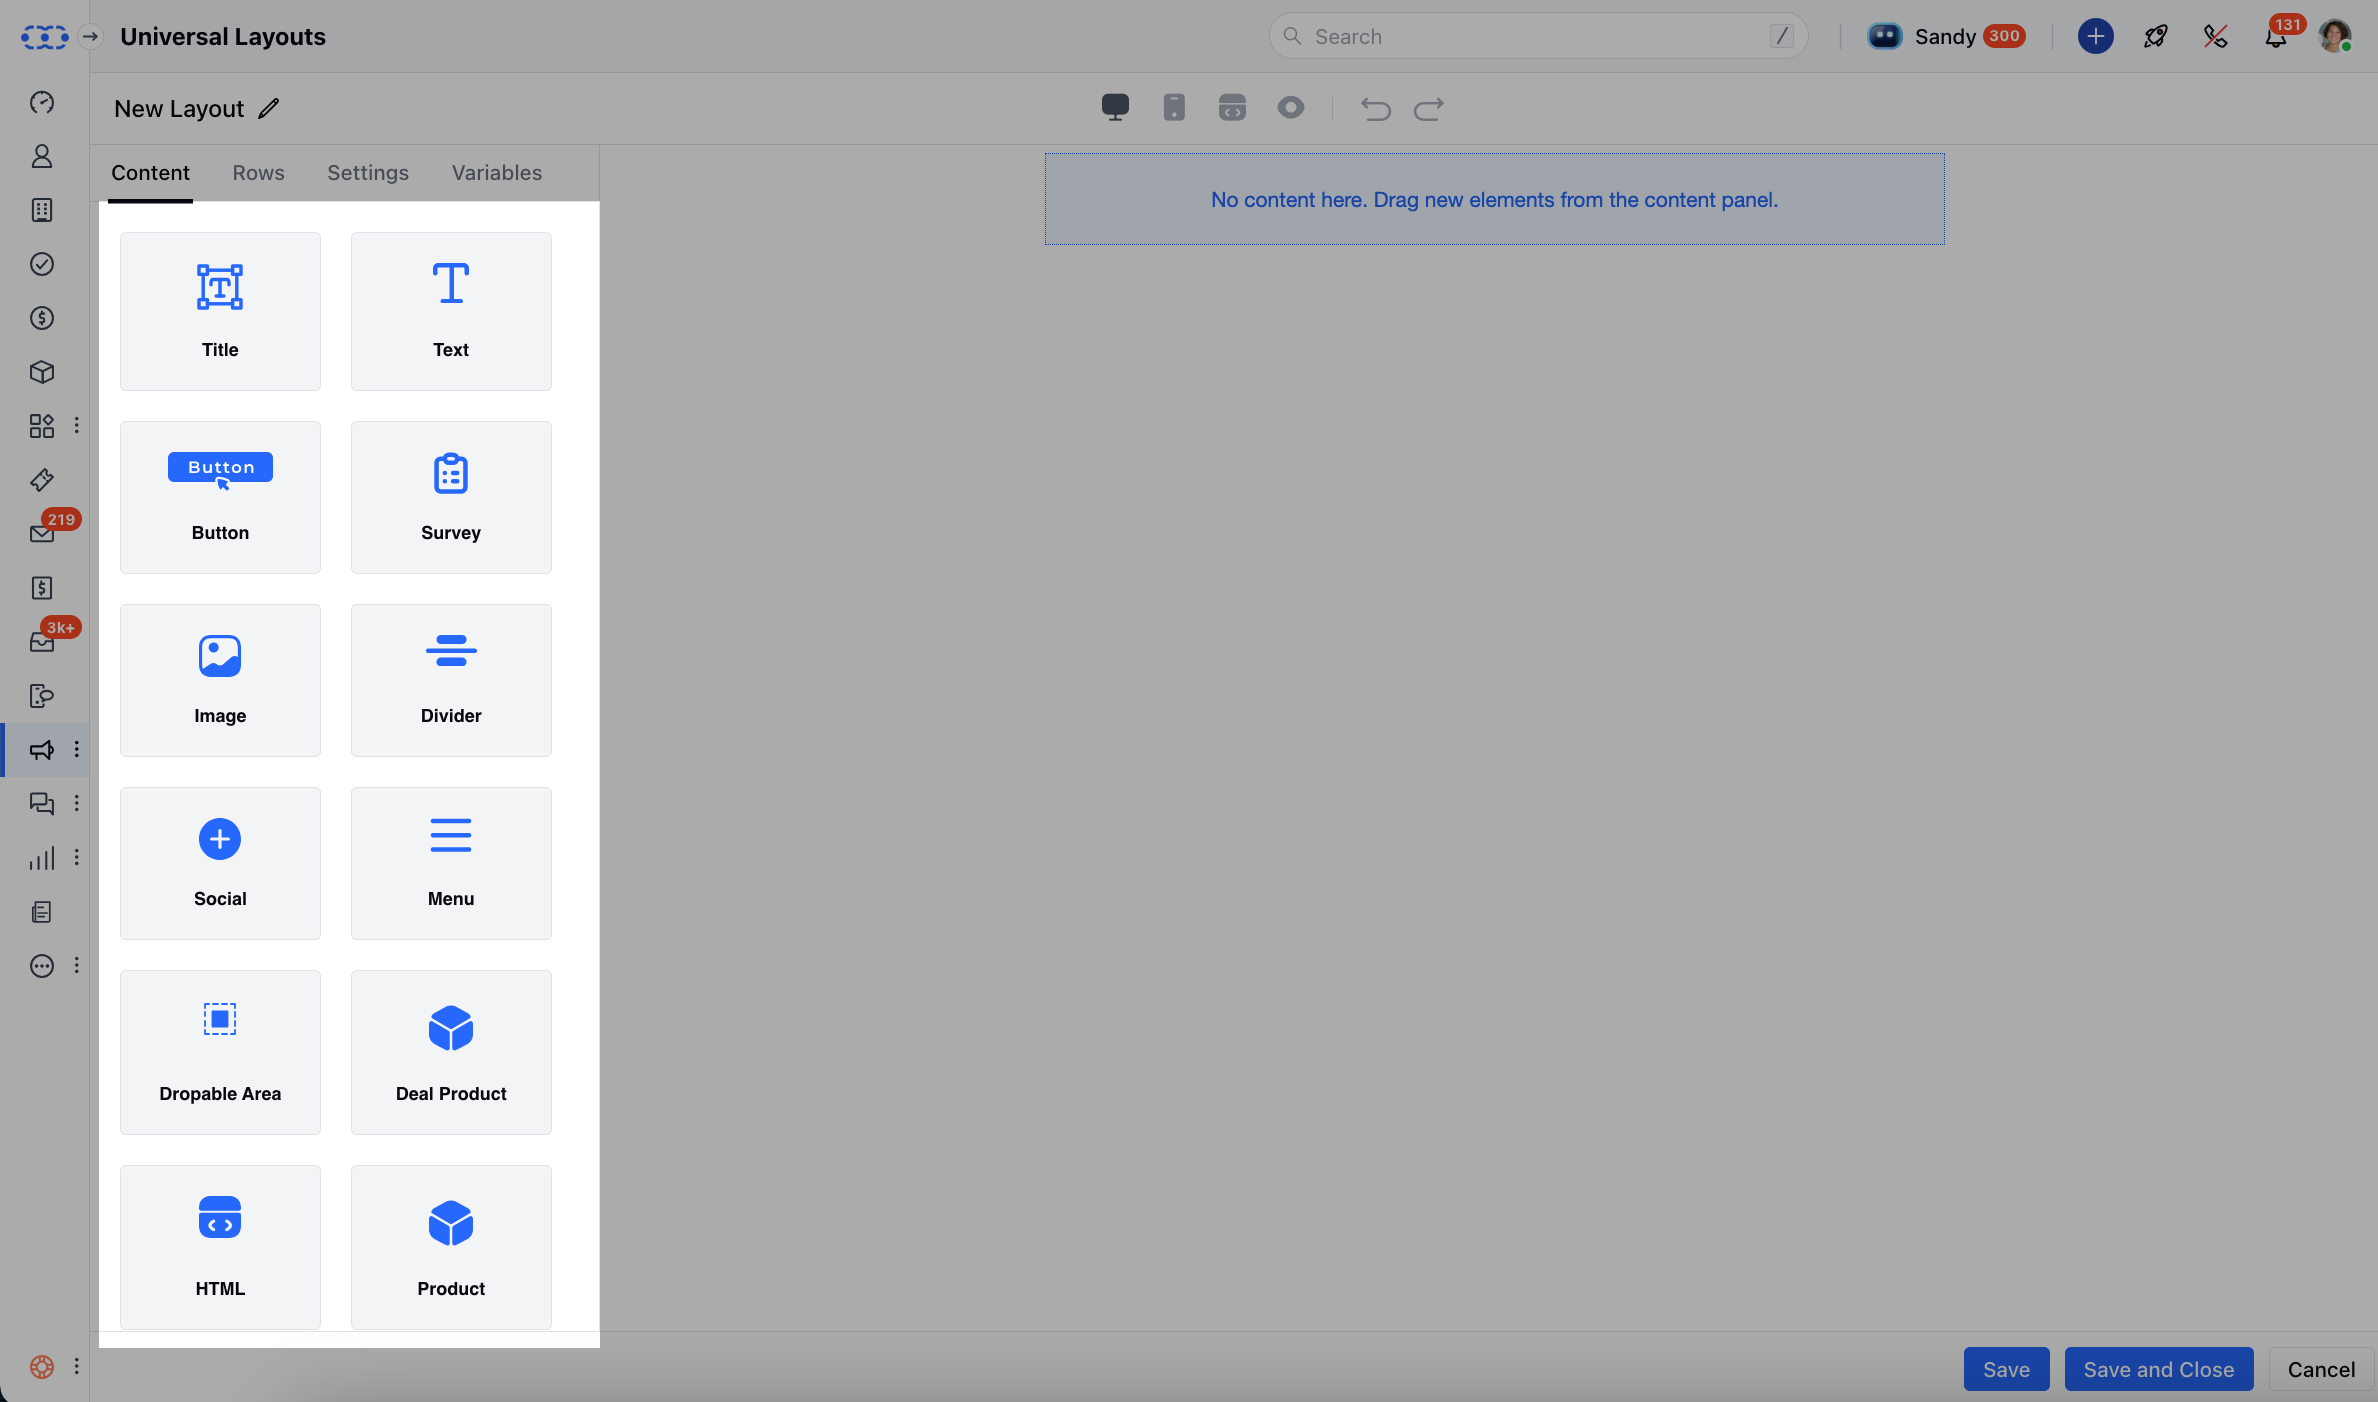
- *Drag and drop the given blocks to add any related Content.
- **Title **: Add a large heading text to make your message stand out.
- ** Text **: Insert regular text for descriptions or detailed information.
- ** Button **: Add a clickable button that can link to a webpage or form.
- ** Survey **: Insert a survey block to collect feedback directly from recipients.
- ** Image **: Place images such as banners, product photos, or logos.
- ** Divider **: Add a horizontal line to separate sections in your email.
- ** Social **: Include social media icons for platforms like Facebook, Twitter, or LinkedIn.
- ** Menu **: Add a navigation menu with multiple links.
- ** Droppable Area **: Create an area where you can drag and drop other content blocks while building templates.
- ** Deal **Product **: Showcase products or deals directly in your email.

-
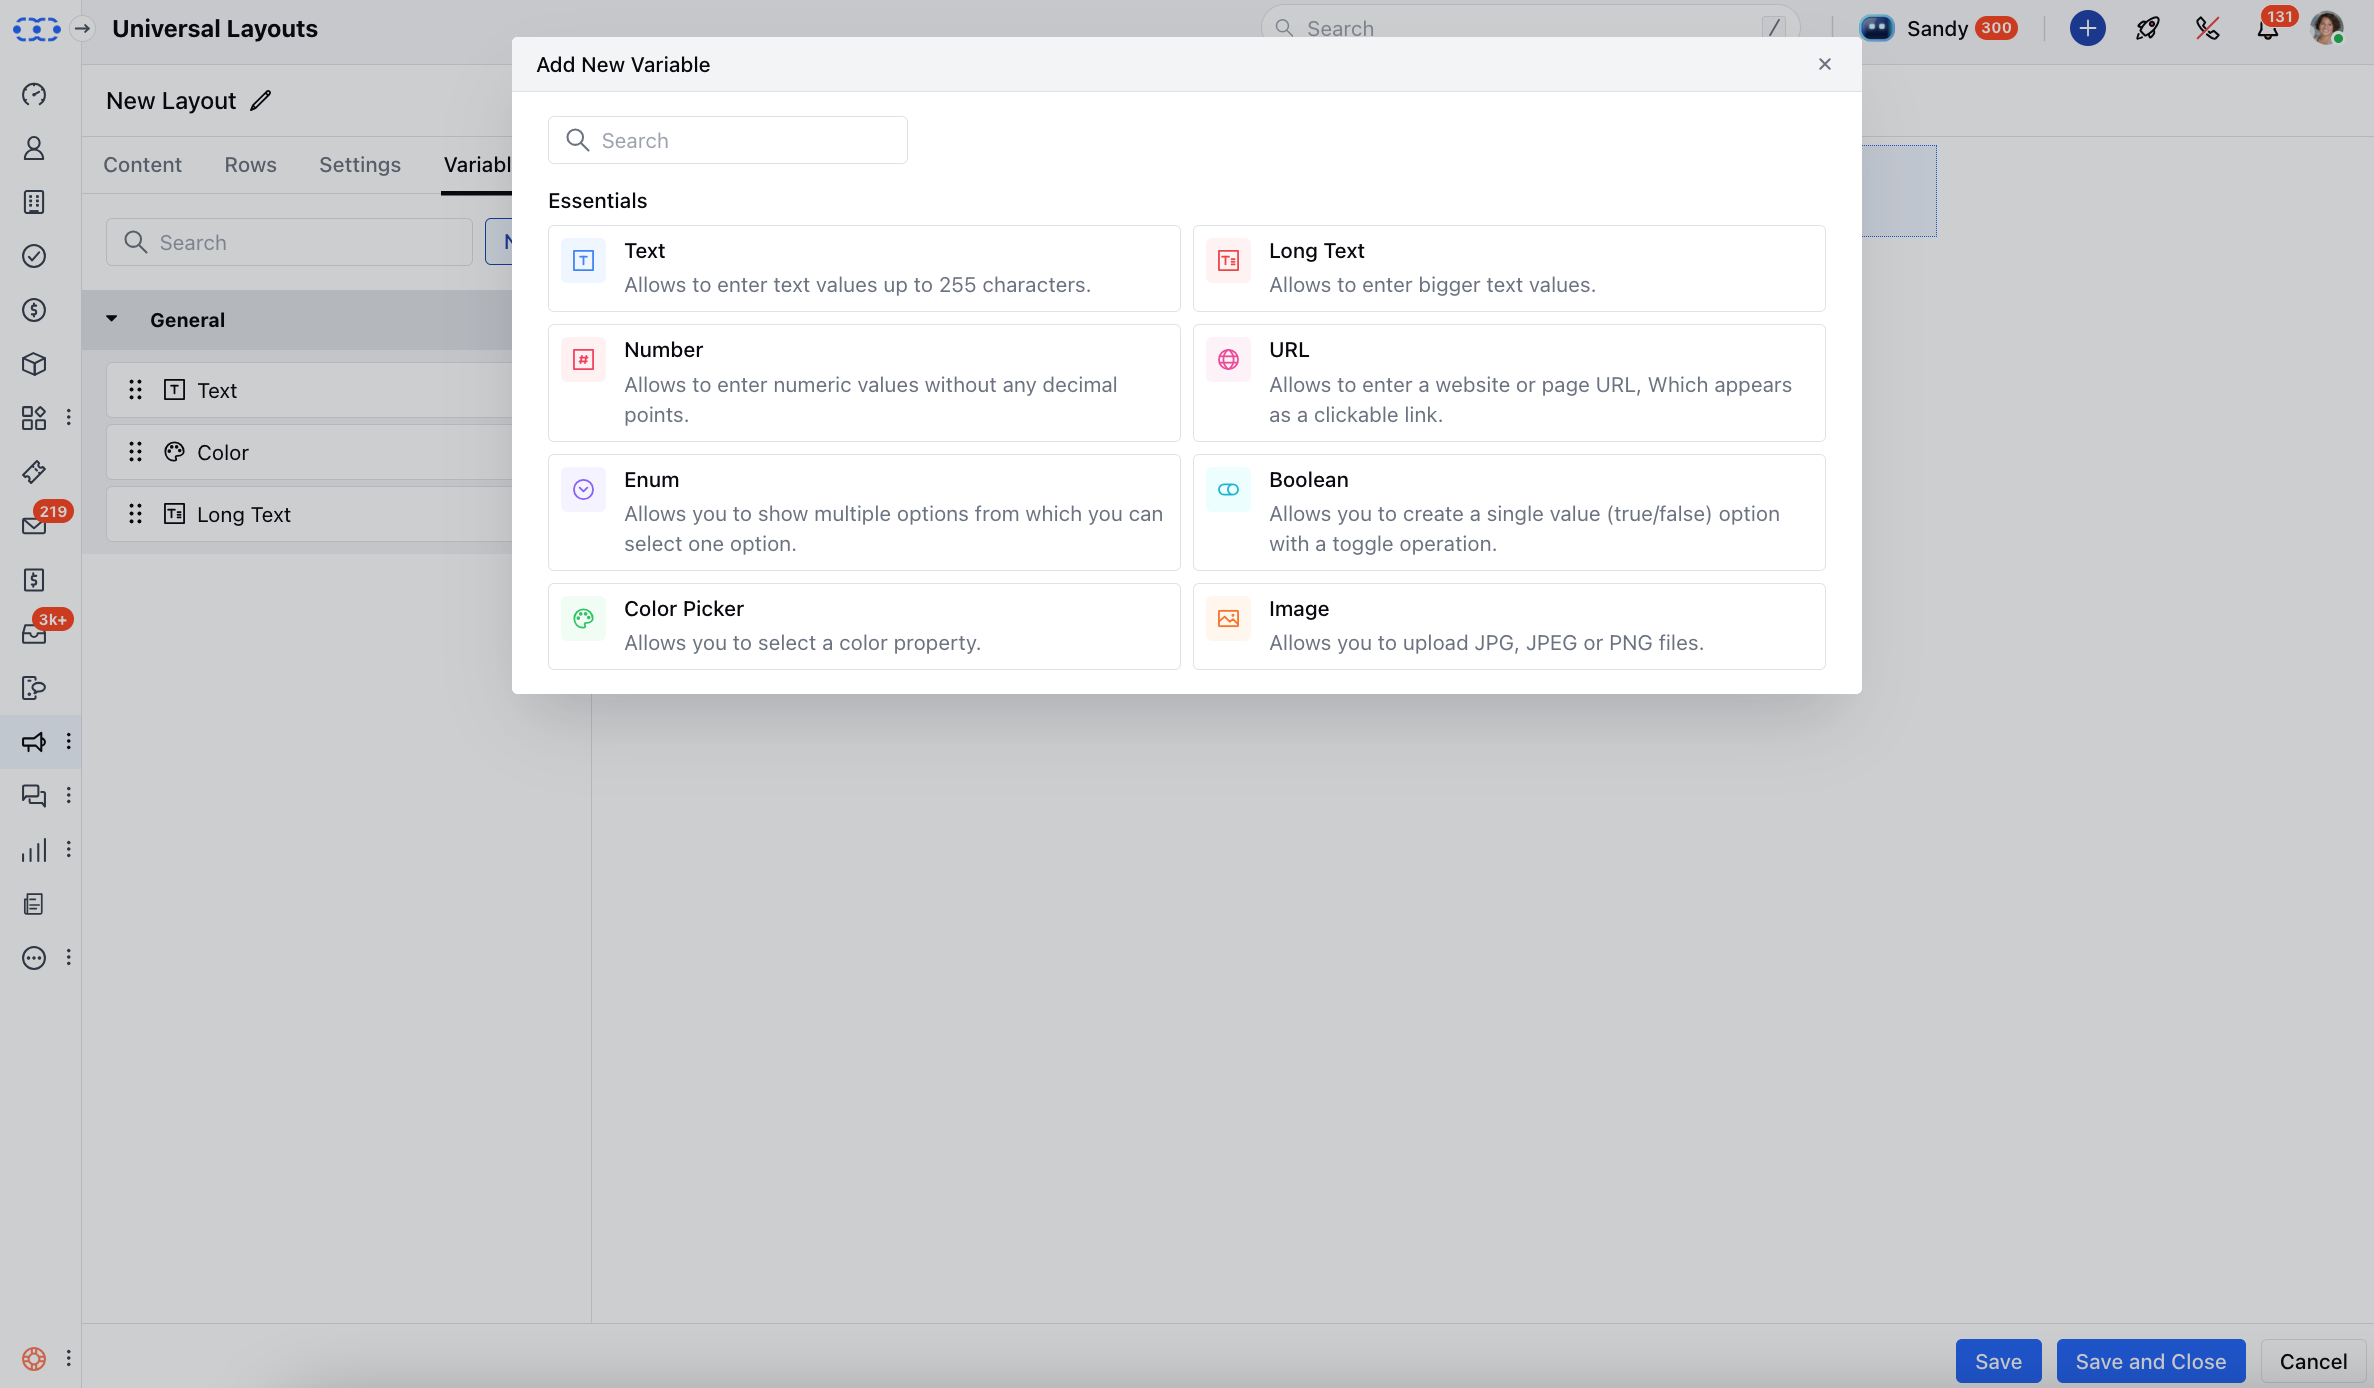
- Variables ***Tab **: Create editable variables (like brand colors, logo, button labels) that make it easy for non-technical users to customize the email without touching code.

- ** Hit Save
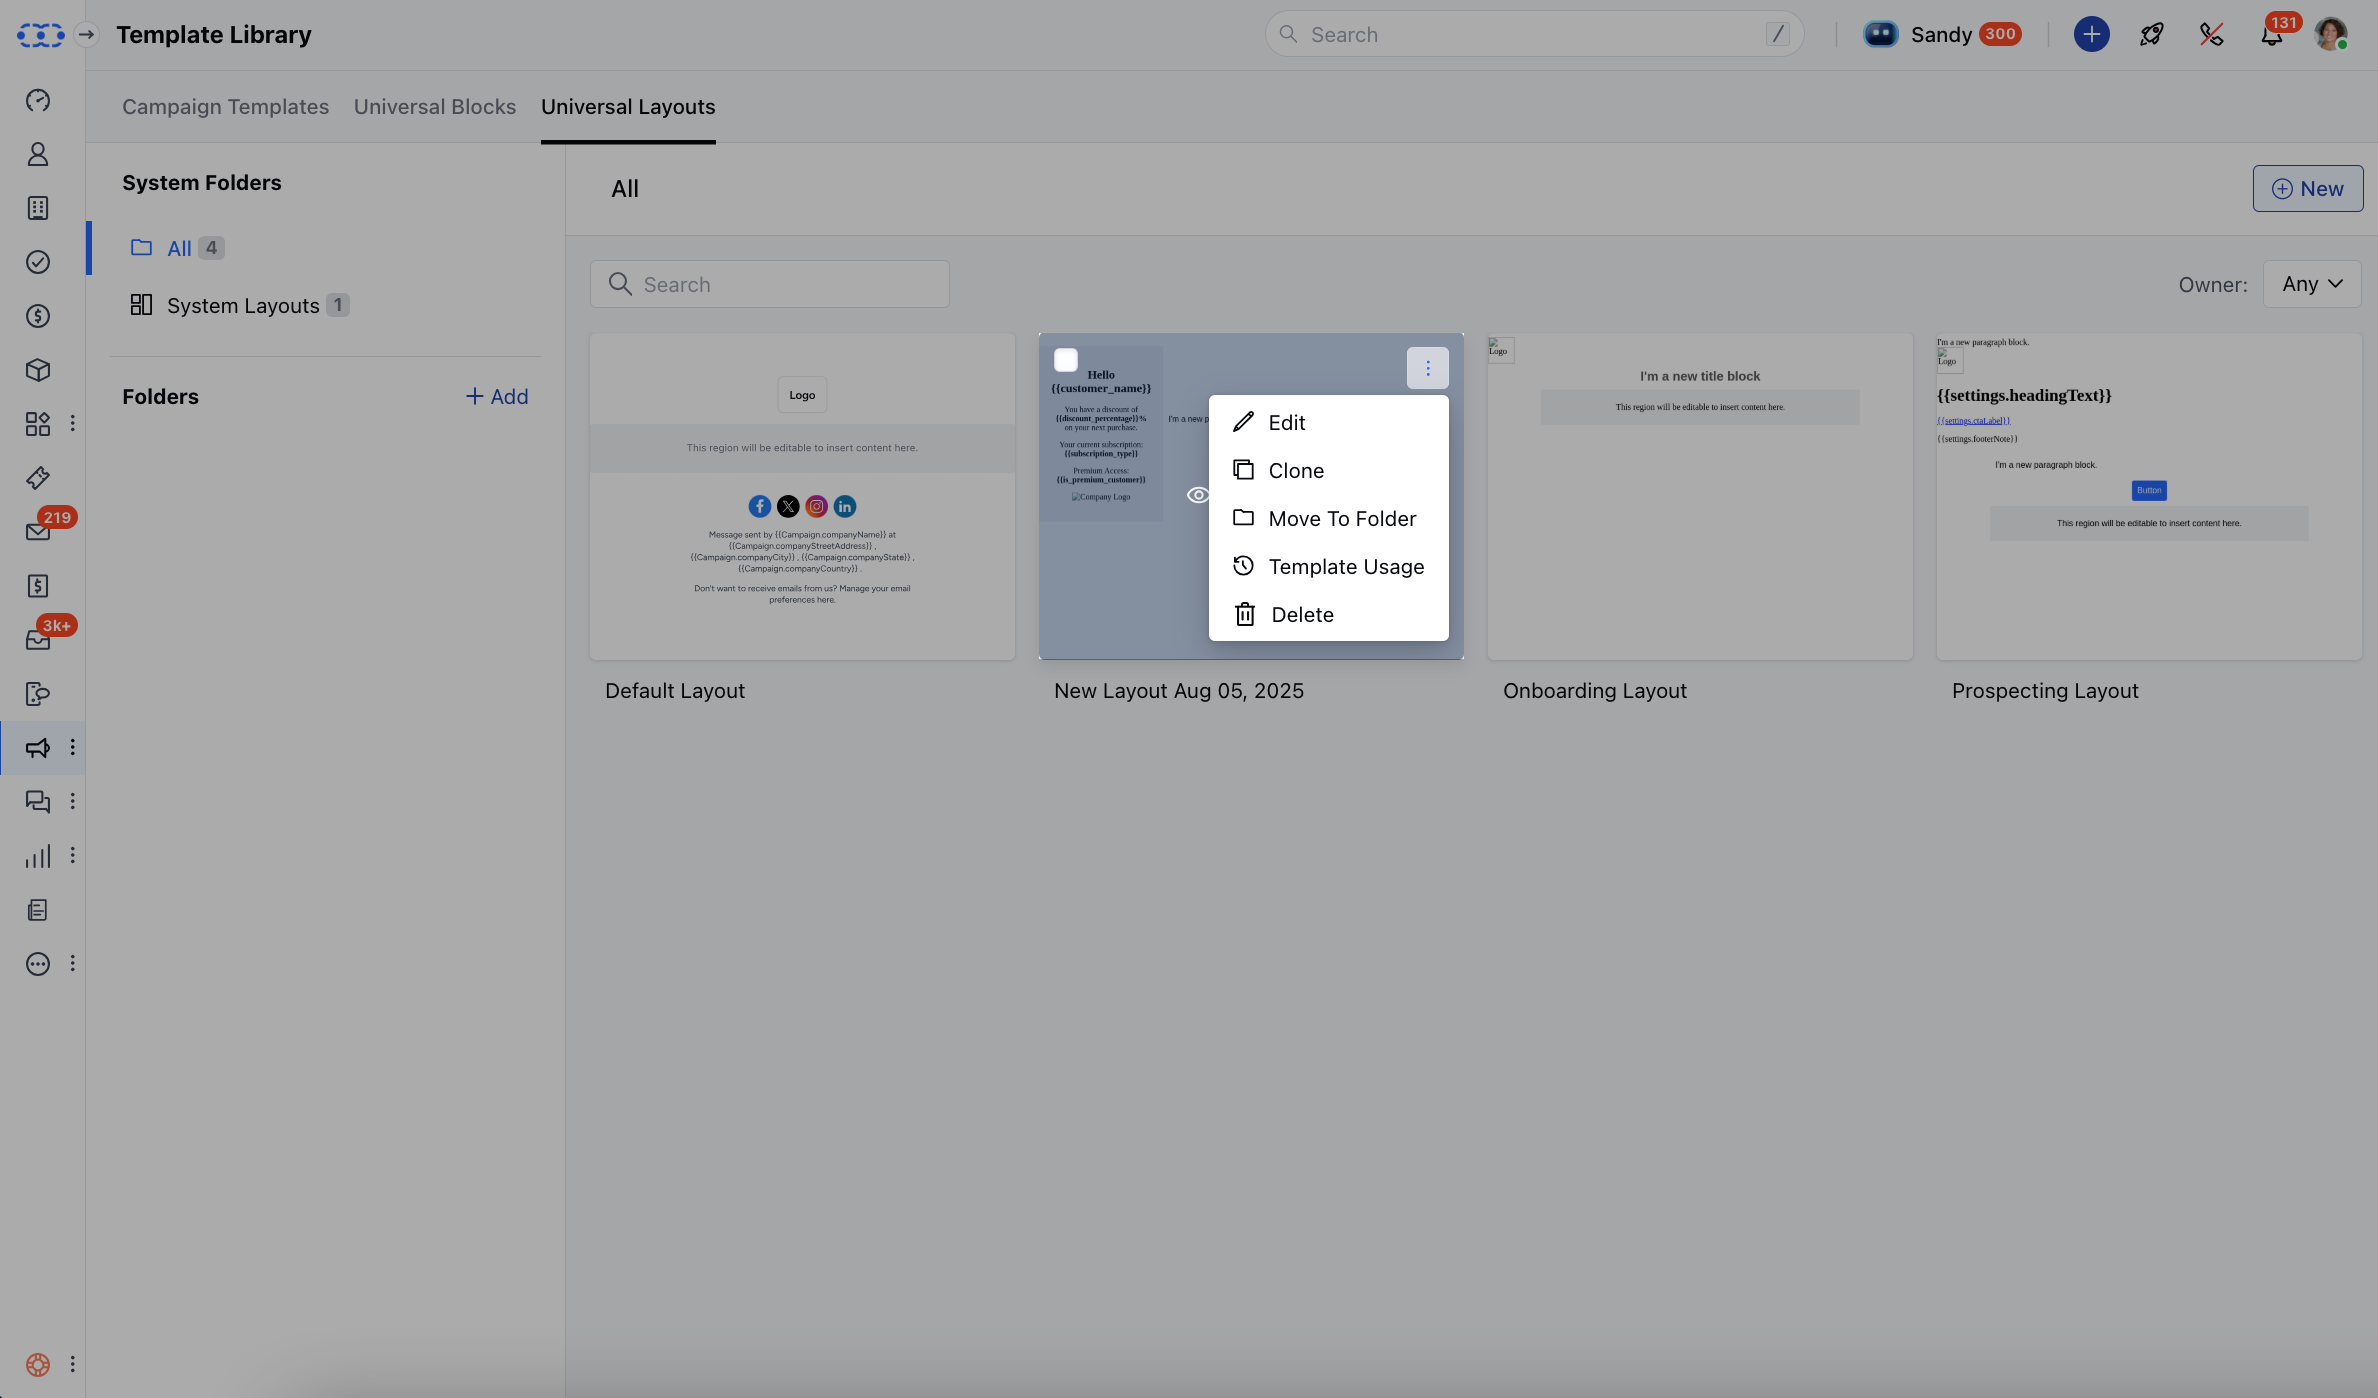
Actions You Can Perform on a Layout:Edit: Update or change the layout’s design and editable areas.
- Clone: Duplicate the layout (works just like template cloning).
- ** Move to Folder: Organize layouts by moving them into different folders.
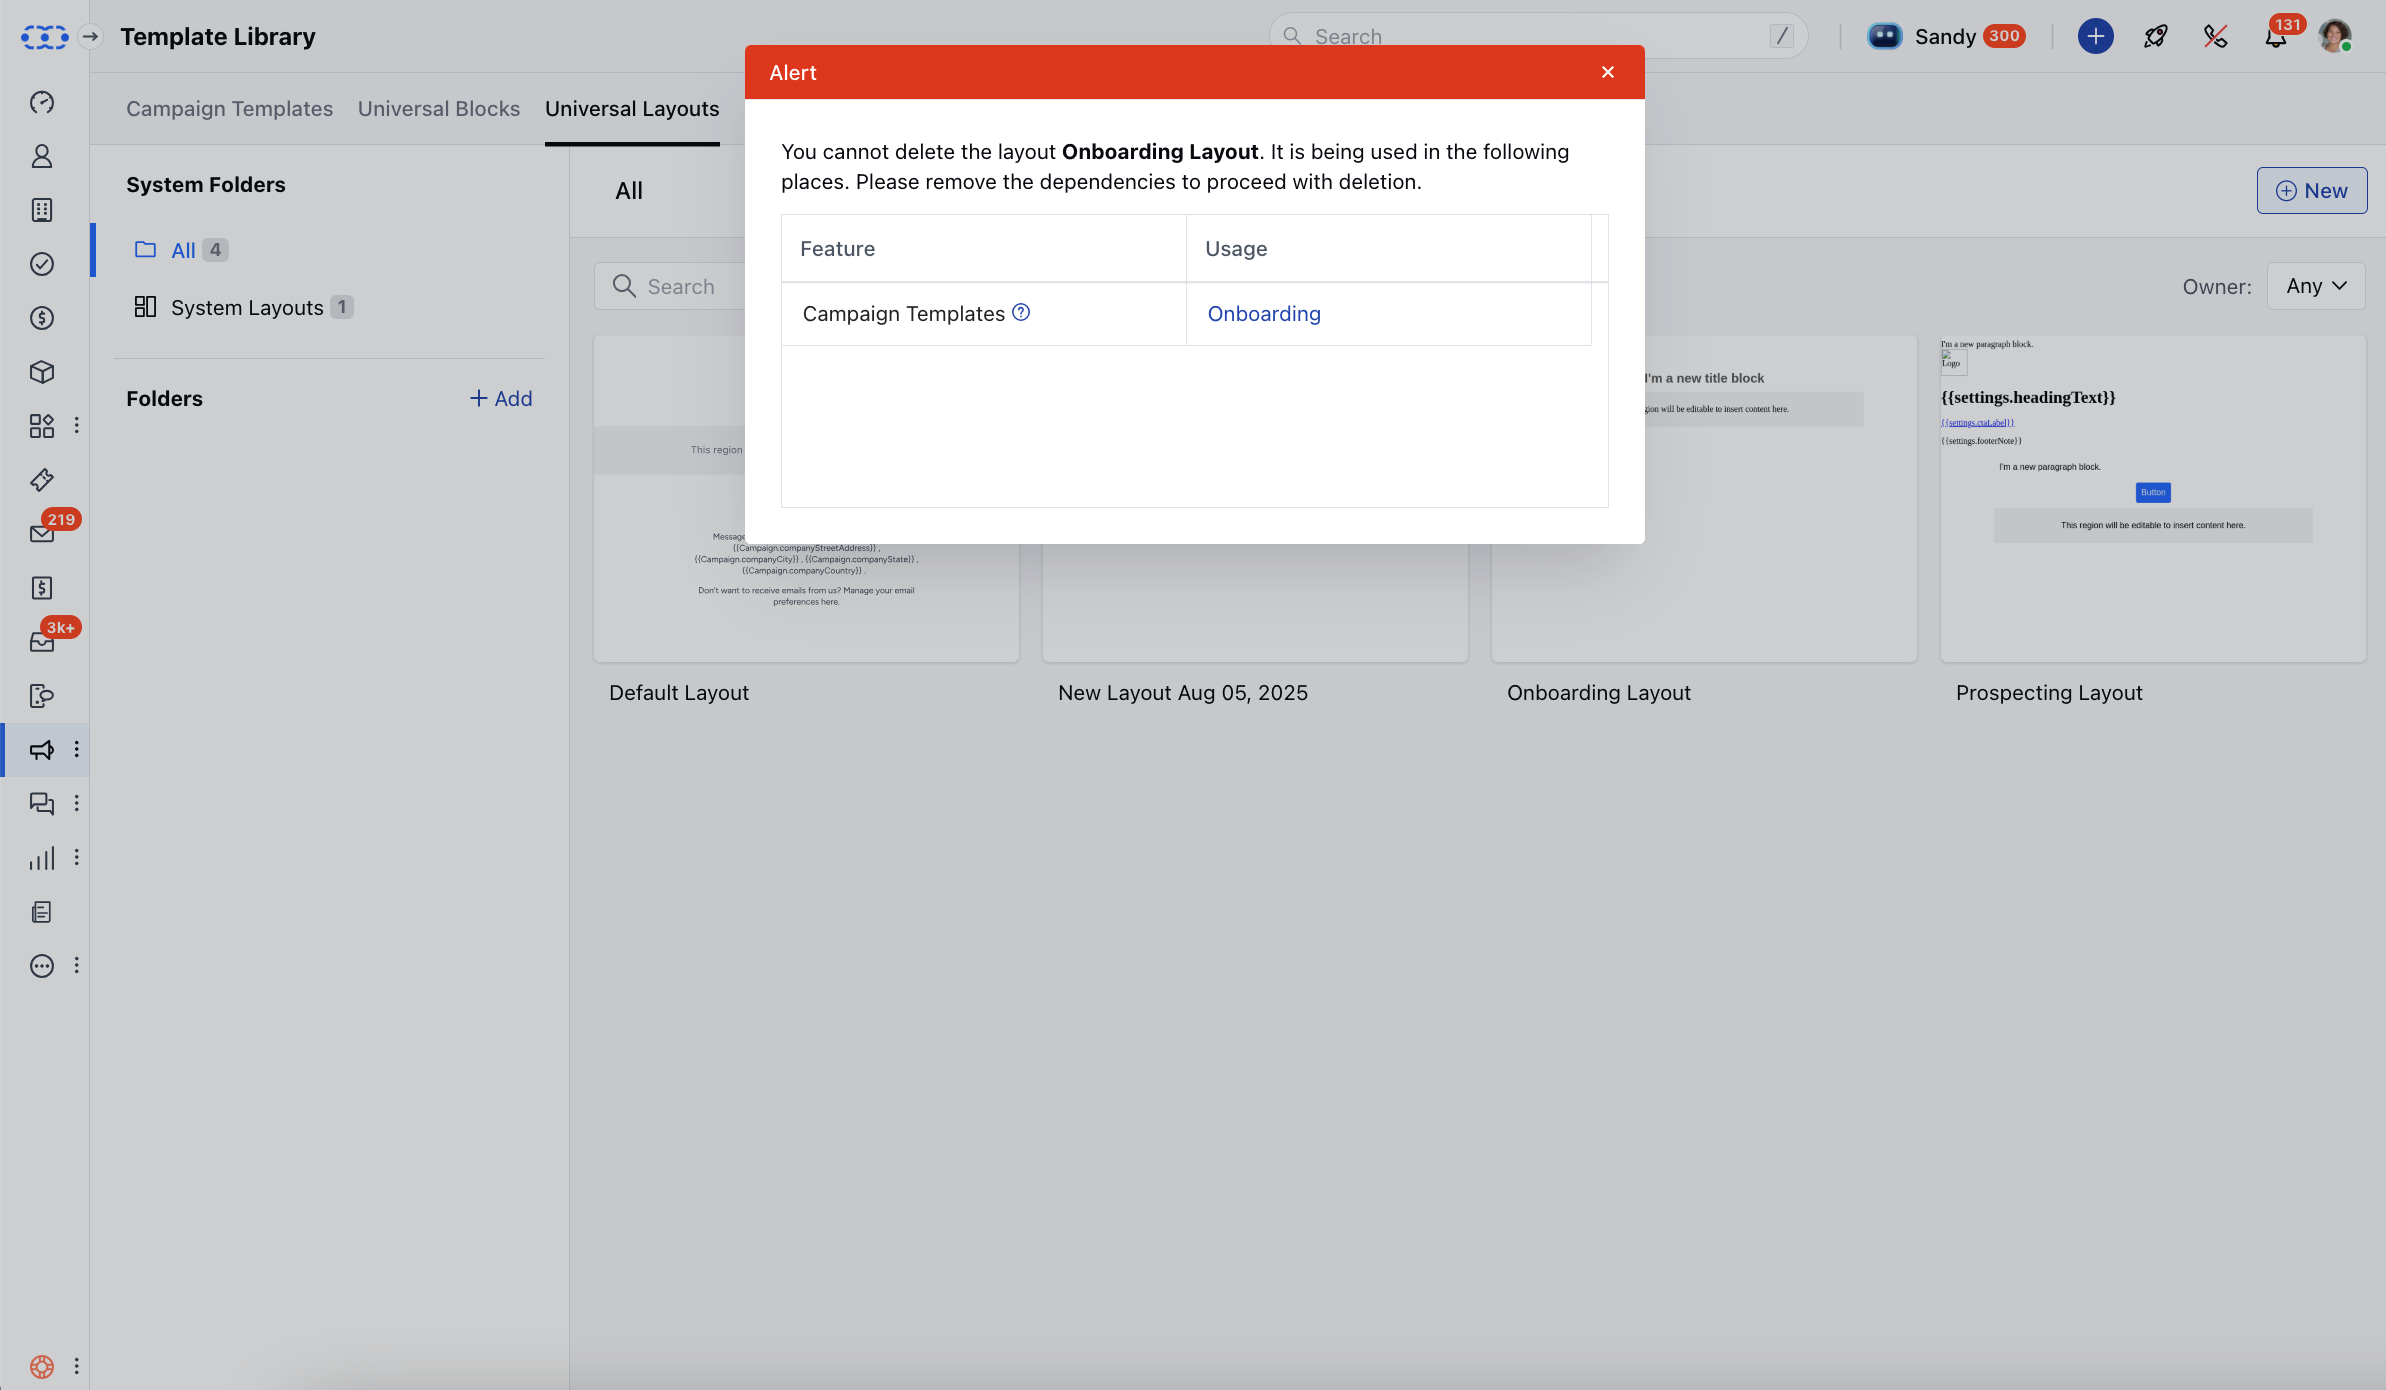
- **Template **Usage **: View where the layout is currently being used (campaigns, journey emails, or templates).
- ** Delete **: Remove the layout if it’s no longer needed.