How to Create Custom Fields
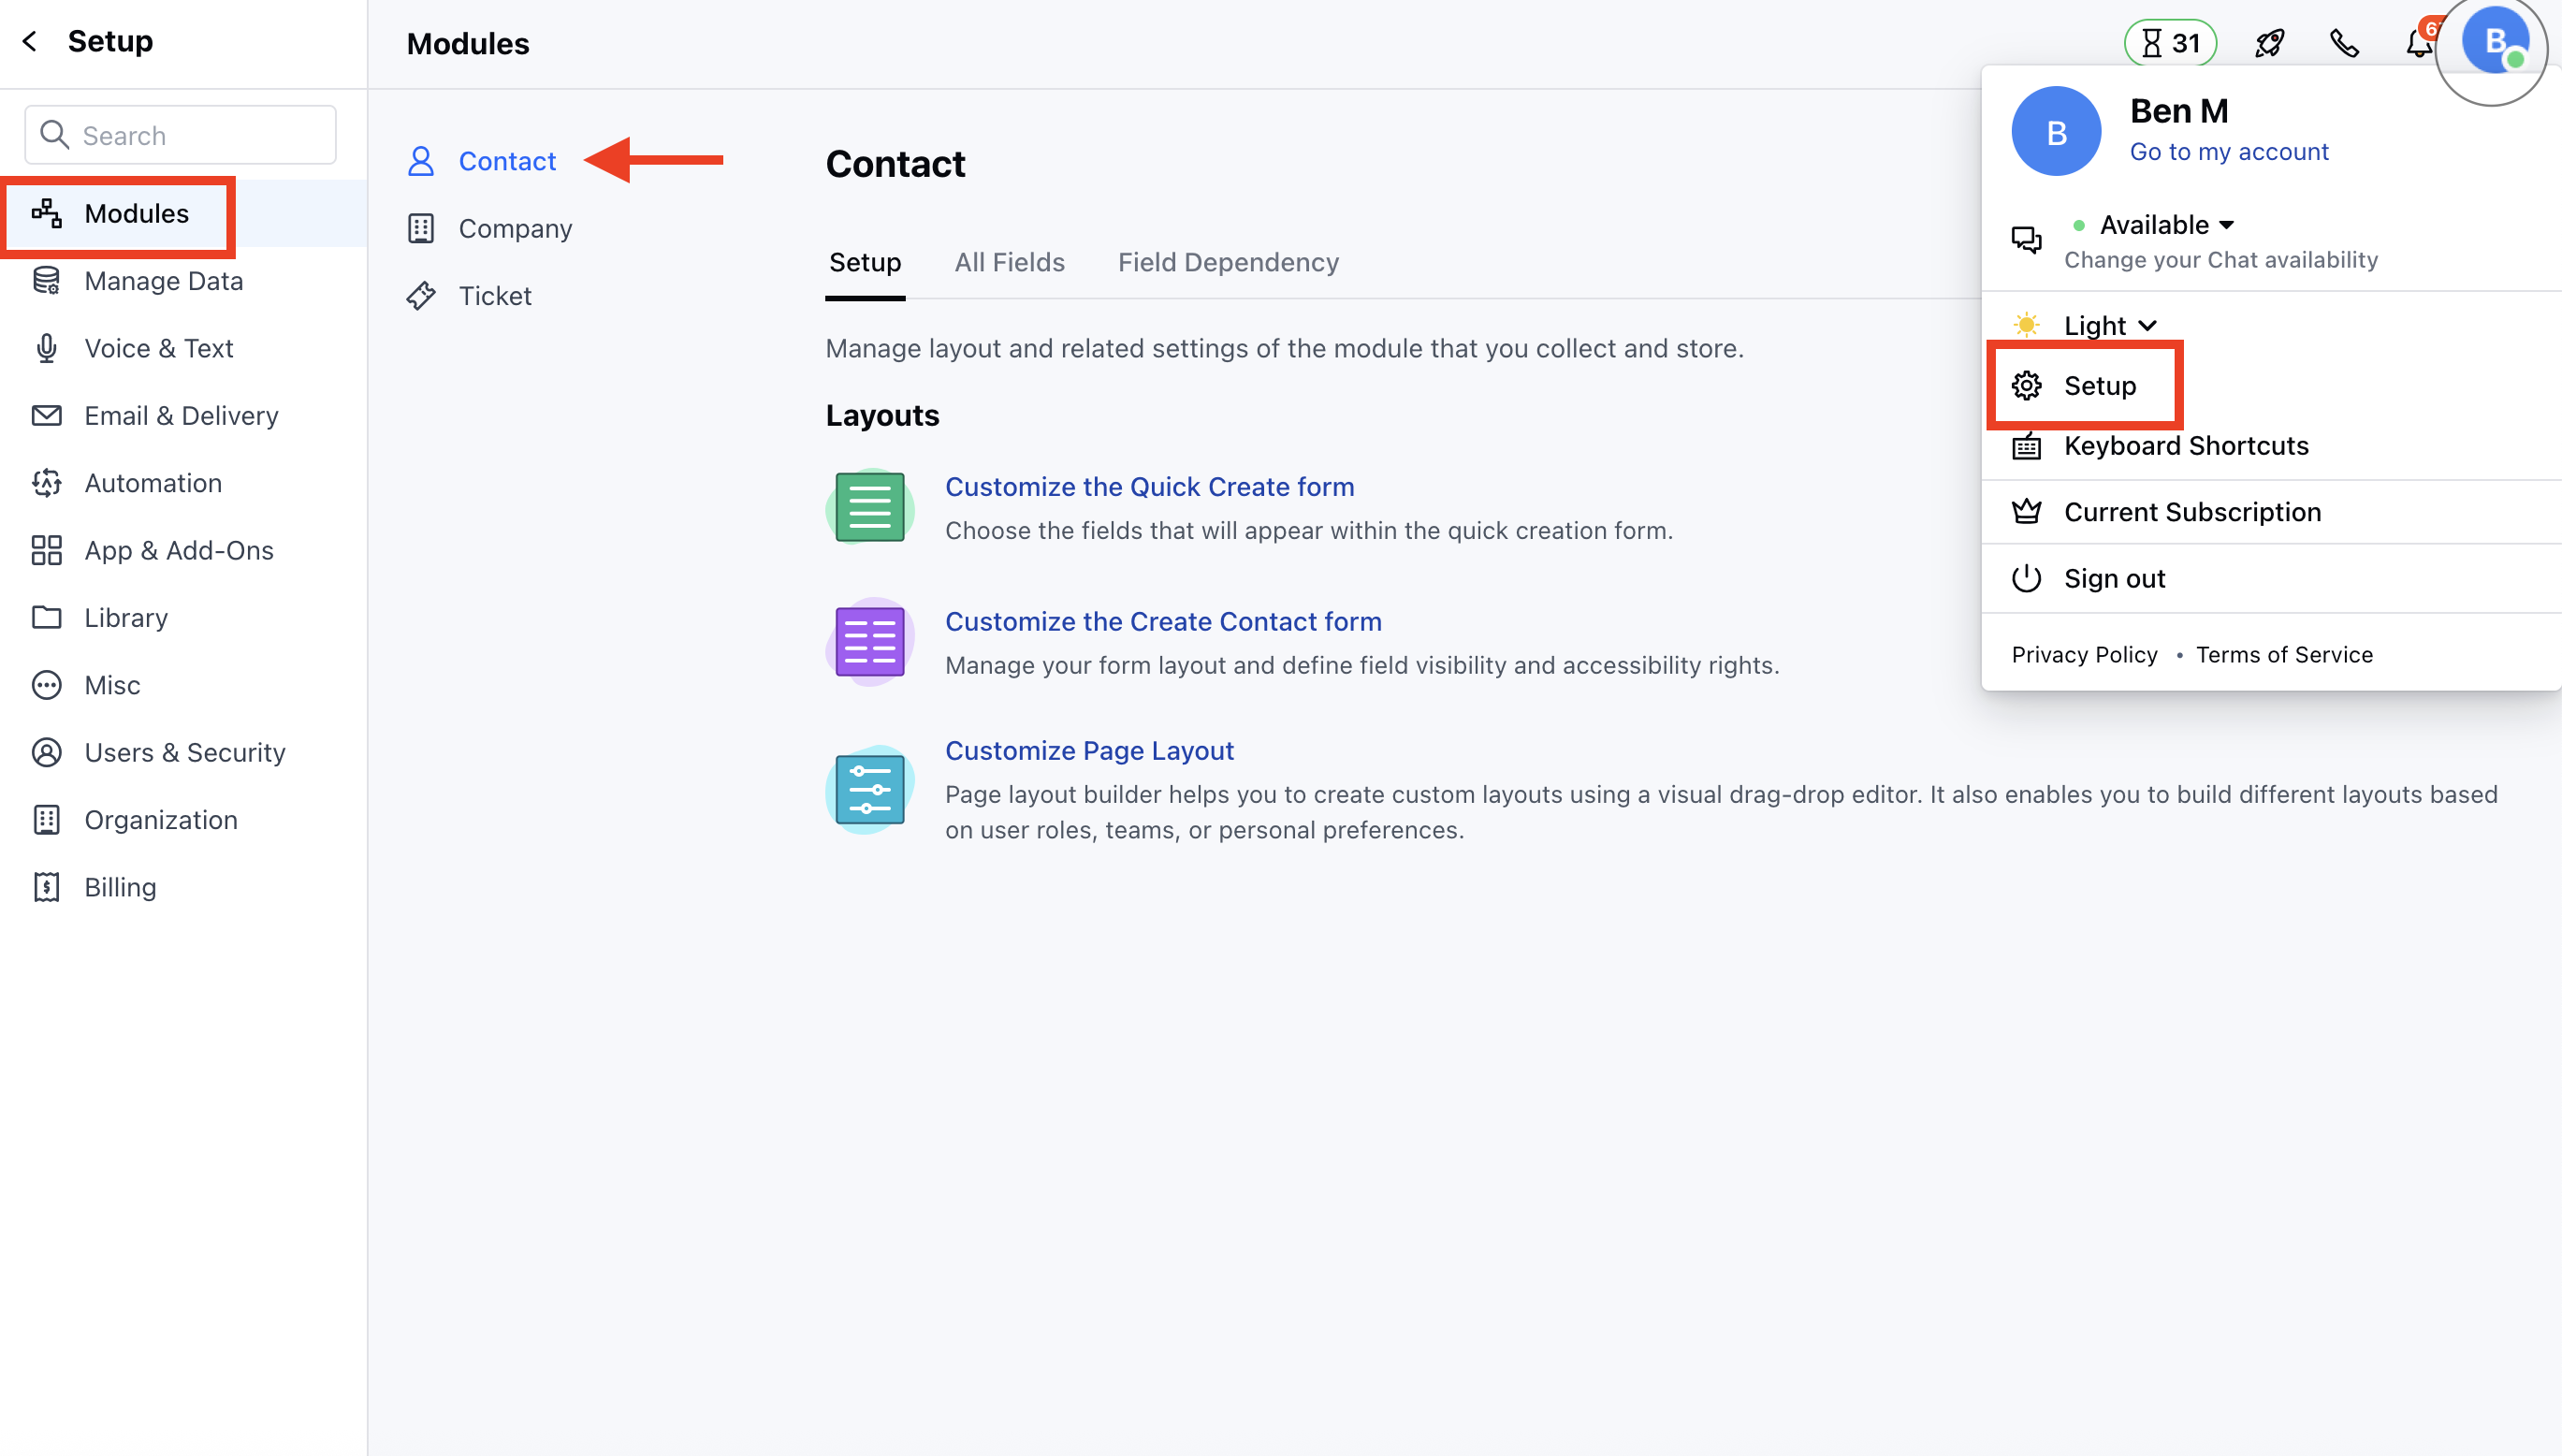
To Create New Custom Fields:- Navigate to the Profile Icon on the top right corner
- Click on the Set Up
- Head Over to the Modules Category
- Select the Module(Contact, Company and Ticket Module)
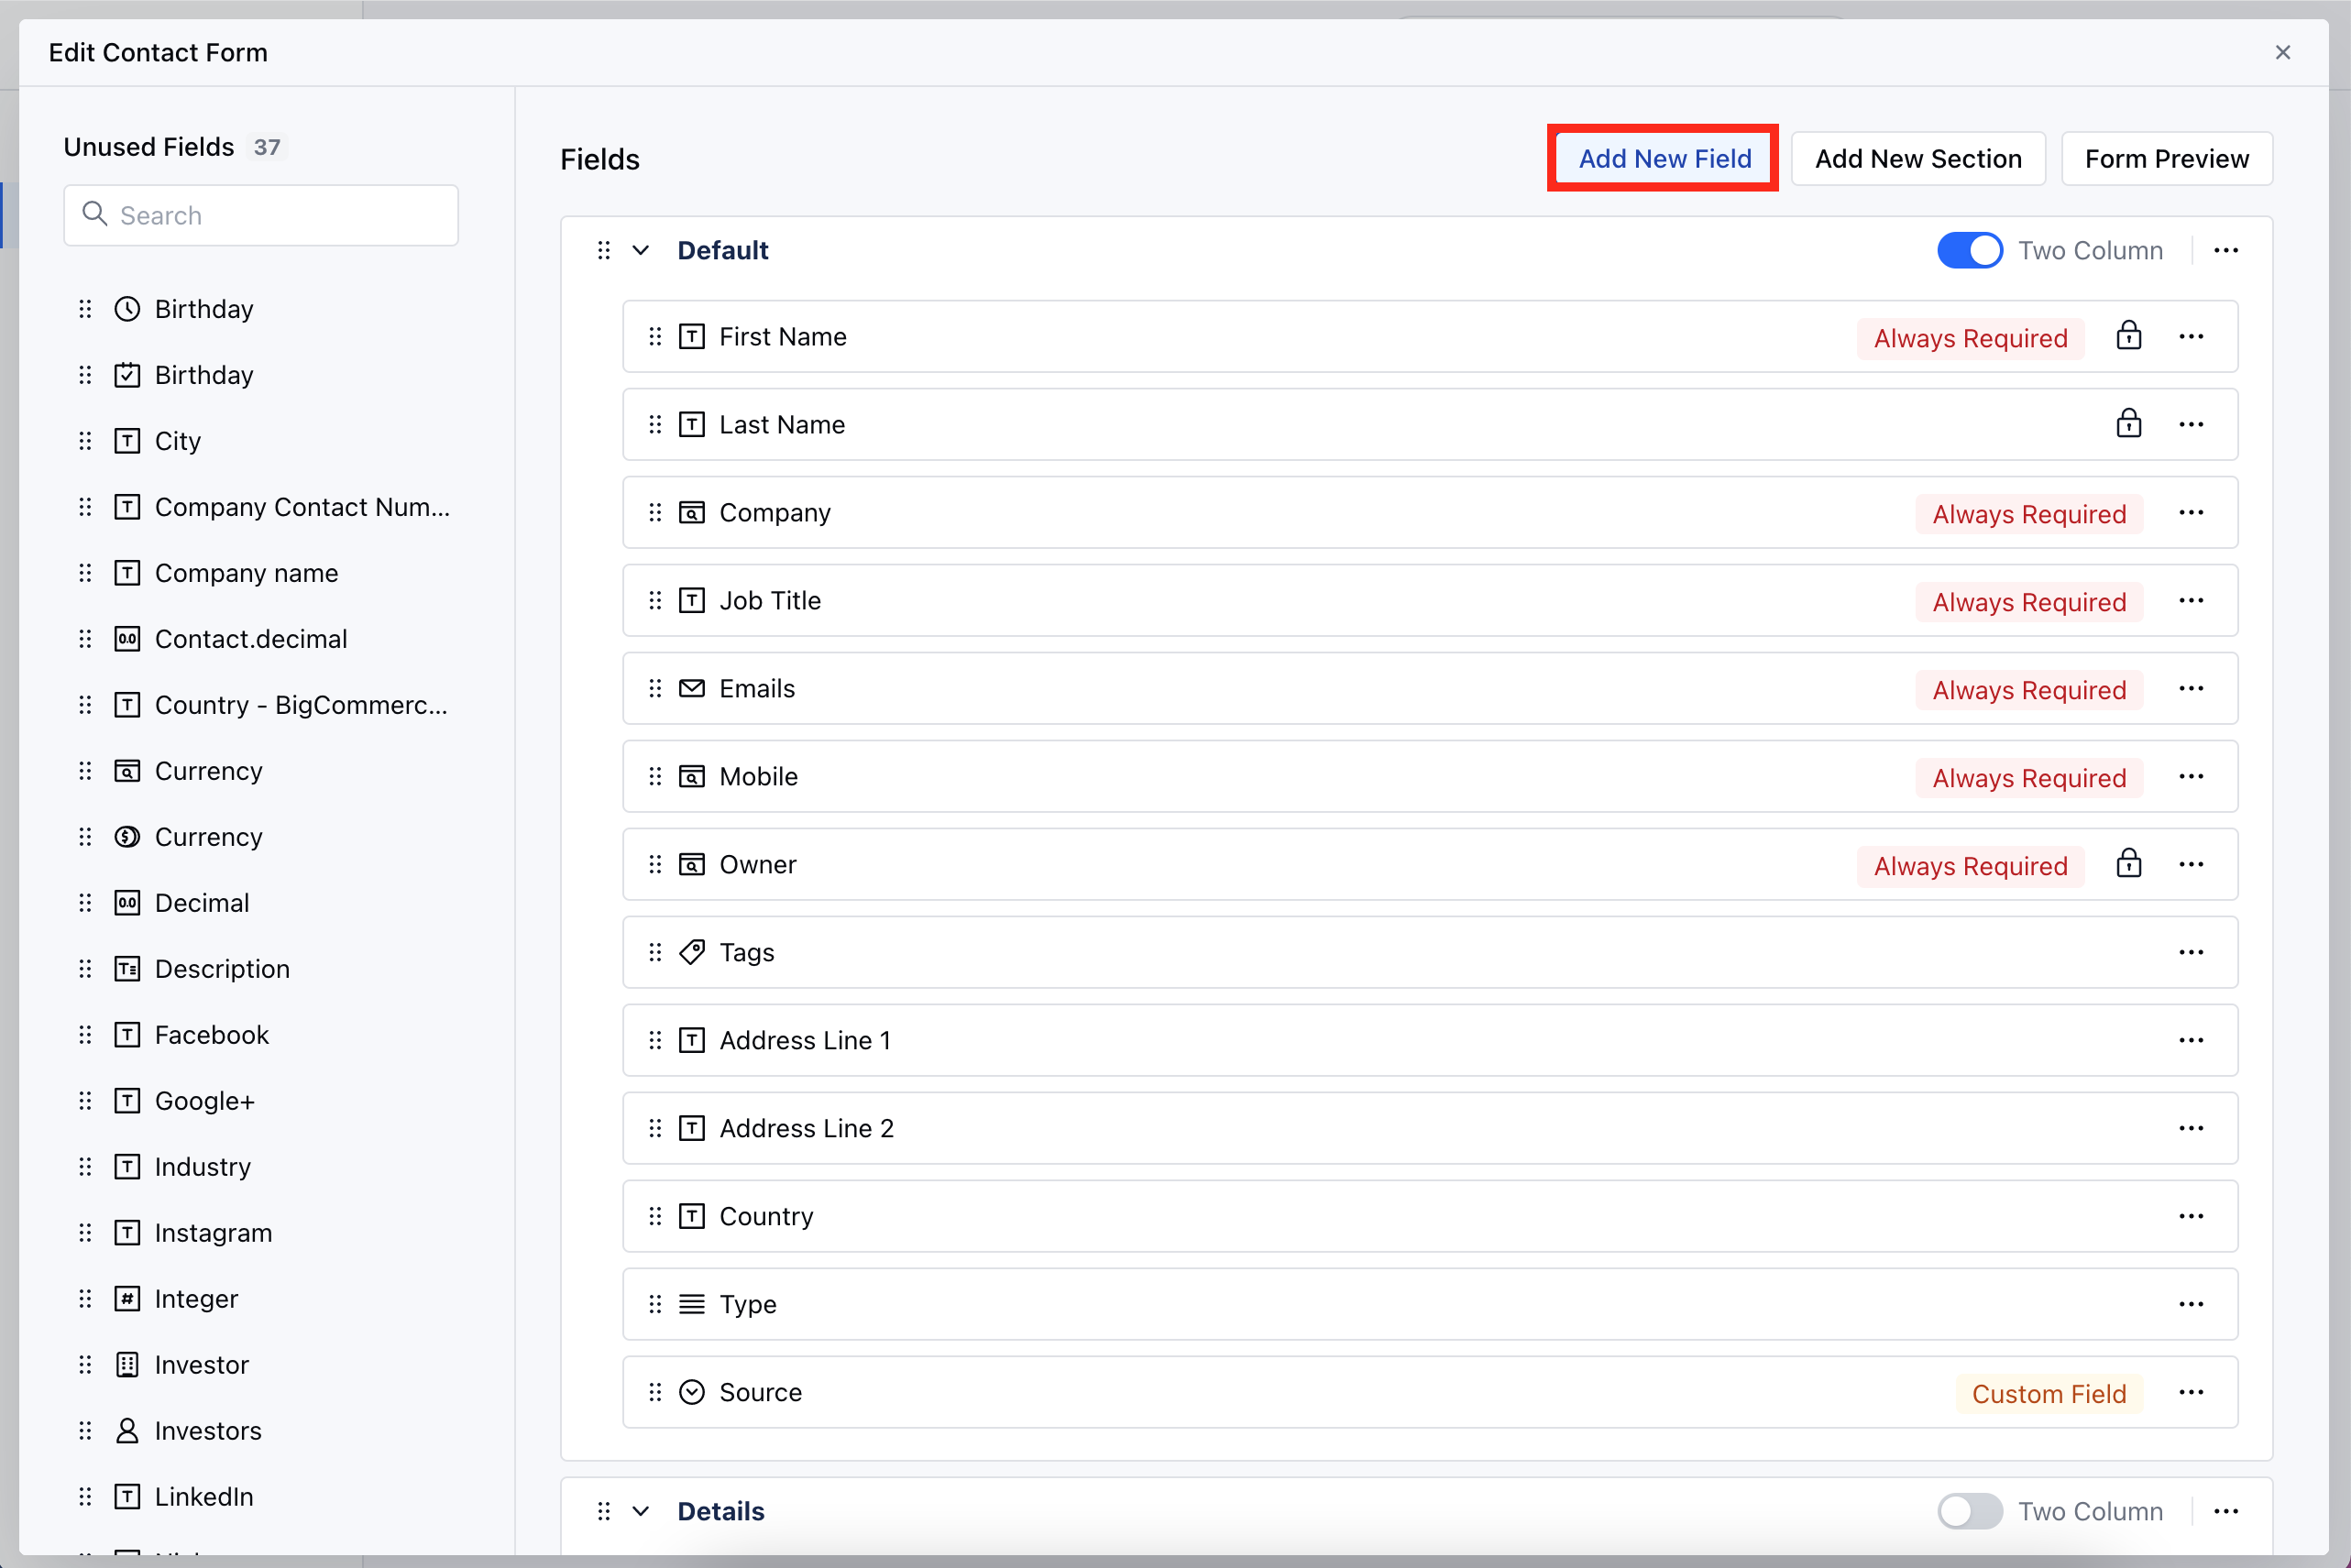
- Go to the All Detail Form Fields section
- Click on Add New Field to create a new custom field
- Go to Customize the Module Create Form
- Click on the Add New Field
- Select the Field Type or search the Type with the Quick search option
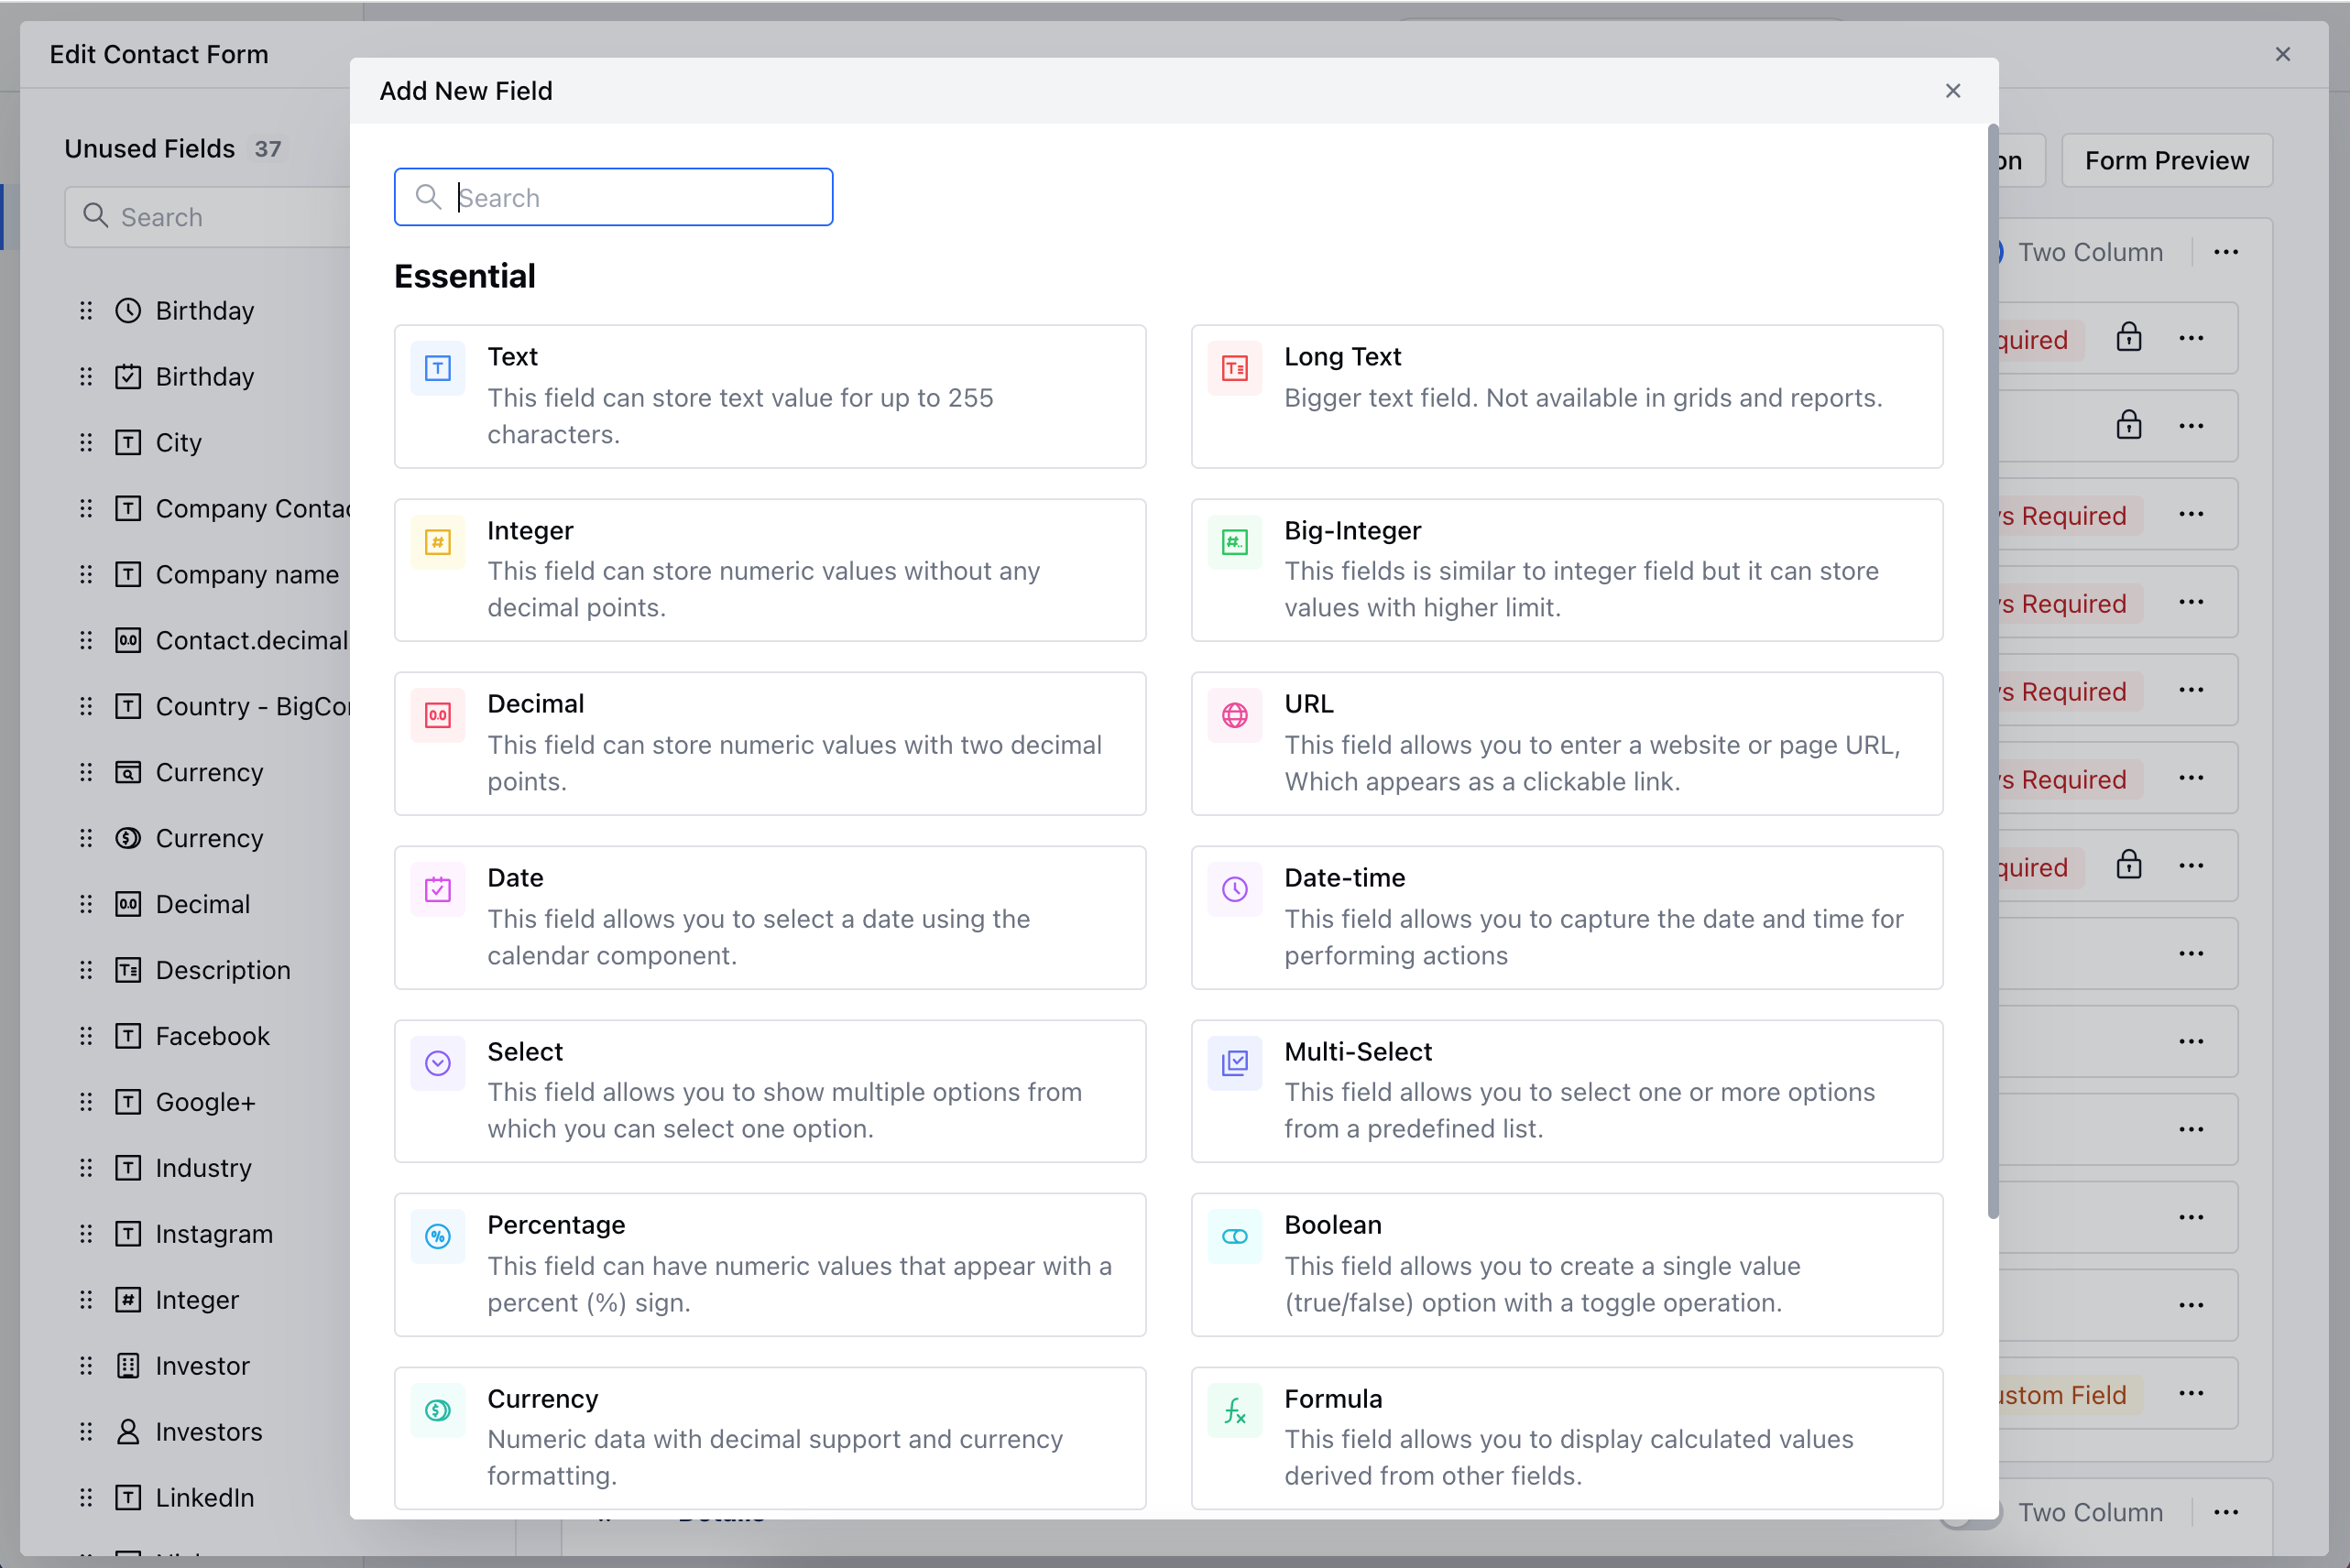
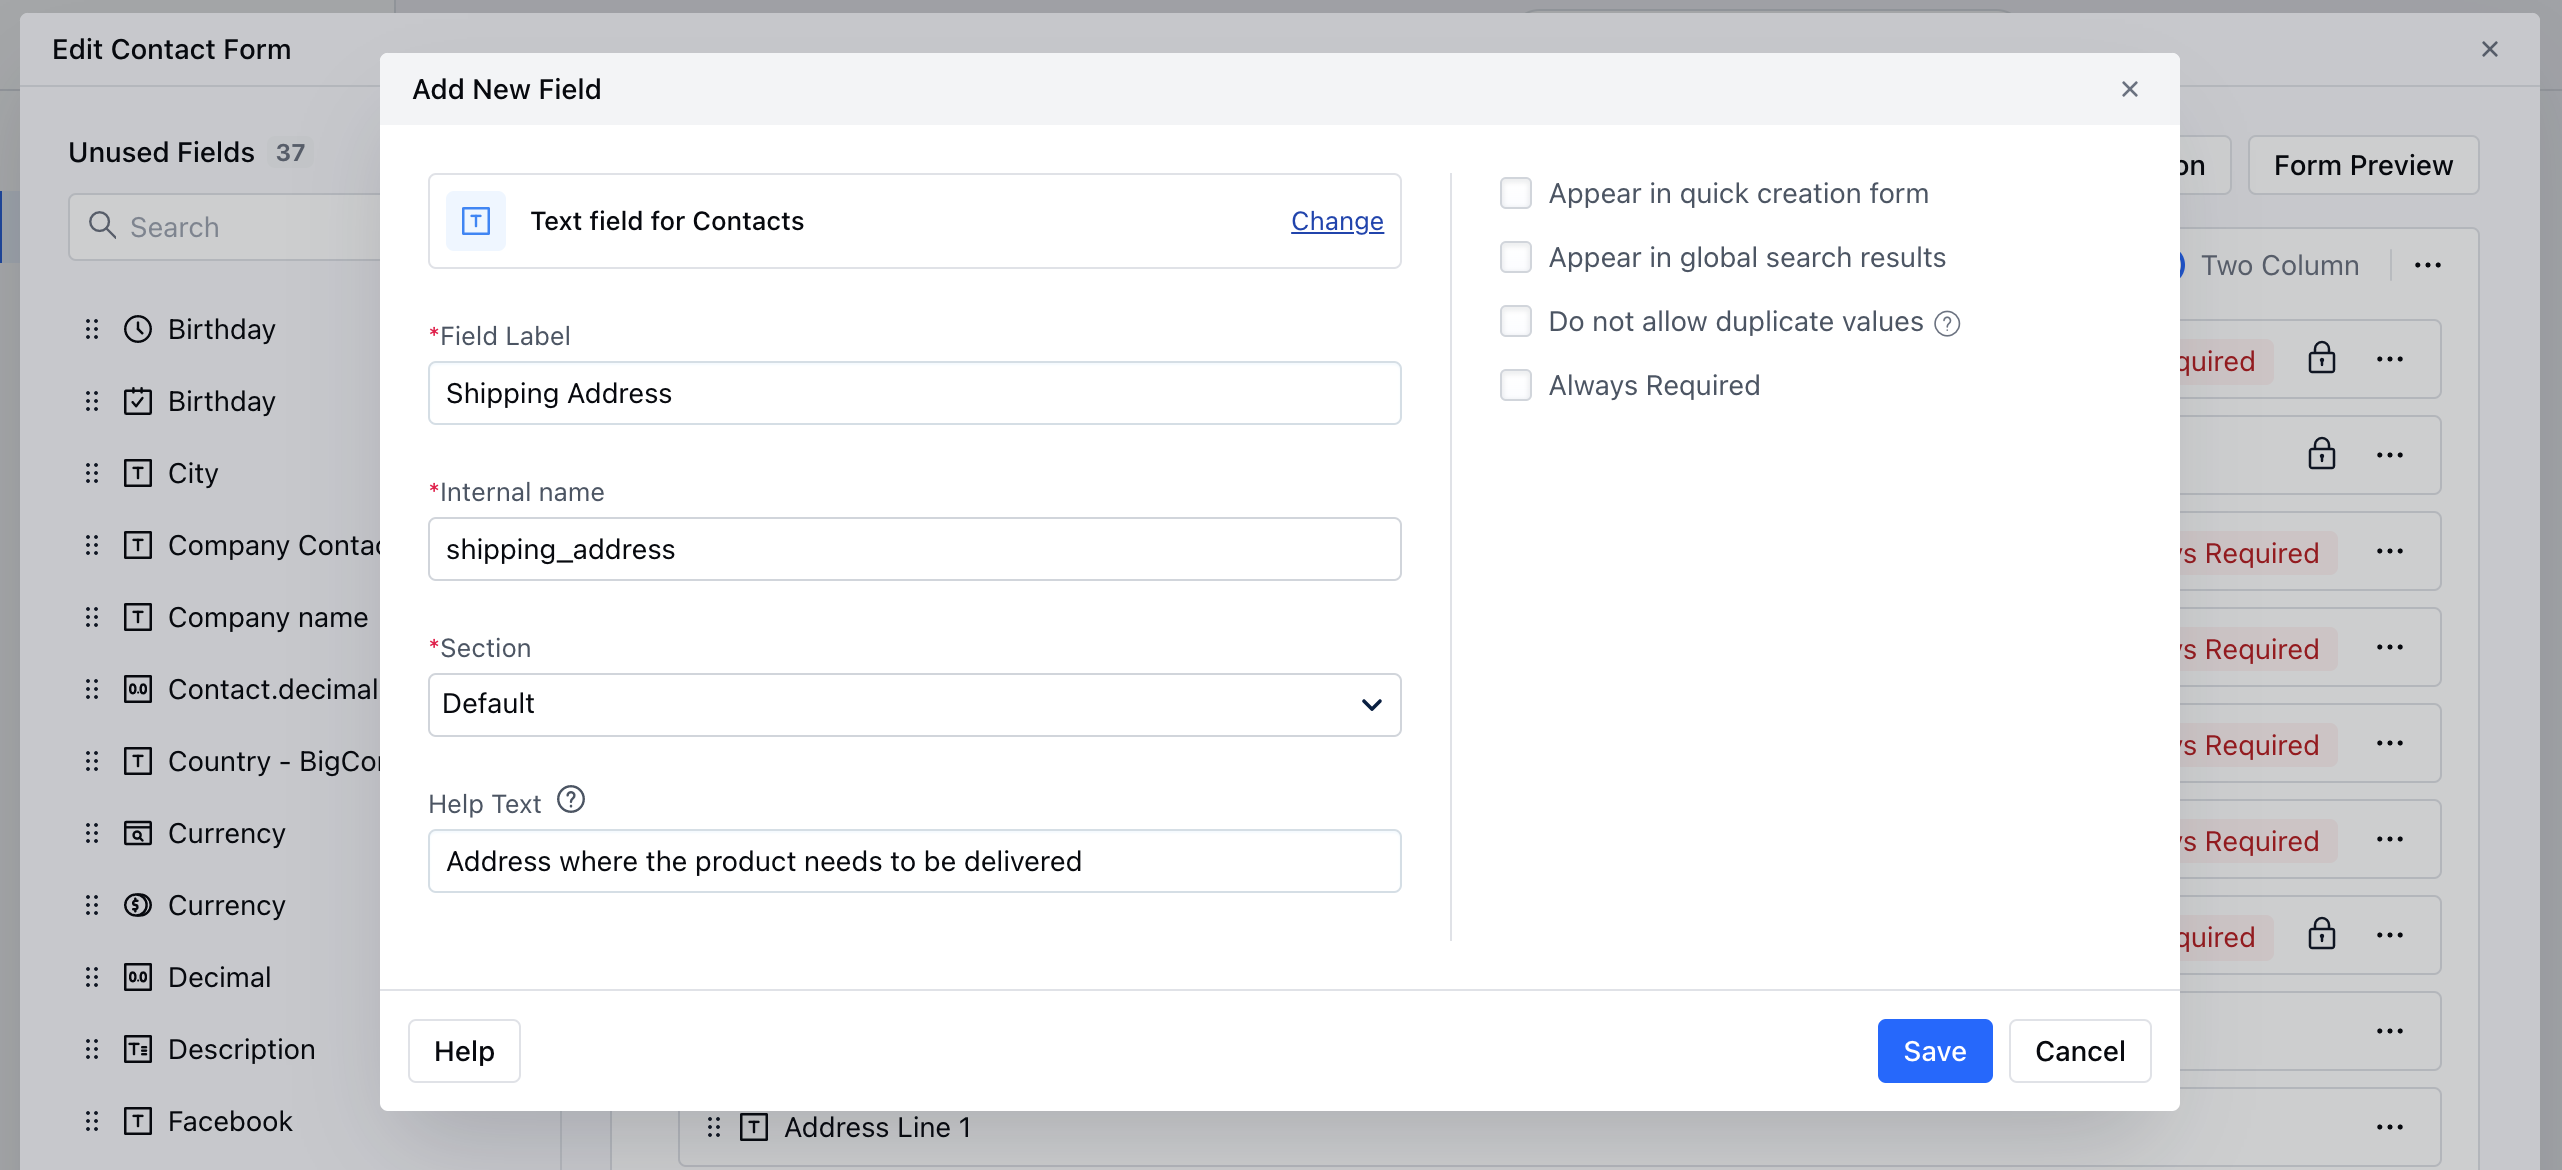
- Provide the following details
- Field Label: Define the label to identify the field
- Internal Name: Define the internal name for API integrations
- Section: Select the Section you wish the Field to fall under.
- Help Text: Define Help Text to provide additional information to help your teammates understand the purpose of the field
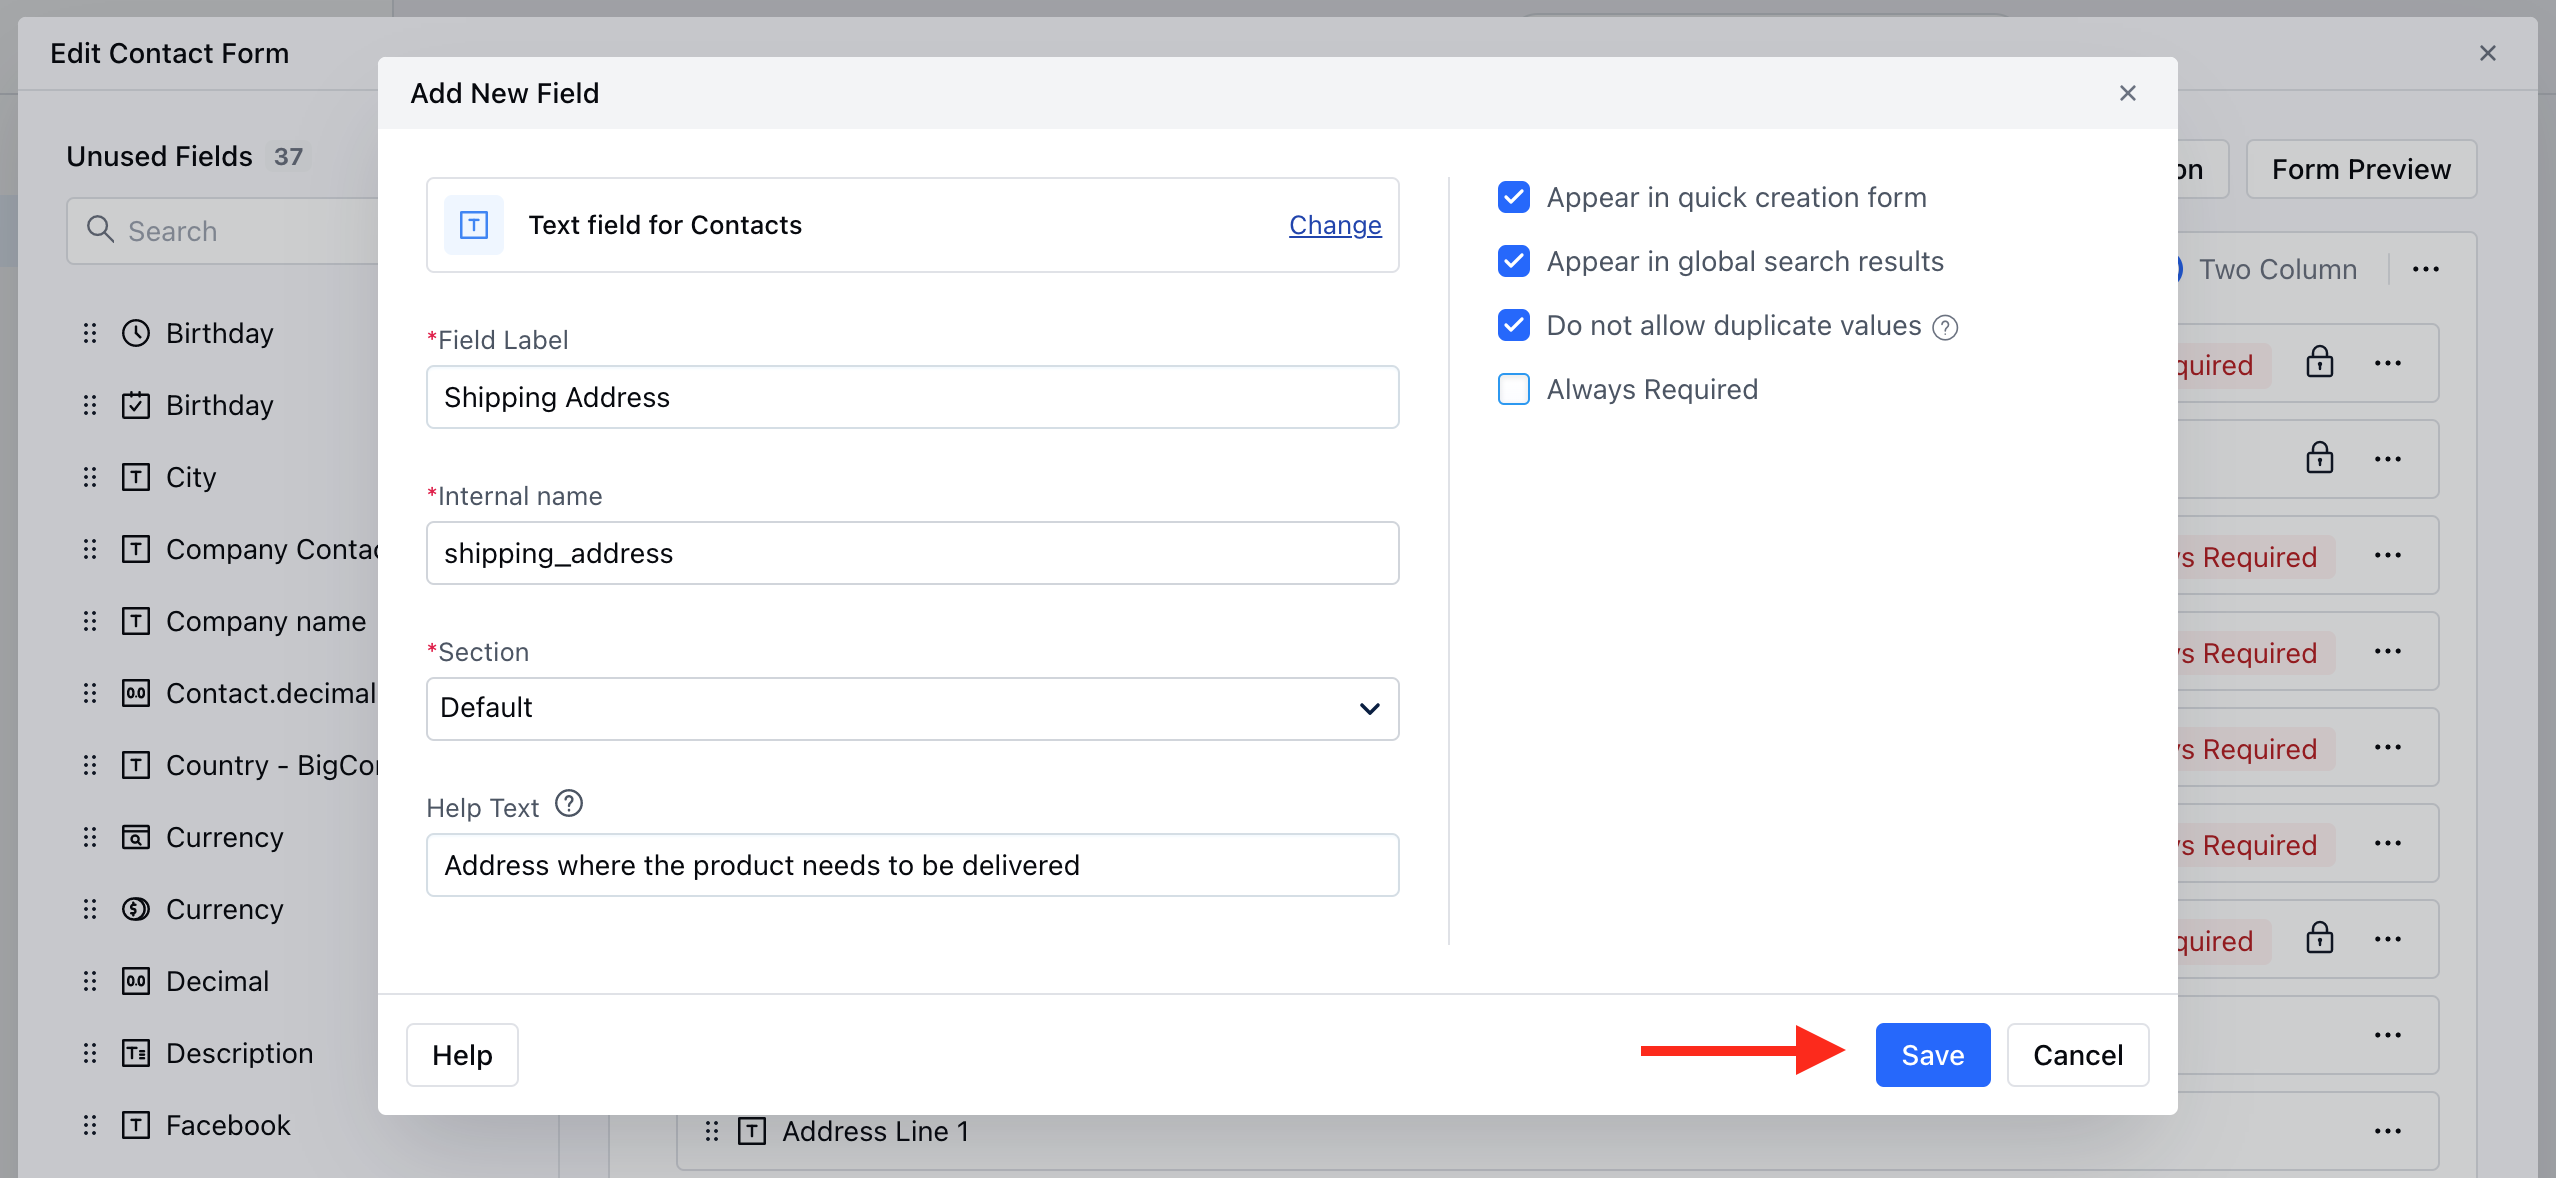
- After adding details to a custom field, you can select the following options:
- Appear in Quick Creation Form: Display this field in the quick creation form for easy access.
- Appear in Global Search Results: Allow searching on this field when a user performs a global search.
- Do not allow Duplicate Values: Prevent the creation of duplicate records based on this field.
- Always Required: Make this field mandatory if needed.
- Once done, Click Save.
Note: Please note that once added, the Internal Name of a field cannot be changed.
| CRM Feature | Basic | Pro | Business | Enterprise |
|---|---|---|---|---|
| Custom Fields/ Module | 50 | 100 | 500 | Unlimited* |